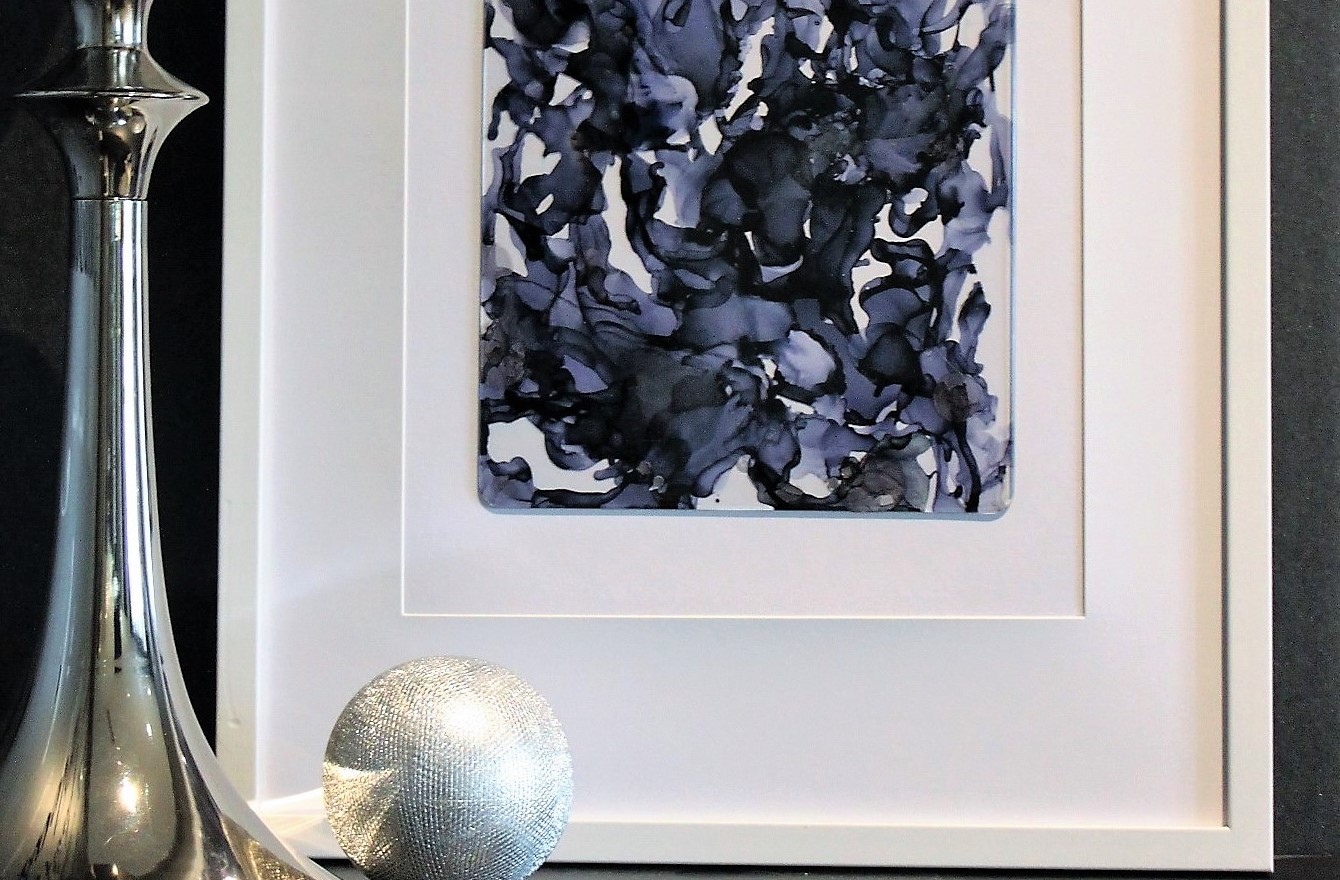
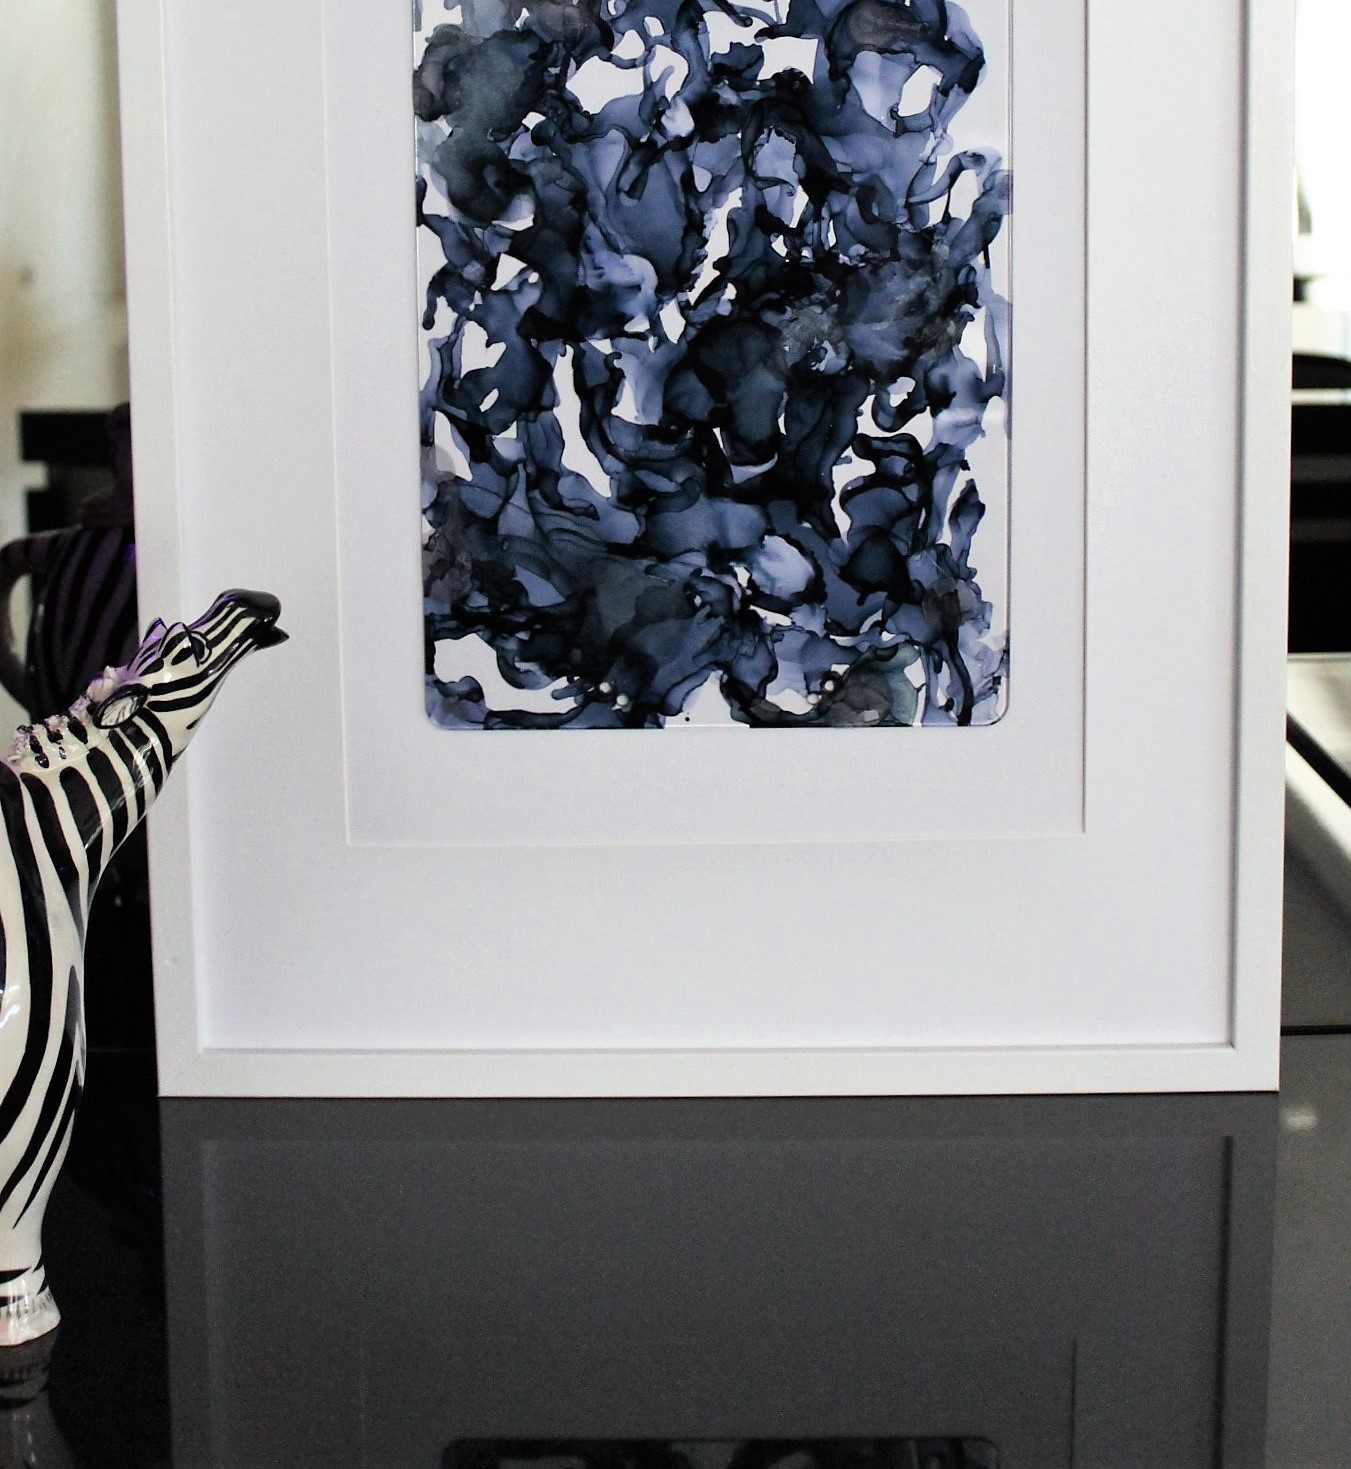
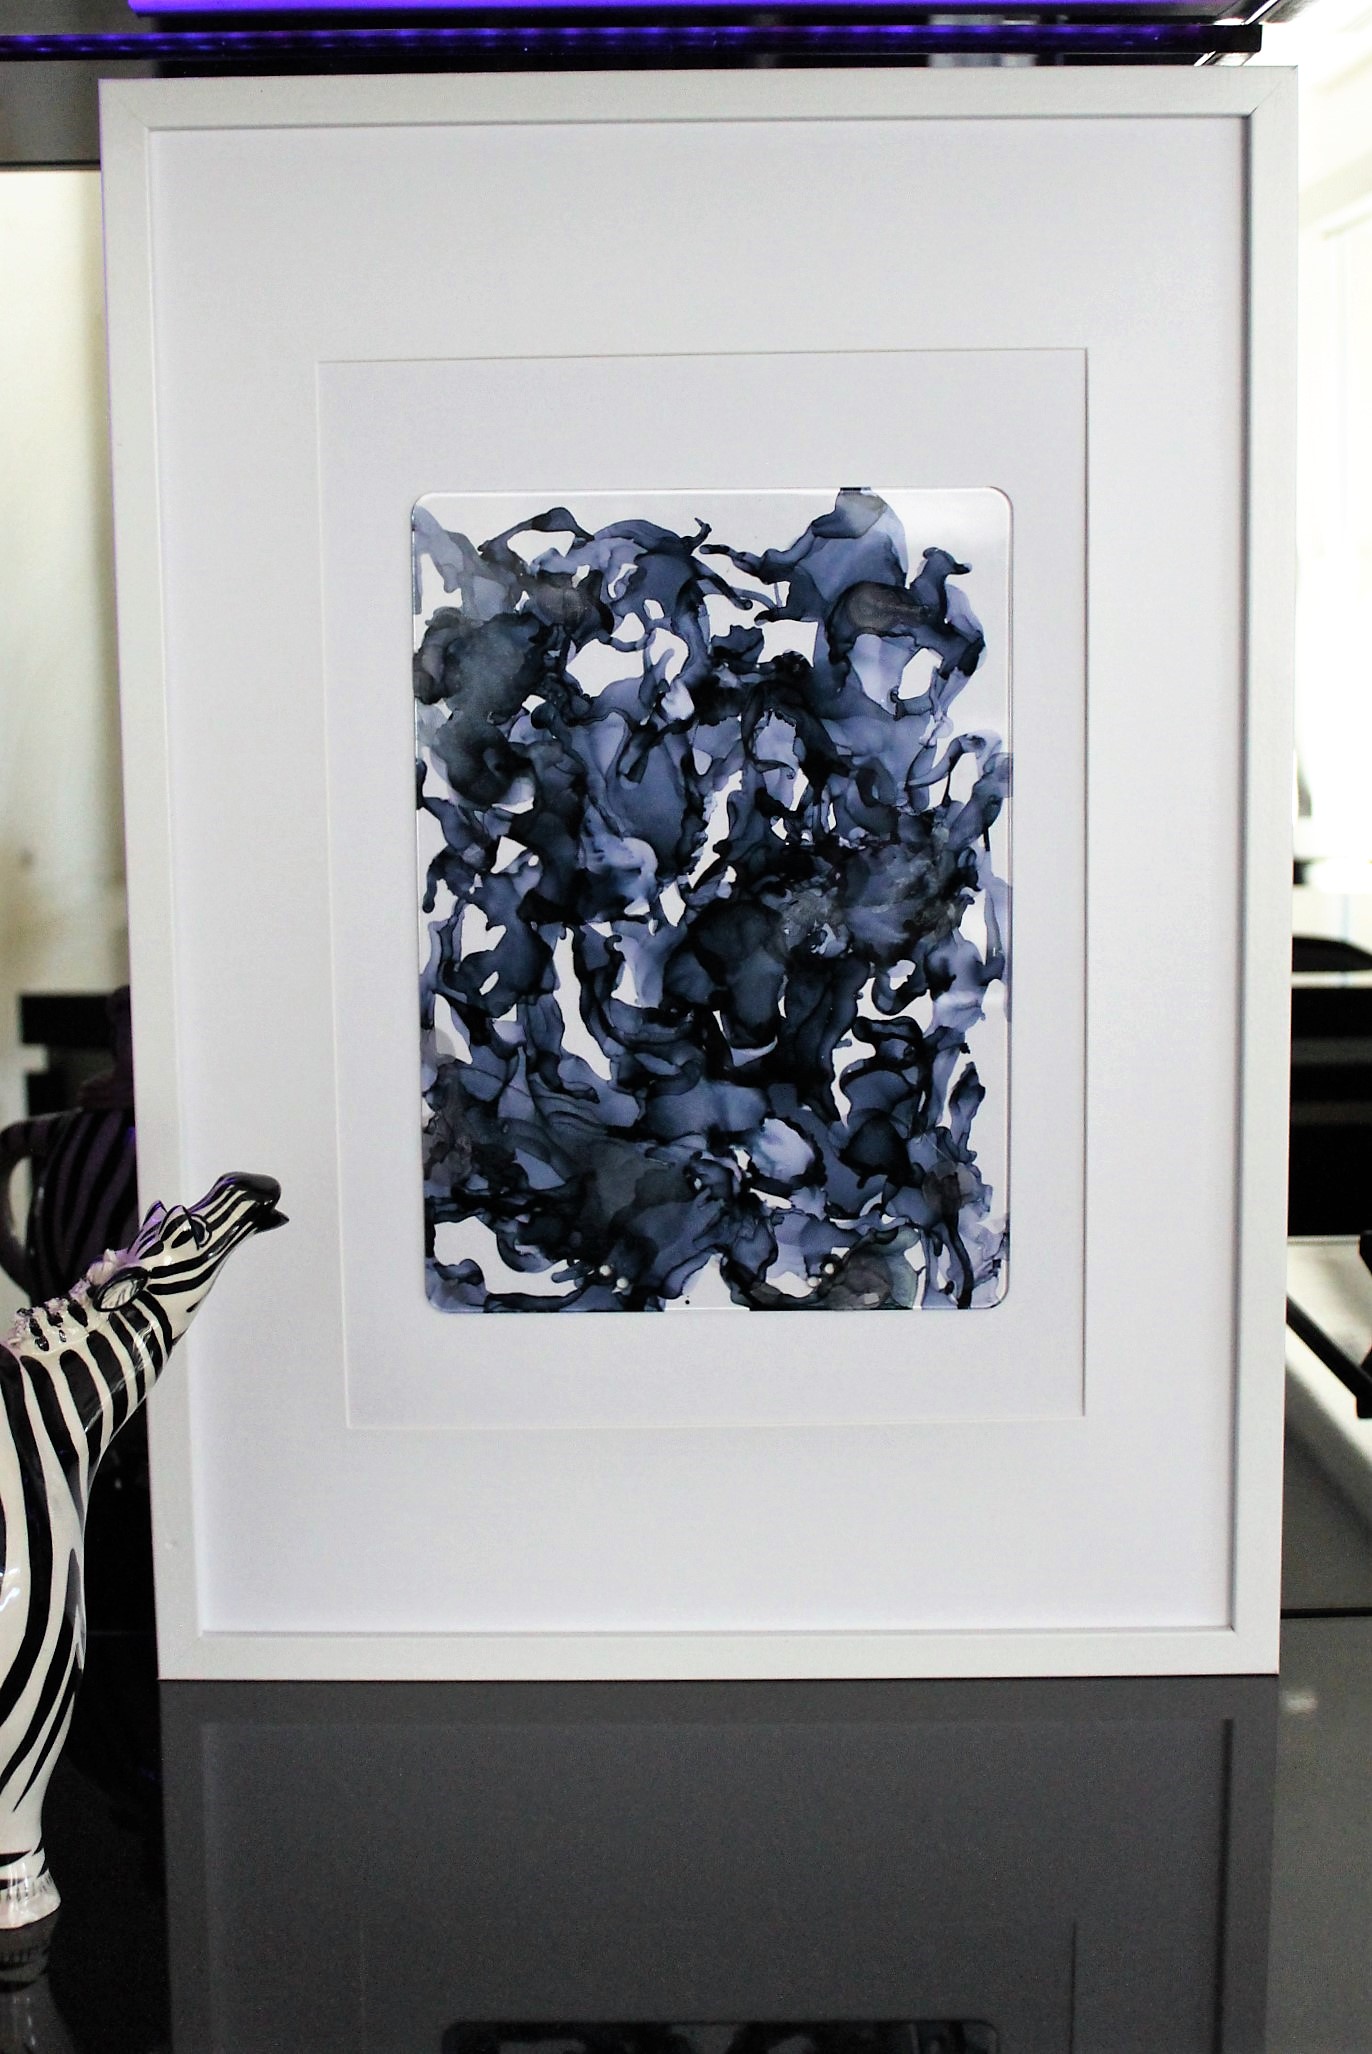
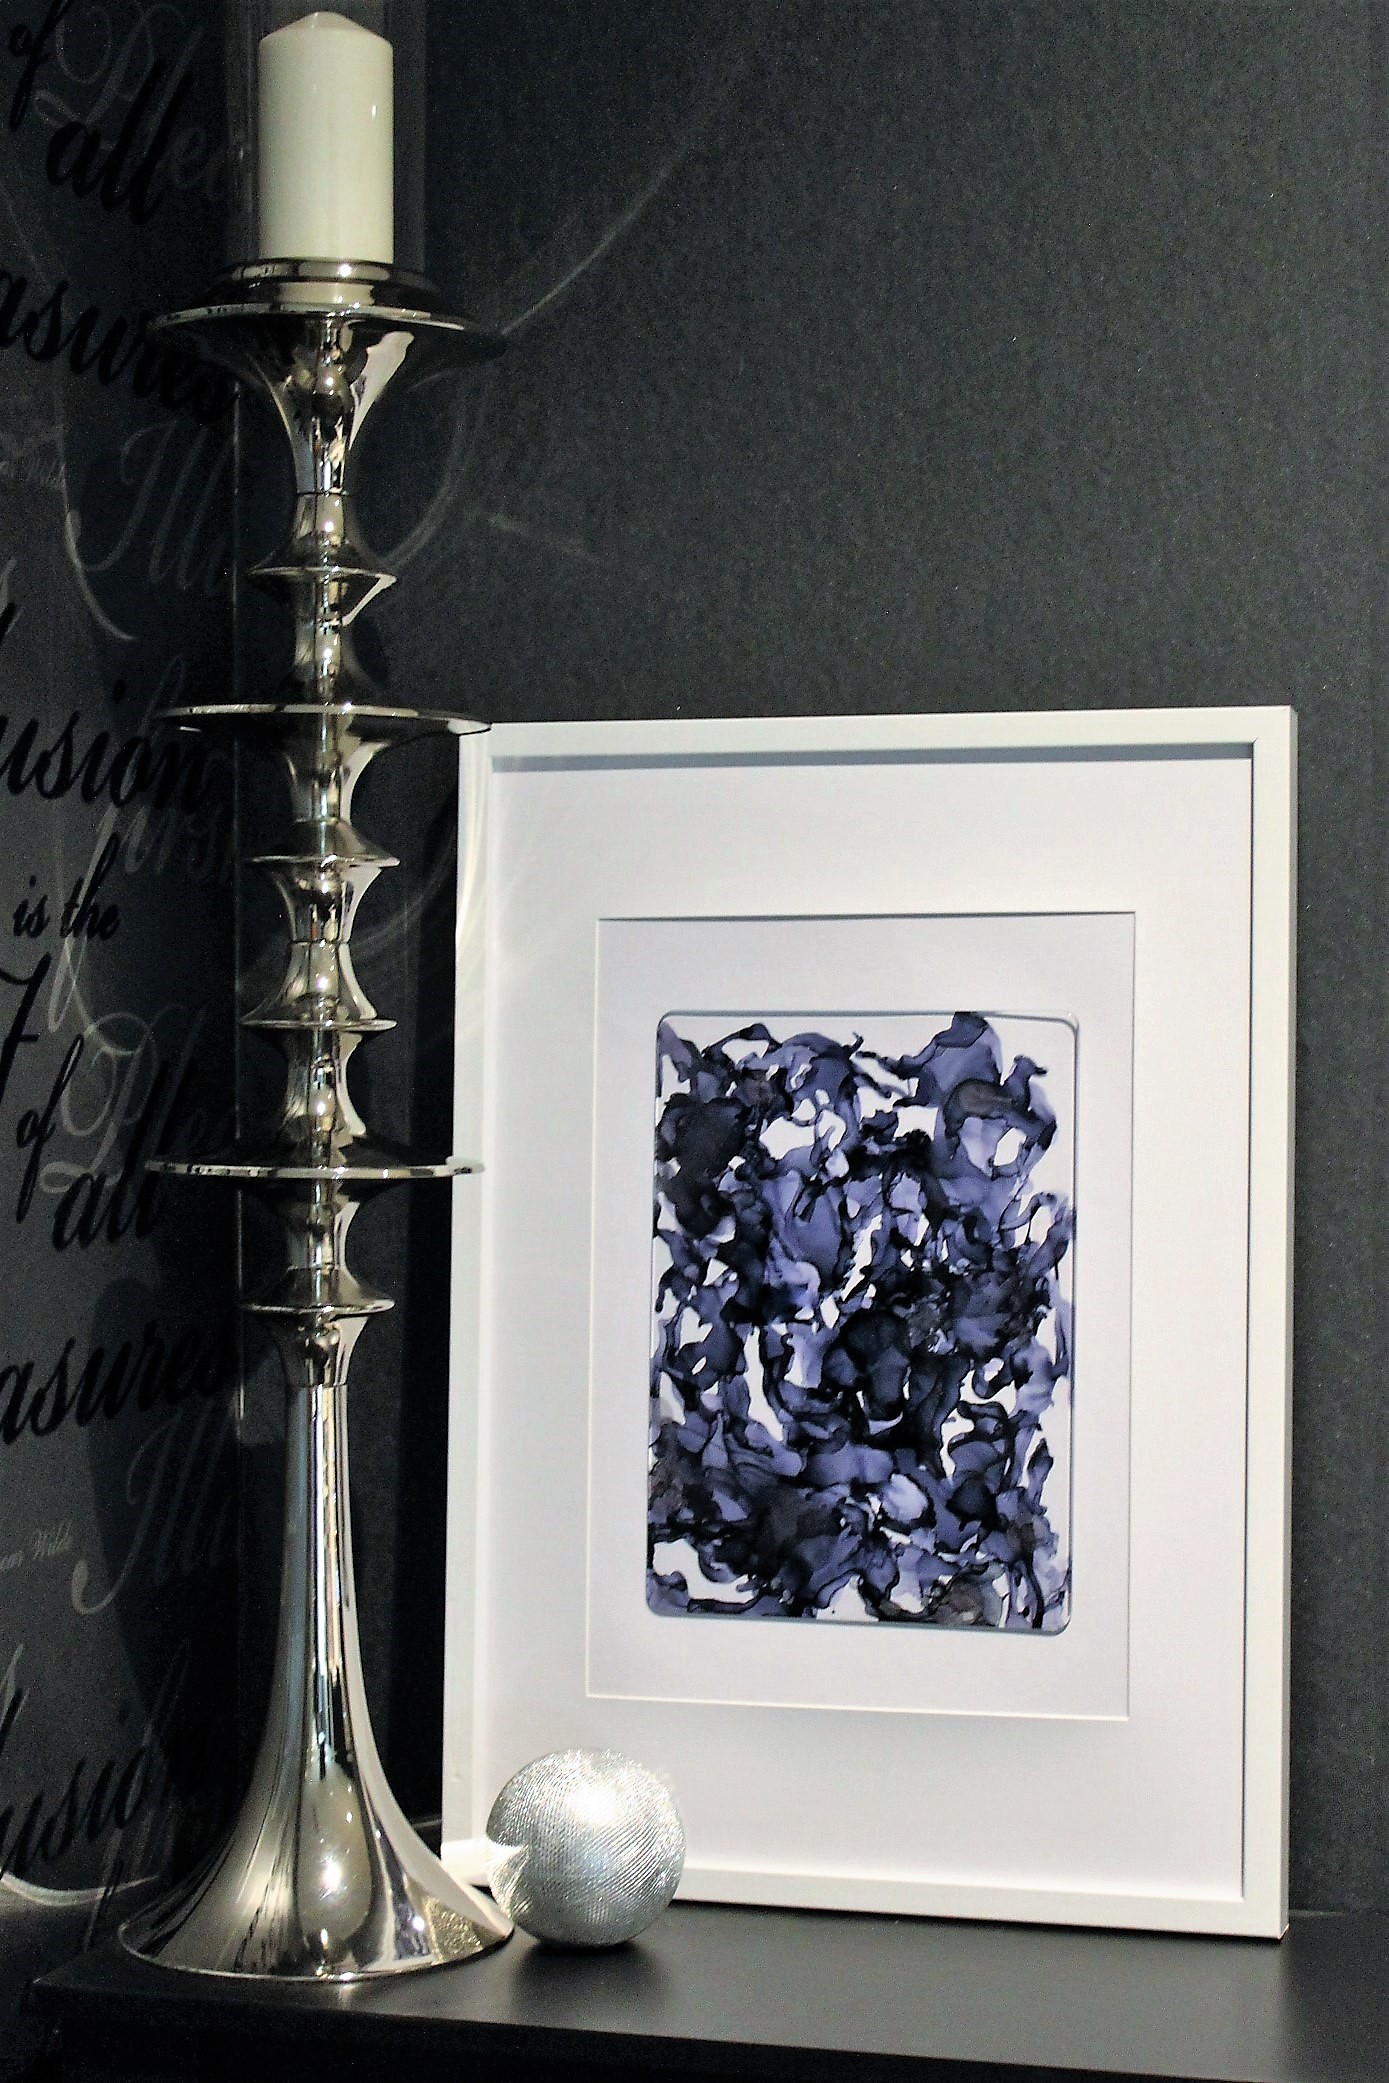
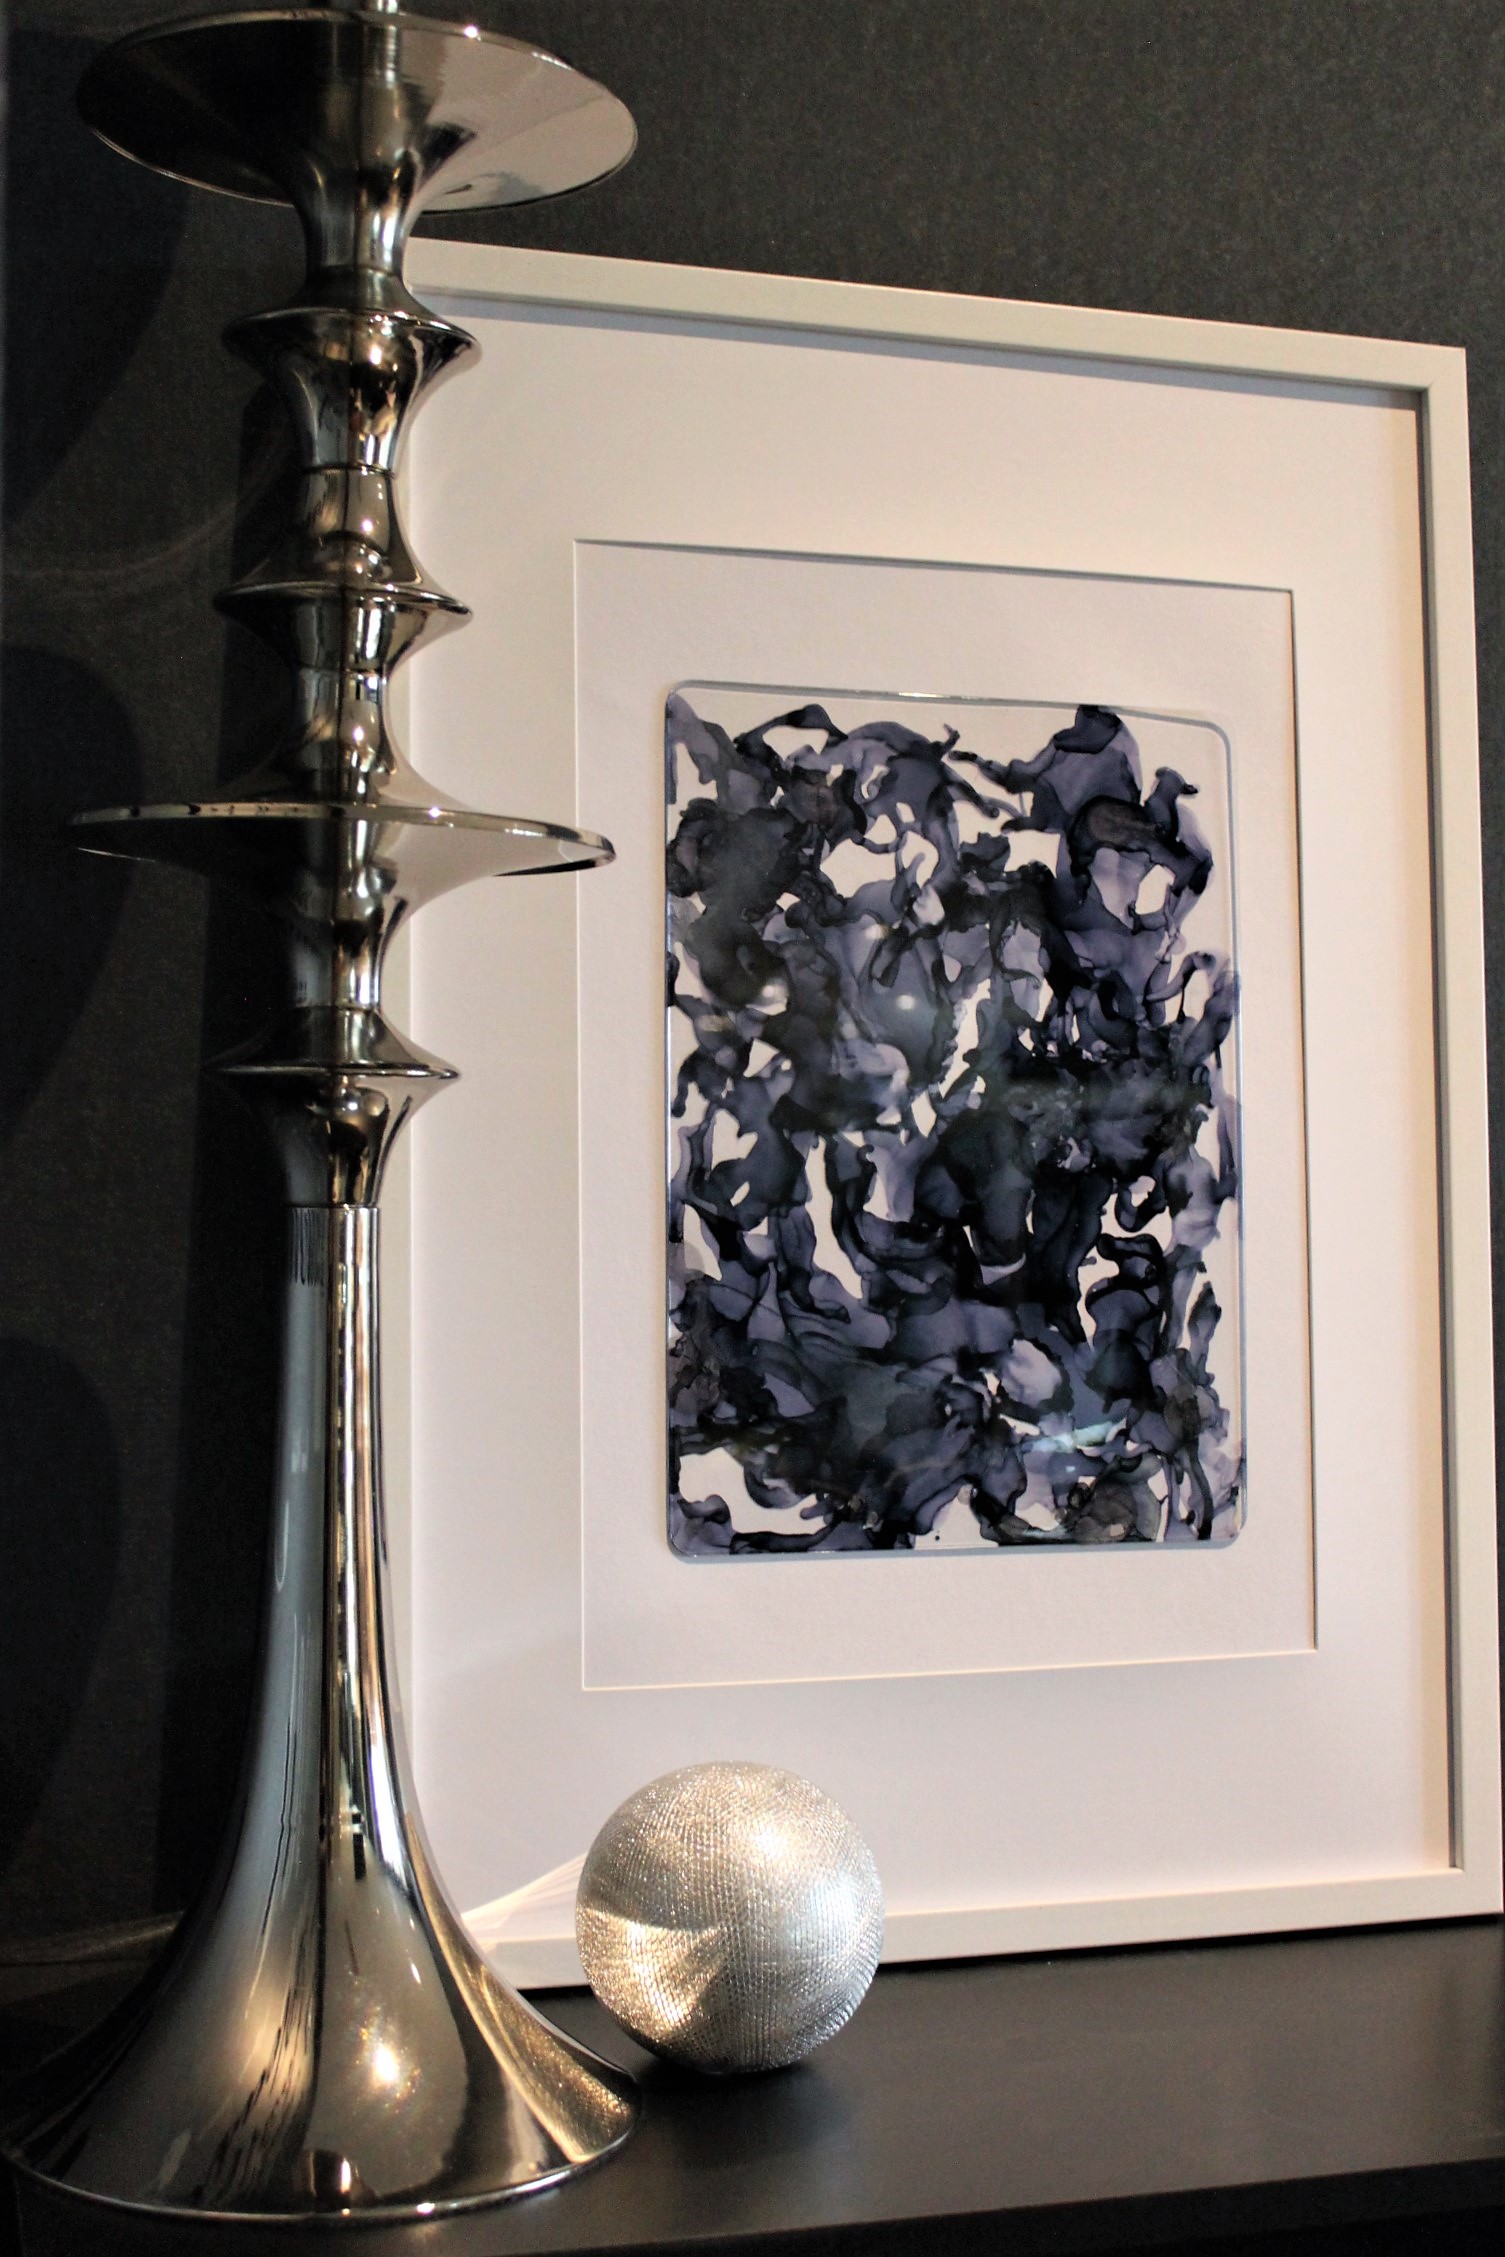
How fabulous is my new piece of Art?!
It’s a gorgeous monochrome contemporary piece that works so well with my décor.
But, here’s the thing – I made it myself and I loved every second of doing so!
A little while ago I discovered Alcohol Inks and I was instantly taken with them. Alcohol Ink works on most non porous surfaces, so think ceramic, acrylic, glass, metal – in fact, if it’s non porous, this ink will most likely work on it!
So what do you need to make a piece like this for yourself?
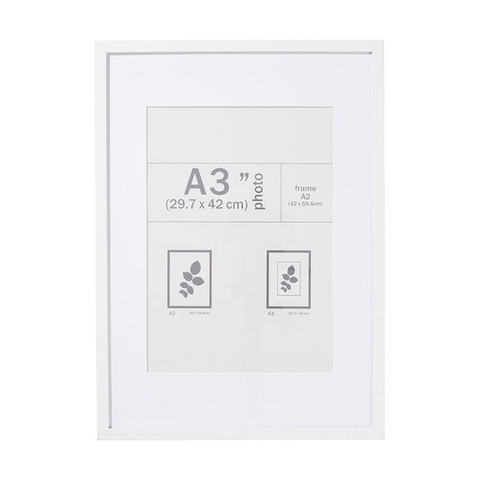
I’ve used the A3 White Photo Frame – $12 – (this is actually listed on the website as an A2 Photo Frame).
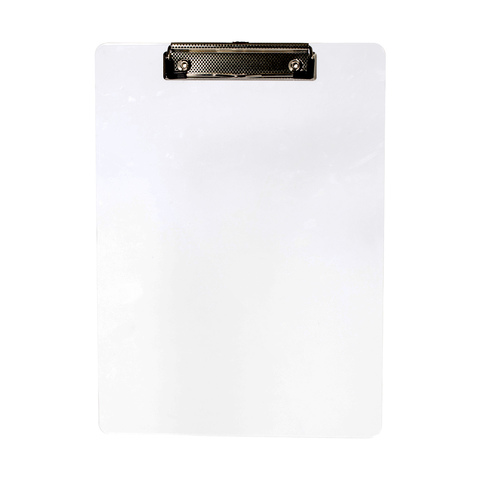
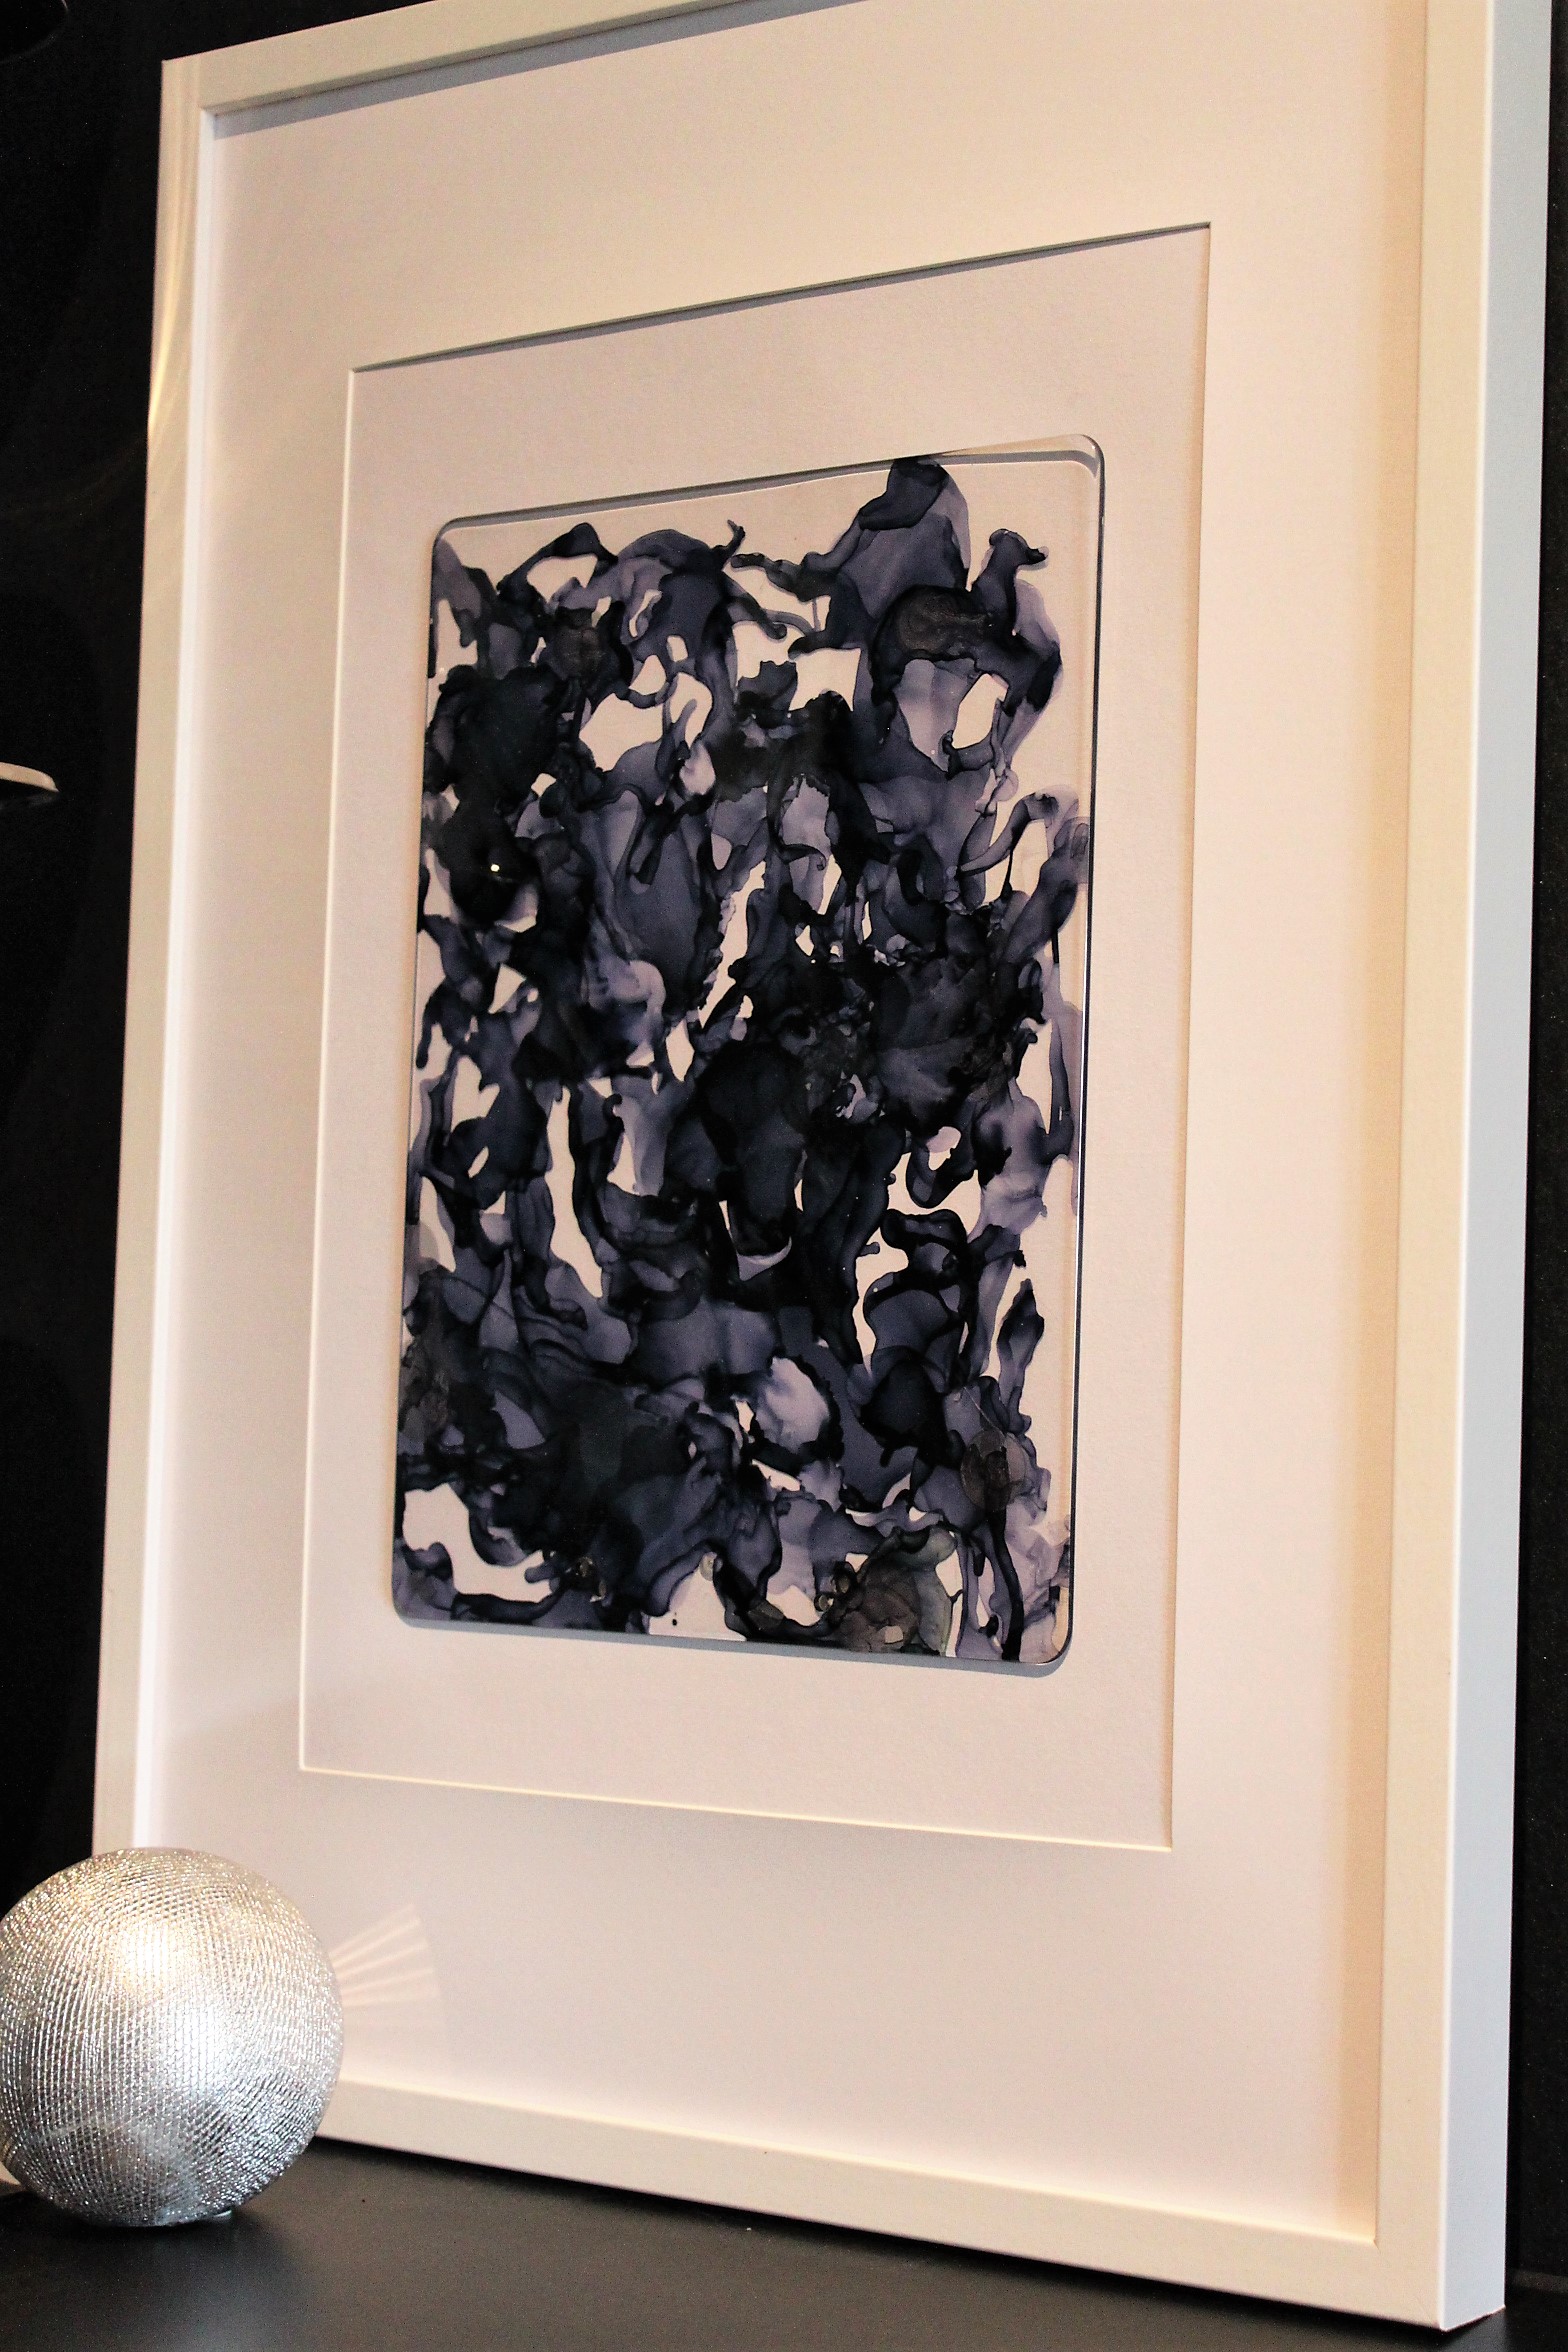
I’ve also used the A4 Clear Clipboard – $2.50. My Husband drilled out the screws holding the metal clip, so I’m left with a rectangle piece of acrylic with two small holes where the clip once sat.

Now let’s talk about the Alcohol Inks that I used. I will admit I had some difficulty sourcing these here in South Aust so I went online and found a fabulous website that I want to tell you about.
https://www.craftonline.com.au – have an incredible range of the inks – so many choices of colour, you won’t know where to start, or what ones to choose!
(At the moment, most of these inks are on special for $4.99 a bottle and a bottle goes a loooong way!)
For orders over $50 you get free delivery, which is great and I was super happy, not only with my purchases, but the customer service. One or two items weren’t in stock, so I was immediately credited for that amount, and my parcel arrived in about 6 days!
I’m not being paid or compensated for this post – I am just genuinely happy with their range of products, and their customer service so I’m more than happy to suggest them as a place to source the ink.
Before using the Alcohol Ink I would suggest you watch a few YouTube videos of people working with it. There are a lot out there with everyone putting their own touch to it, but the two people who I learnt a lot from watching are:
Jane Monteith
https://www.youtube.com/channel/UC1EvuS0puT3F6paXwM15RCw
Jane’s works are amazing and she is incredibly great at showing how she uses the inks – so many tips and tricks and well worth stopping by and watching her talent!
Another site I have watched endlessly is:
Beetlewing
https://www.youtube.com/channel/UCSZDpxIlYr9tFT6KF0PDfFw
Again, what an amazing artist! I can watch his videos for hours and never tire of seeing his work – a brilliant channel to keep up with for lots of ideas, tips and information!
Basically all I did for my piece was to start by wiping over the acrylic board with Isopropyl Alcohol to make sure there were no finger prints or marks on it.
Then I simply dropped a few drops of Ink on the board, a few drops of Alcohol Ink Blender (also available from craftonline ) and then used a heat gun (or you could use a hair dryer or a straw if you have lots of puff!) and blew the ink around on the board. You don’t need to use the blender, but it does make the ink spread further and dilutes the colour slightly.
I continued dropping ink and blender and blowing it around until I felt like I had enough coverage. You can of course use multiple colours in the same way and the colours will merge and blend and all kinds of exciting patterns appear!
But for now, I was making a monochrome piece using the colour ‘Eggplant’.
Once it was finished – trust me, it’s very hard to stop adding to it – I let it dry over night before I started to frame it.
I’ve used some of my E6000 glue to stick it to an A3 piece of cardstock– it doesn’t really matter what type of glue you use, as long as it dries clear. I’ve applied the glue to the side that the ink is applied on – when you view this piece, you’re actually looking at the side that doesn’t have ink on it. I applied the glue in areas where the ink is darkest just to make sure you wouldn’t see any glue at all when it was dry and then stuck it centrally onto my piece of A3 cardstock.
While it was drying, I sat some bottles of water on top and left it to dry for about 2 hours.
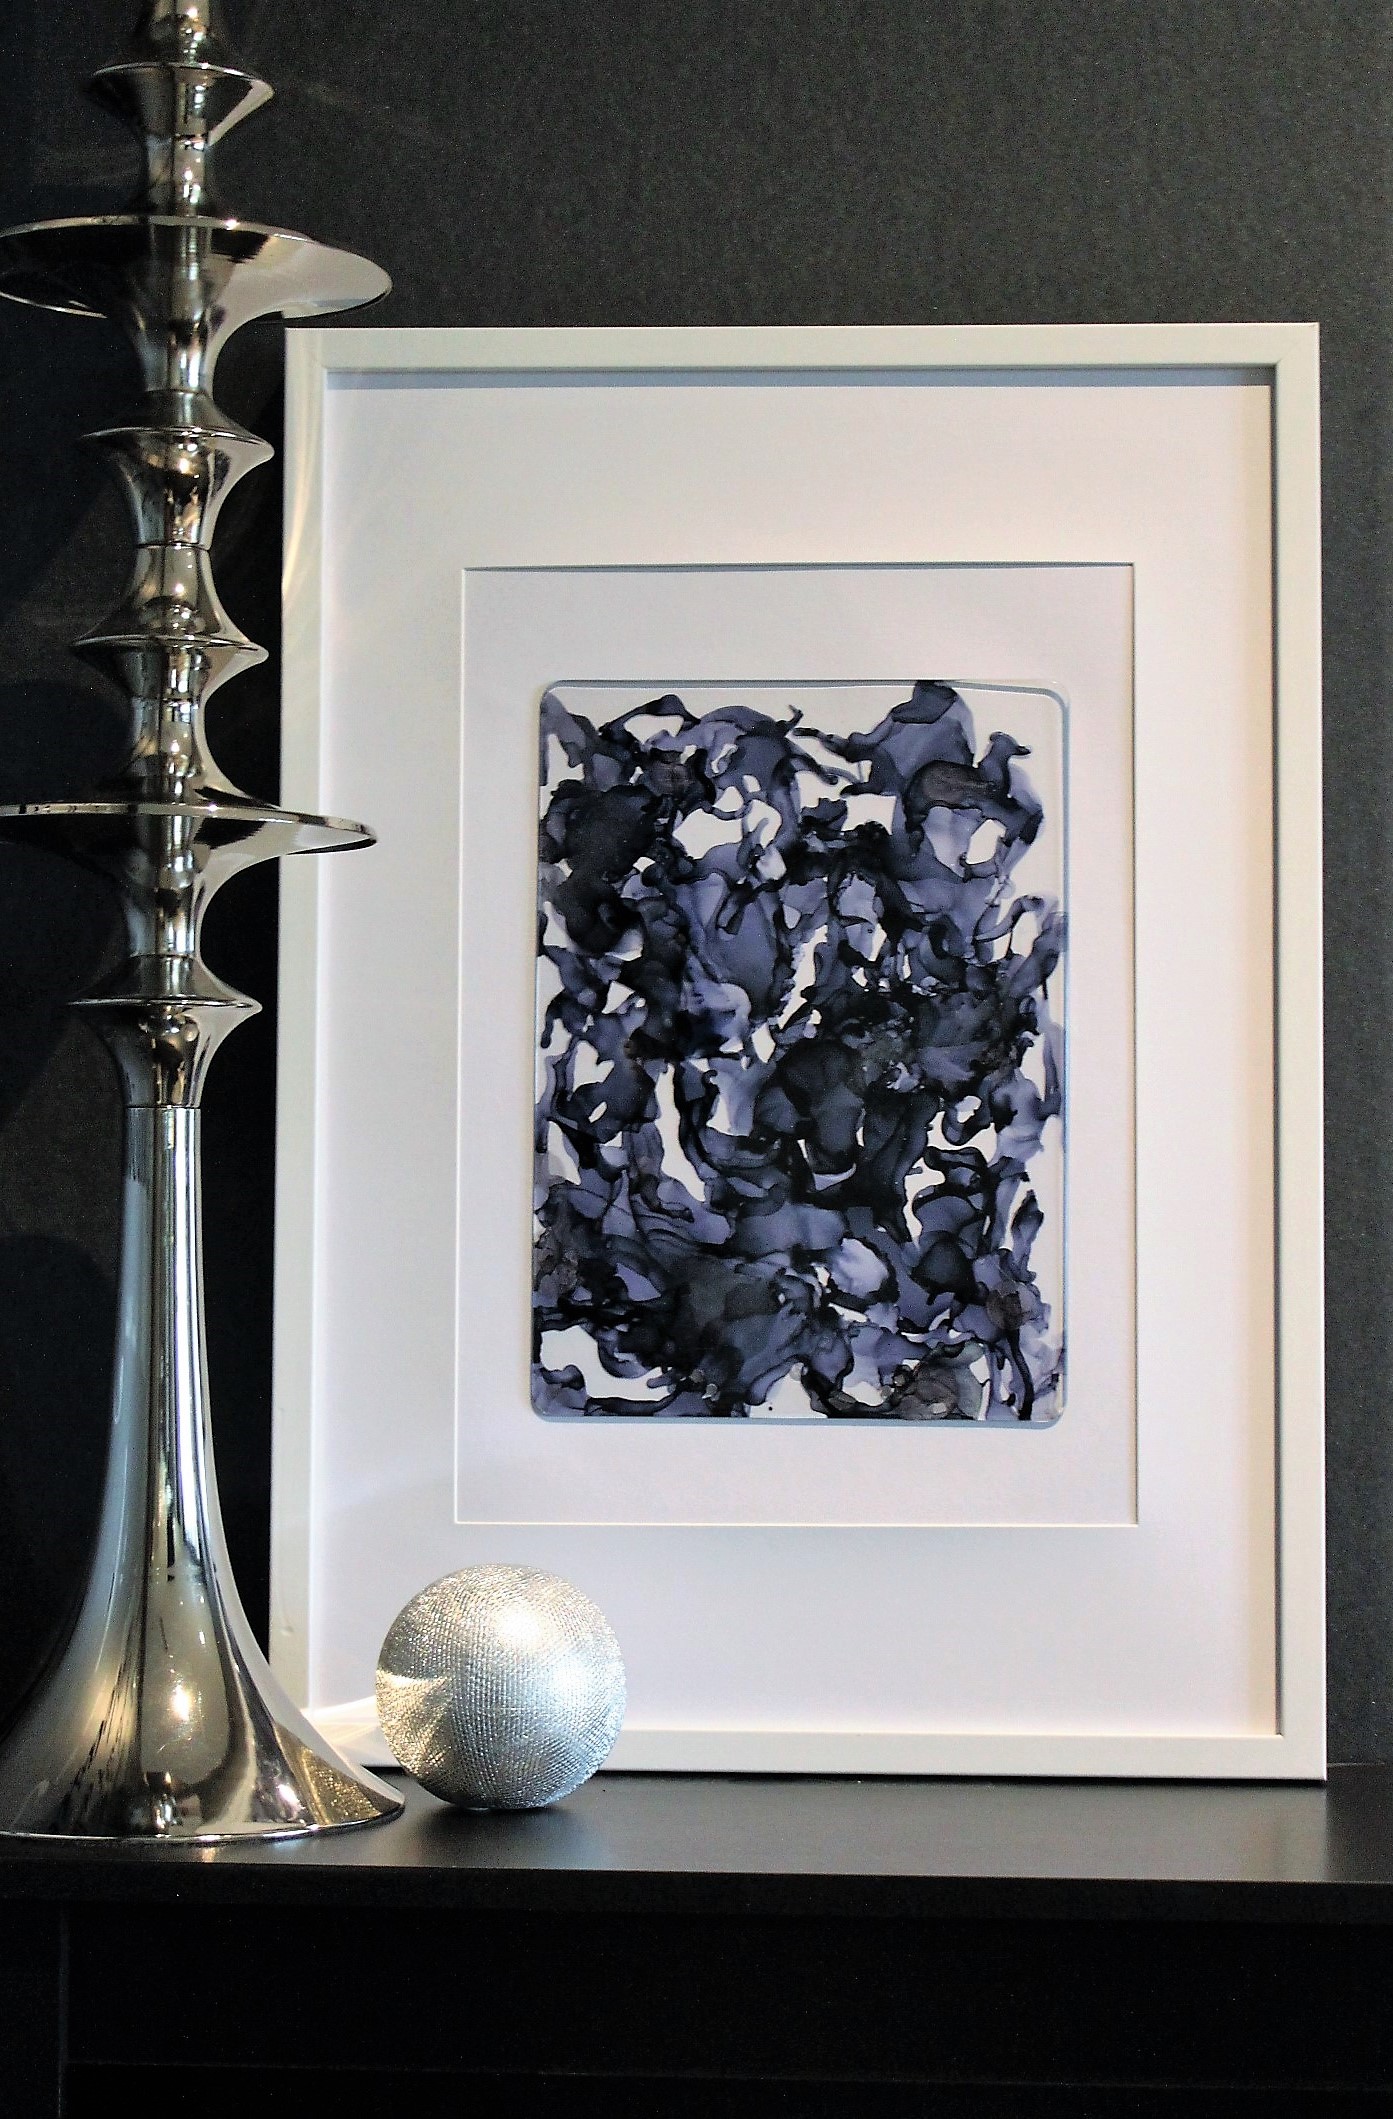
Once I was sure the glue was dry, I popped it into the frame (without the Perspex sheet) and voila – an eye catching piece of art that looks like it came straight from a Gallery!
I can guarantee you that I don’t have any real artistic talent – I’m still struggling with stick figures – but this is not only easy, it’s so much fun! And what a great way to fill some of those blank spaces on your walls!
Don’t forget to tag me in your social media pics – I love seeing your projects and so do our followers!
Until next time,
Happy Styling!
xoxo
Categories: Homewares