We think you might just fall in love a little bit with this project! It’s super easy and the results are
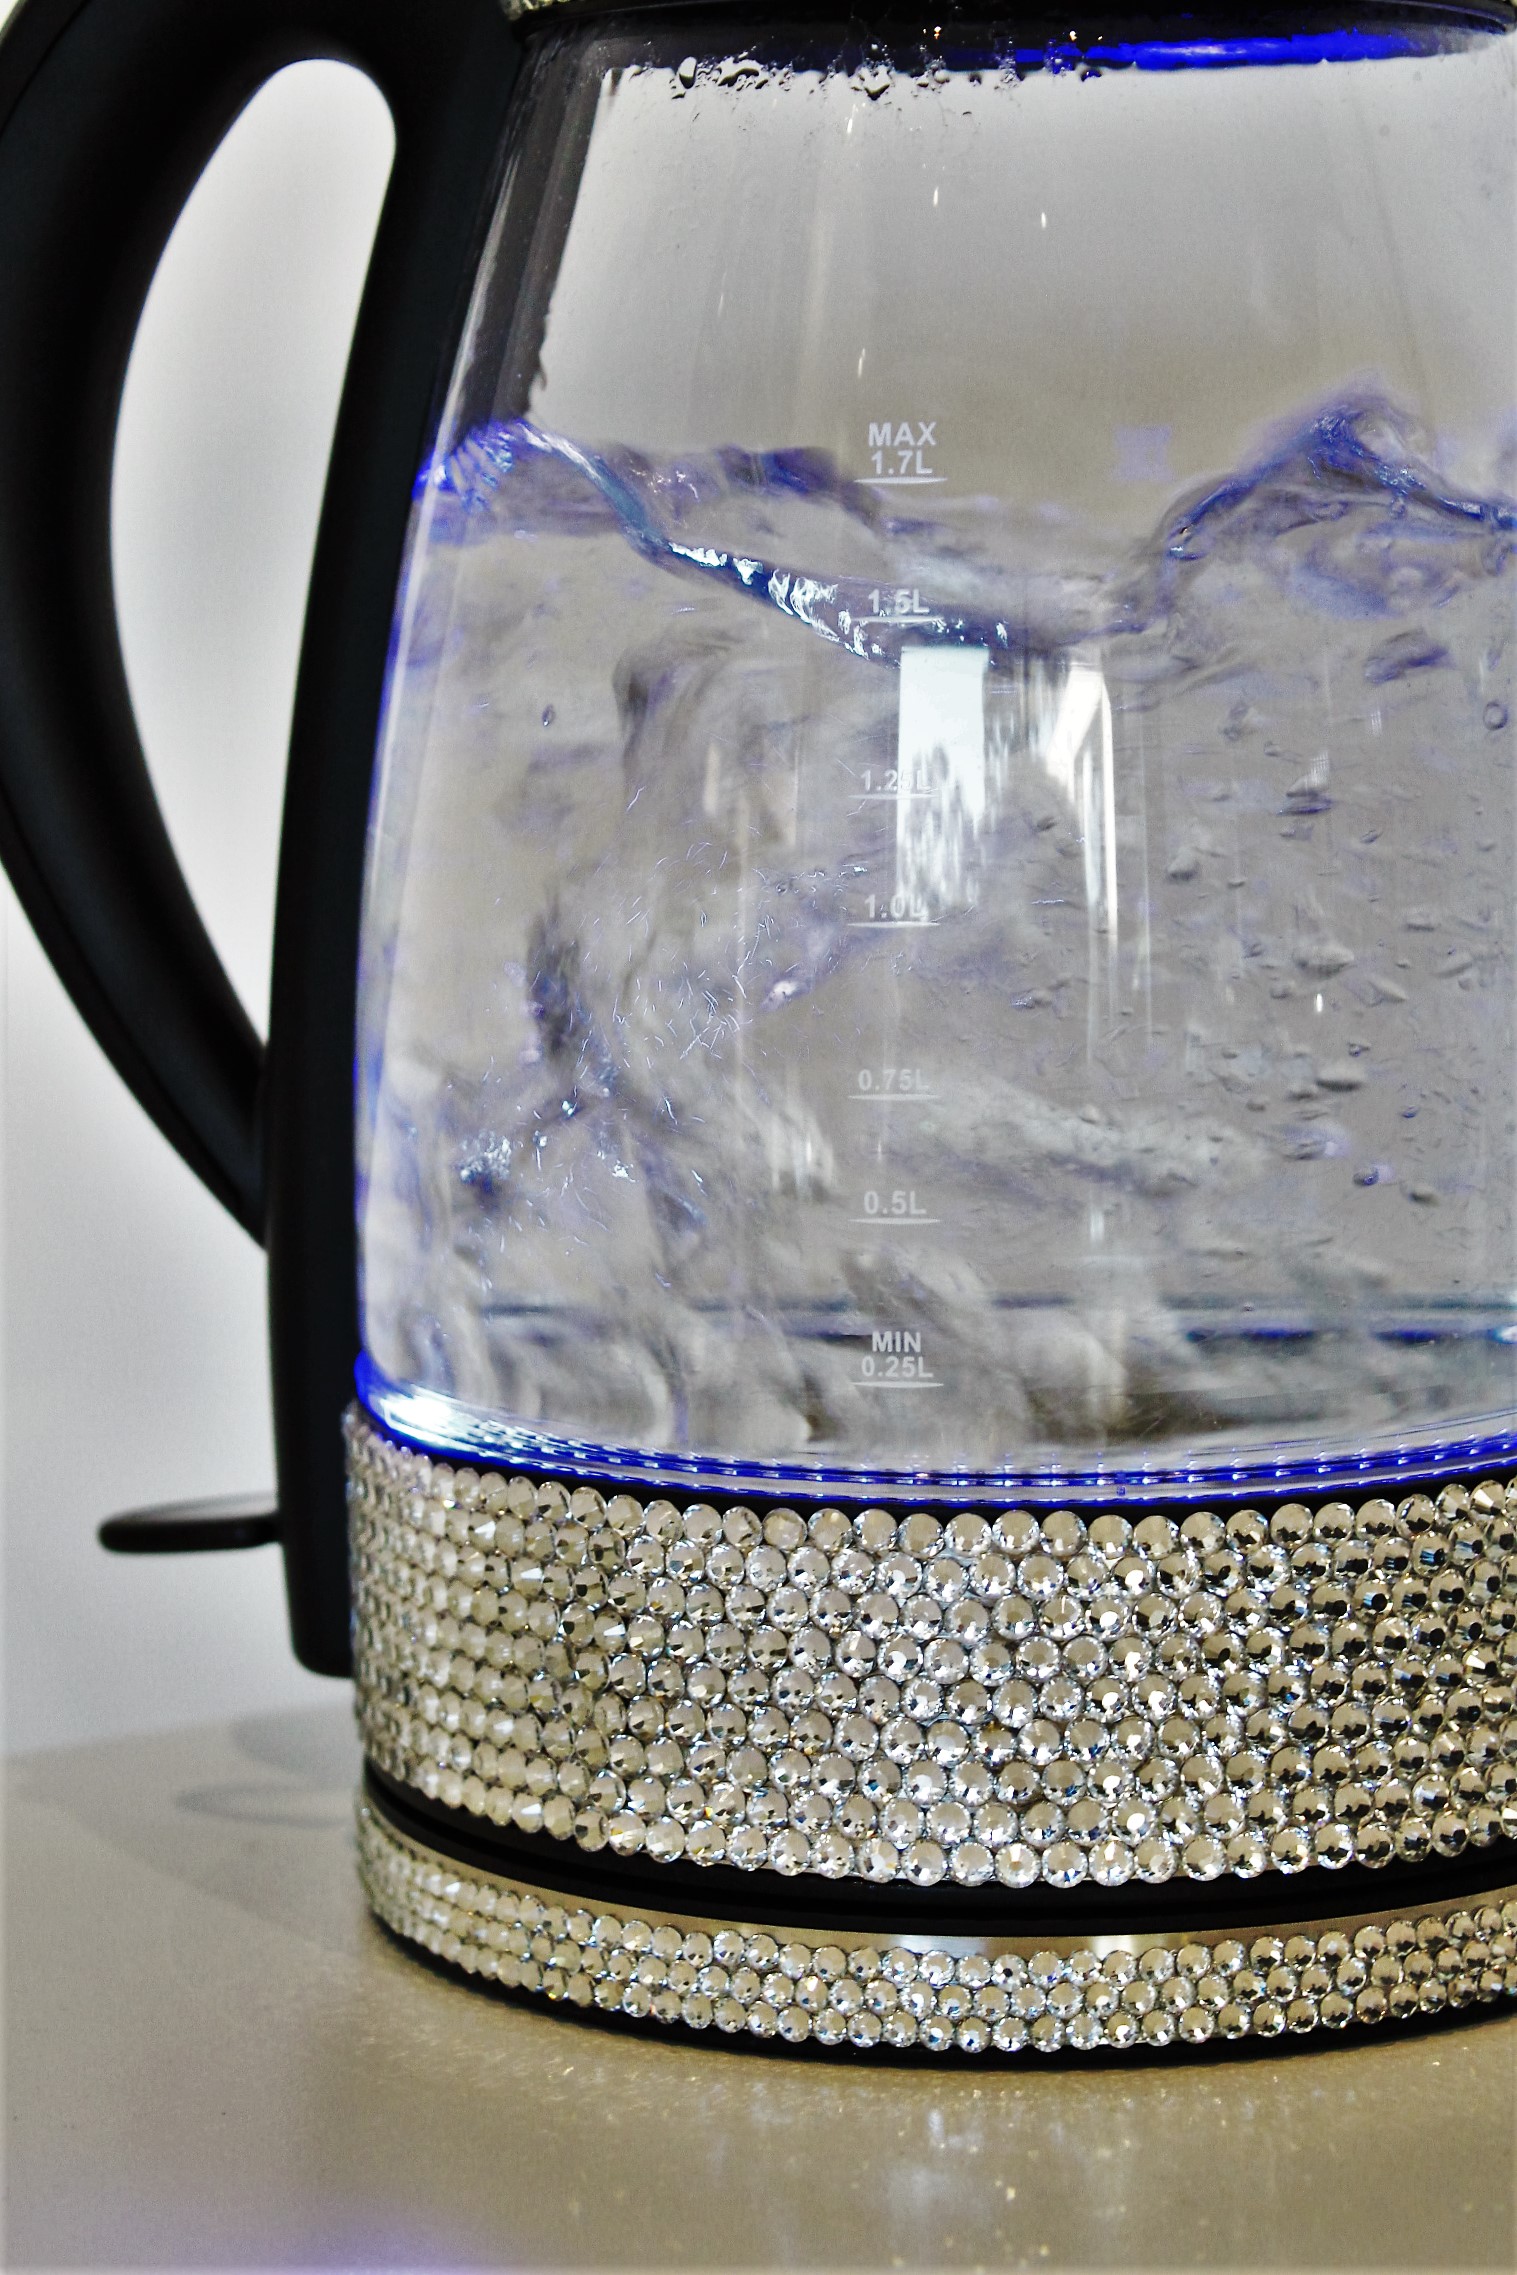
just amazing! The minute we saw the 1.7 litre glass electric kettle with the black and stainless features
we knew we had to have it! This contemporary style kettle is gorgeous straight off the shelf.
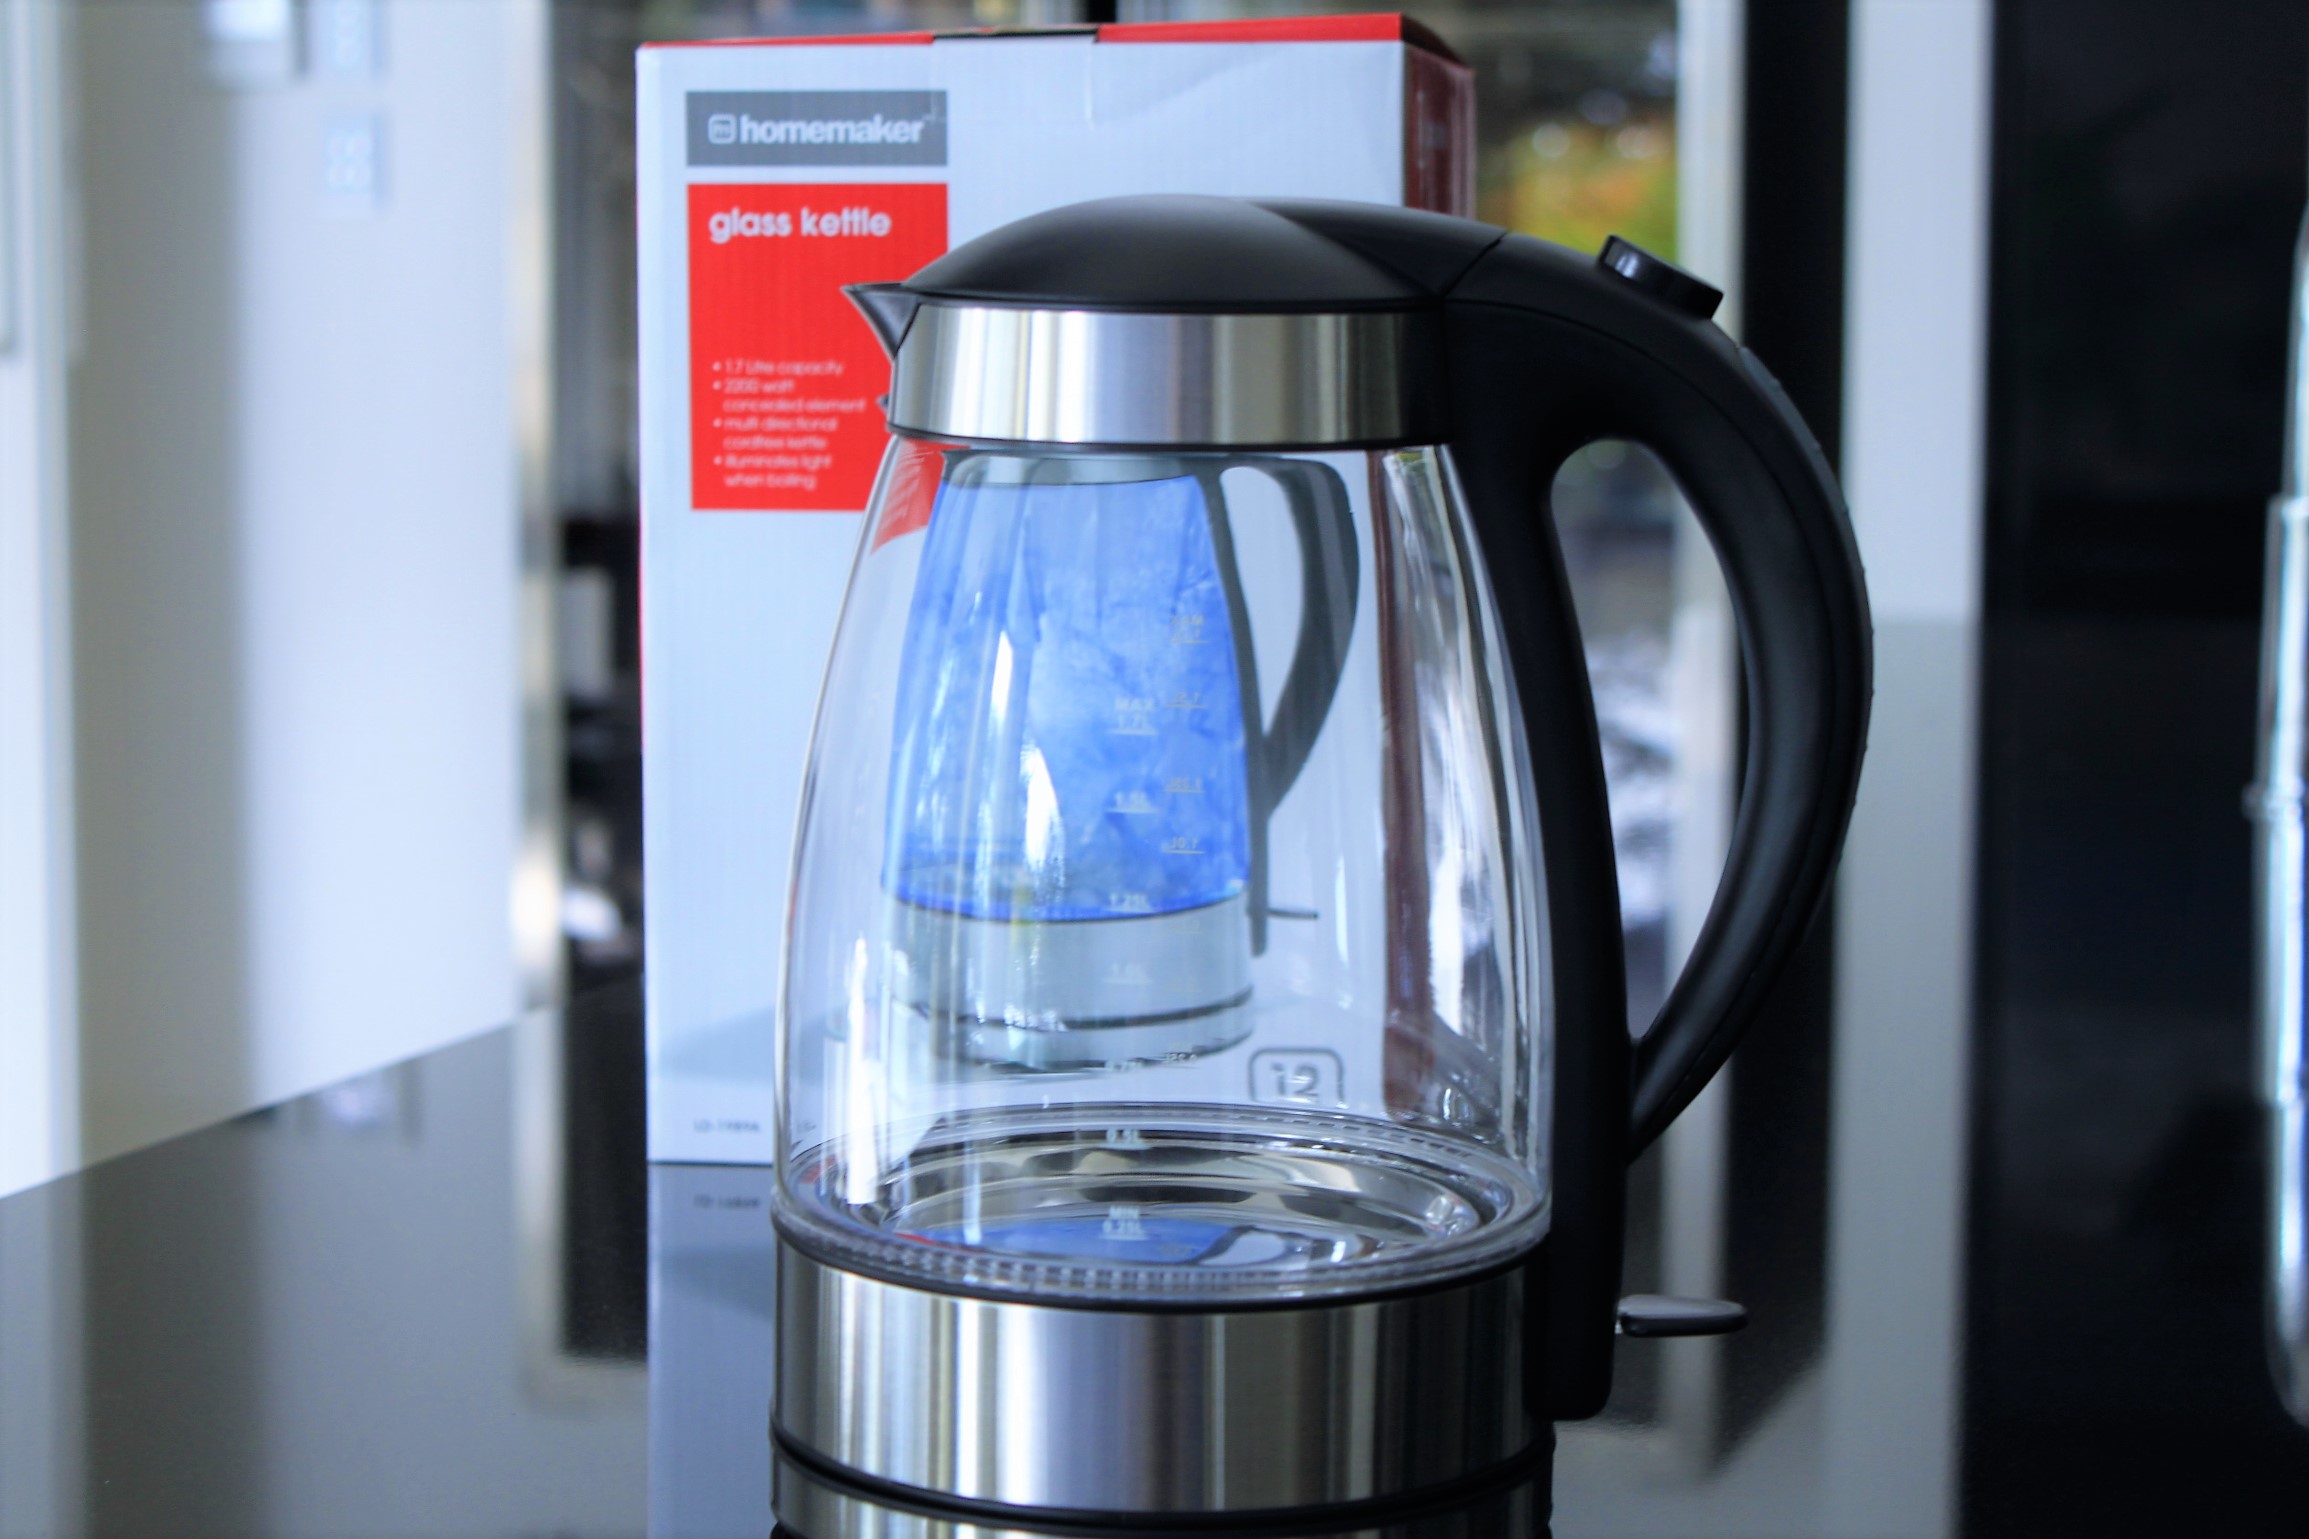
But a few hours in our hands and it gets transformed into a show stopping appliance!
The kettle retails at Kmart for $39.00. (We have an obligation here to say that the one year
warranty that comes with this kettle may be void if you give it a makeover.)
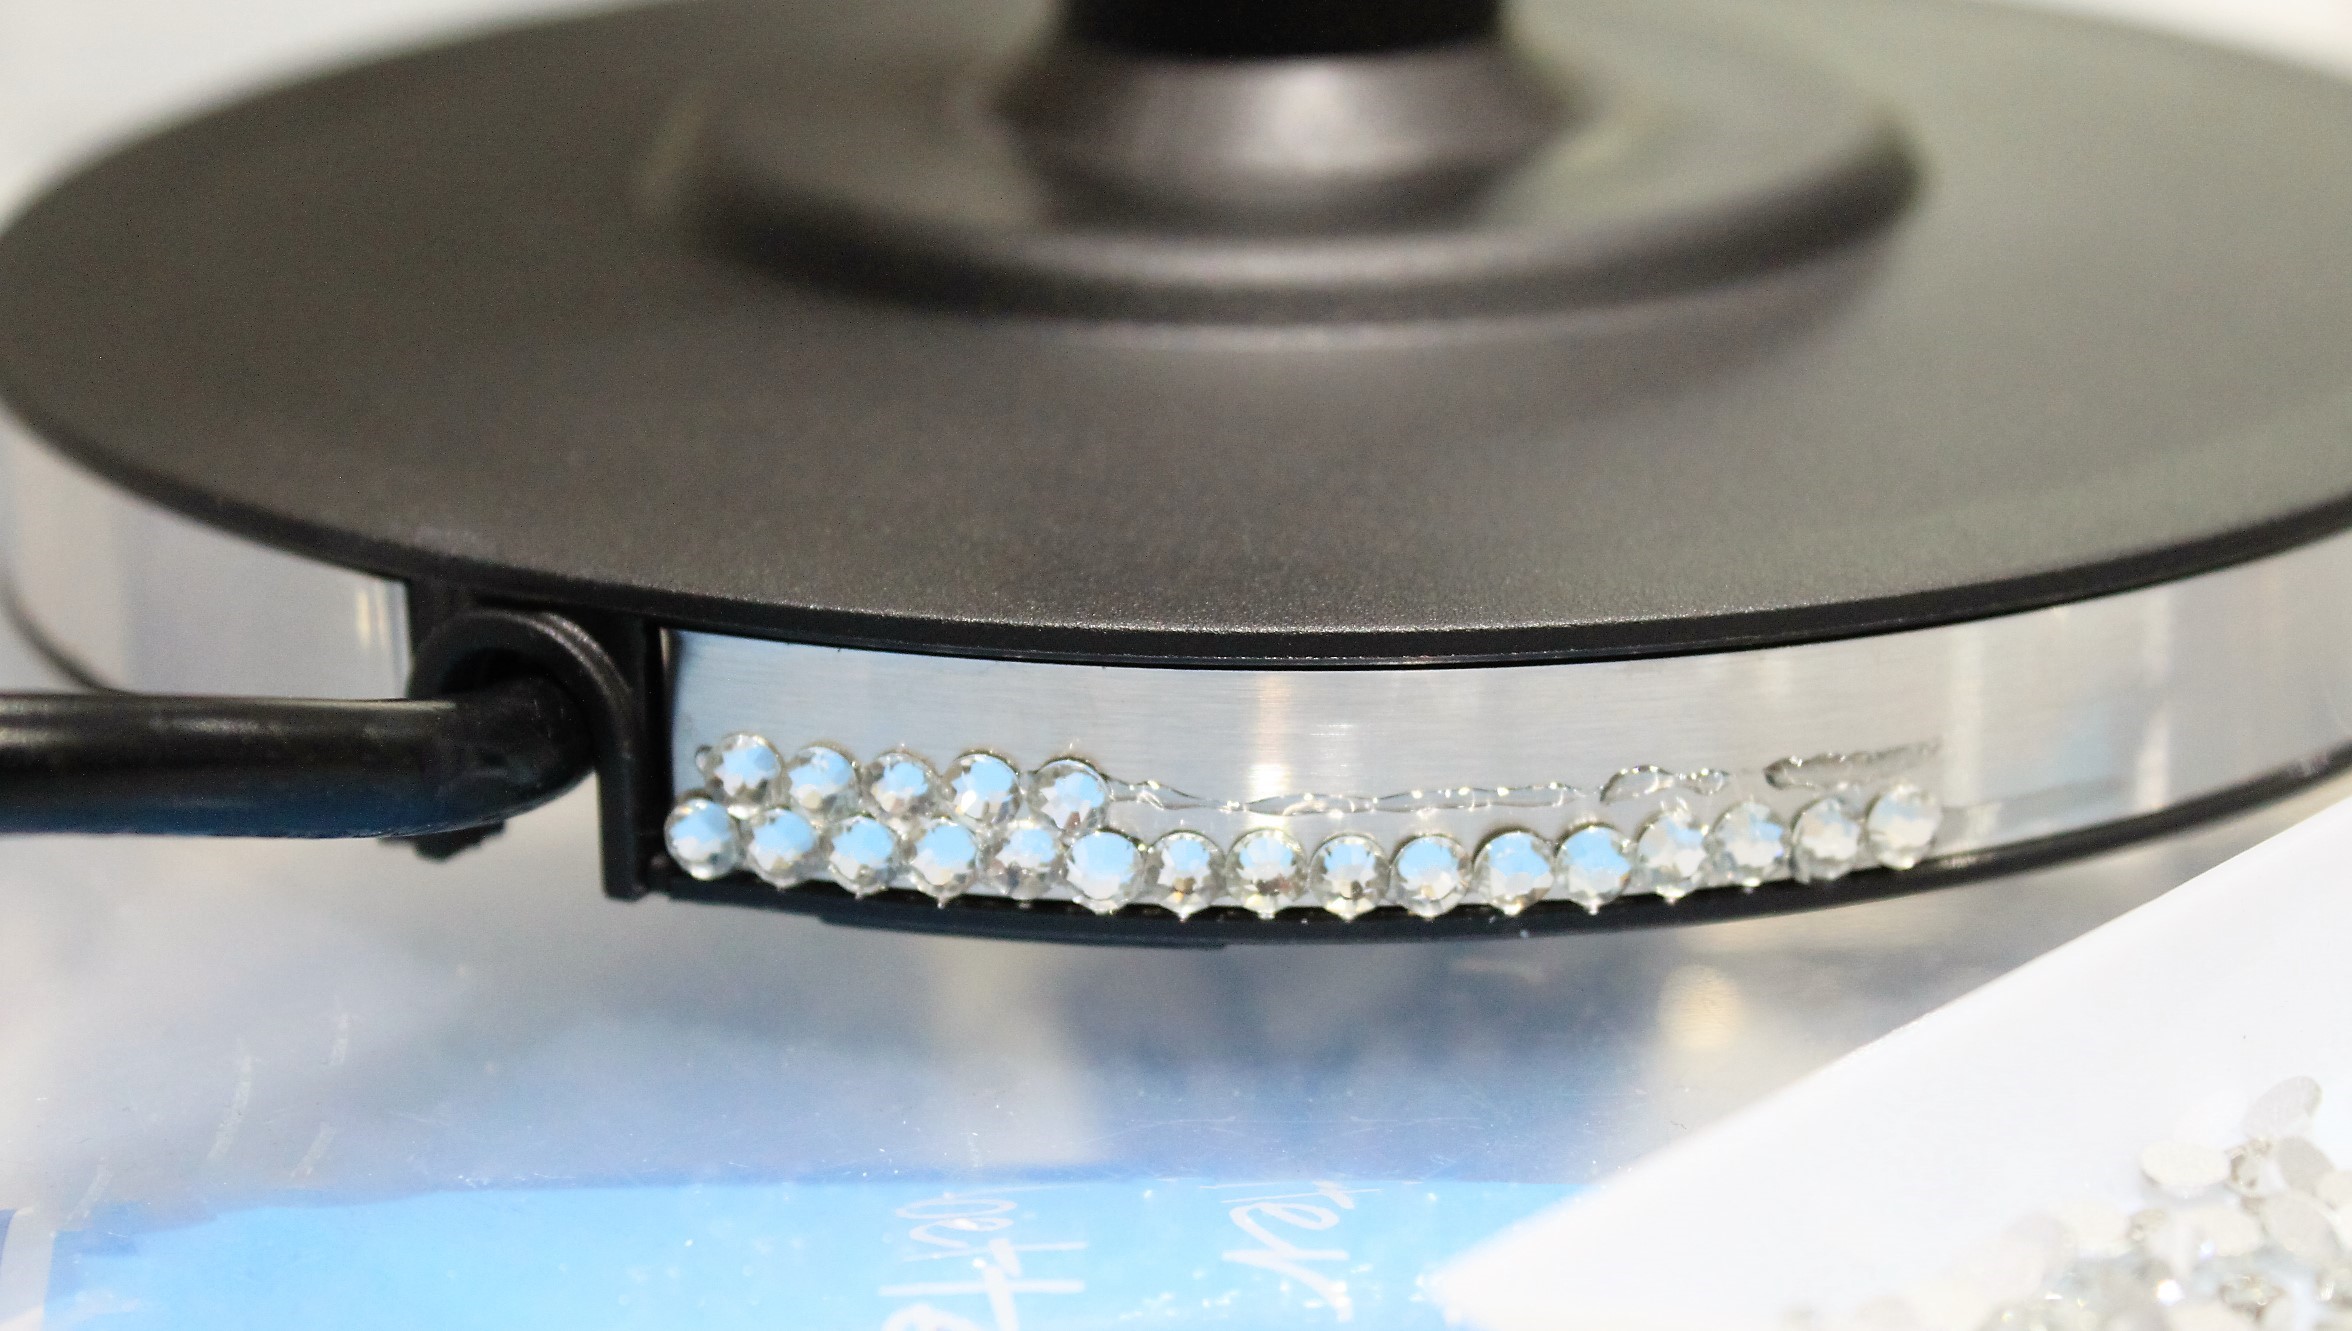
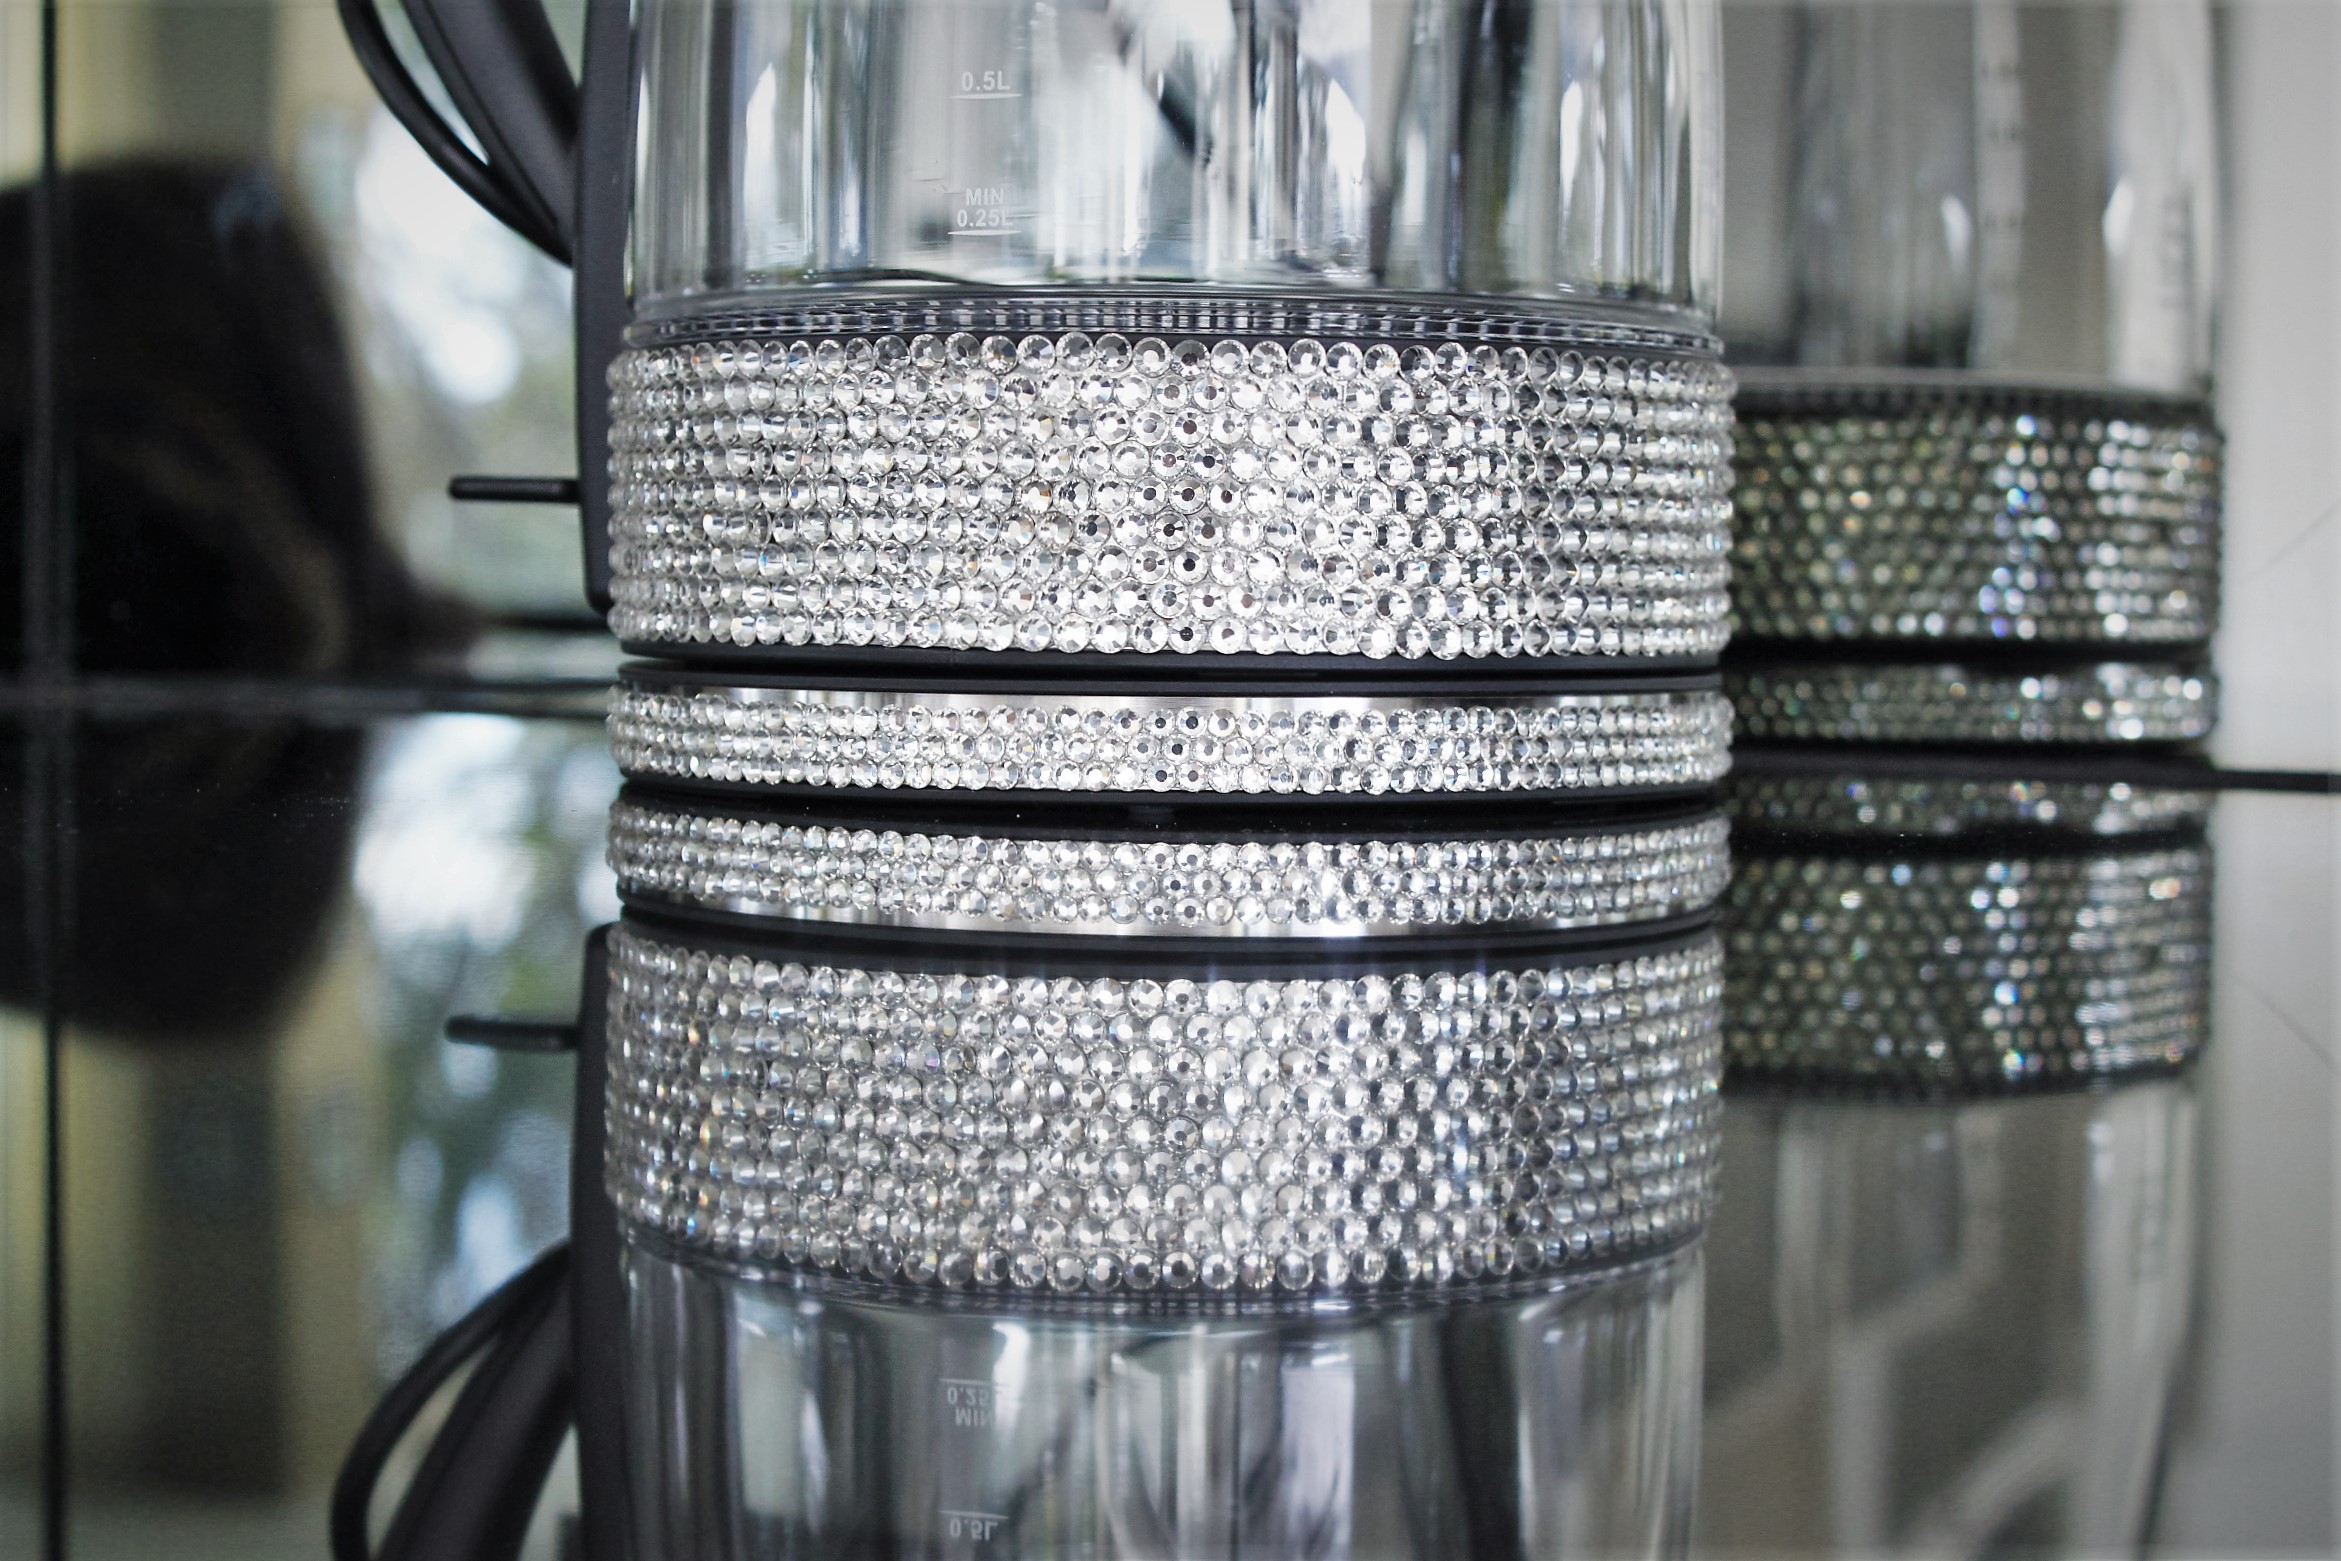
We started working on the base first. We applied our stones in the offset pattern in rows – starting
where the electric cable opening is. Don’t apply too much glue, if you’re using E6000 you don’t need
much and of course, over gluing causes very slippery stones!
Three rows of our KS 1.6 stones fit perfectly here, leaving just a small margin so there’s no interference
when you sit the kettle on top.
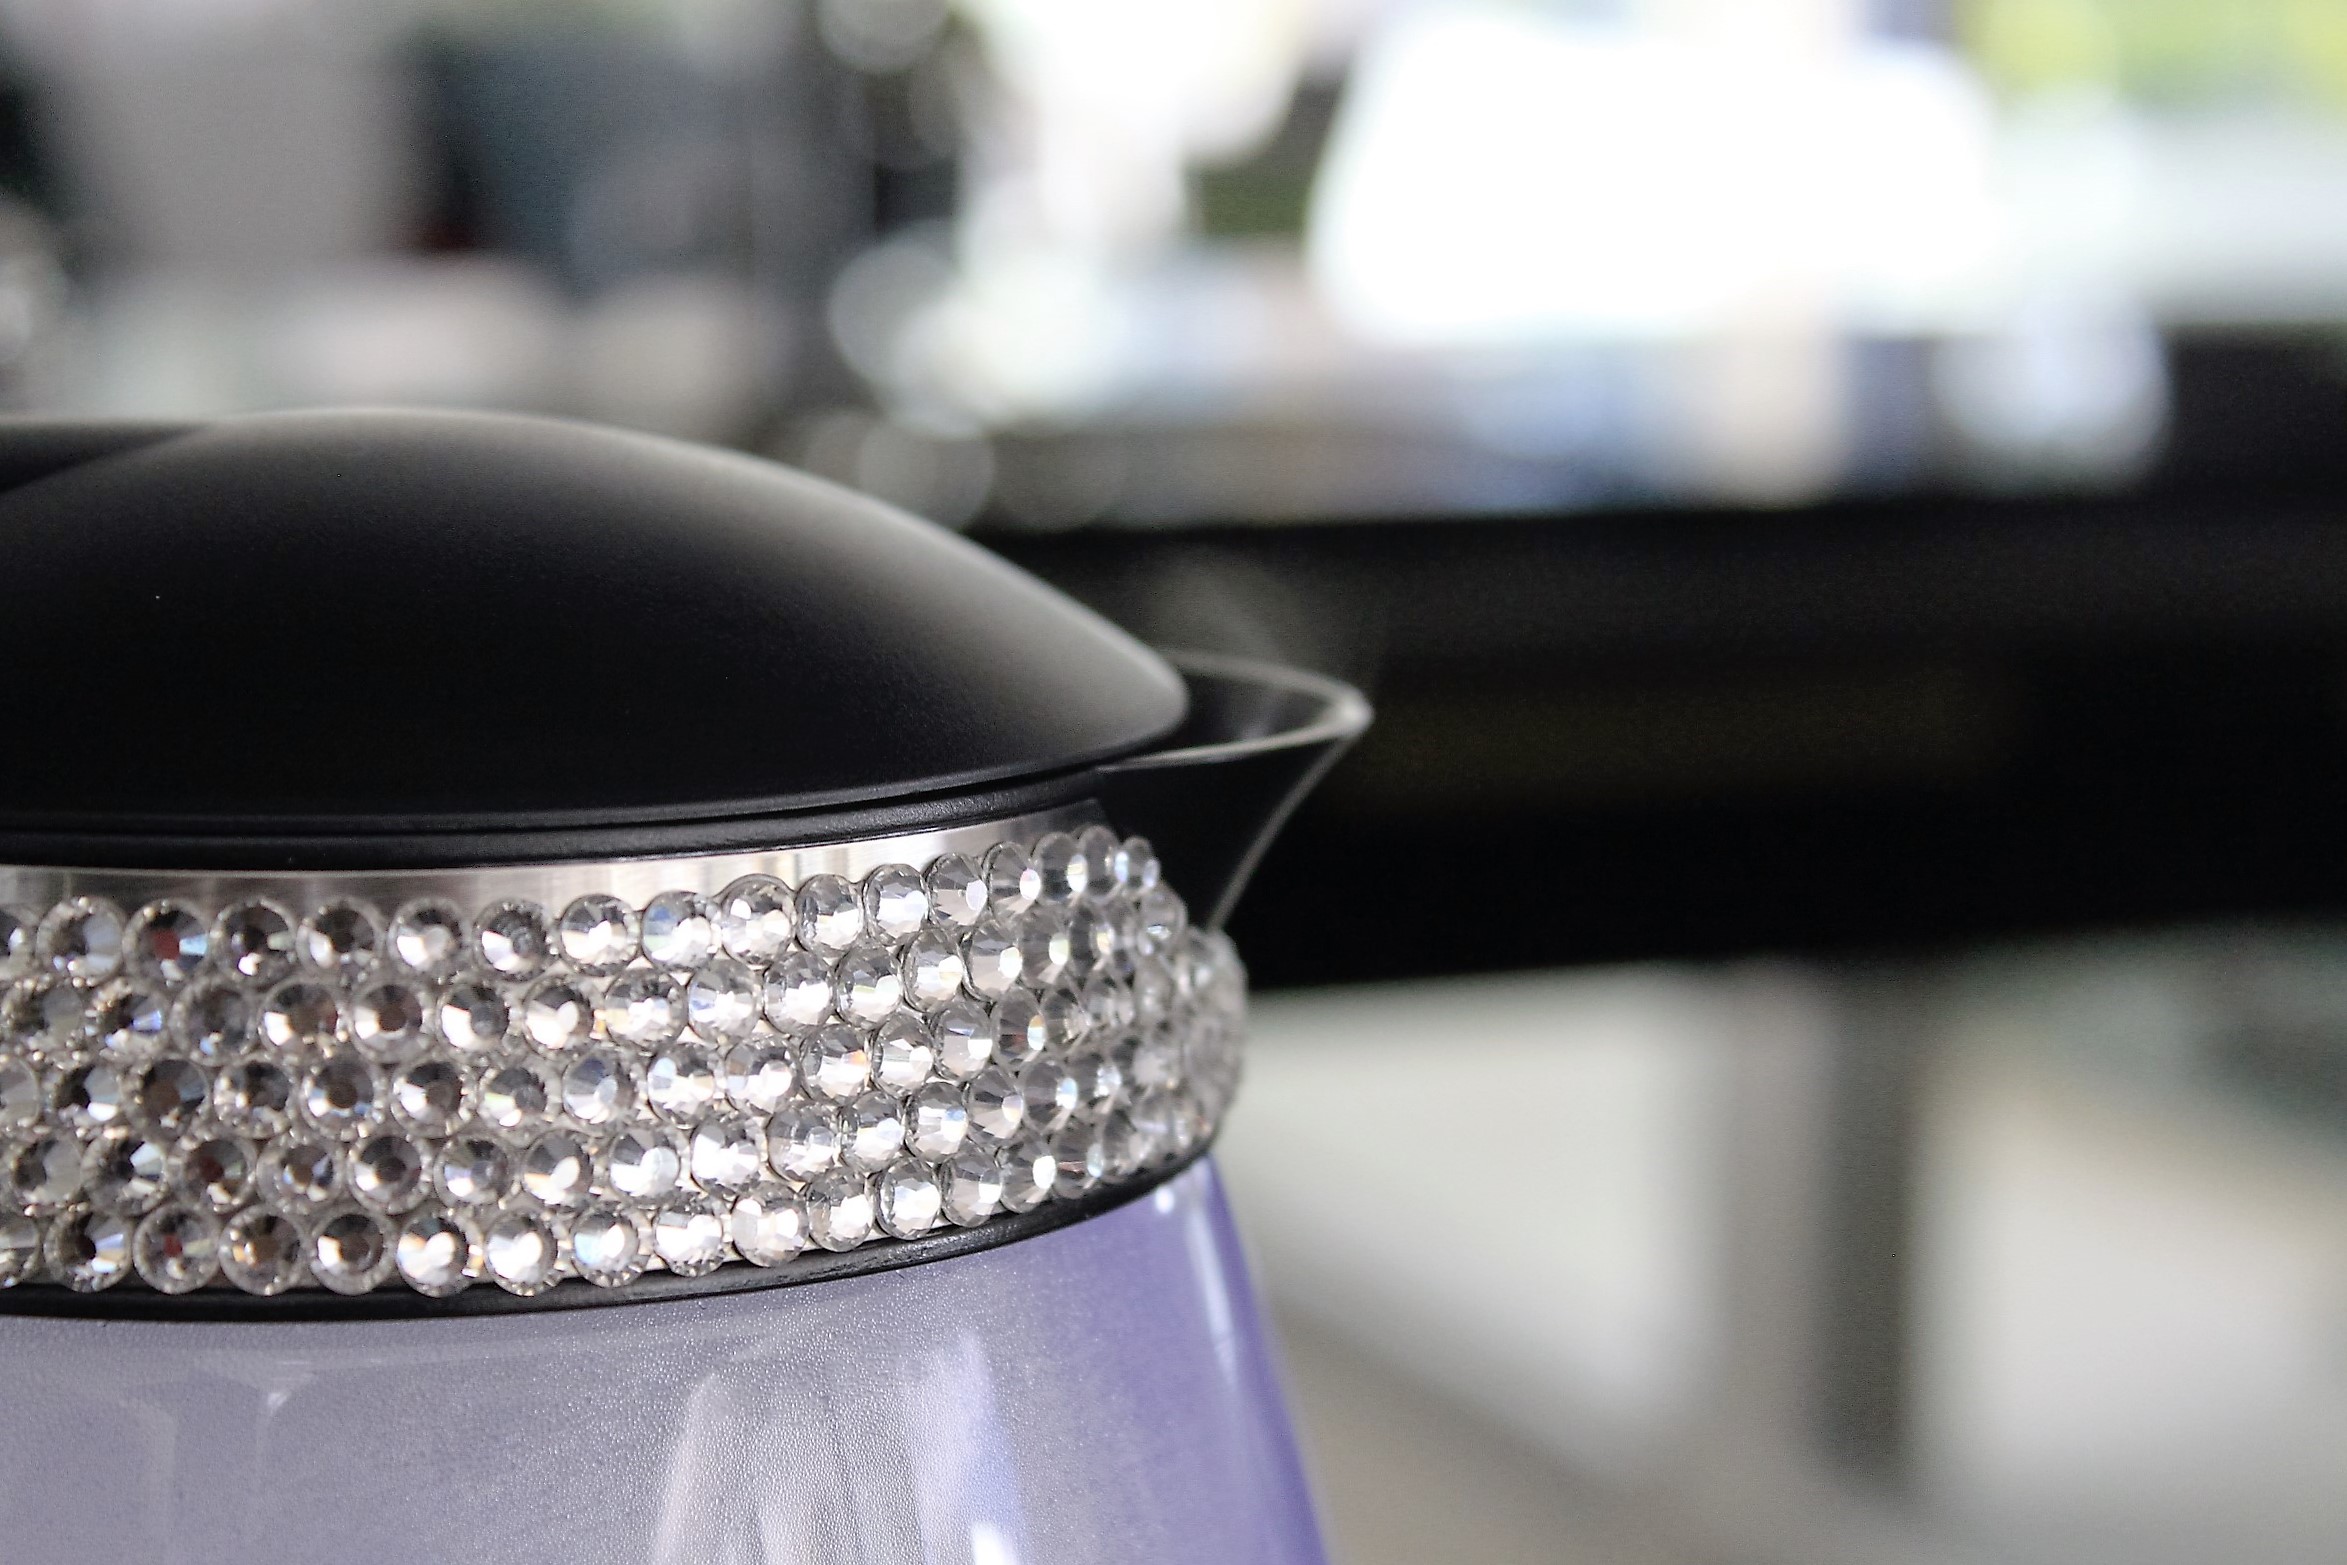
Next we tackled the upper part of the kettle – the silver band running around the top near the spout.
This is done in the same manner as the base. Lay the stones in an offset pattern working from the bottom up.
Starting at the handle, work your way around. The first two rows are full, but the next three you obviously stop
when you get to the edge of the spout and then take it up again on the other side.
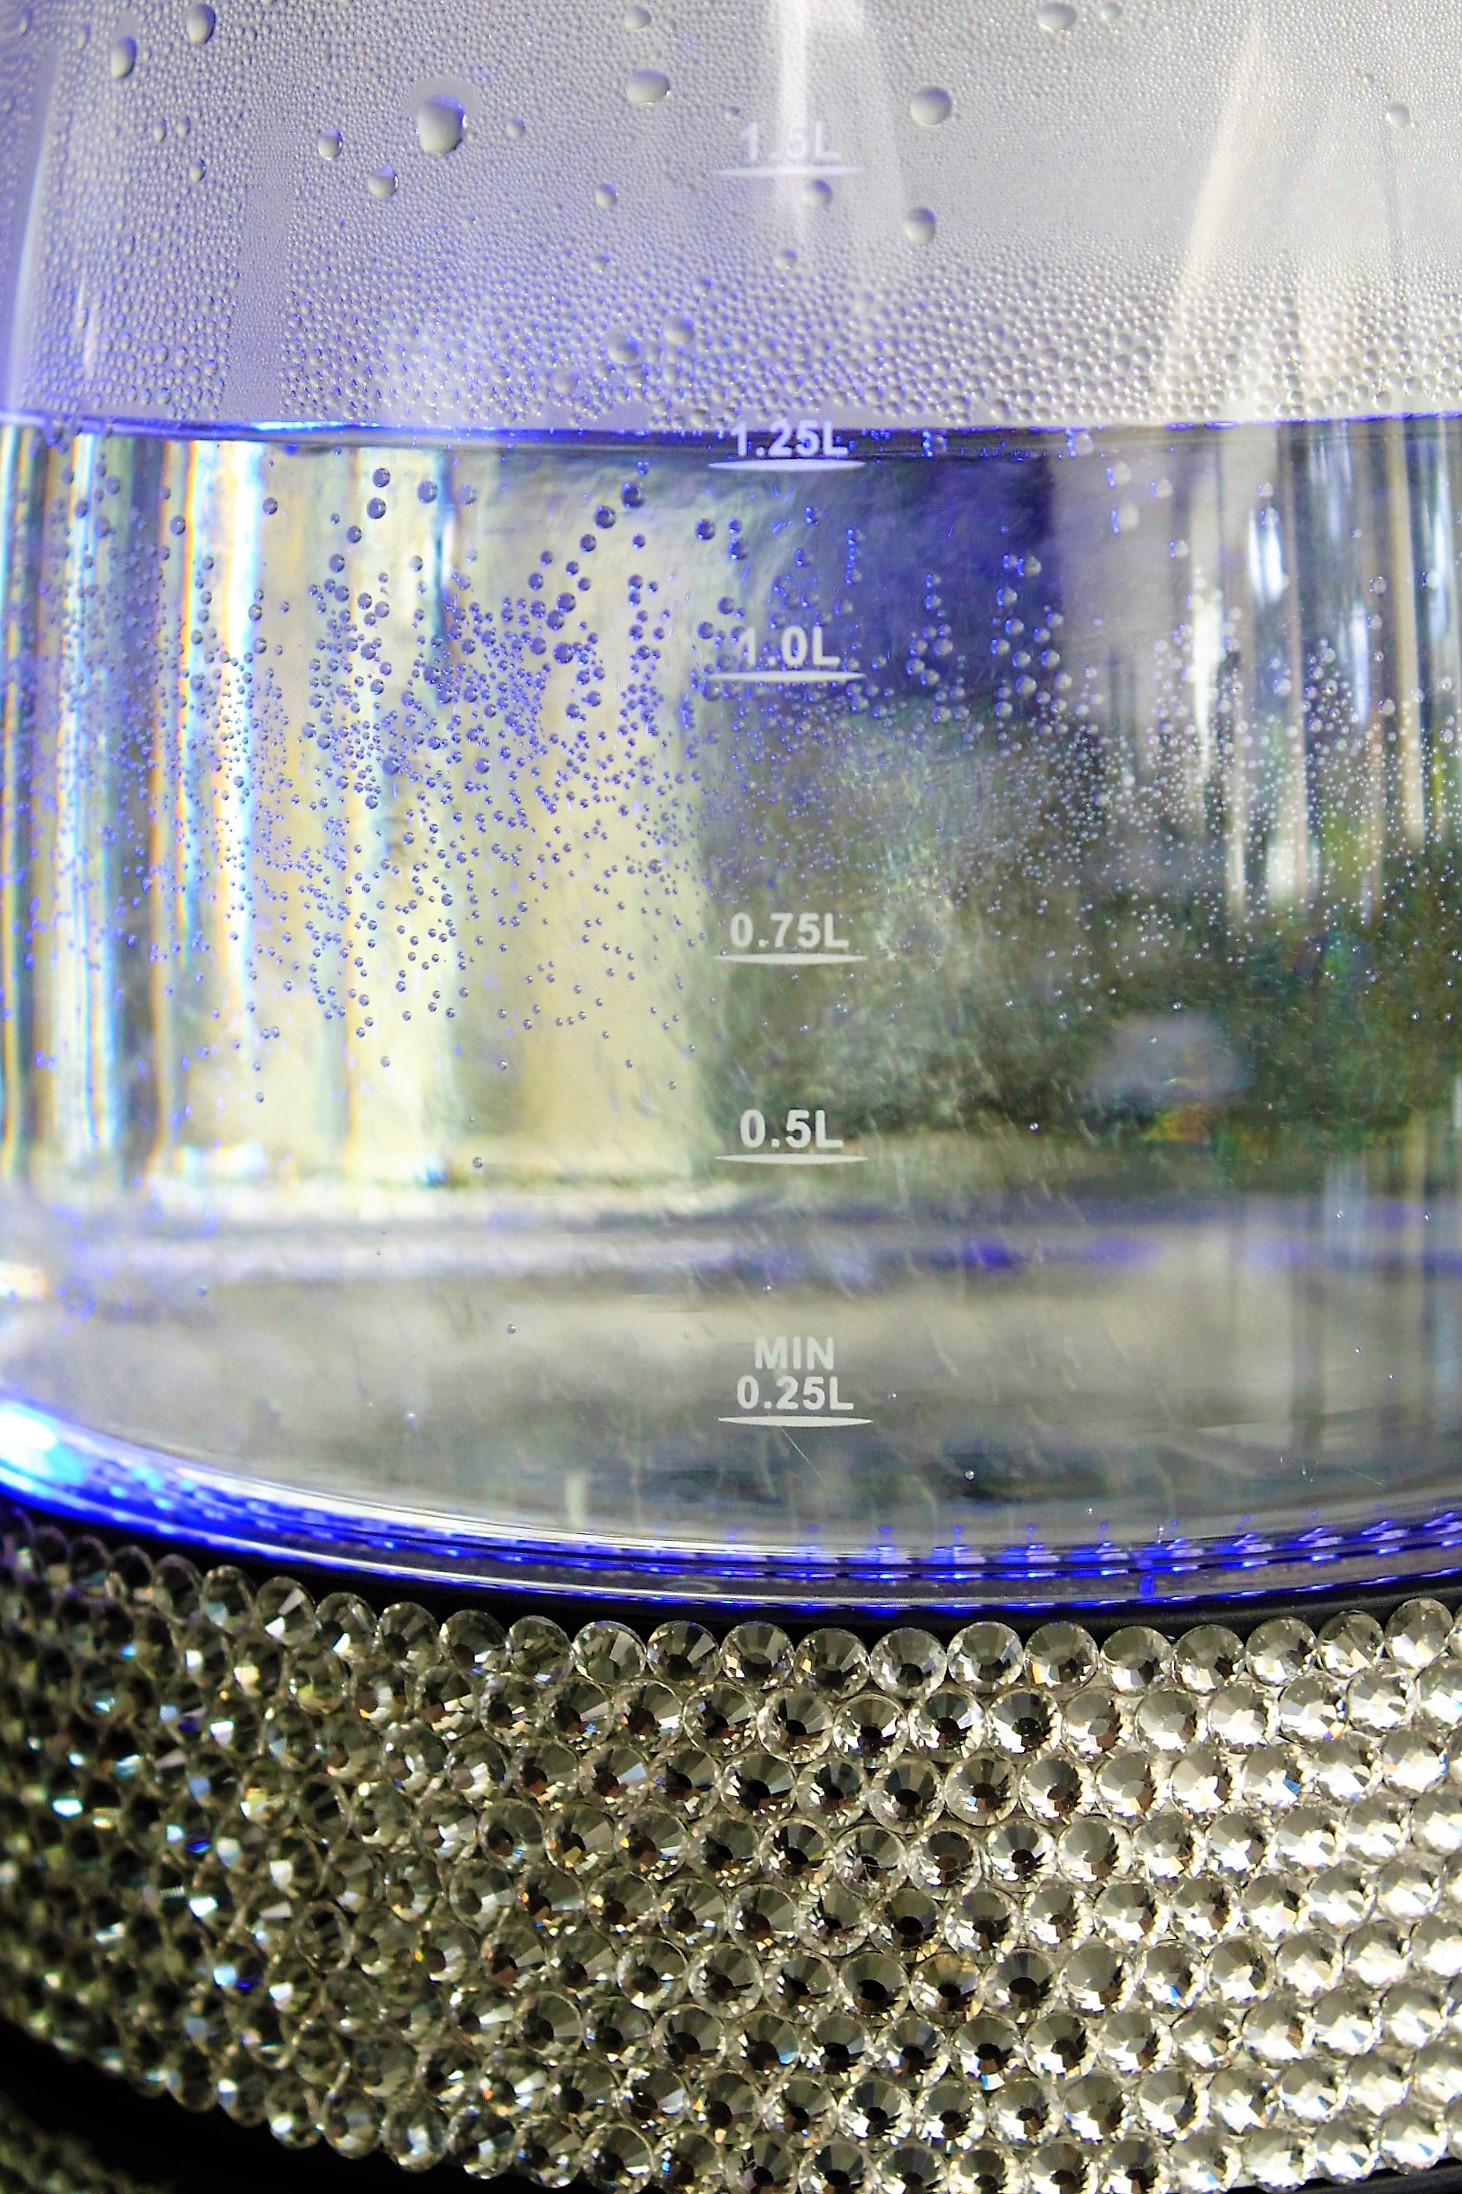
And finally we did the base of the kettle itself. Again, very easy! With most projects like this, it’s always best to
start at the bottom and work around a complete row and repeat working your way up.
Make sure you let this project dry properly before you use it. 24 hours should be enough if you’re using E6000, but the
recommended full setting time is 3 days. (We couldn’t stand the wait, so used ours after 24 hours and we had no problems!!)
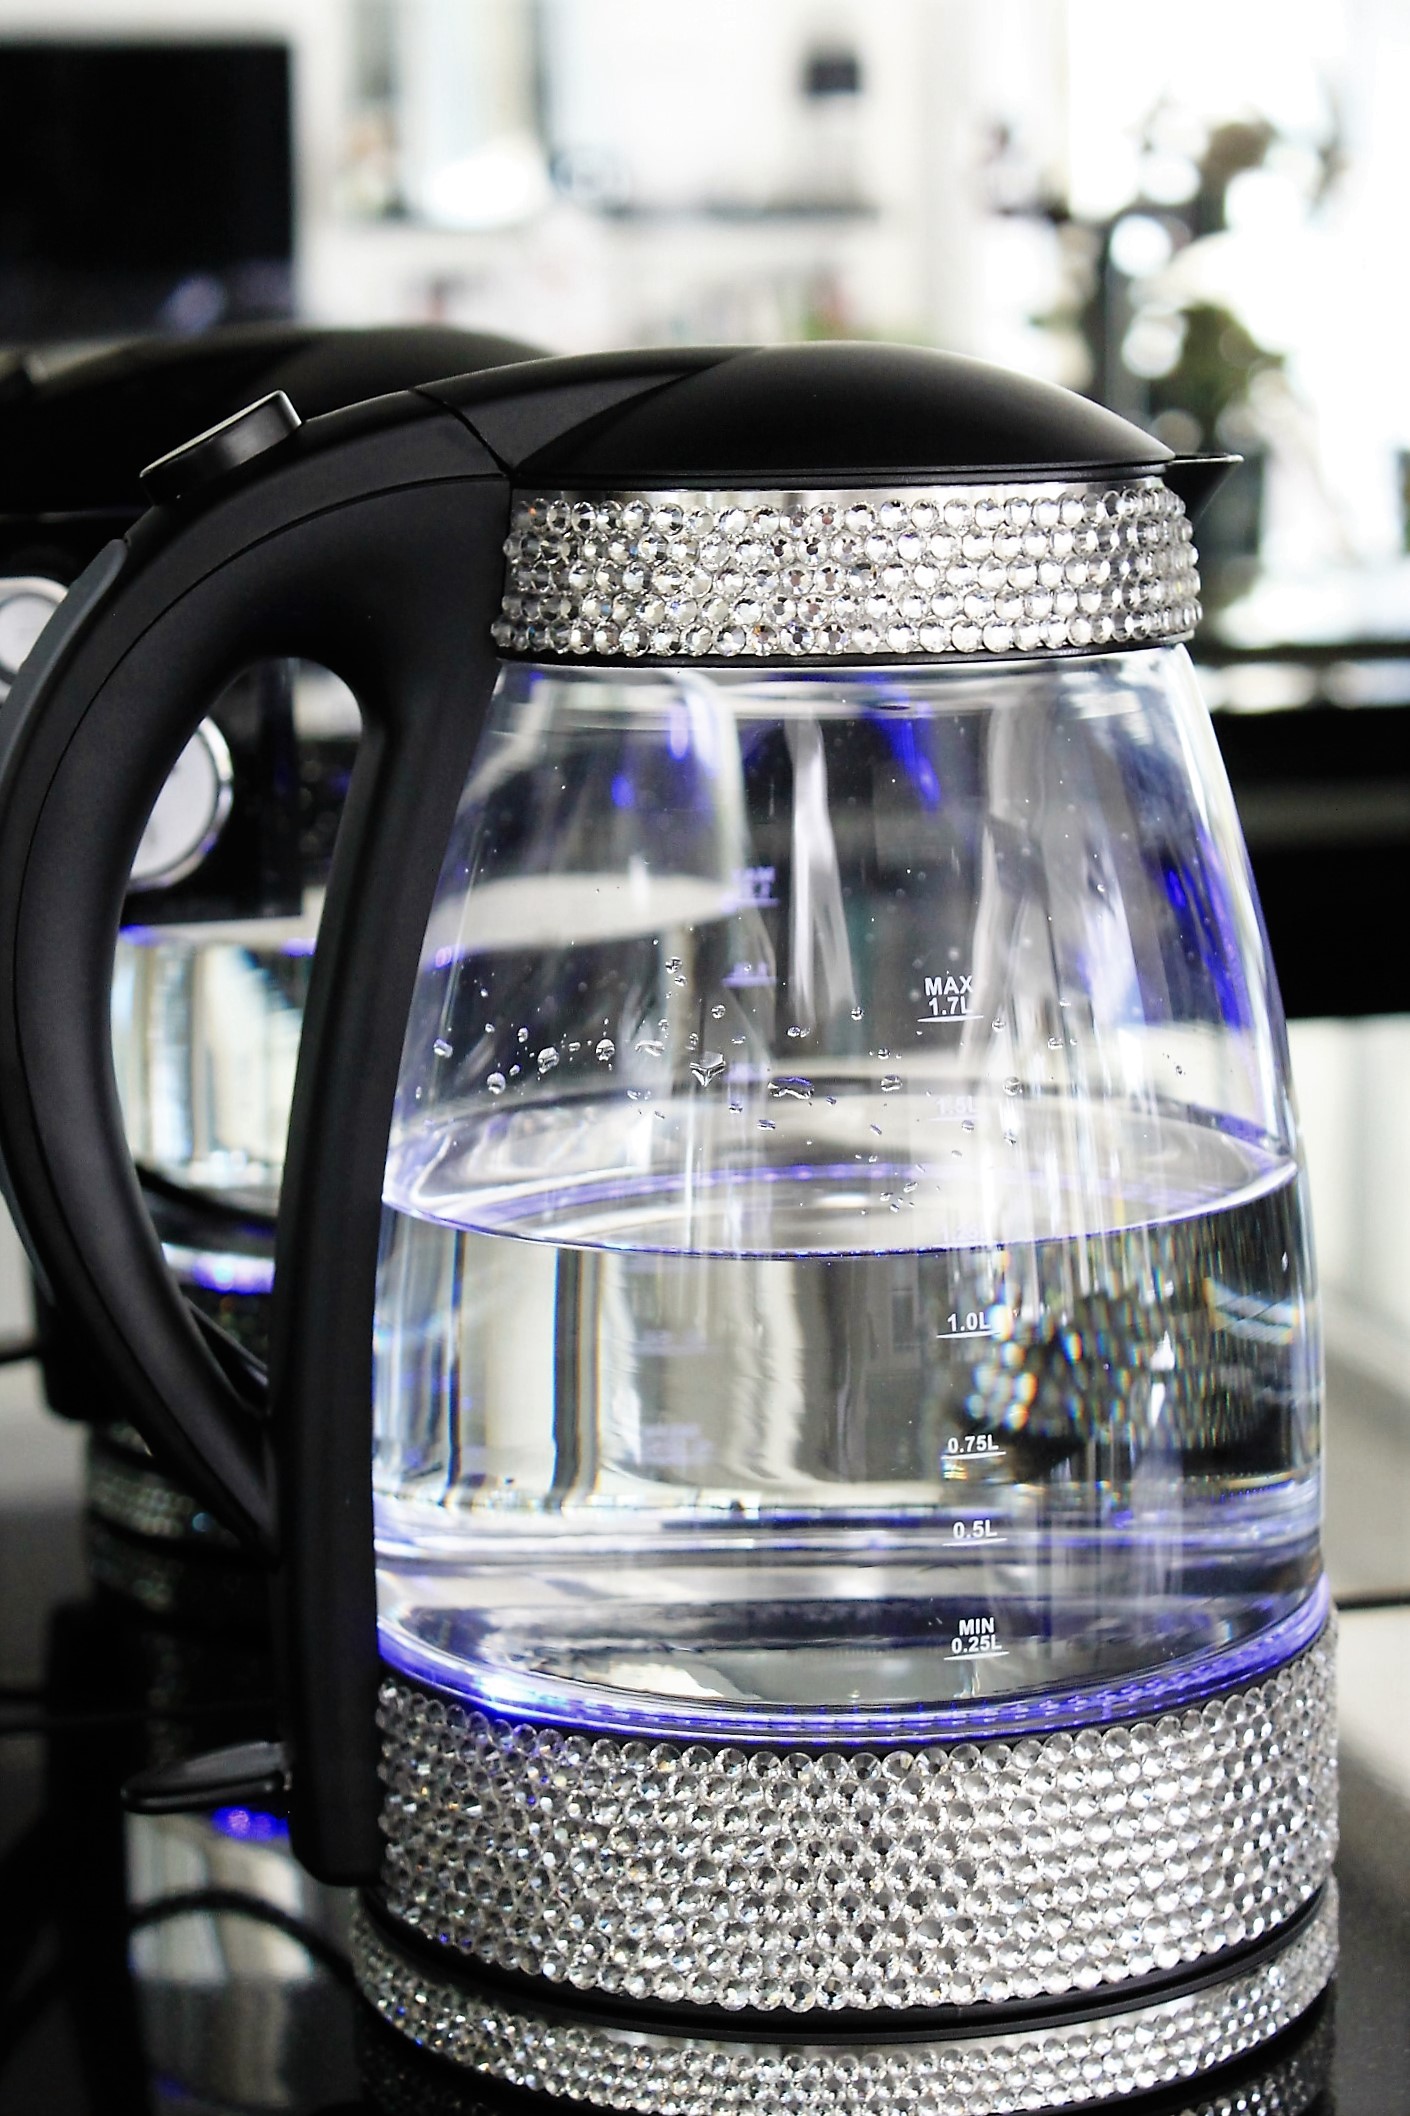
The first time you fill your new kettle and turn it on, you will be mesmerized! It is SO BEAUTIFUL!
This is quite an easy project and the laying of the stones is straight forward – so it makes for a fun
project as well!
The results are bang on! (Please don’t hold us responsible if your caffeine levels go up because you can’t stop yourself using it!)
The breakdown of the stones we used are –
For the base – approximately 375 x KS1.6
And for the kettle, both bottom and top we used approximately 1195 our our KS 2.0’s. (The bottom bit took about 855 and the
top took about 340.)

Don’t forget we have an extensive ‘how to‘ here that shows you how to apply our stones. It’s got loads of information and we’re
always happy to answer any questions if you have them.
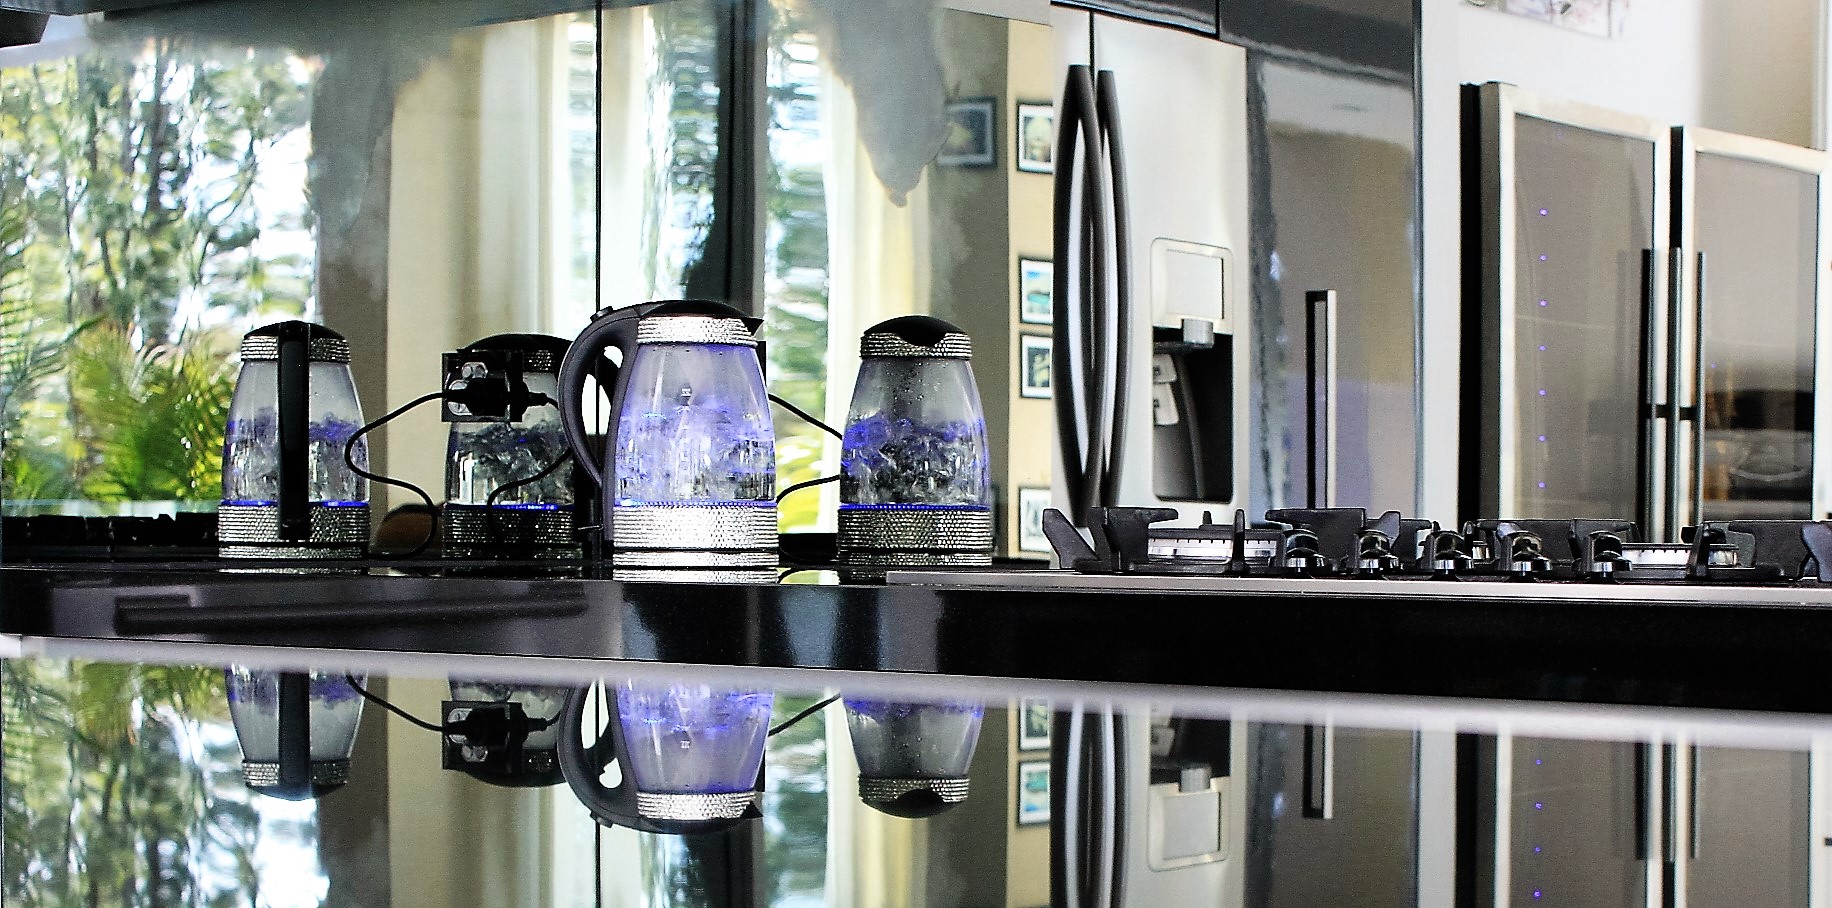
All your stones and accessories are available from our shop here and of course, Kmart is the place to source your kettle!
We love social media and seeing your creations so upload your photos and use the hashtags
#kmartstyling and #kmartkraze that way all the other @kmartstyling_official followers can see them too!
As always, have a blinging great day!!
Categories: Homewares
Leave a Reply
You must be logged in to post a comment.