Having a special commemorative wedding candle is a great idea for the new couple and they can make a special keepsake as well for family and friends. These candles are so simple to make and the design possibilities are endless – and whether you chose to add some sparkle is totally up to you!
To do this project you’re going to need:
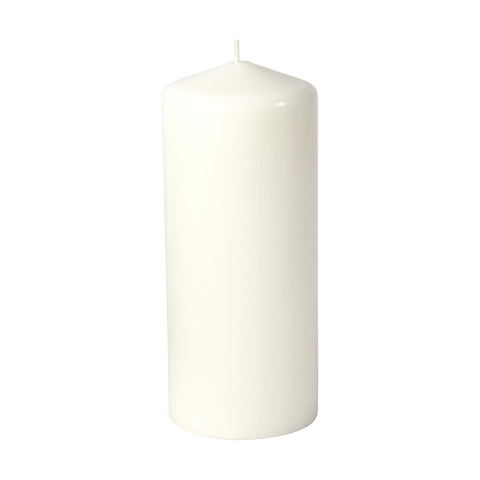
Kmart’s Non Fragrant Pillar Candle ($6).
A sheet of white tissue paper.
Some sticky tape (Sellotape).
A pair of scissors.
Wax paper.
A heating device – (or your hair dryer)
Some small bulldog clips or pegs
And of course, some of our smaller sized stones!
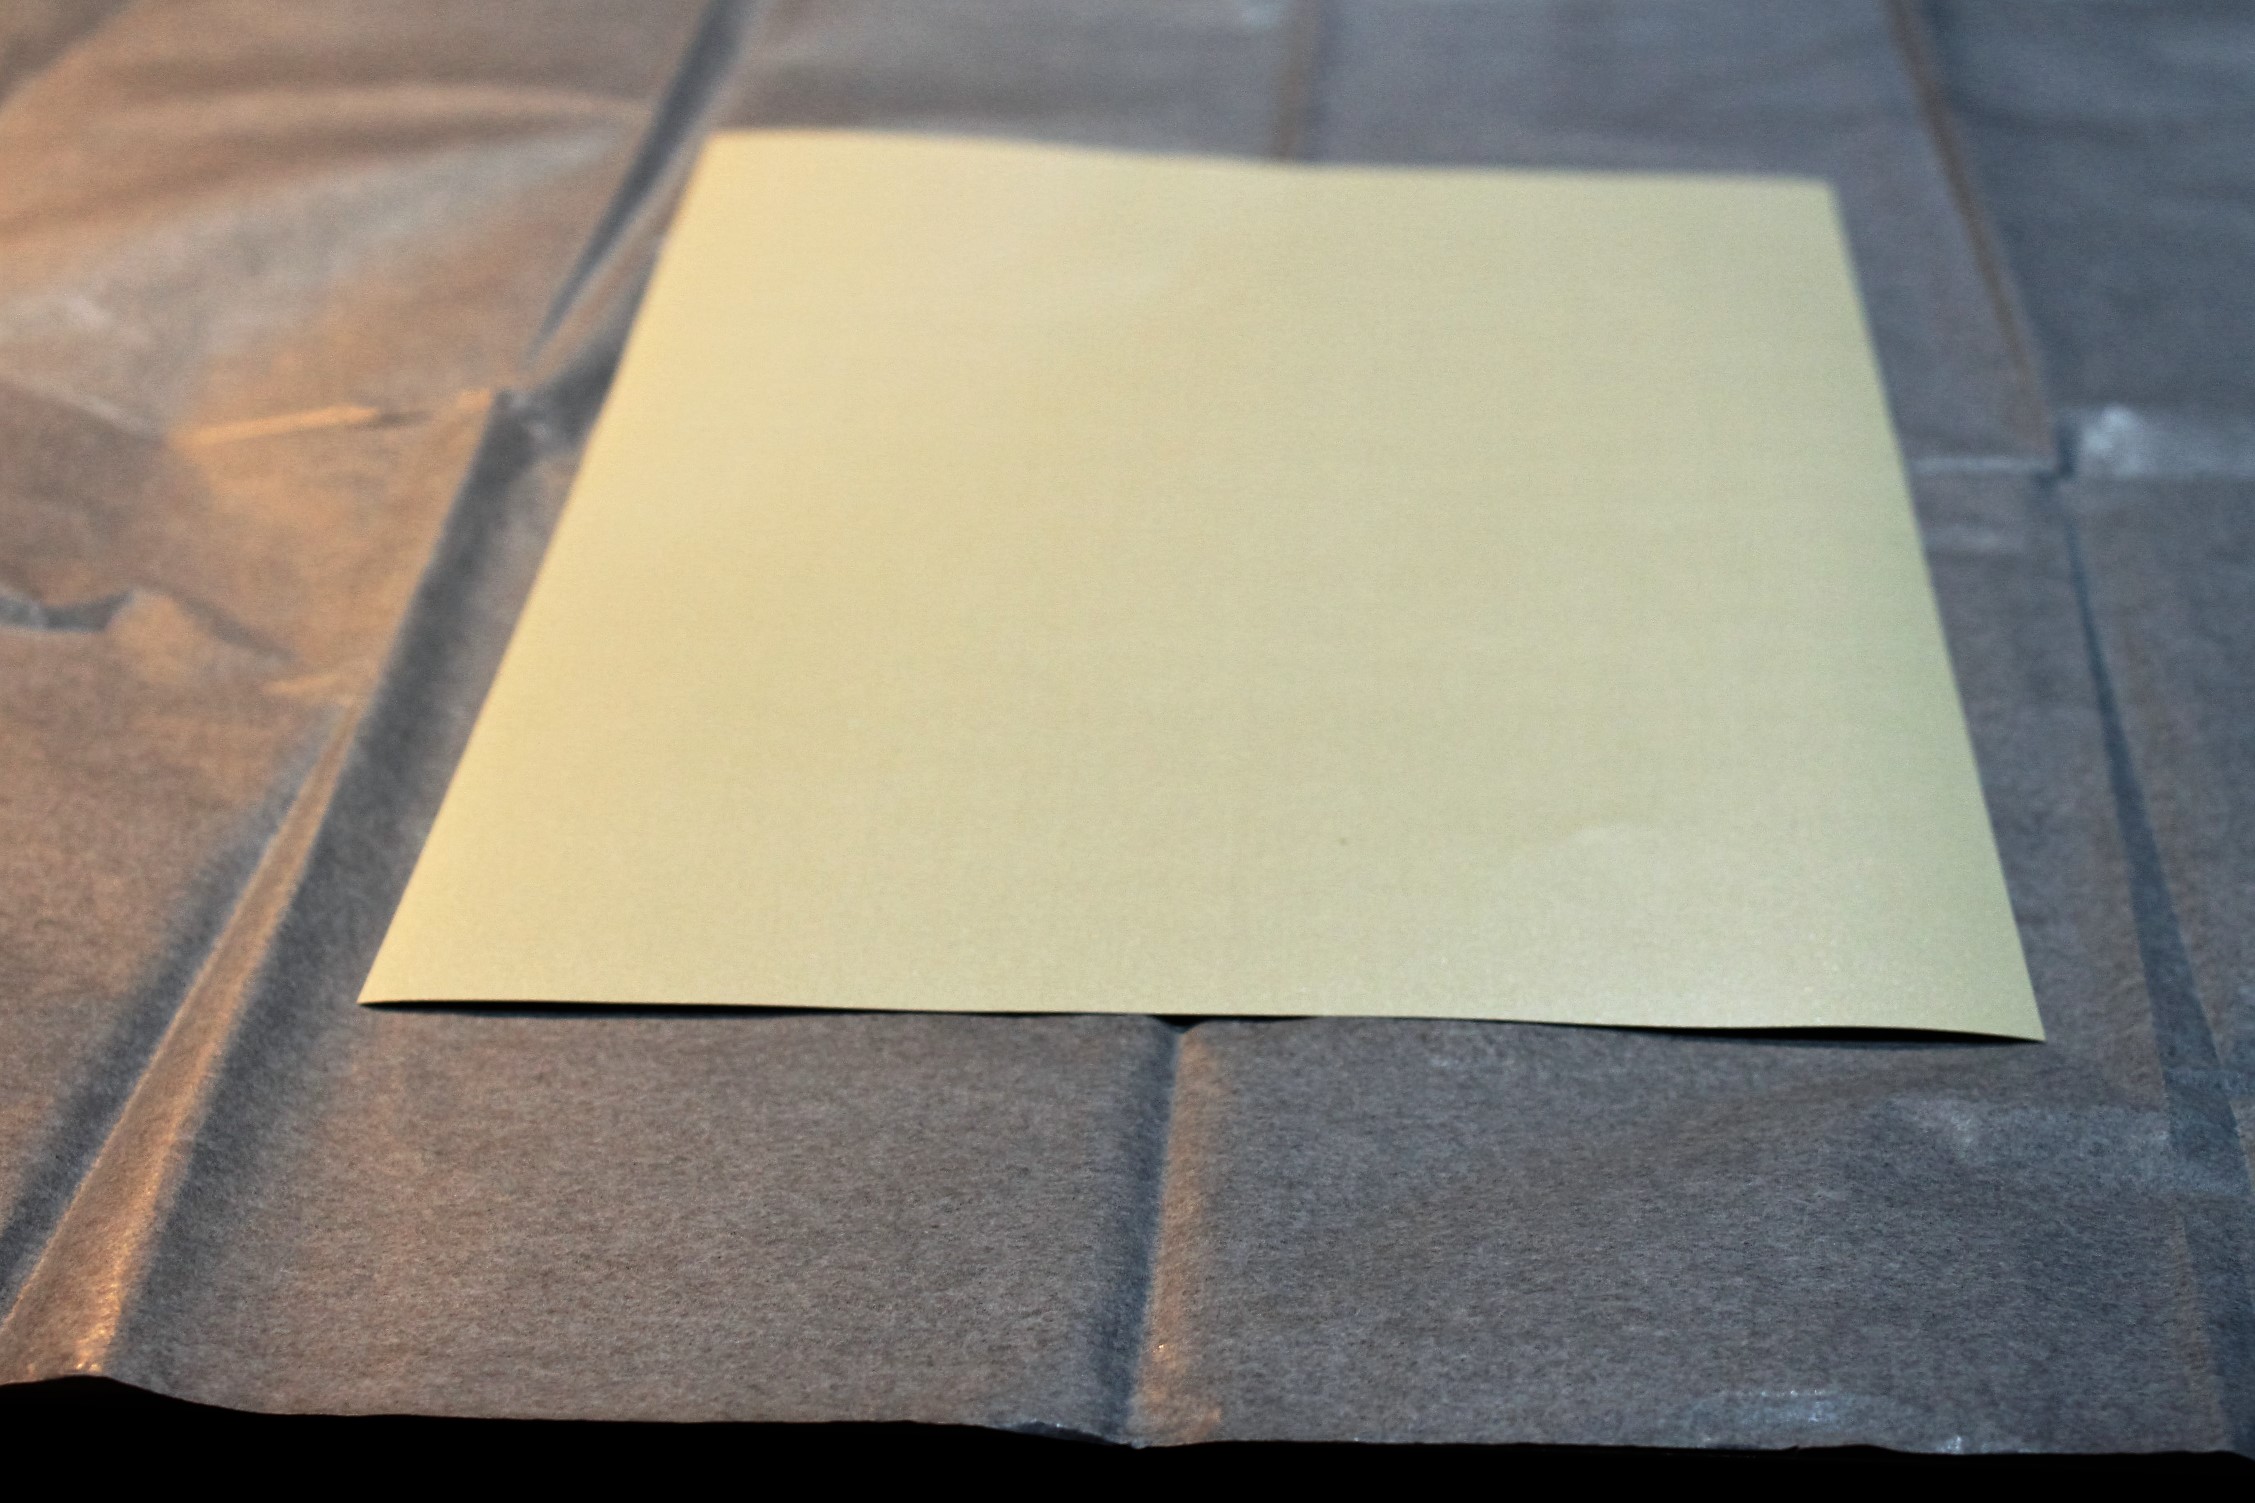
Start by laying your sheet of tissue paper down on your desk and then lay a sheet of A4 paper on top of it.
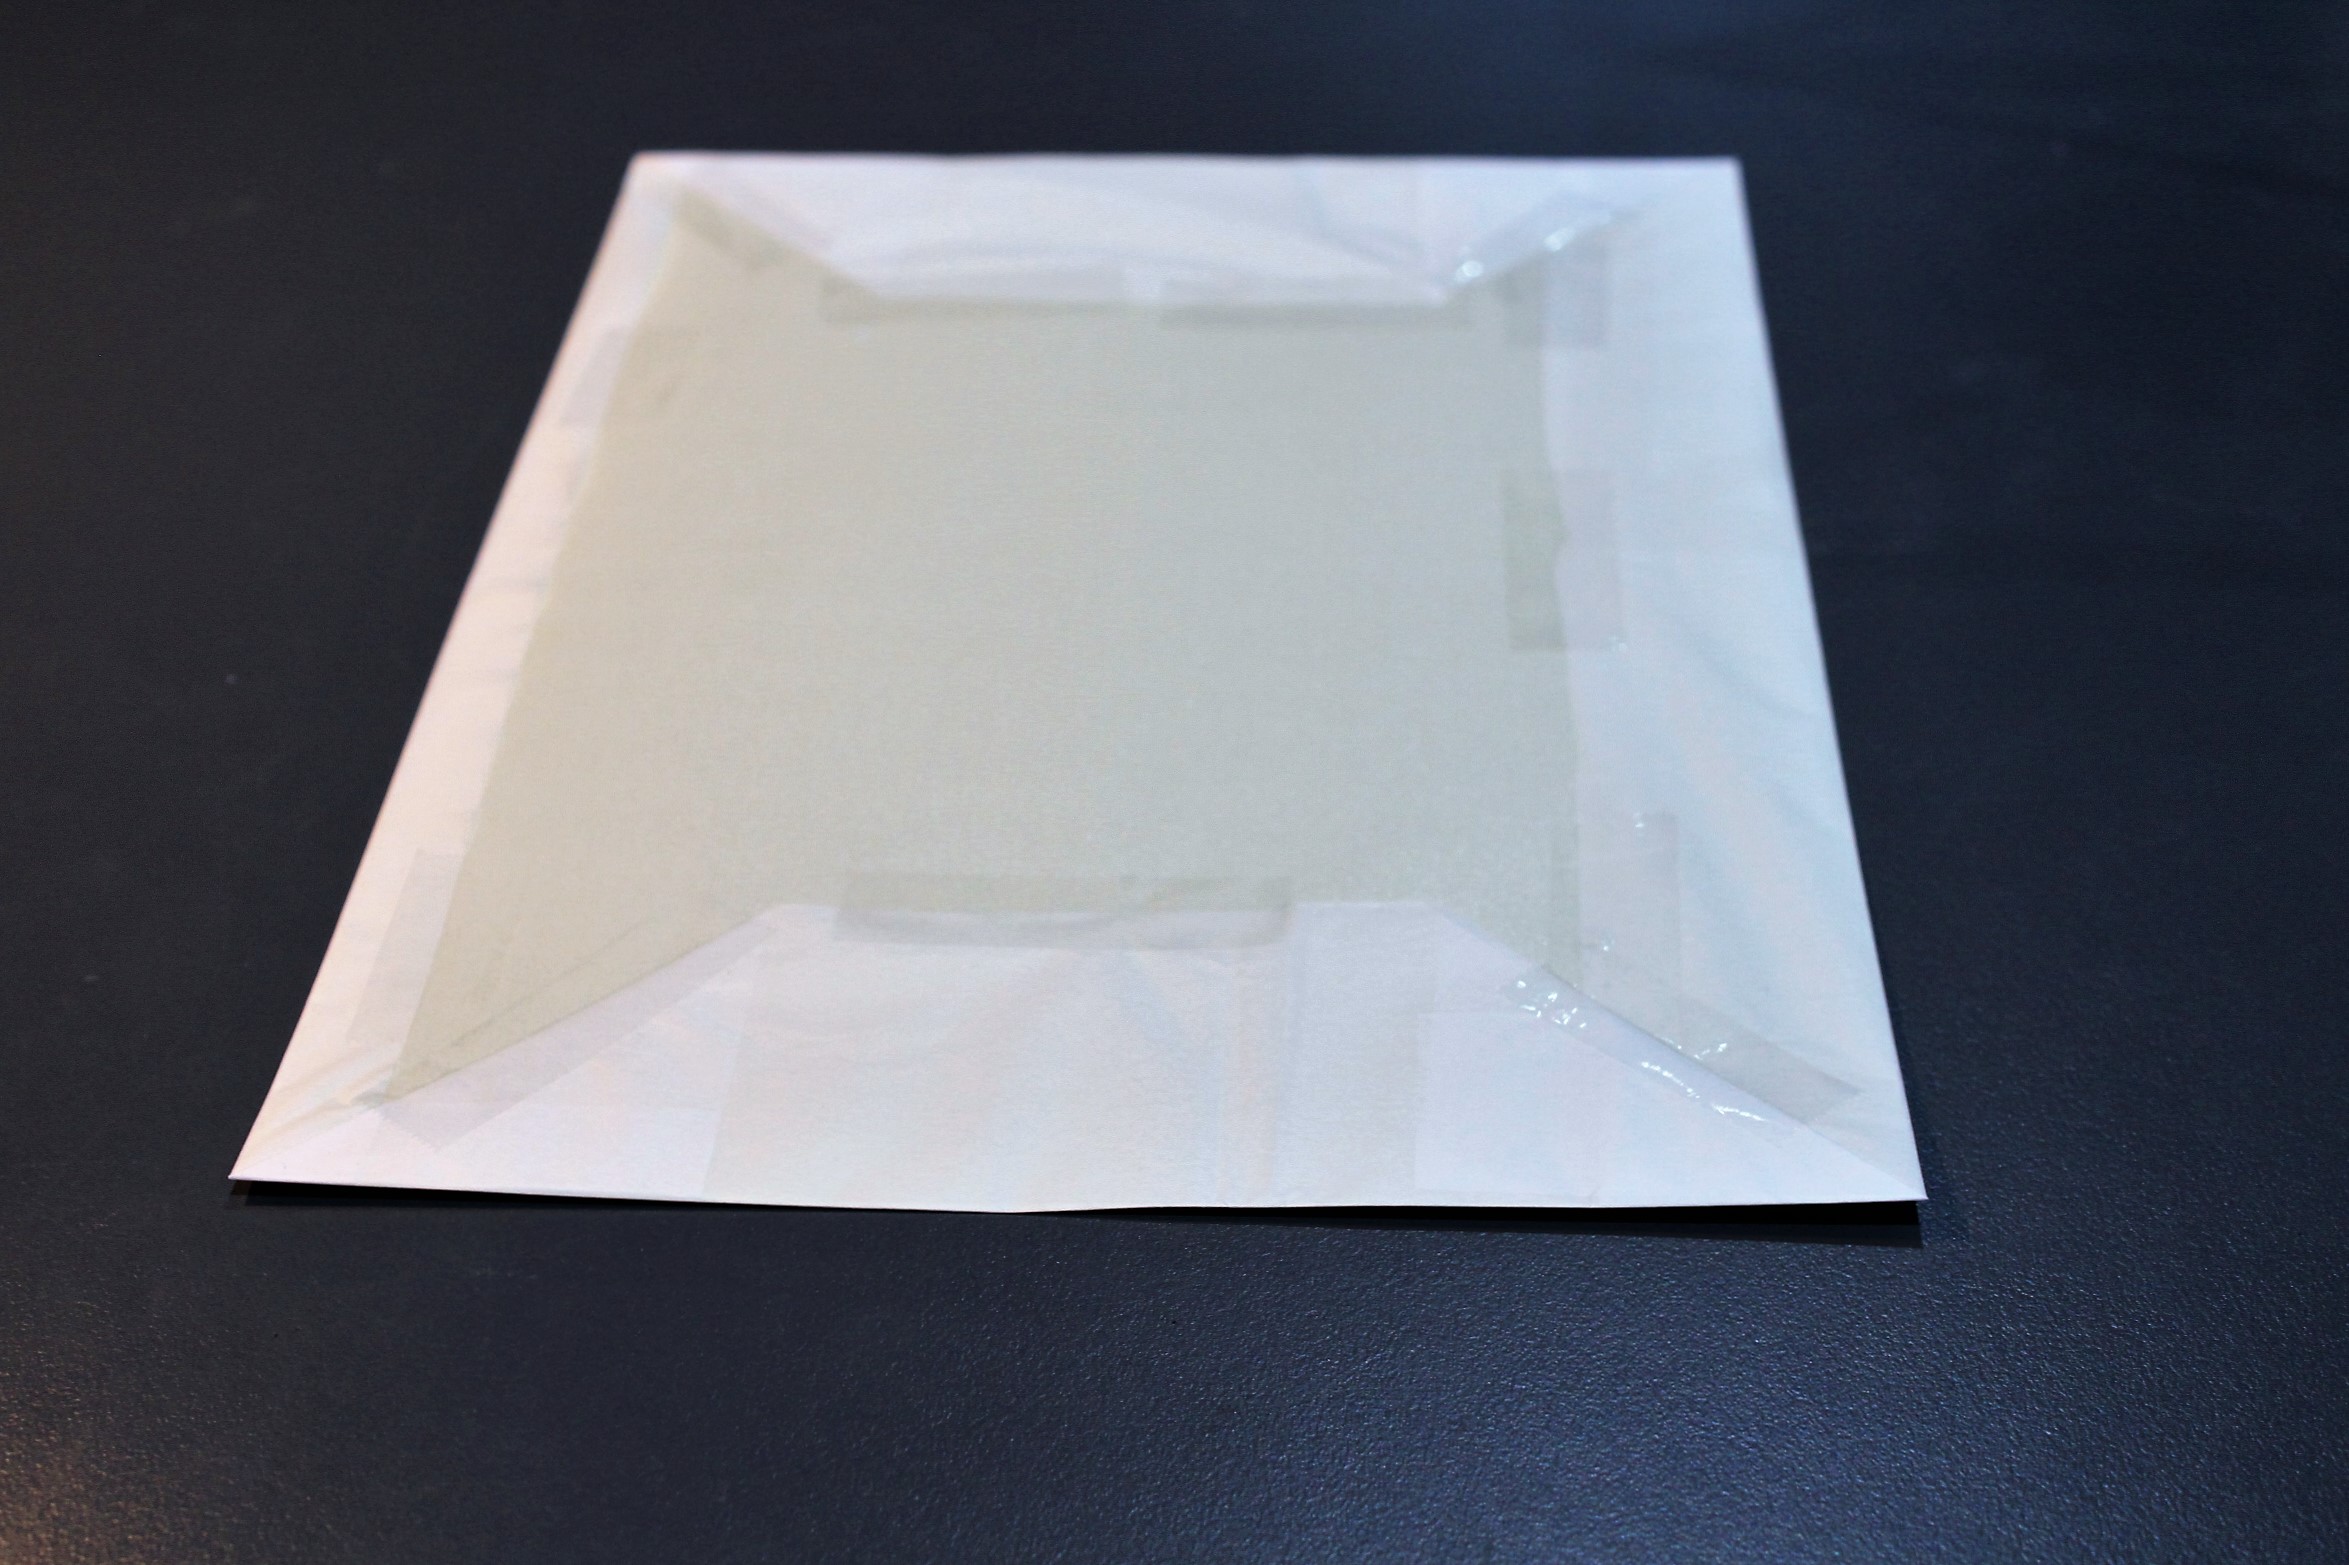
Then carefully cover the piece of paper just like you were wrapping a present! Make sure you do it quite tightly, but not so tight the paper bends. Then when it’s in place, stick it down well with your sticky tape.
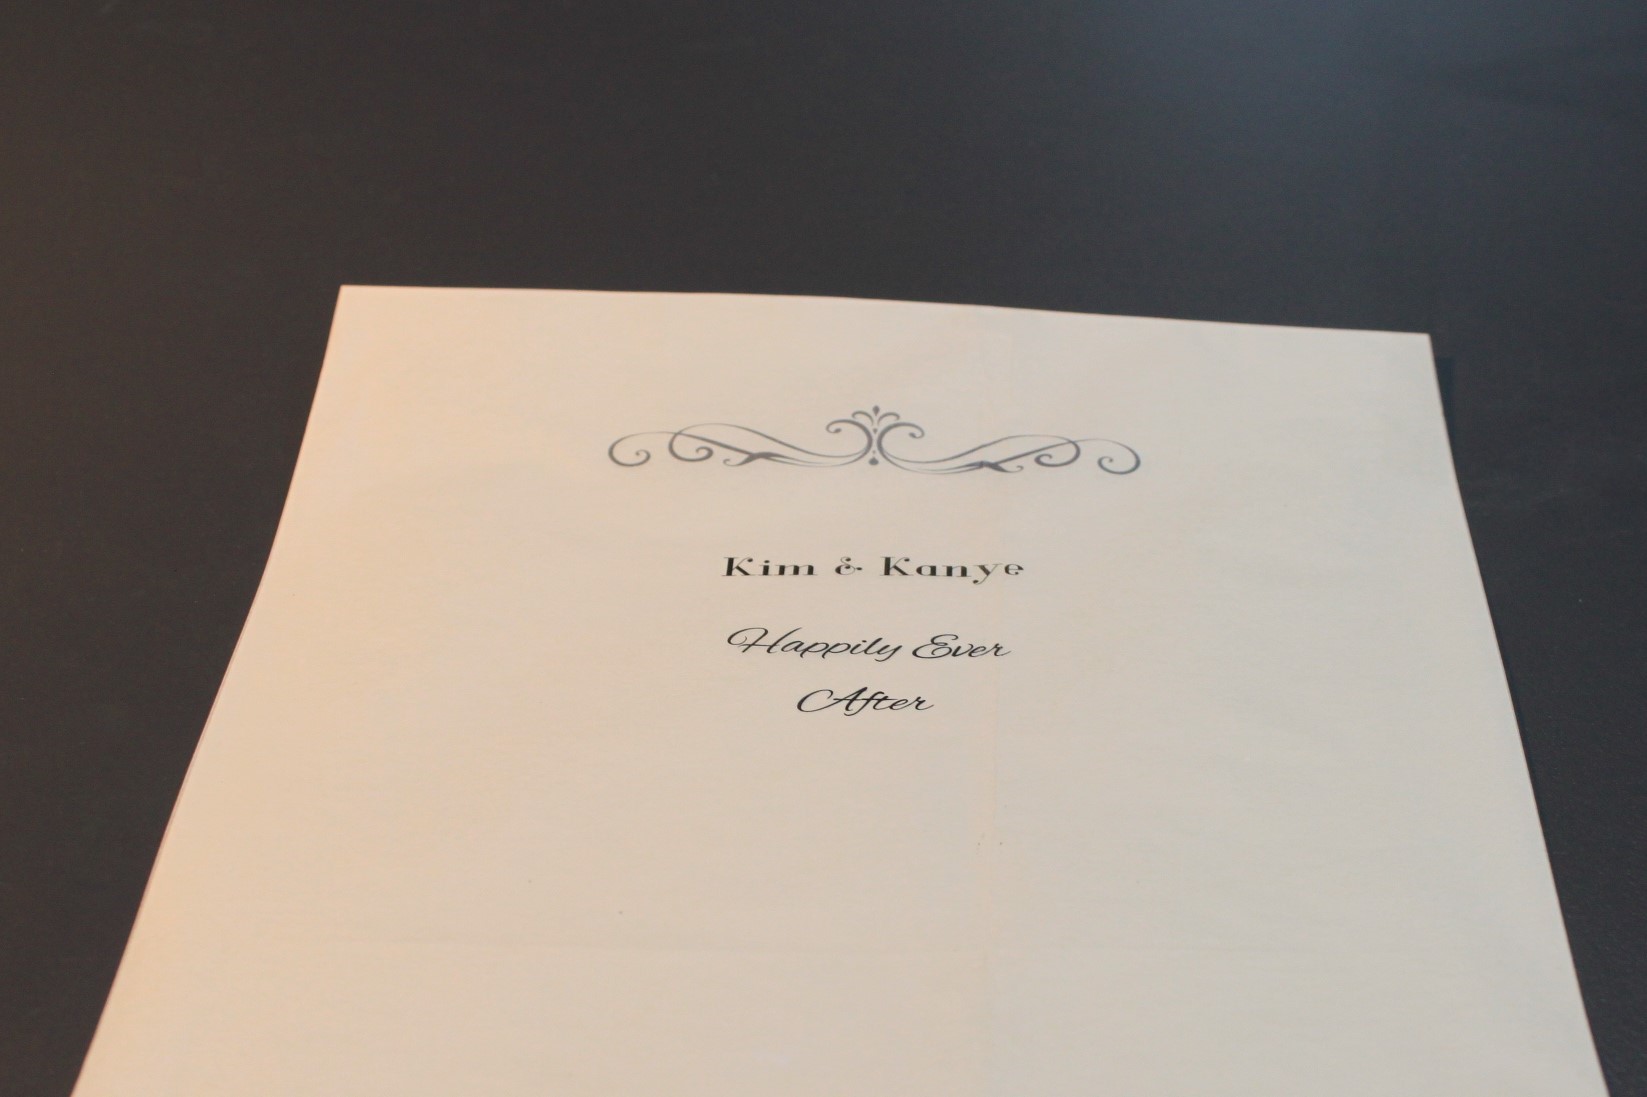
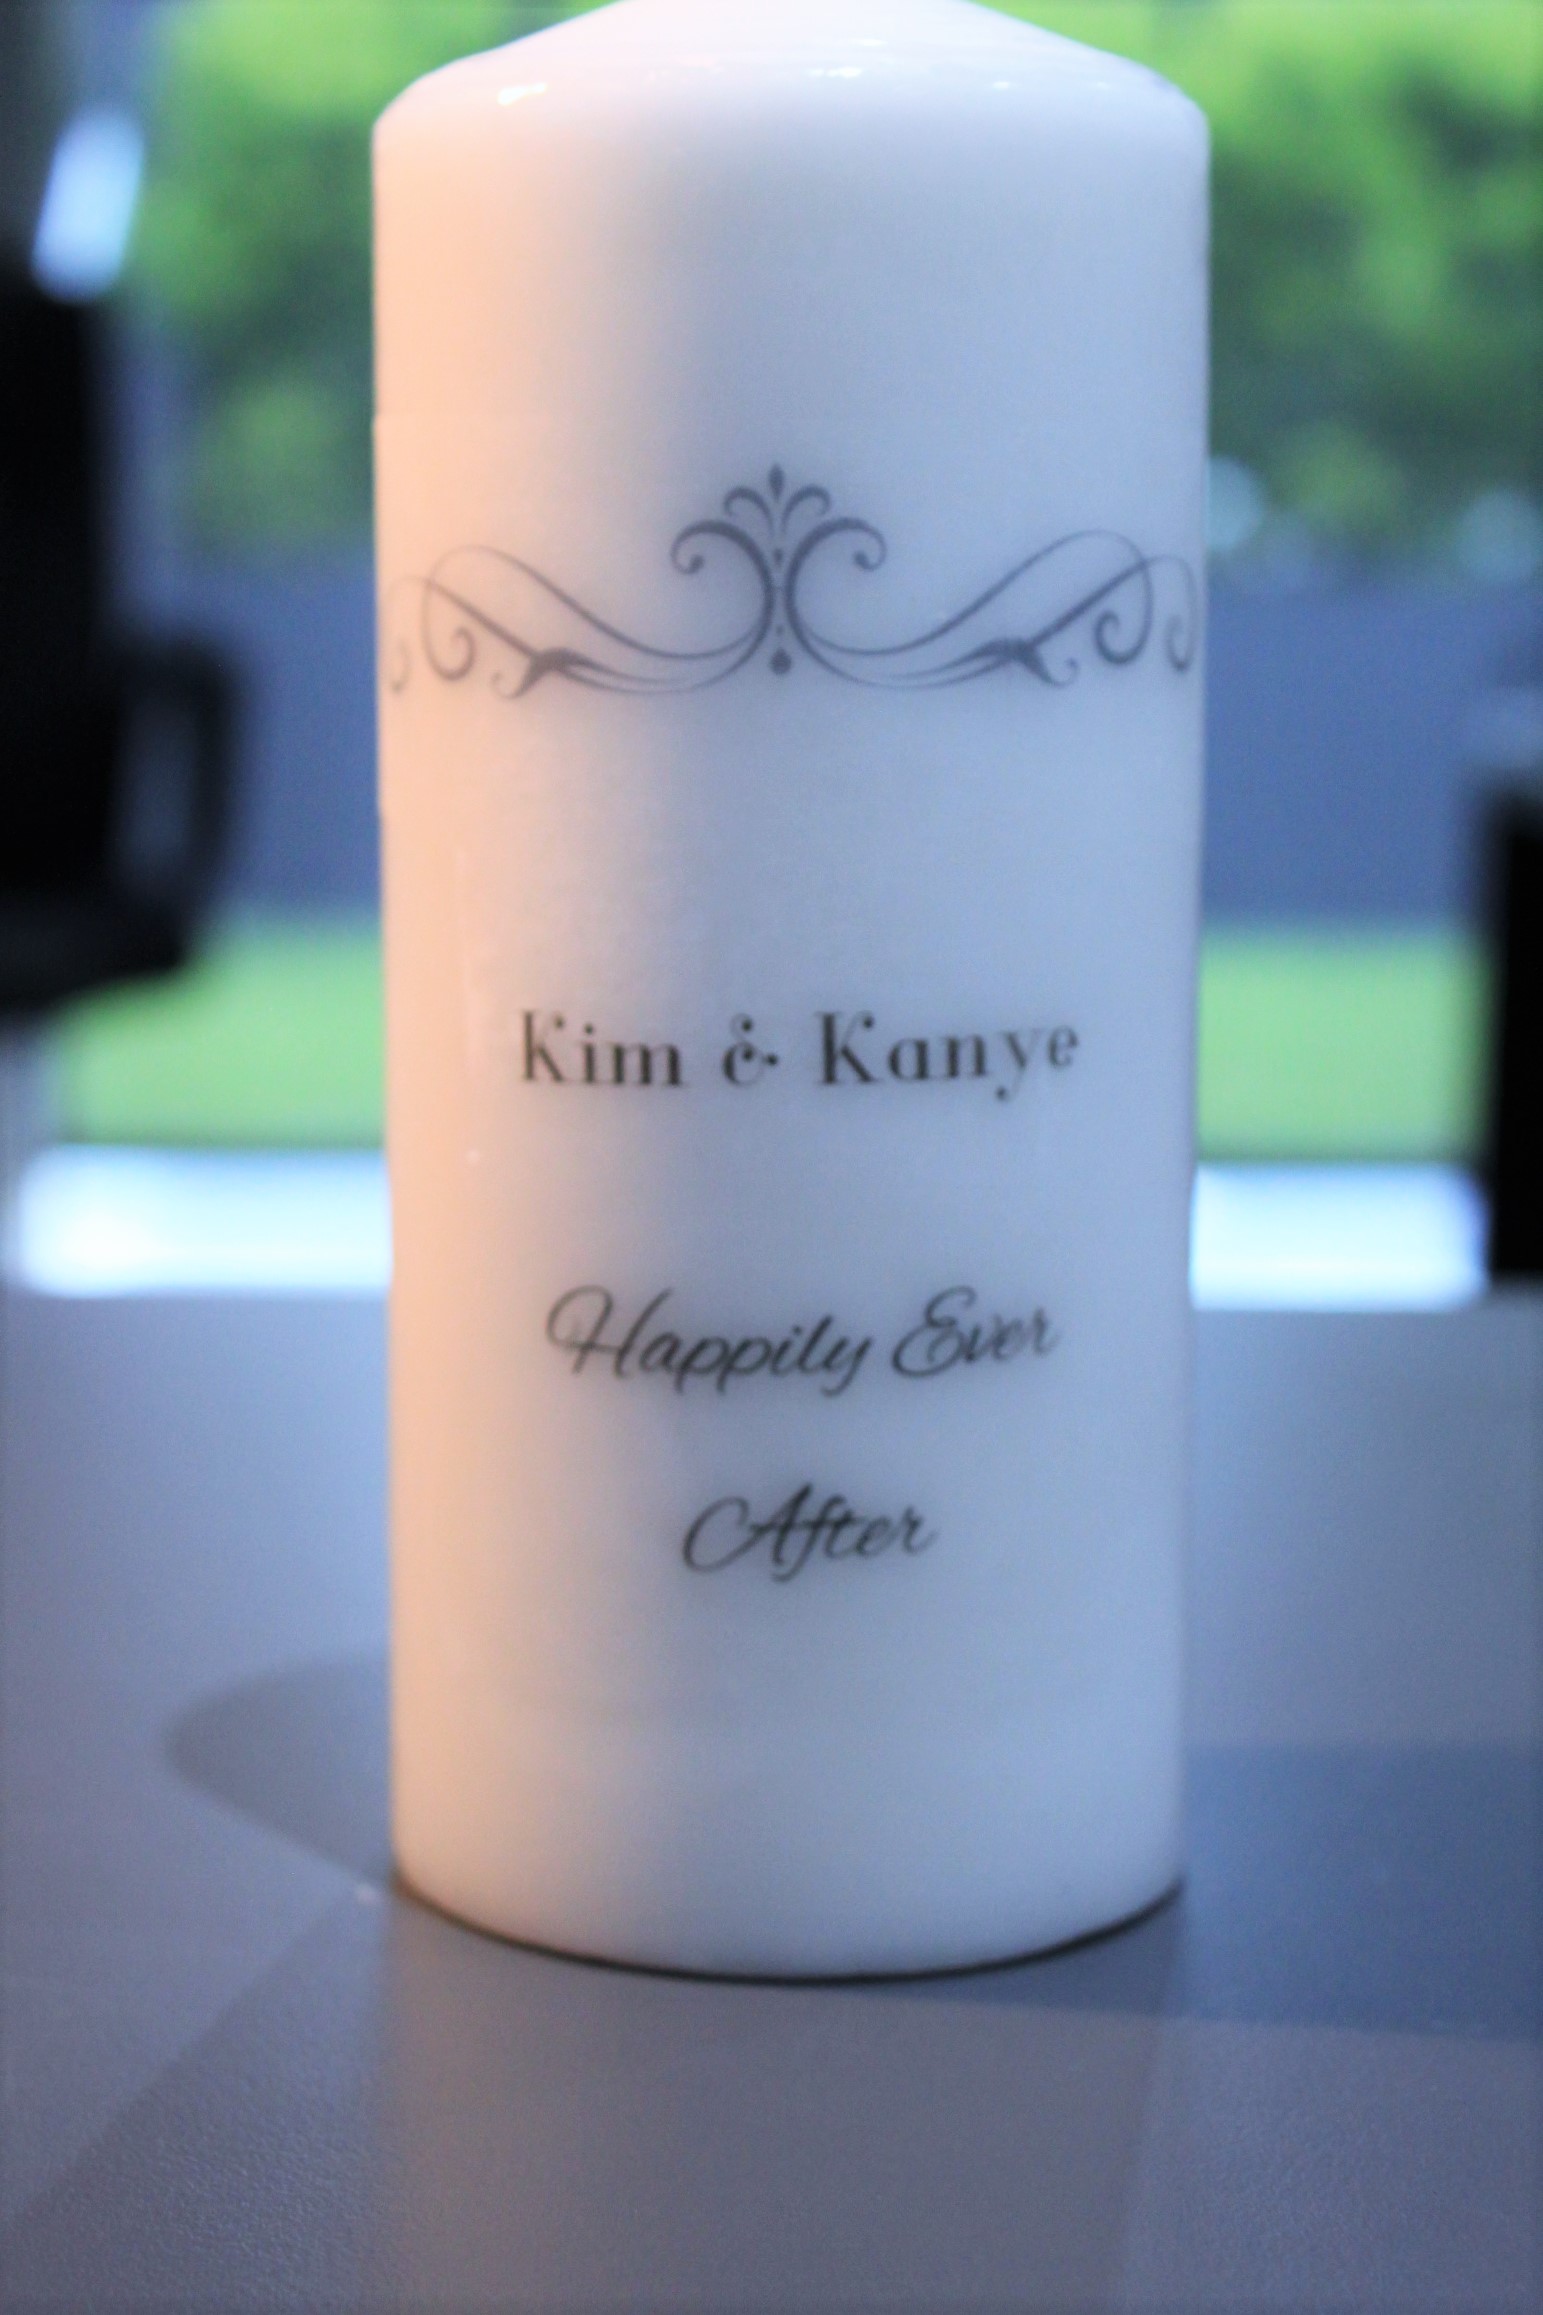
Then make sure you load it into your printer the correct way up so it will print out your design onto the tissue paper. We opted to add a scroll above our names so we could highlight it with our stones. You can search on Google for free clipart wedding scrolls – there’s lots out there!
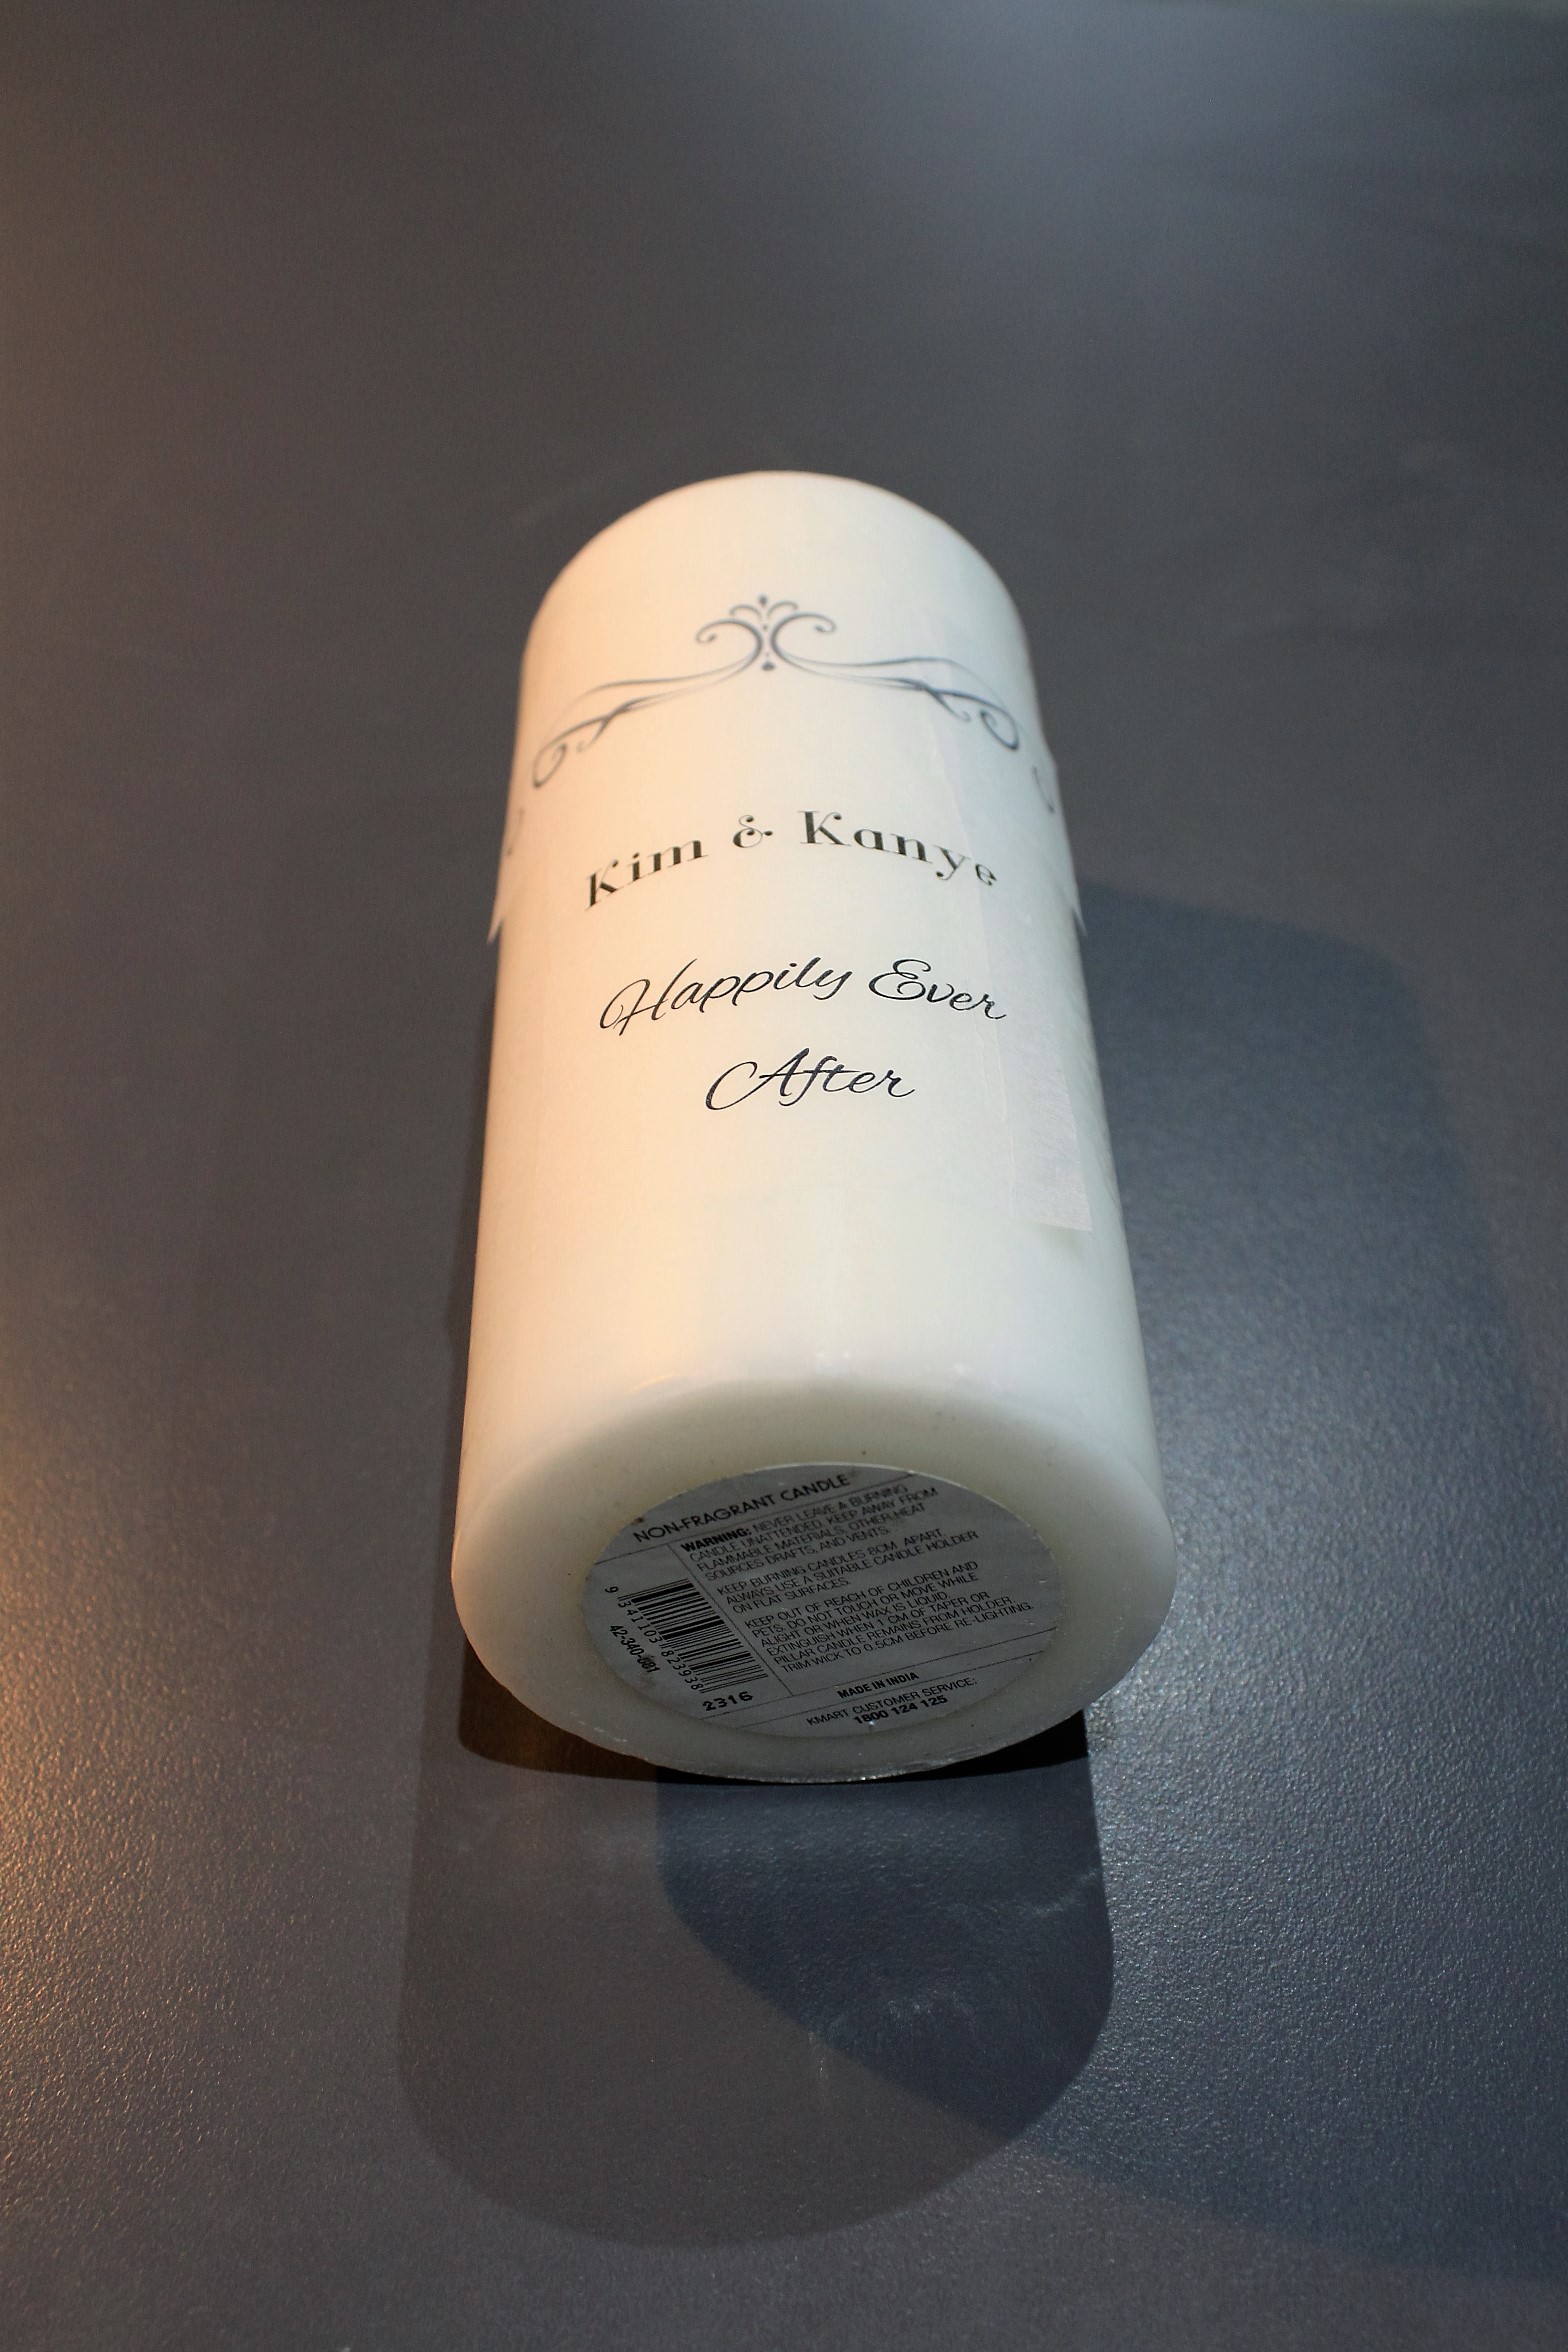
Next you will need to cut around your design and lay it on your candle like we have in the above picture.
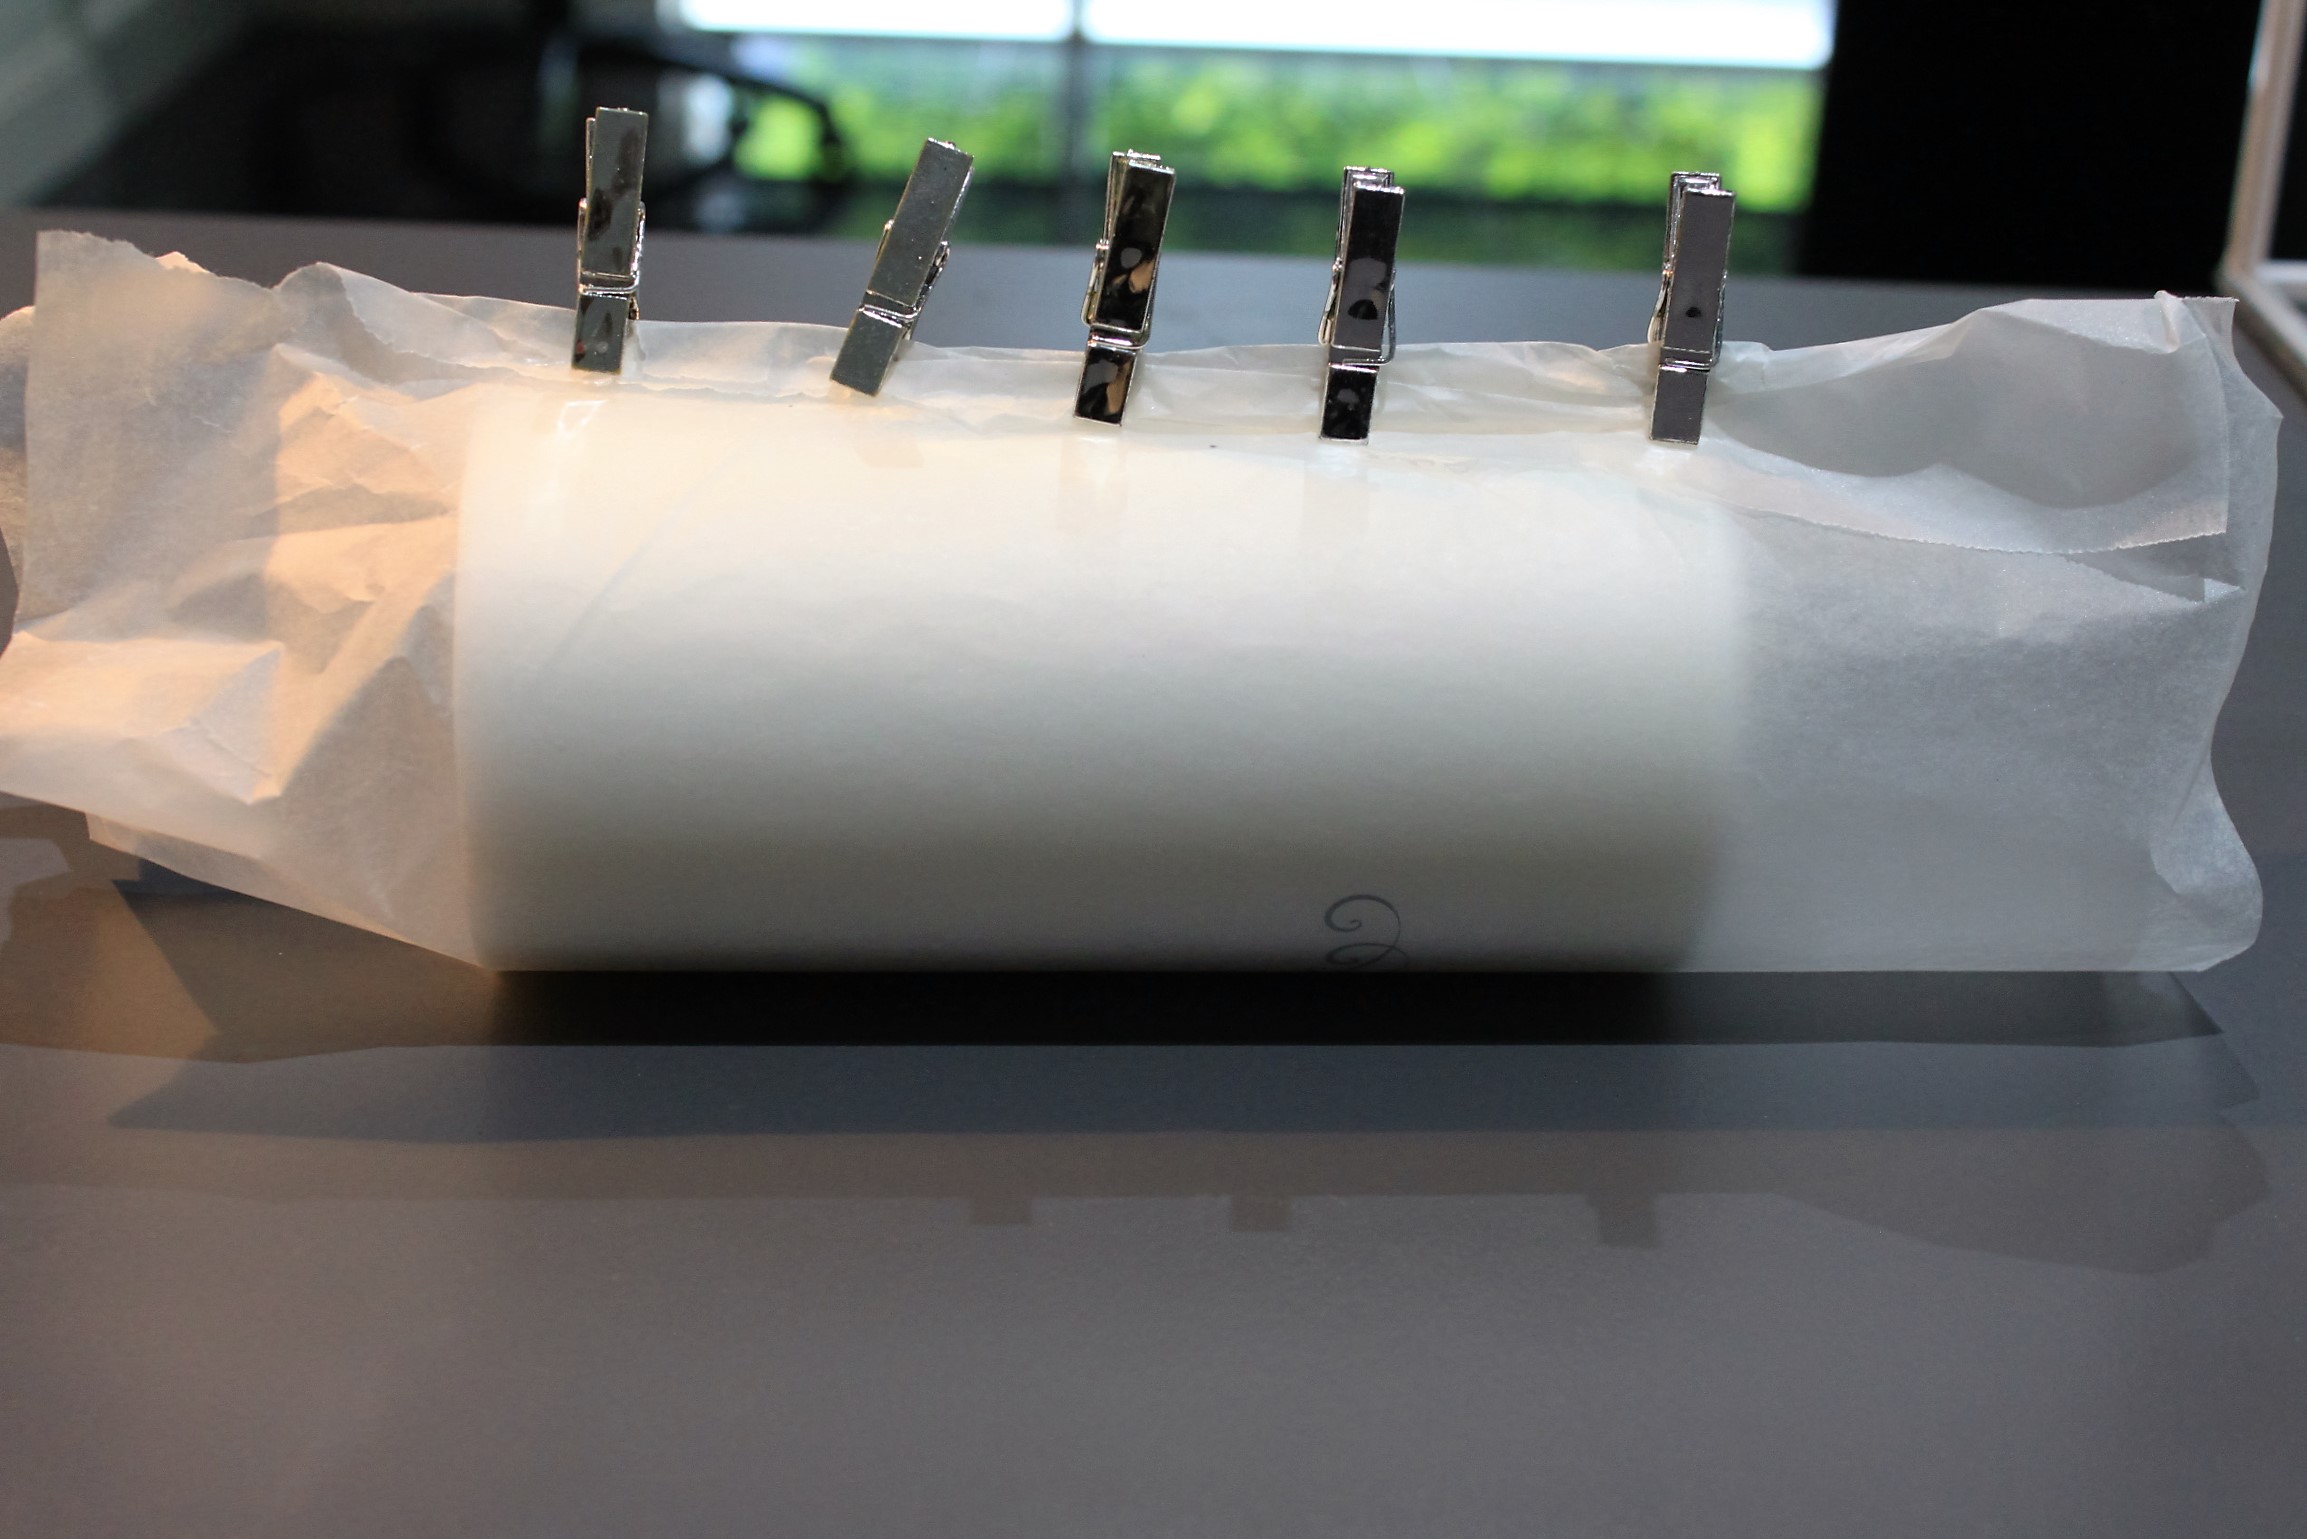
Take your sheet of wax paper and carefully wrap it around your candle, making sure your design doesn’t move. Now take your clips or pegs and secure the wax paper in place.
We’ve used a small craft heat gun for the next step, but your hair dryer will work just as well! Using the heat source, start going over your design carefully. DON’T hold the heat in one place for too long or you will melt your candle! Keep it about 10cm above your design and continue moving it around in small circular motions. You will see when your design starts to transfer to the candle – it will seem to do nothing for a few seconds, but then it will quickly turn dark! That’s what you need, but the moment you see the change, you must move the heat to another area – you so don’t want a big melted spot in the middle of your candle!
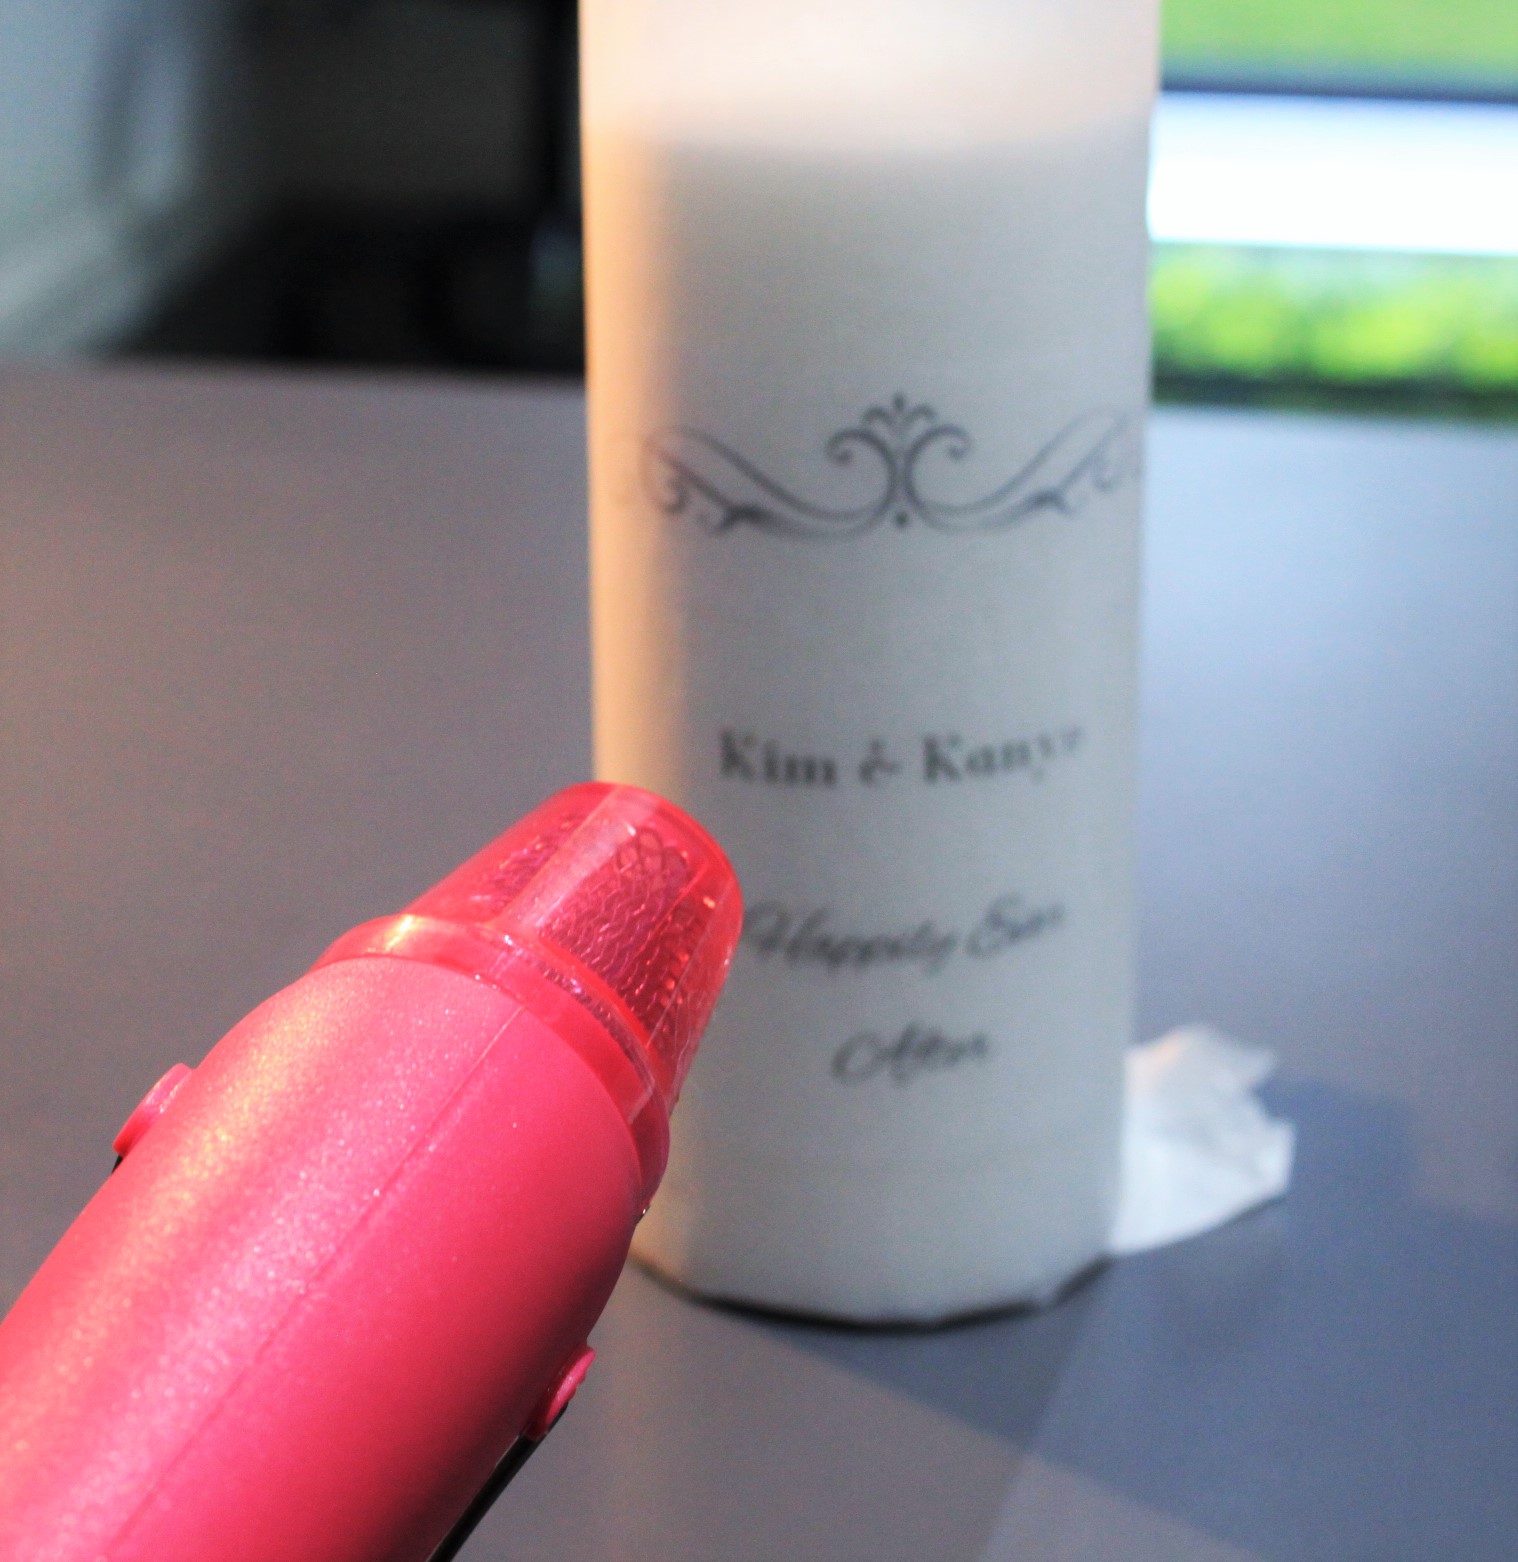
Once you’ve gone over the whole design, turn the heat off and let your candle sit for a few moments to totally cool off. Then gently remove your holding clips, and slowly remove the wax paper. It’s just like magic! Your design is now transferred to your candle!

Now comes the fun part! If you want to add sparkle to your candle, lay it down and start applying them. (Full instructions for laying stones is here.) Just as an FYI we’ve used approximately 168 of our smallest stones the KS .4 (available here $4/approx. 500 stones) on our design. So one bag of stones would do two or three candles depending on your designs making the total cost of this project about $8! Crazy, right?!

It’s a lot of fun using the stones in this manner …. tracing a design and the results are amazing!
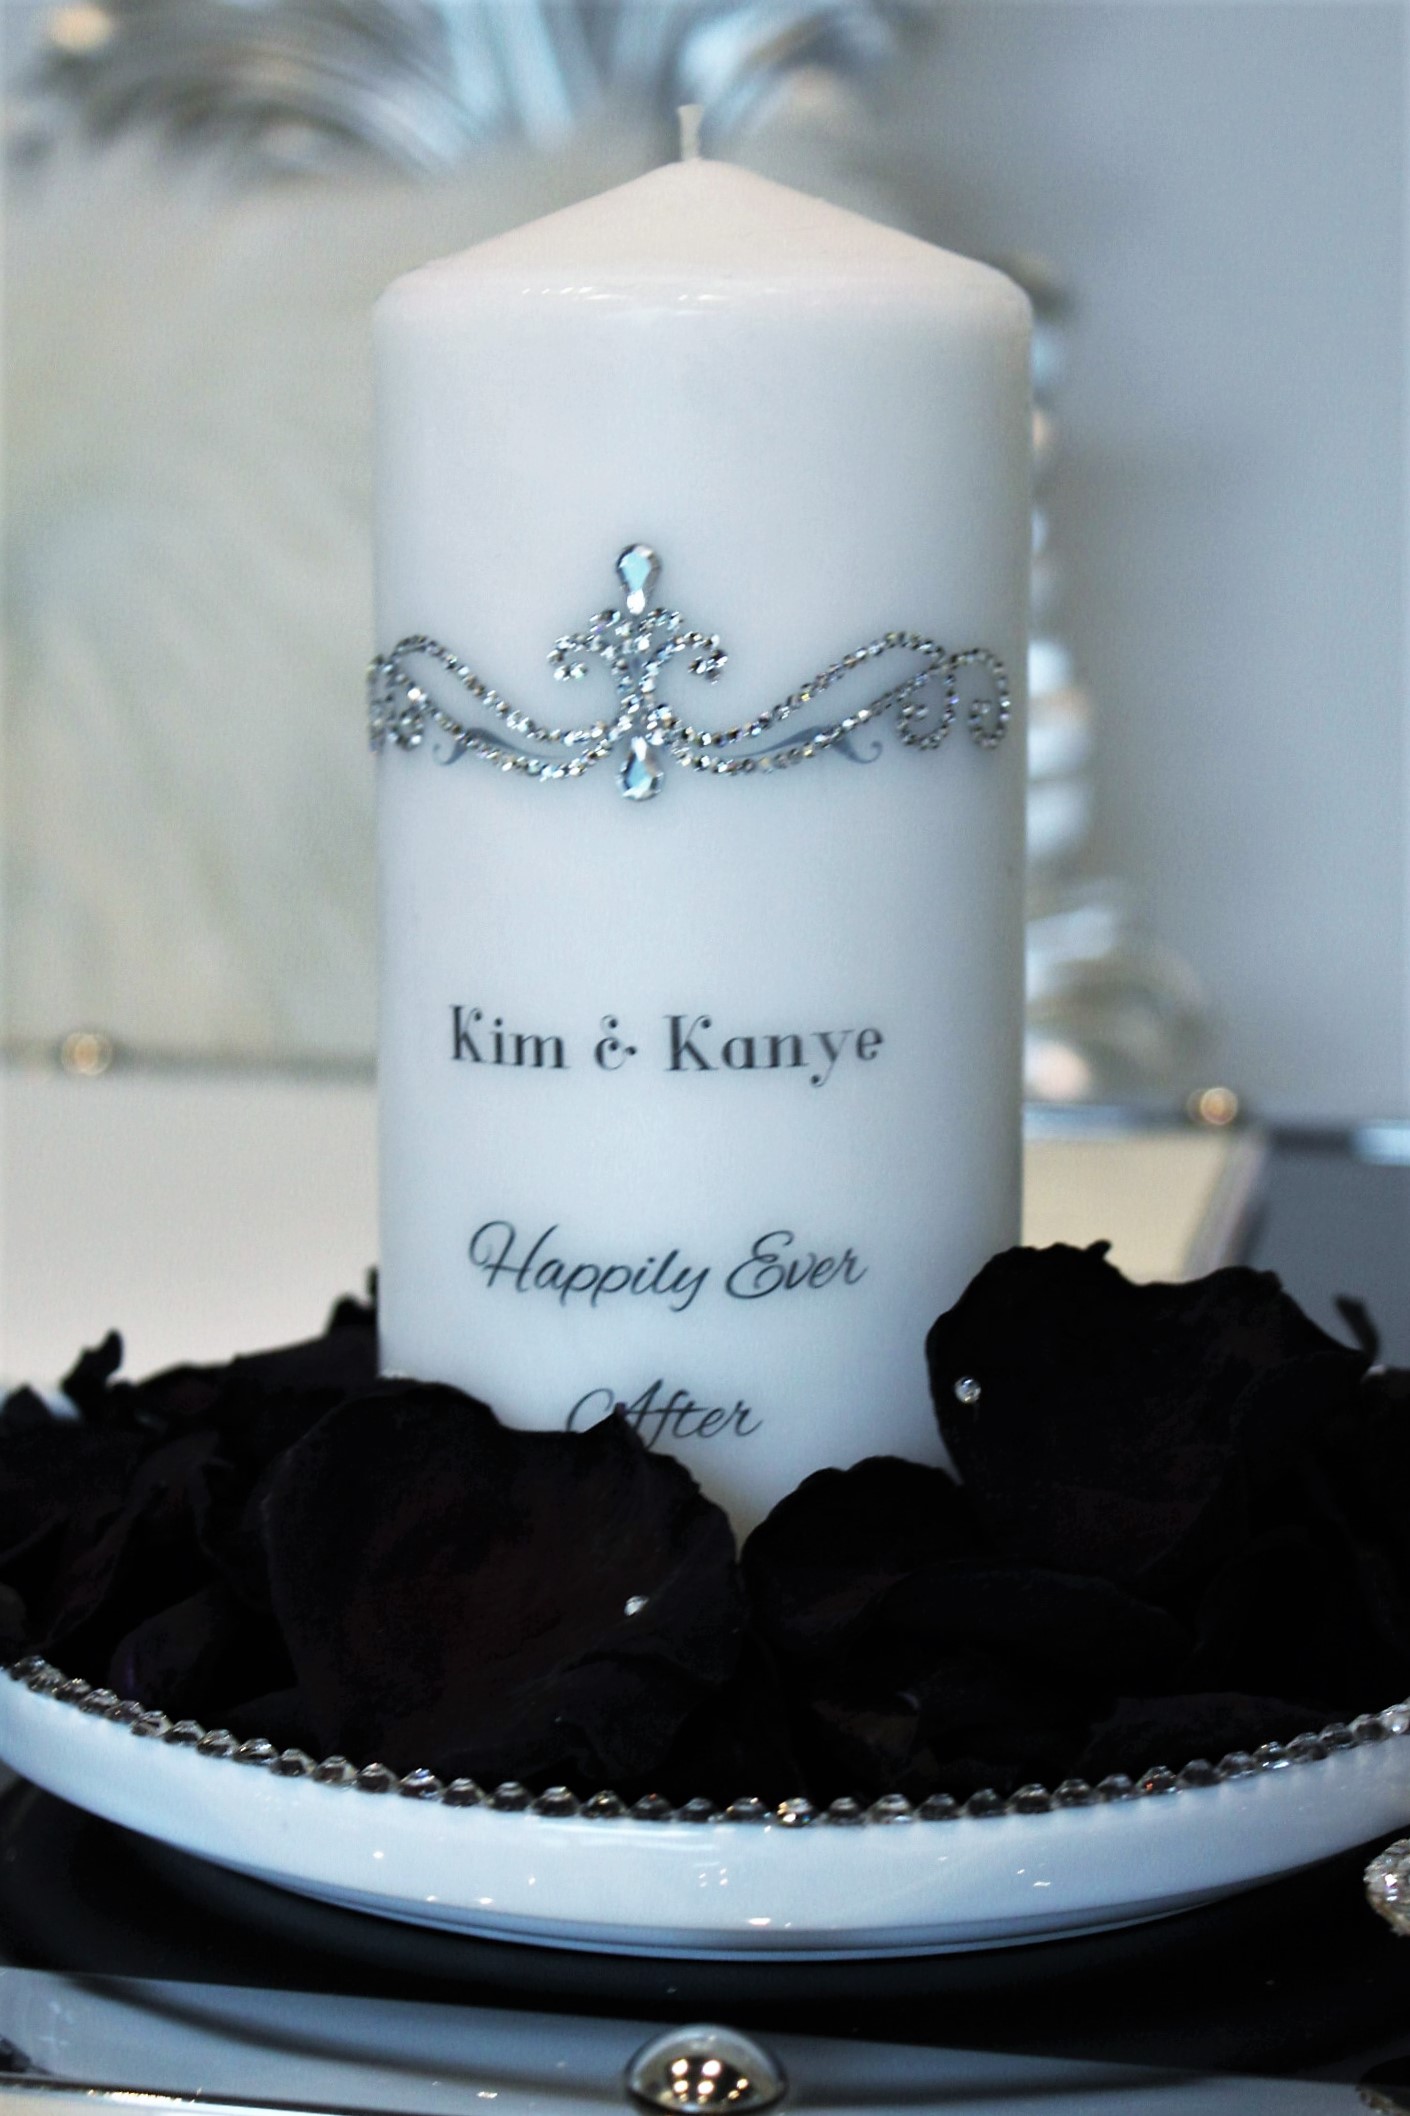
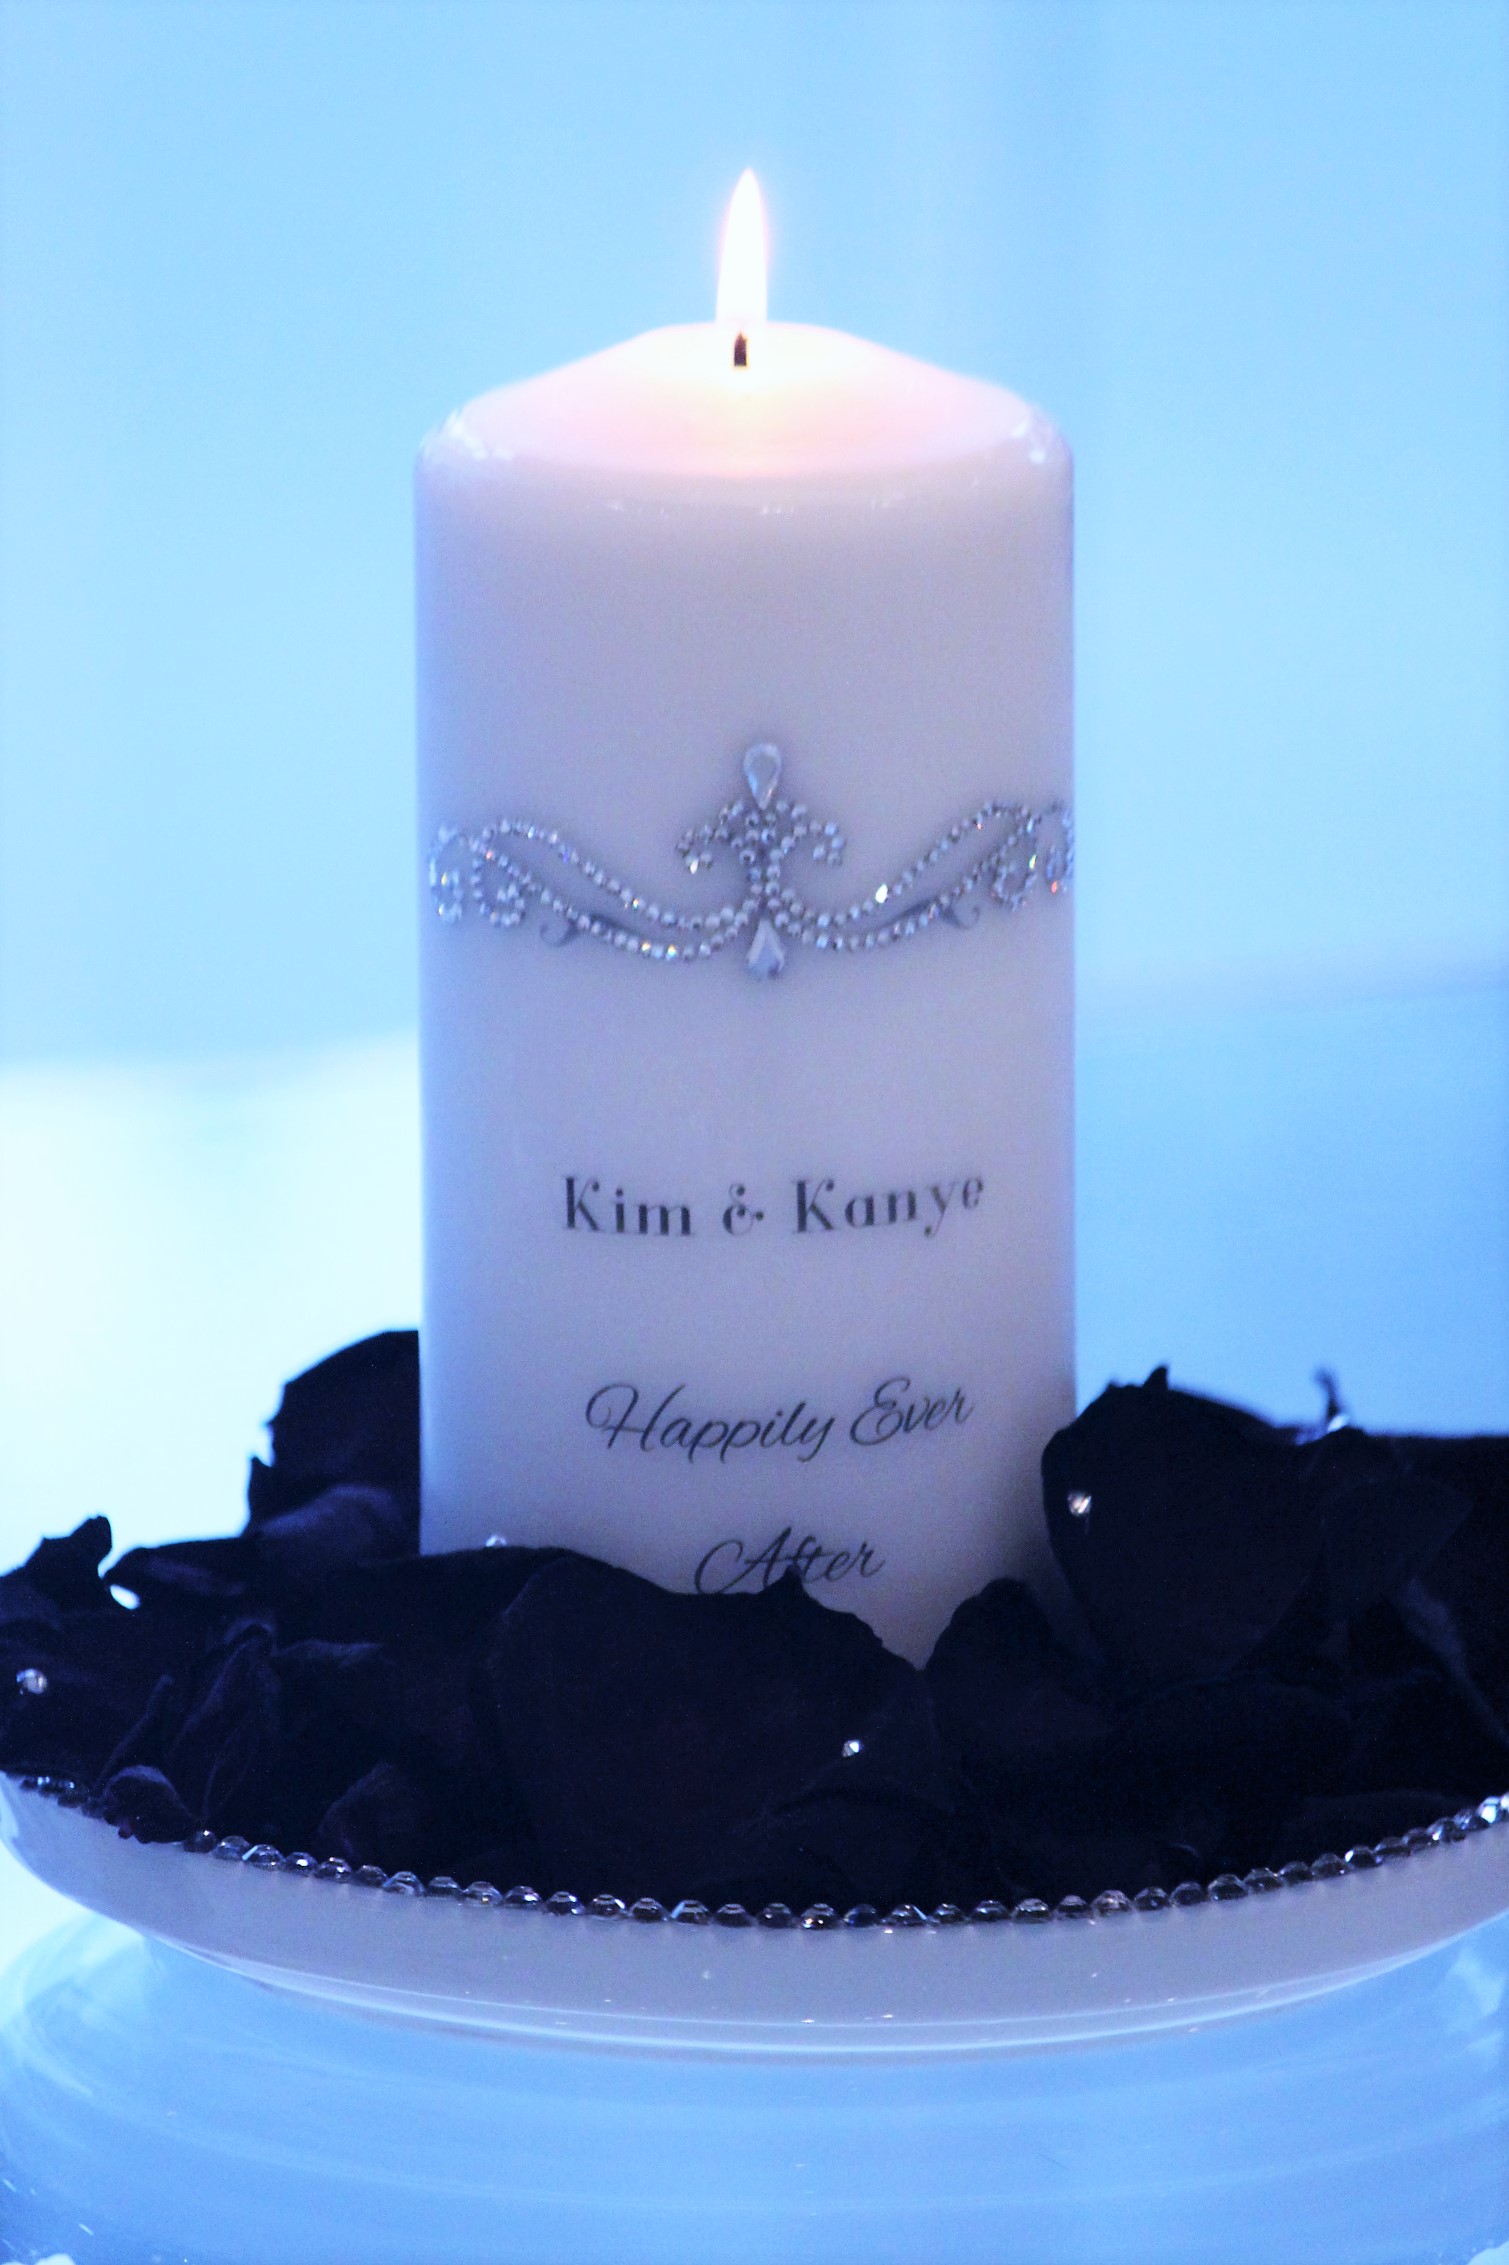
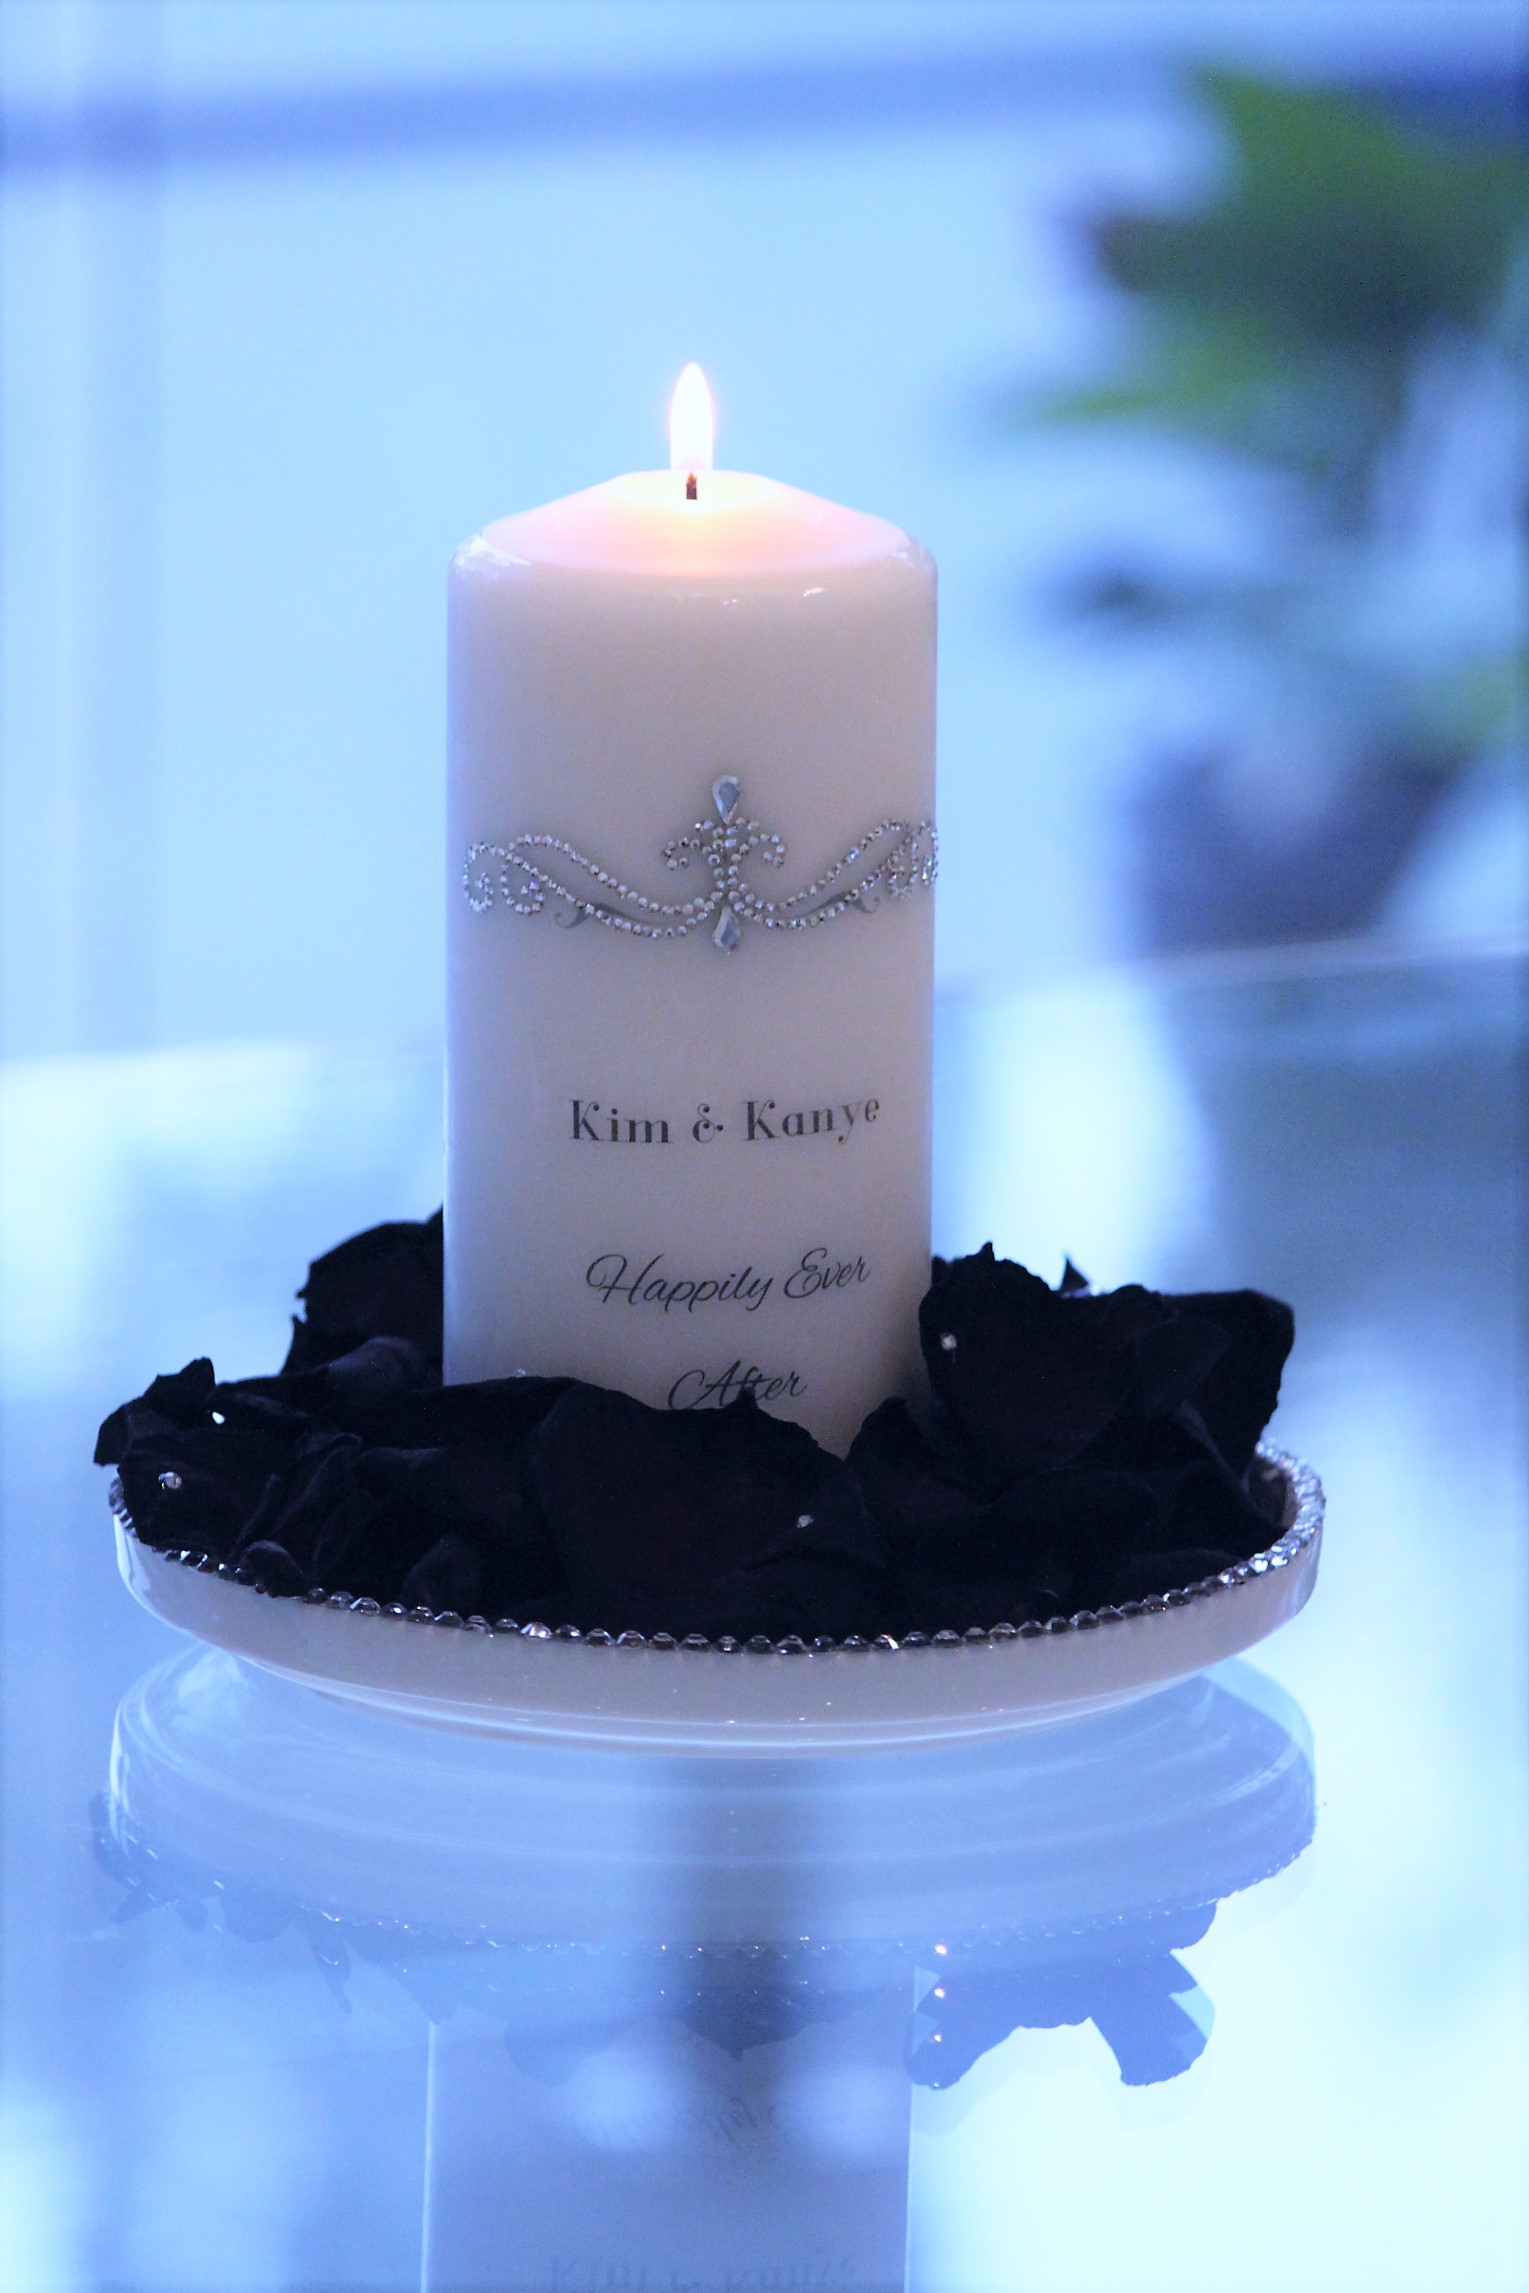
To style this candle we’ve place it on a ‘Lipped Side Plate’ – $3.00 for a pack of two, and added some gorgeous rose petals around the base.

They look so stunning when they’re styled up and lit! We would suggest perhaps making two for the newlyweds – one that can be burnt at the Reception, and one for keeping as a beautiful wedding memento.

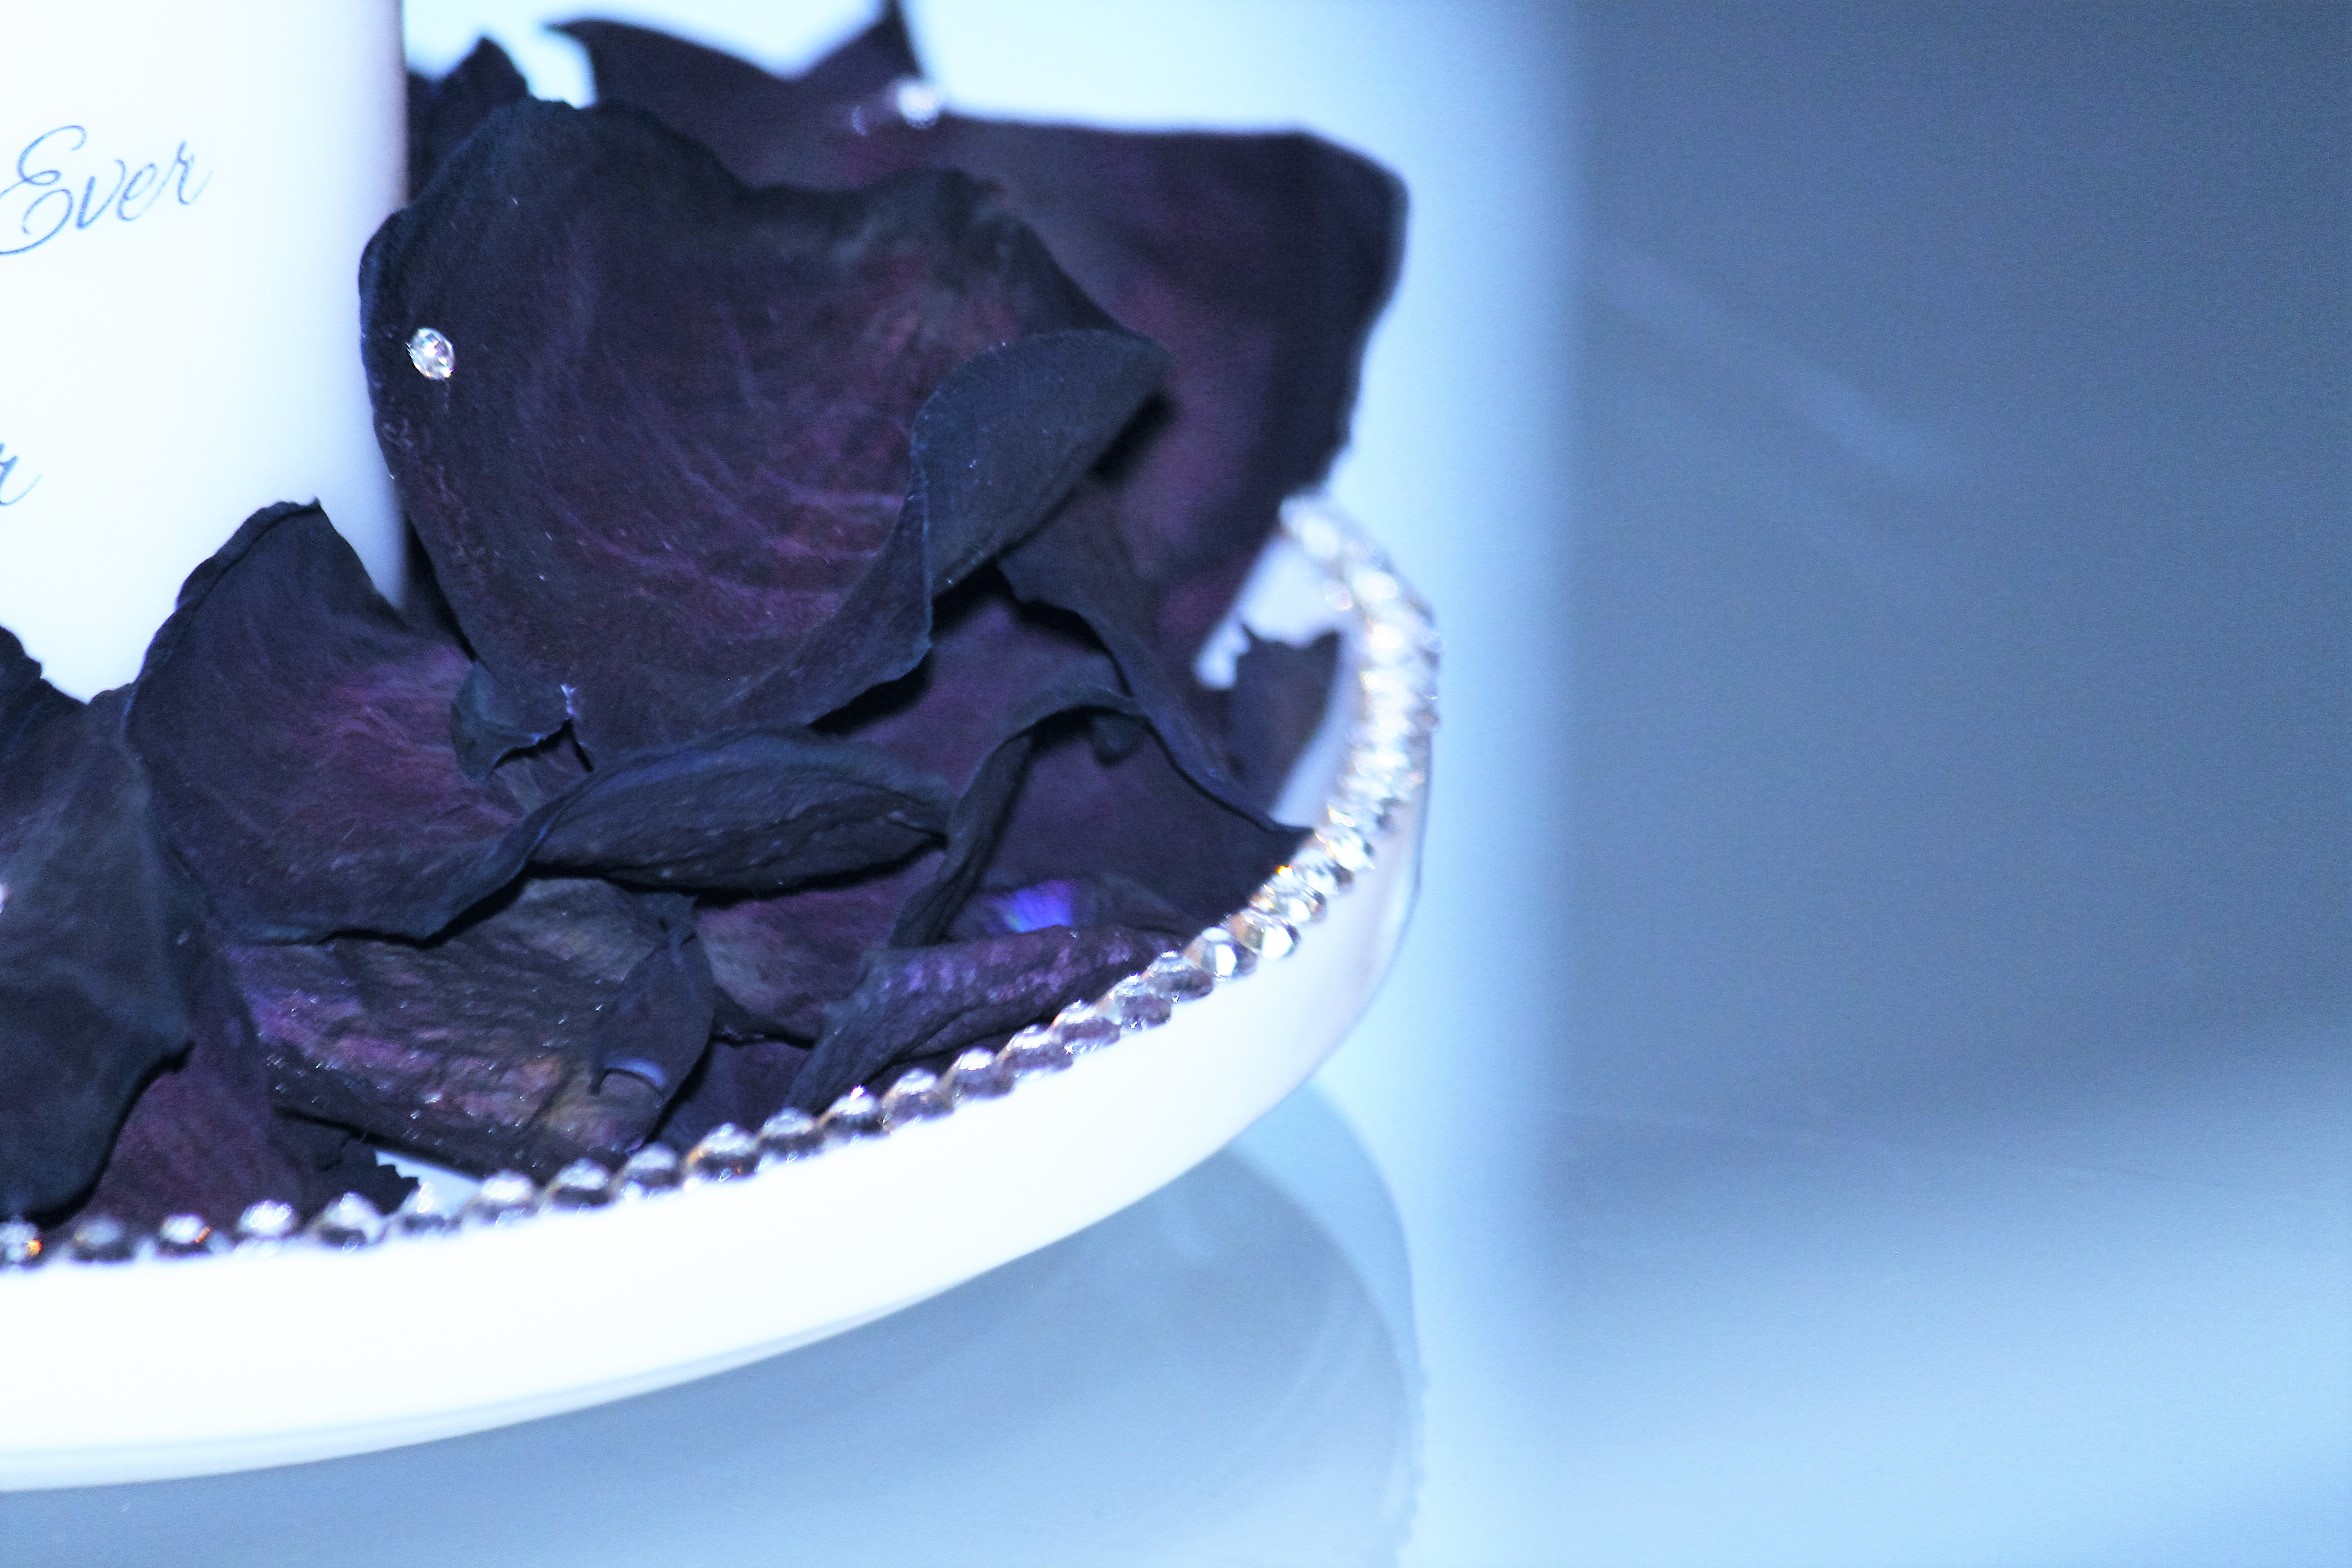
We had some beautiful roses that had come to the end of their days so we carefully plucked the petals off and laid them out for a few days to dry. To add a touch of sparkle we added some small stones to some of the dried petals …. Not too many, just enough!
Then we placed the candle on the centre of the plate, and carefully placed the petals around it.
The results are amazing!!
This concept can, of course, be used in a lot of different ways. If it’s possible to print it on tissue paper, it’s possible to transfer it to a candle!
Remember we love to see your own creations, so make sure you use the hashtags #kmartstyling or #kmartkraze so other @kmartstyling_offical followers can see them too and don’t forget to tag us in them!
We hope you enjoyed this latest project –
As always, have a blinging great day!
Categories: The Ultimate Kmart Wedding
Leave a Reply
You must be logged in to post a comment.