Clean Grout – Simple. And The Results Are AMAZING!
(NO Photos in this post are touched up or filtered)
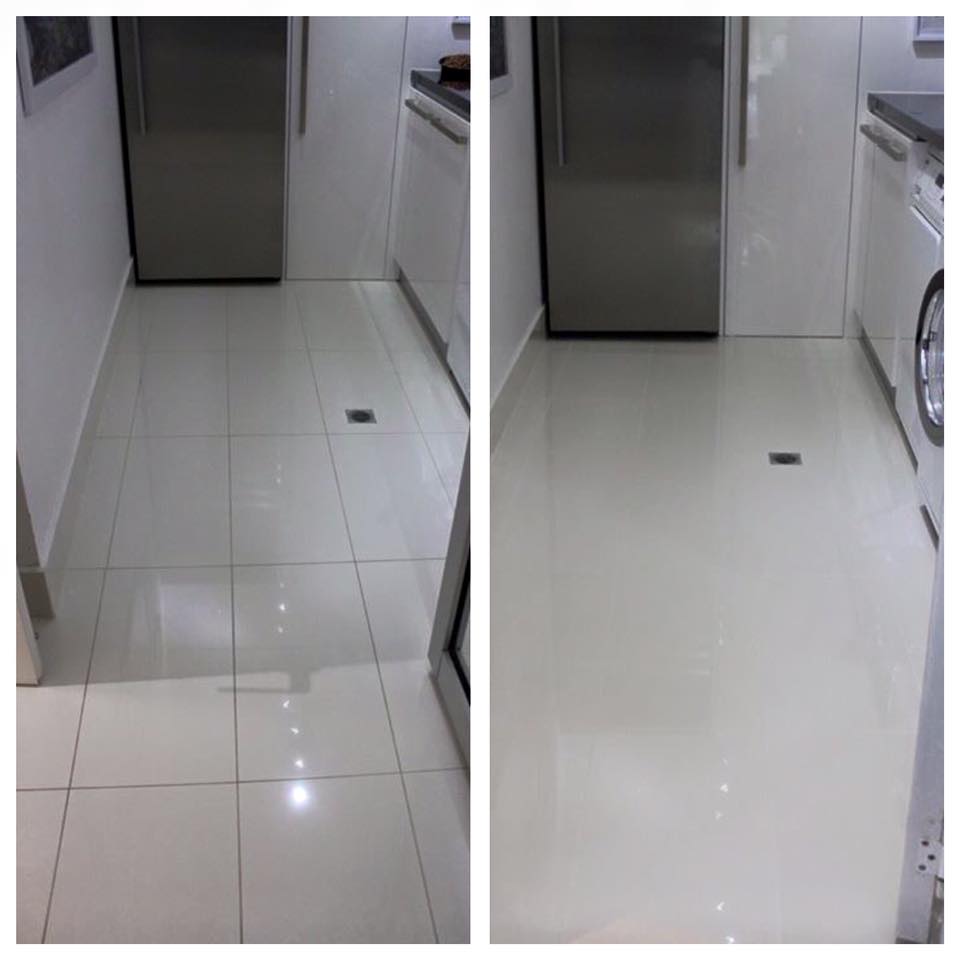
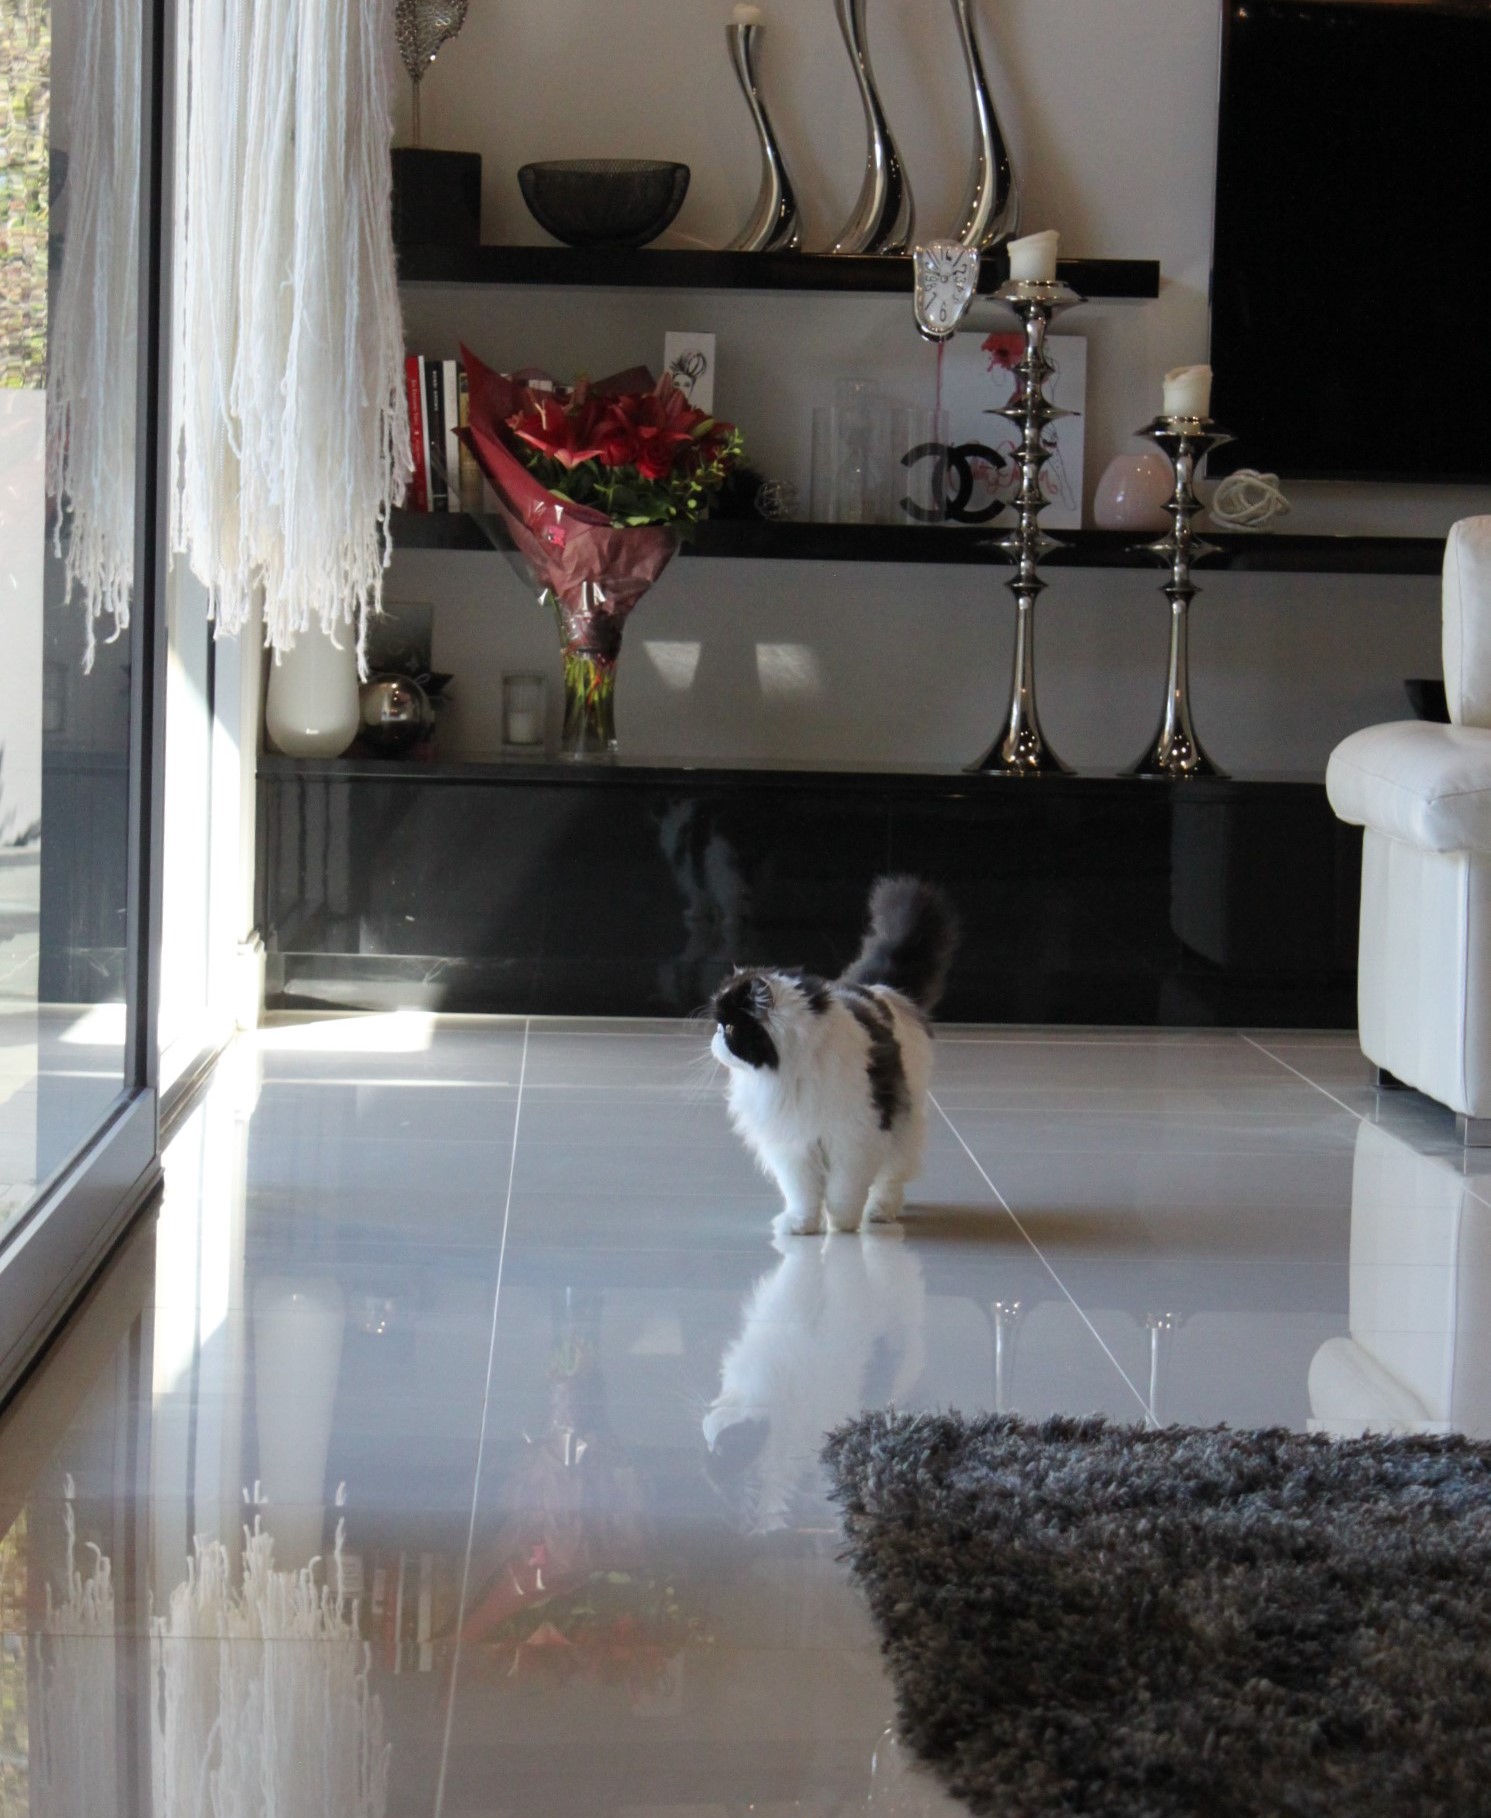
It wasn’t until we started cleaning our grout that we realised just how dirty it was! These tiles are four years old and they are laid in really high traffic areas of the home – the Laundry (which the cats own), the Kitchen and Butlers, Dining Room and Lounge Room.
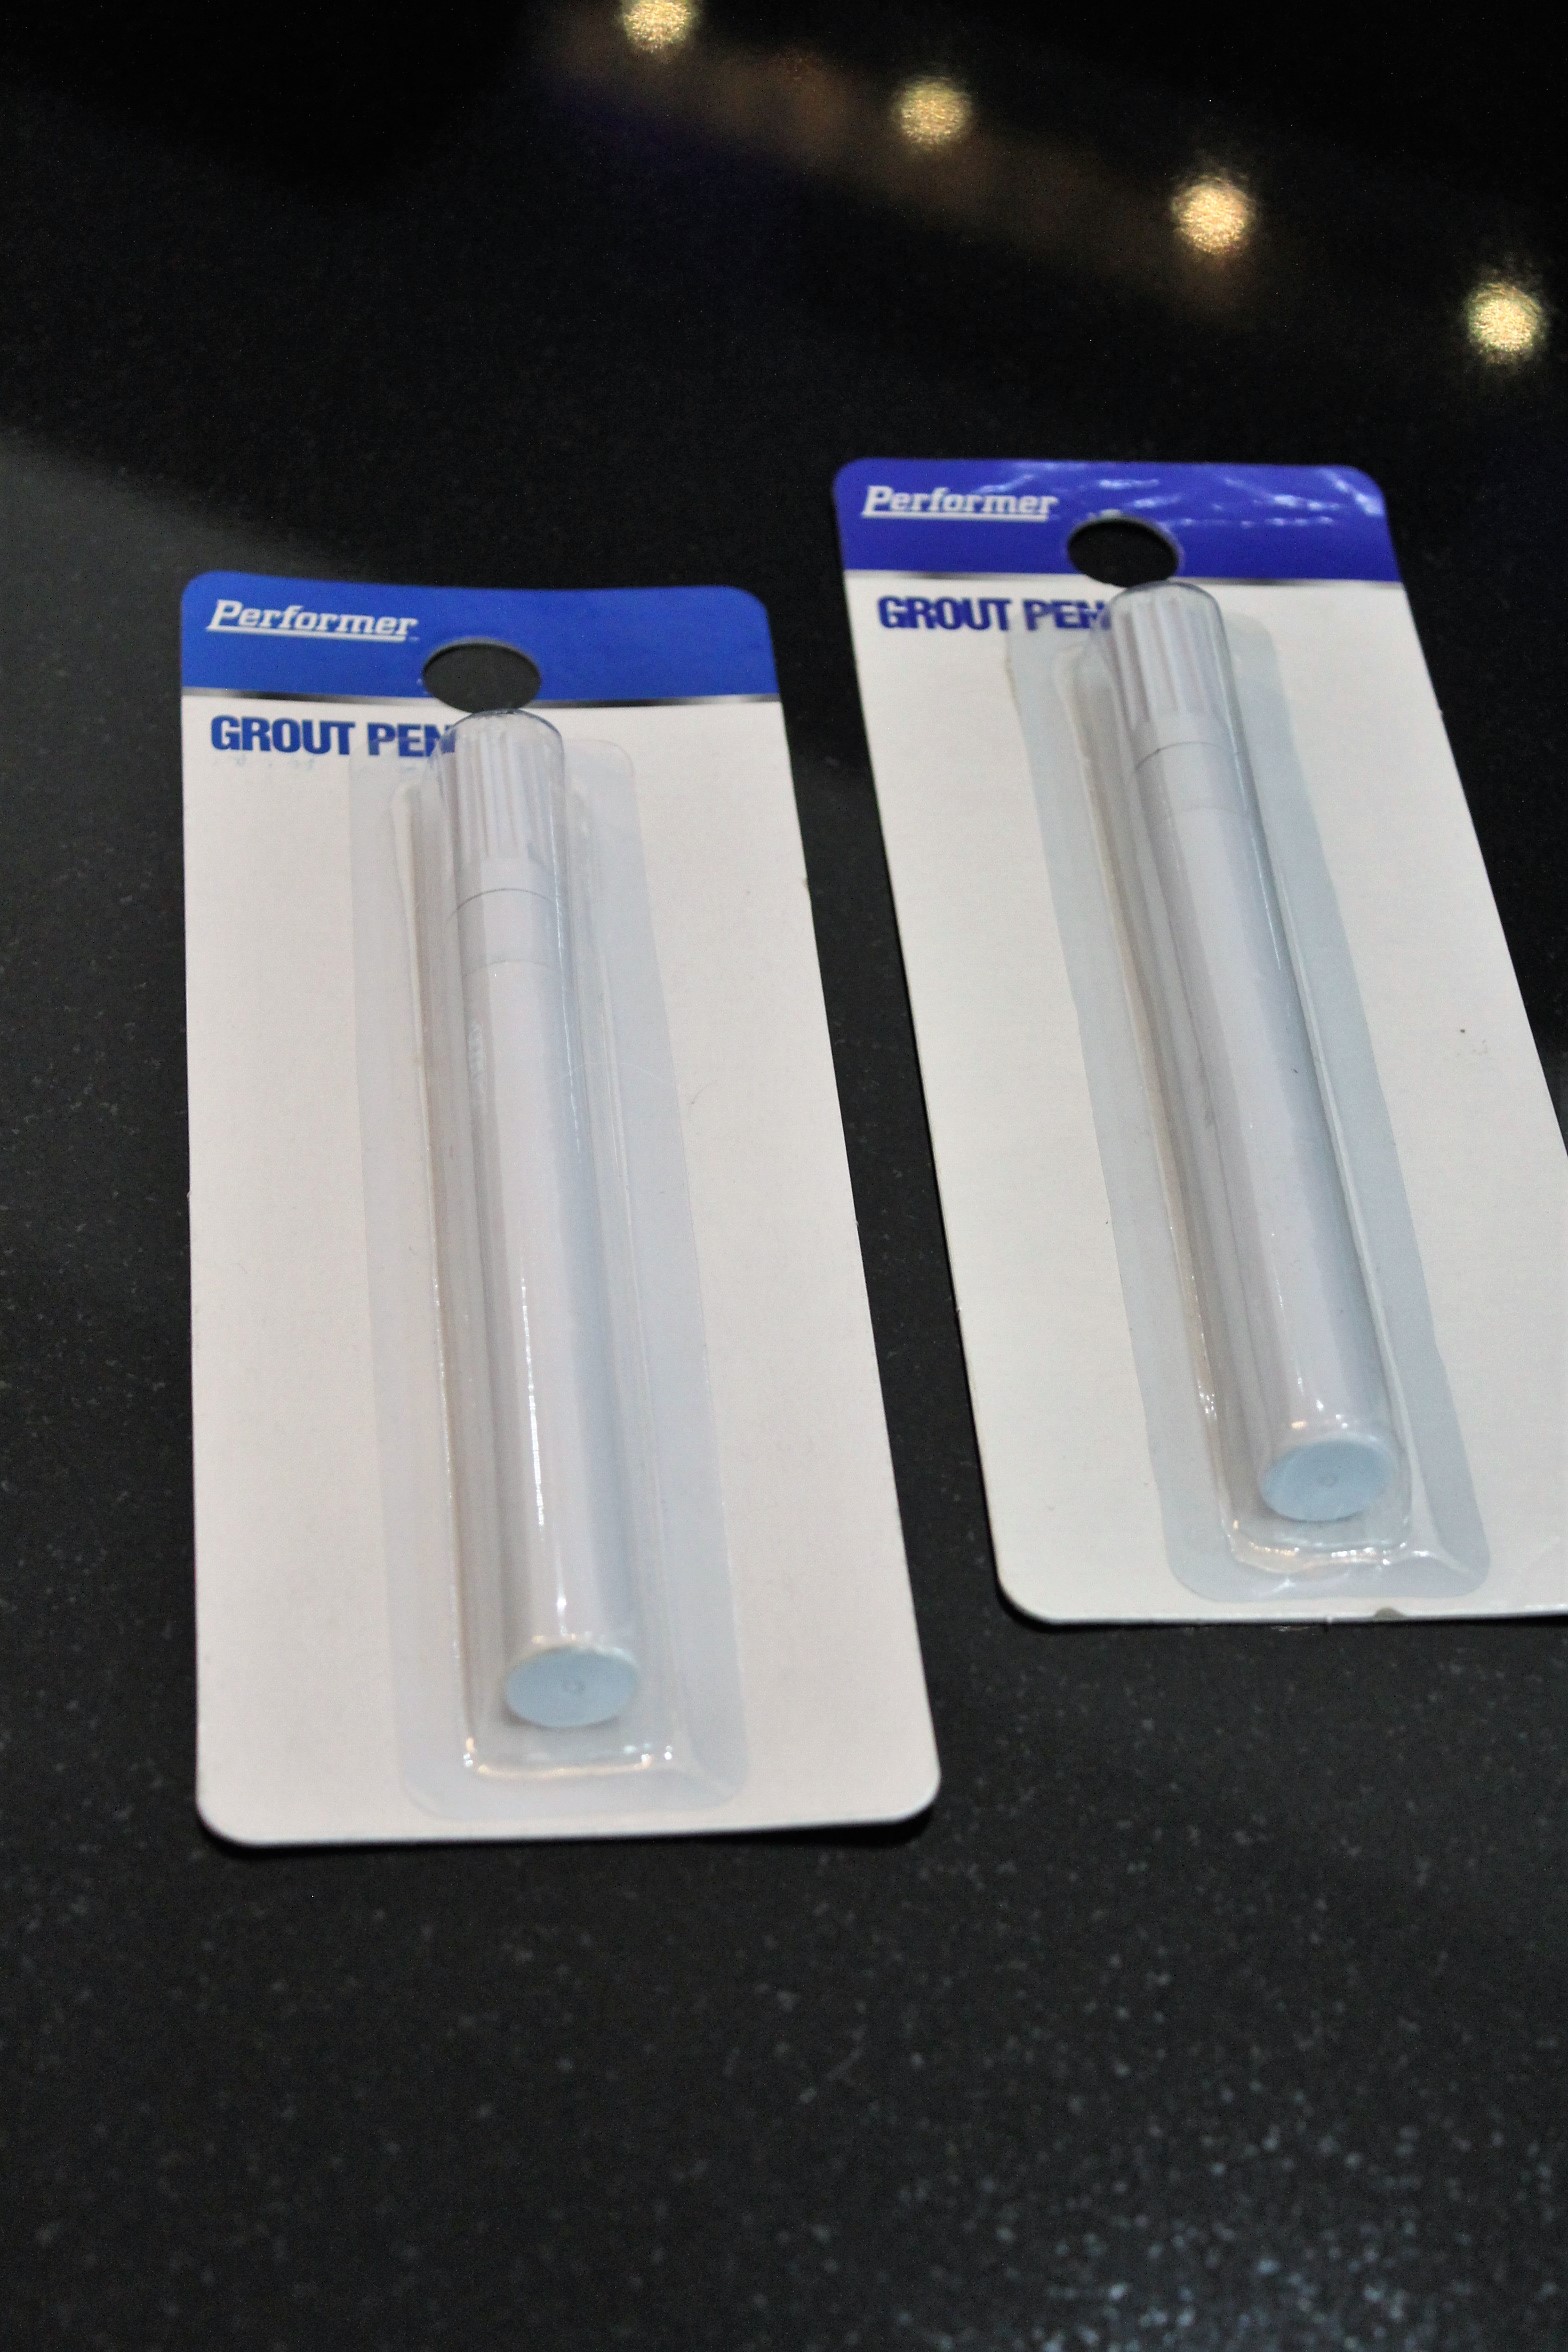
There’s been a lot of ‘chatter’ on some Kmart Facebook pages about these Grout Pens $4 each. We think these pens are brilliant – but NOT for doing ALL your grout! All you’re doing is painting the dirt and grime – not cleaning and removing it! So grab one of these pens, but keep it for the small areas of grout that are damaged and simply won’t come clean!
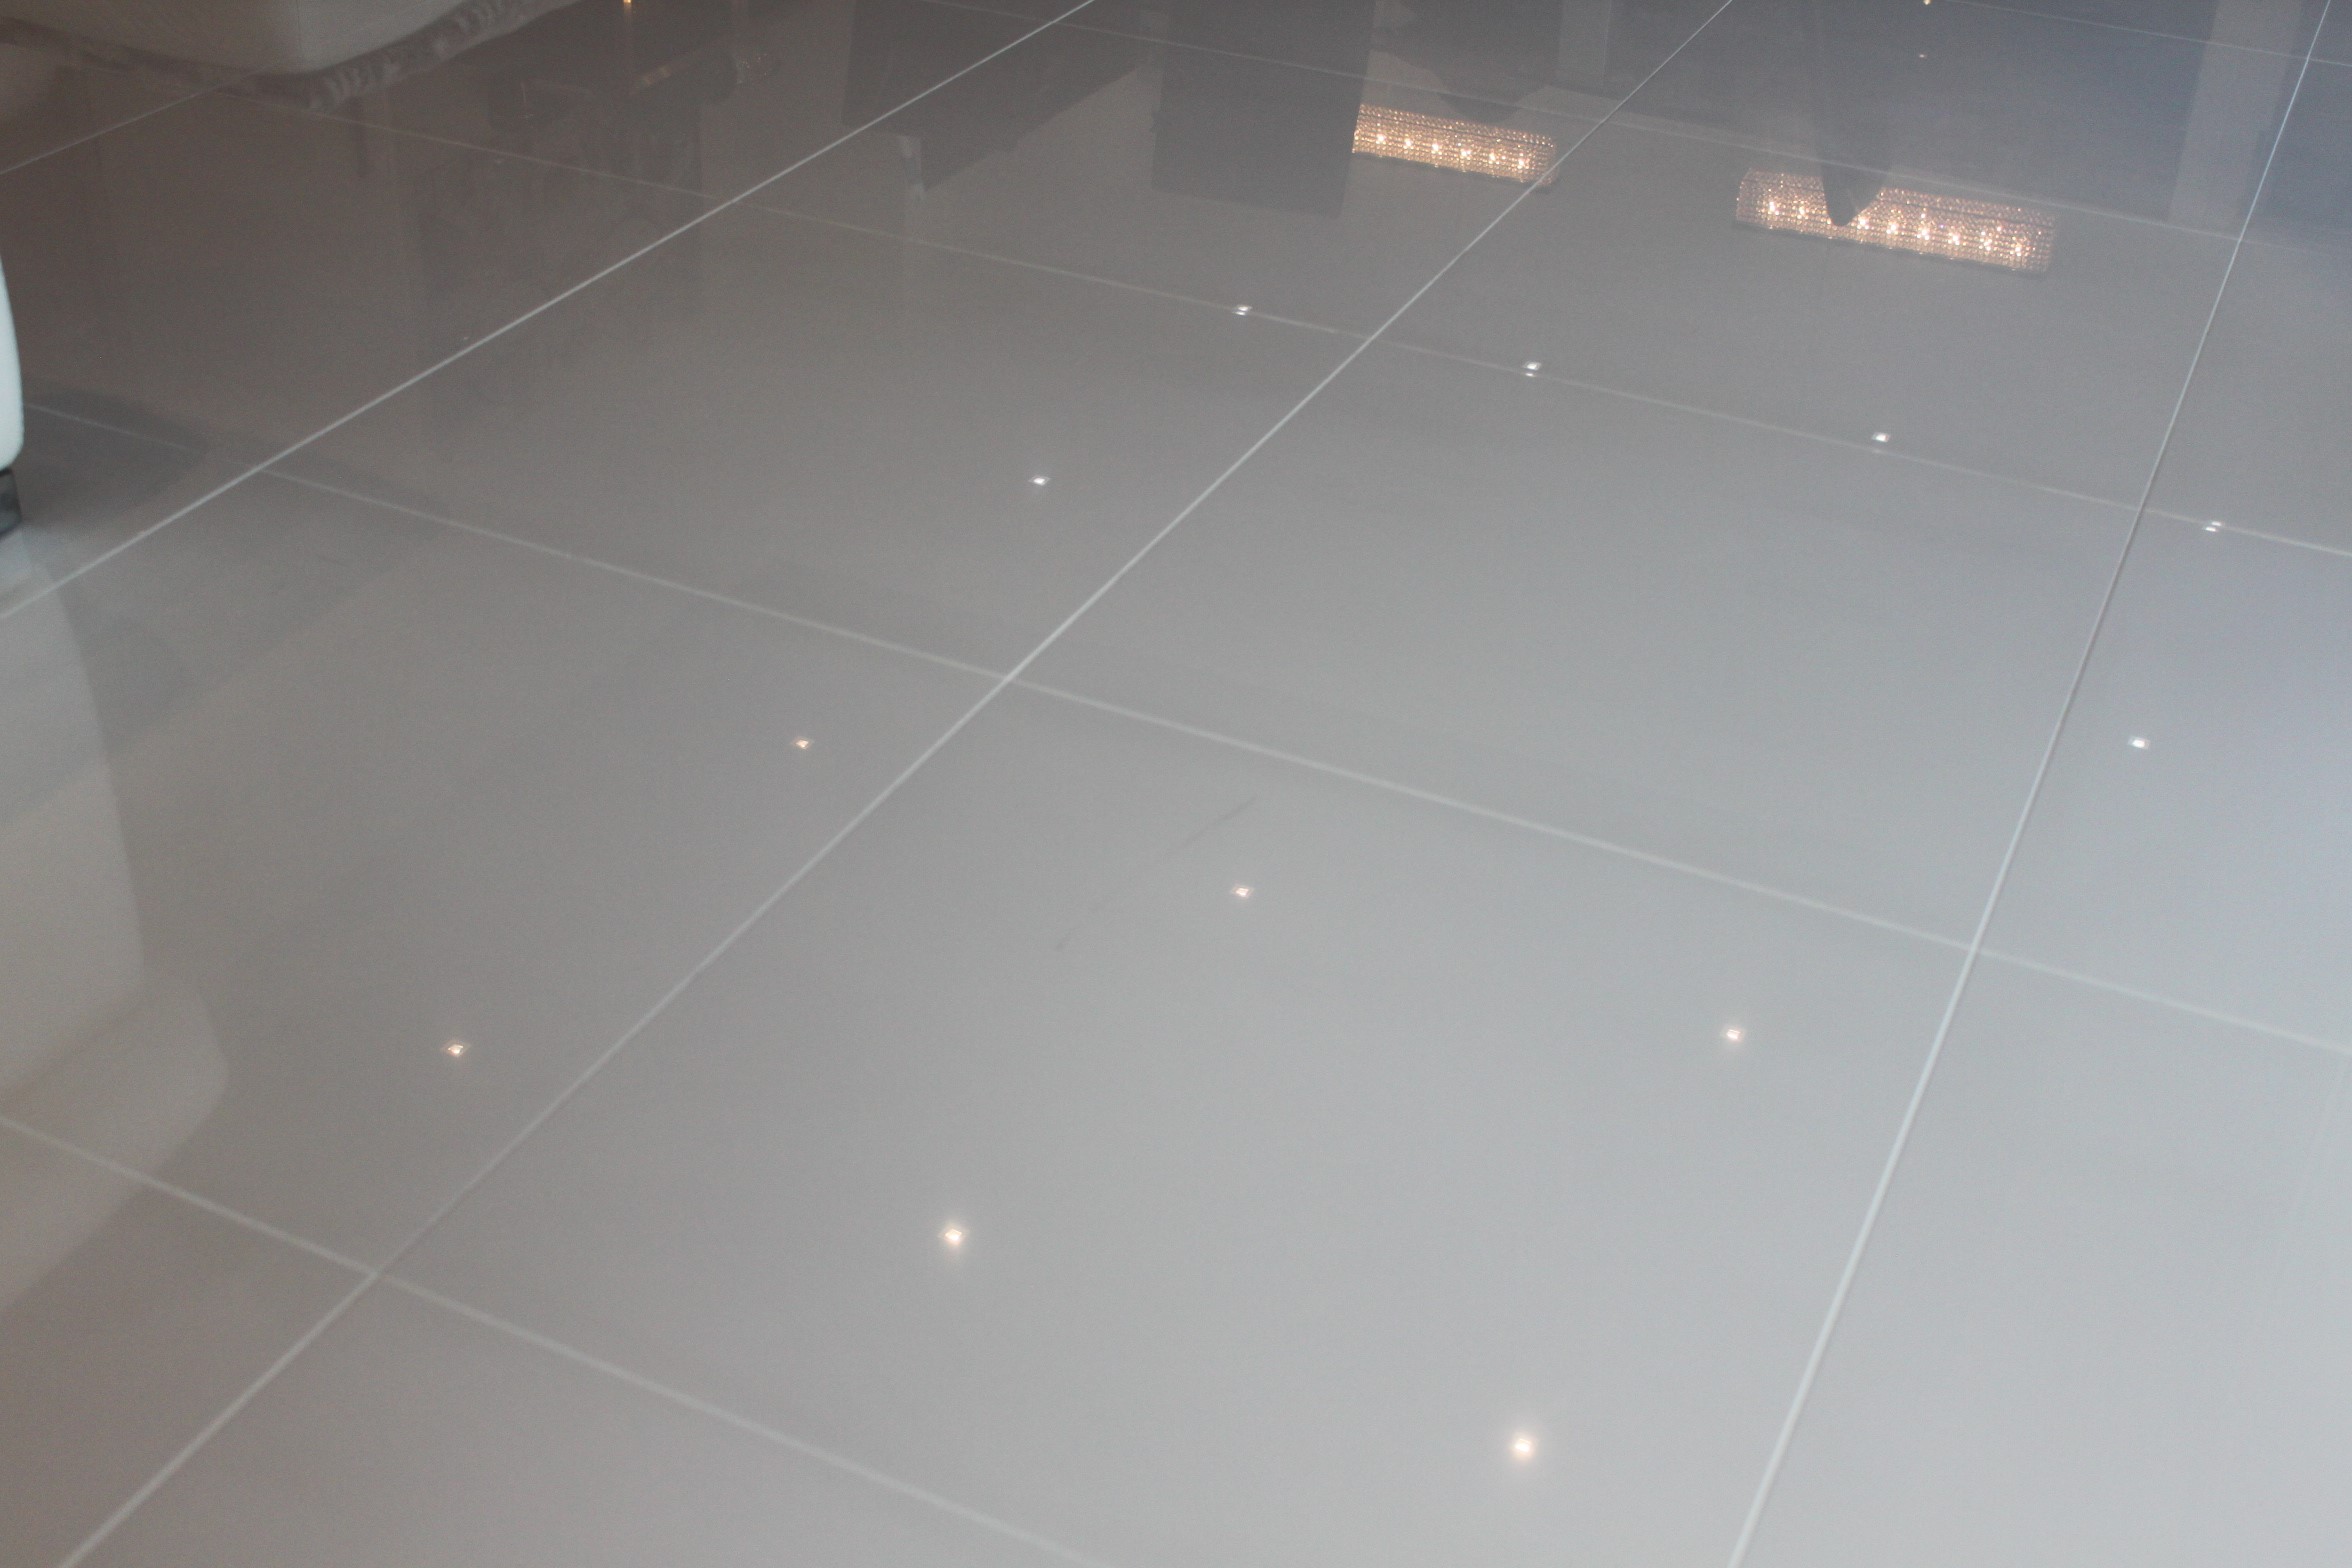
Look at how clean the grout lines are! It looks like a completely new grout job! Have we got your attention yet?! If not, what if we tell you that we hardly even scrubbed the lines – sounding better?!
It’s not that we don’t like cleaning, it’s just that we like cleaning done in the easiest possible way, with the least amount of effort and time, but still achieving perfect results – that’s what we think cleaning should be about! So with that in mind, we researched and tested different methods and came up with our own version and recipe and now we’re going to share it with you!
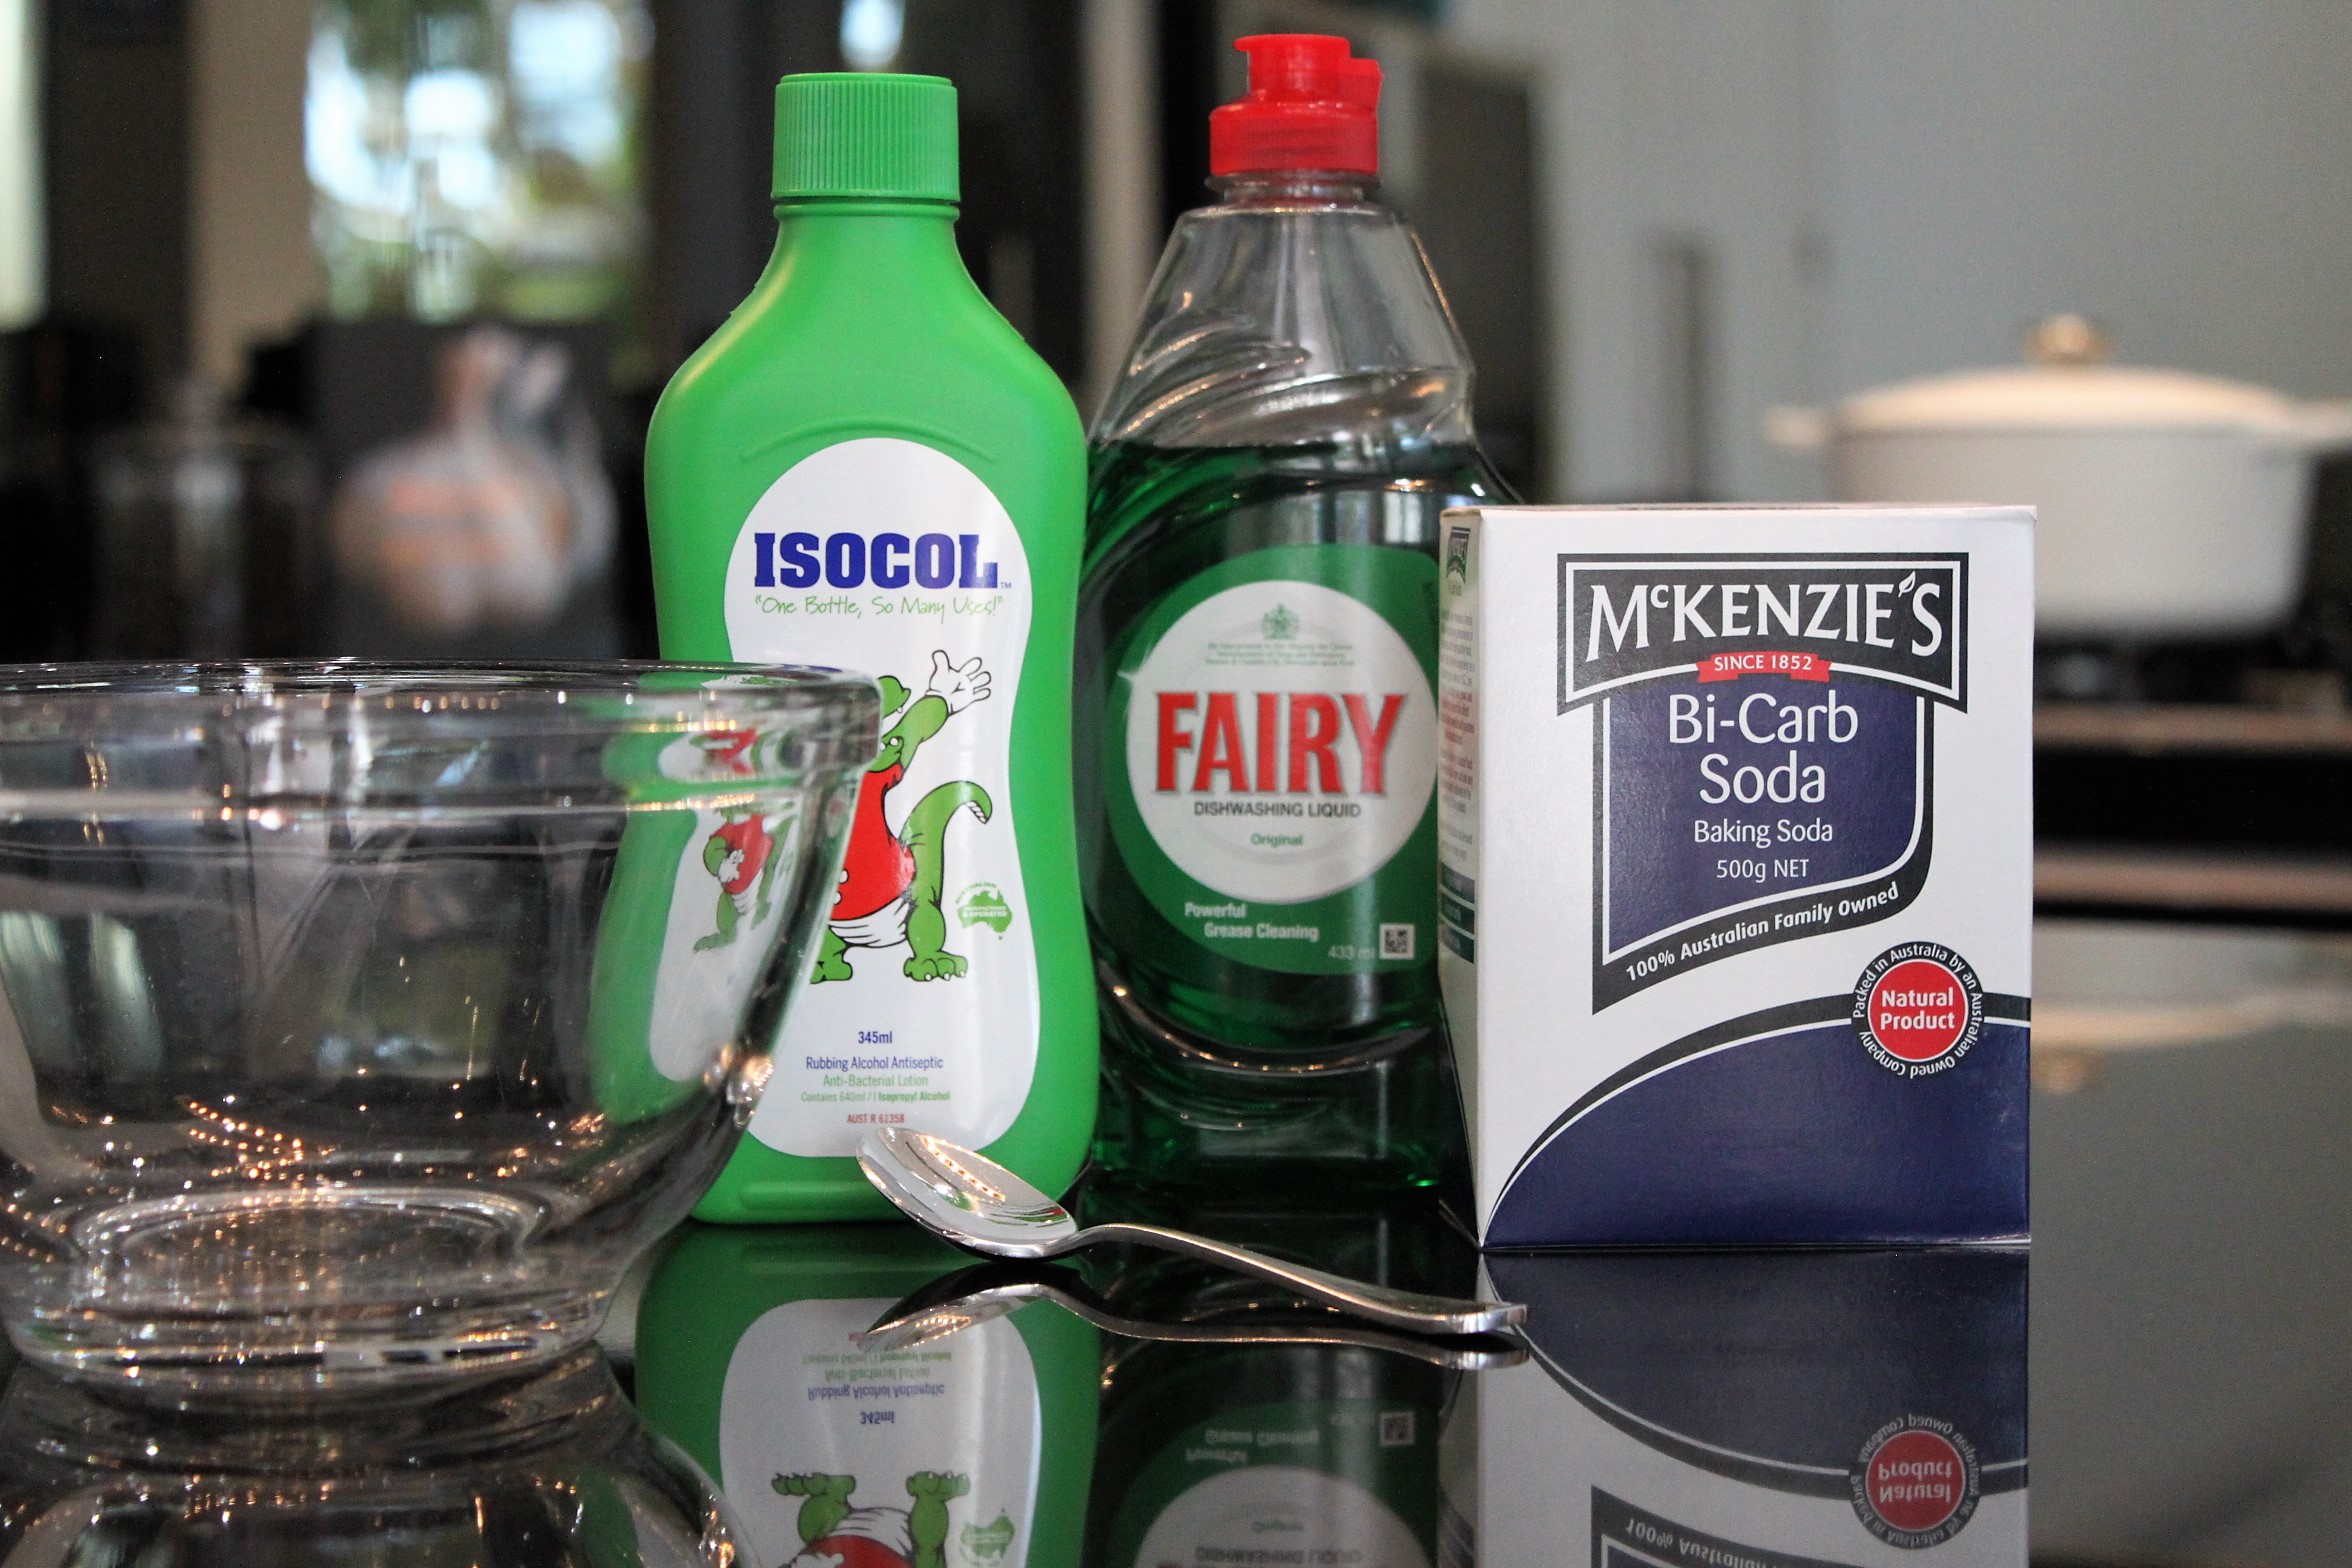
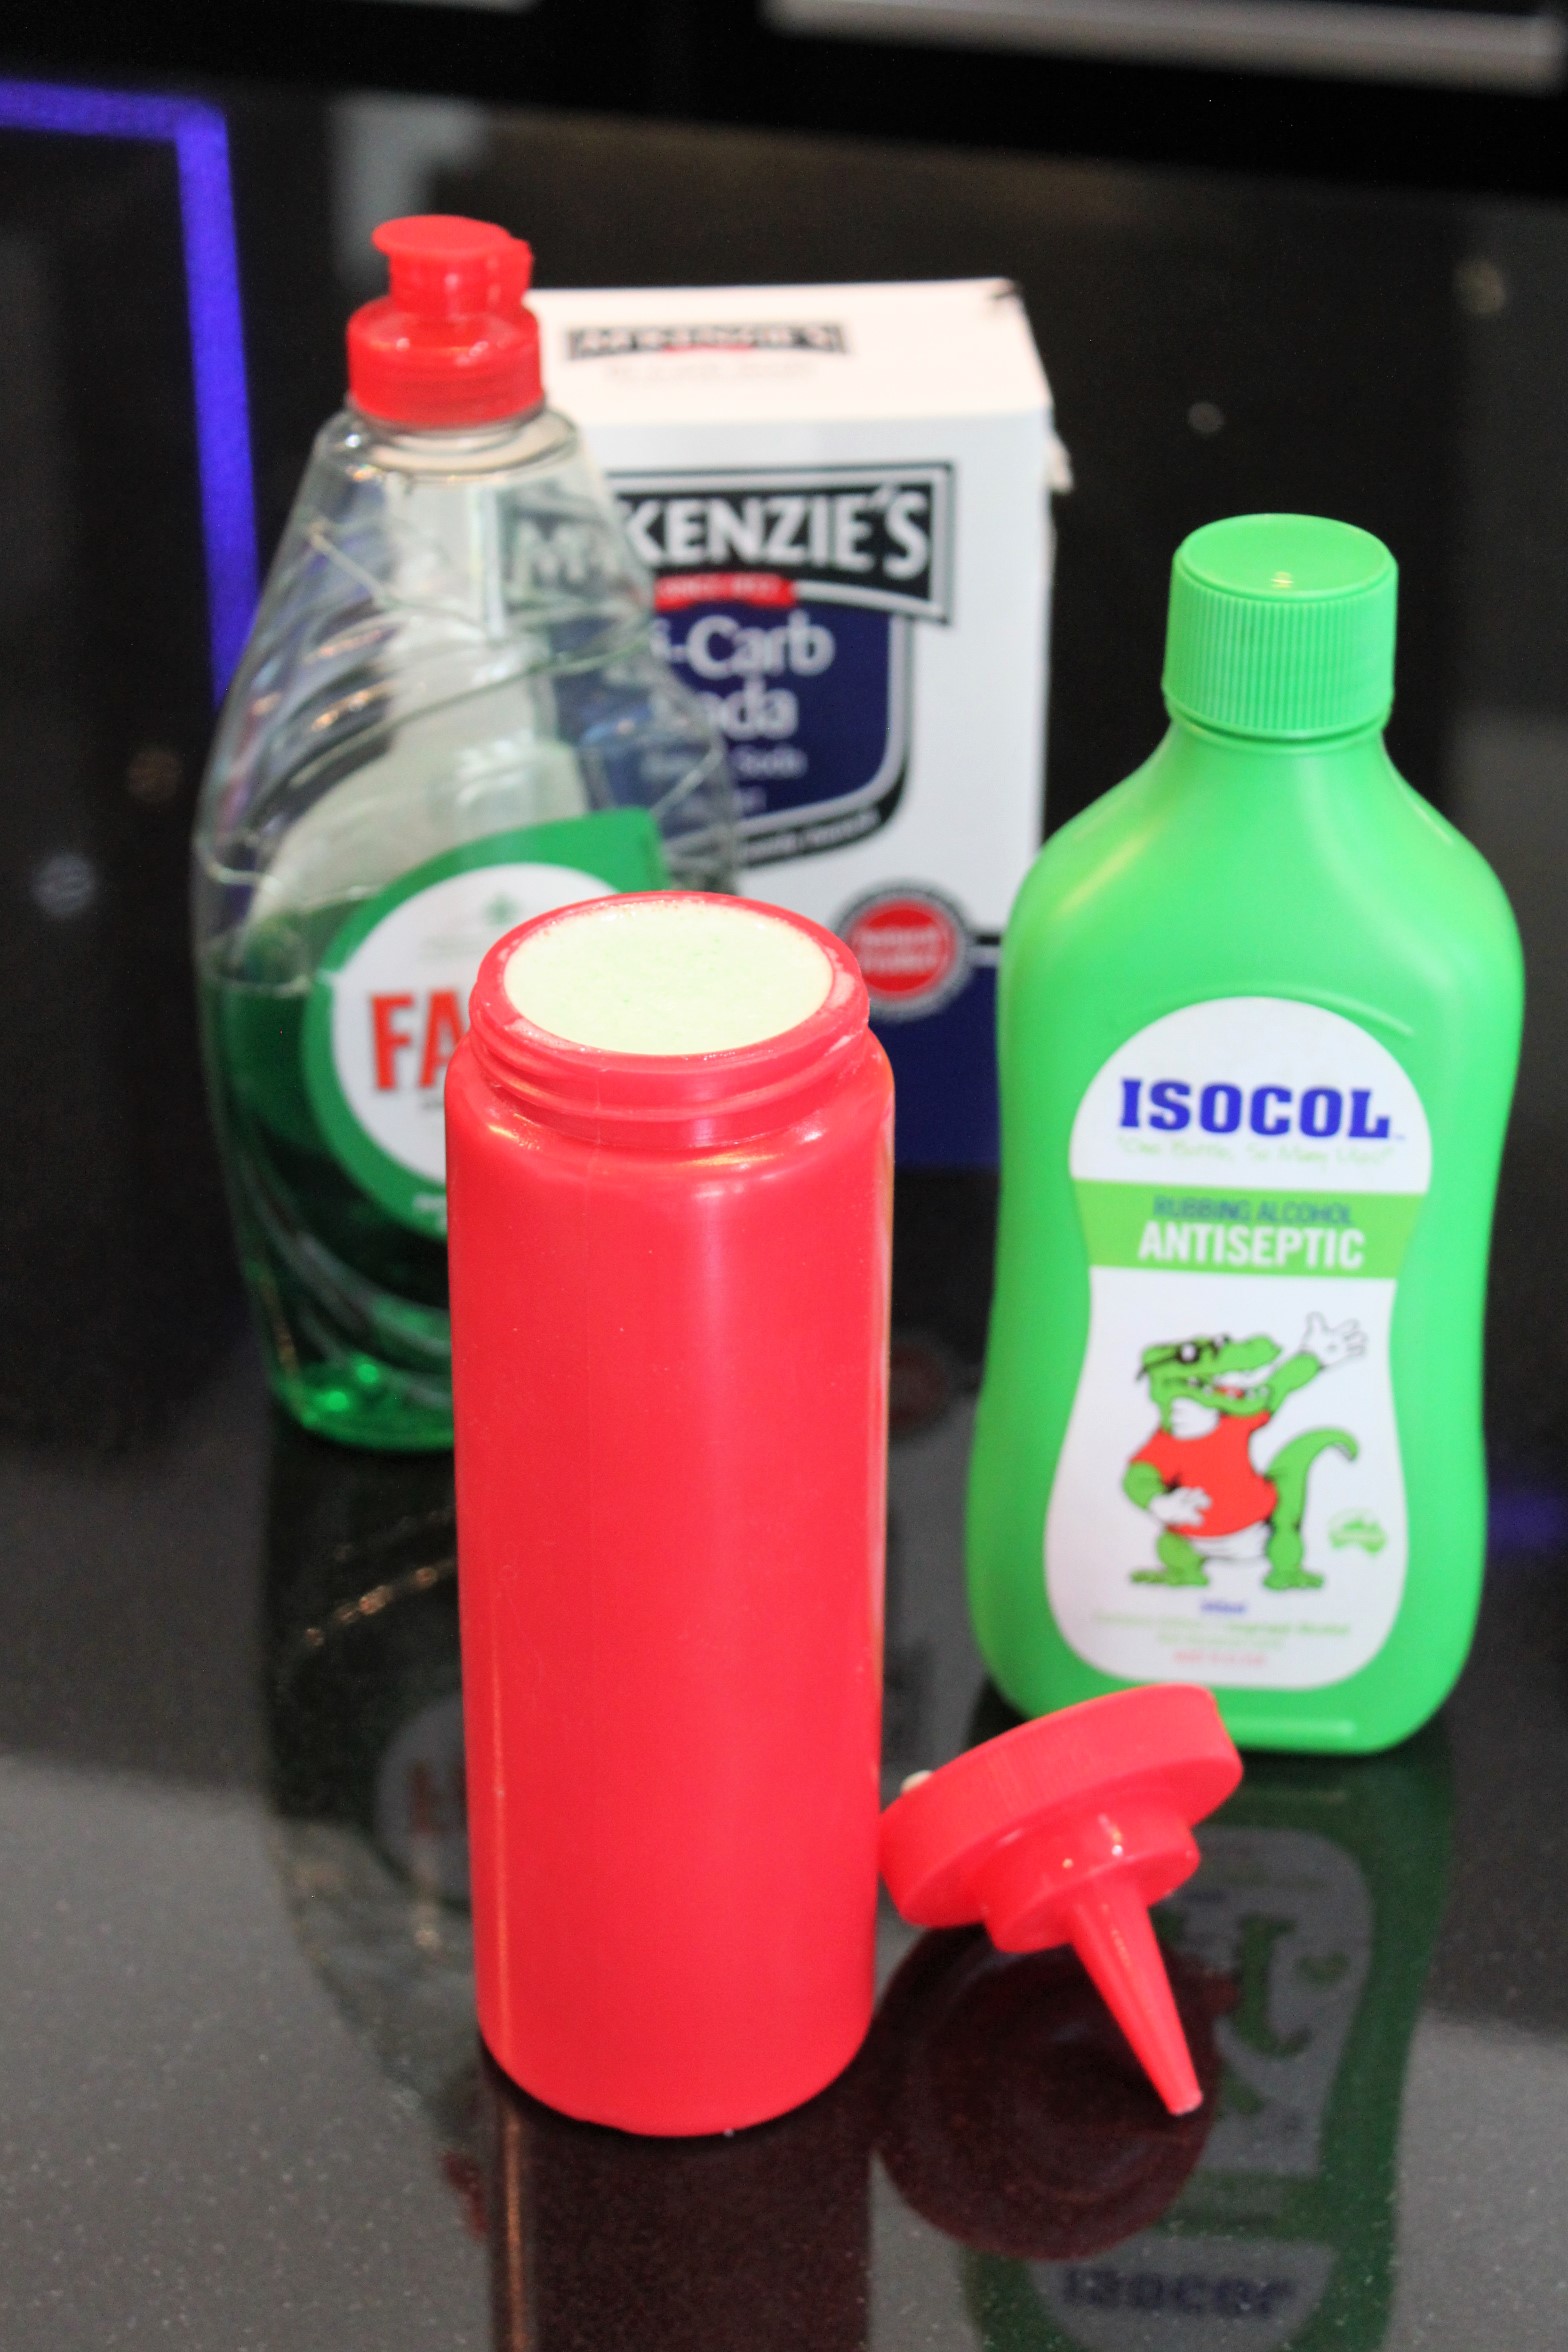
The Grout Cleaner is made from three simple ingredients. Isopropyl Alcohol, Bi-carb Soda (Baking Soda) and Fairy brand dish detergent. (You don’t have to use Fairy – but if you do, you’ll be glad that you did!)
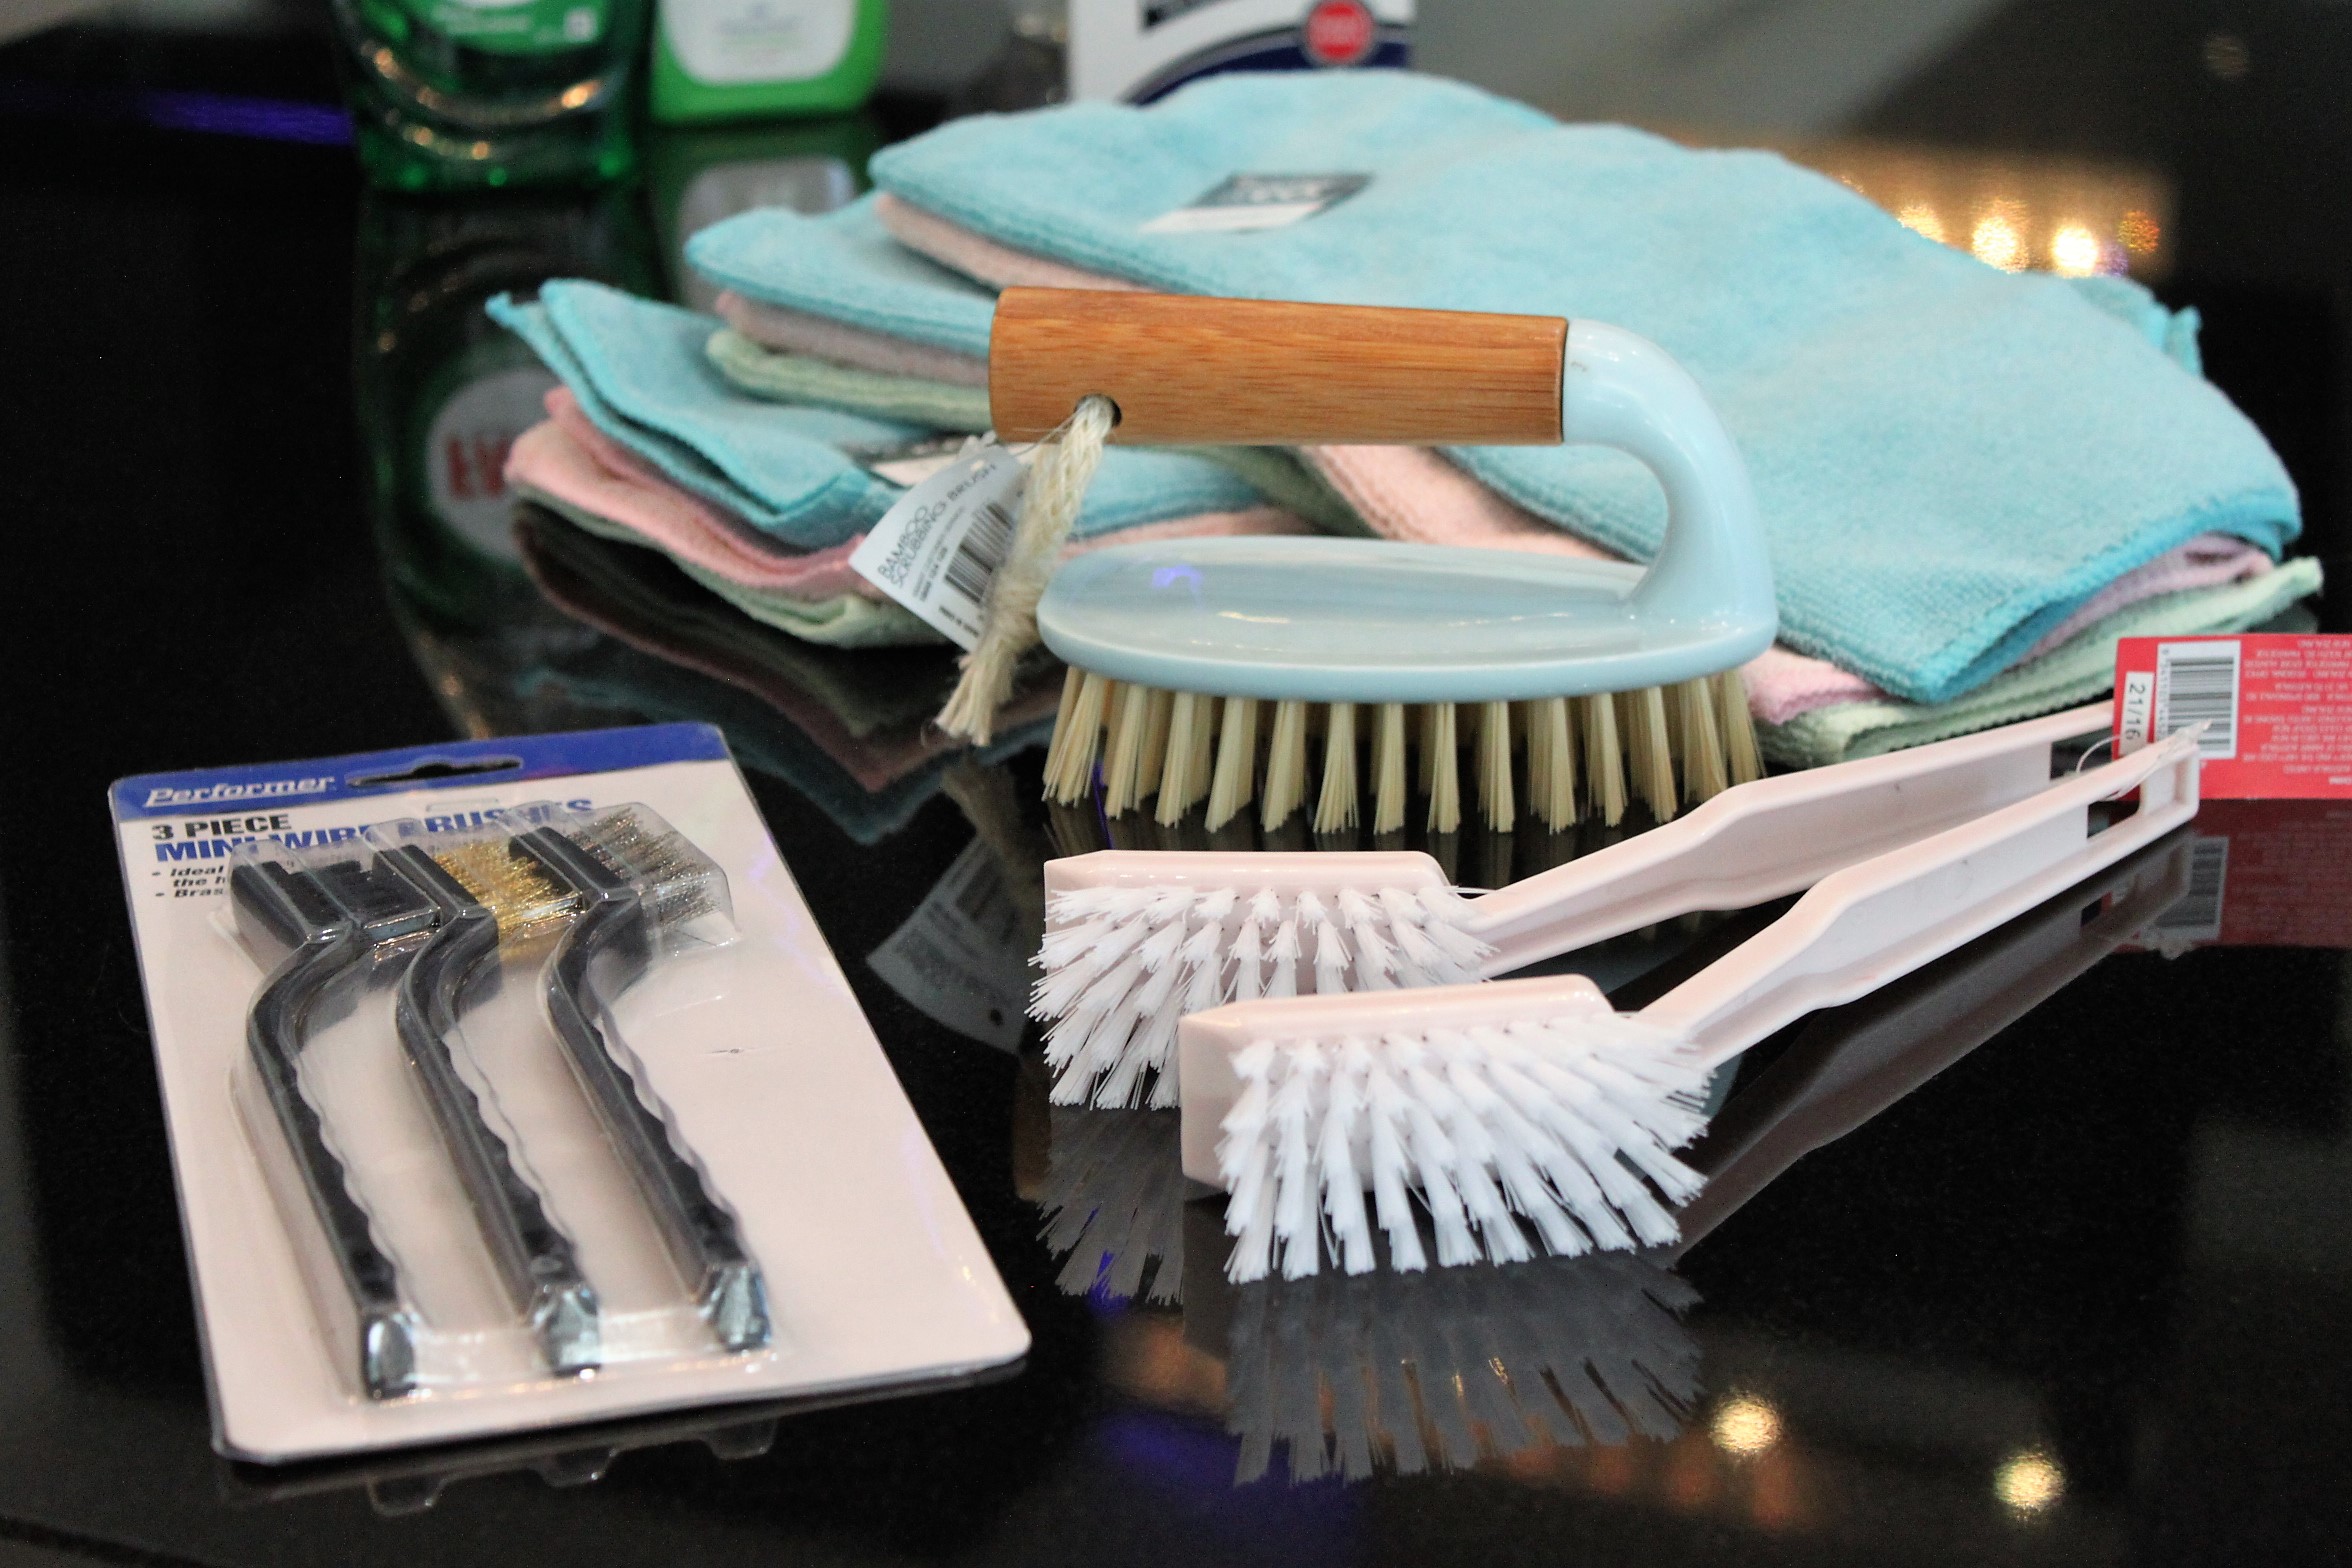
From Kmart you’re going to need to buy a stack of Microfibre Cloths 3 for $2. The more you have, the easier the job is so buy yourself a few packs! We bought a variety of scrubbing brushes – the two pack pink ones are fine for washing dishes, but sadly, no good for this job. The Blue Scrubber was too large when you’re concentrating on the lines, so we had the most luck with the nylon brush from the three pack pictured top left. There are two wire brushes in this pack – we don’t recommend using them on grout!
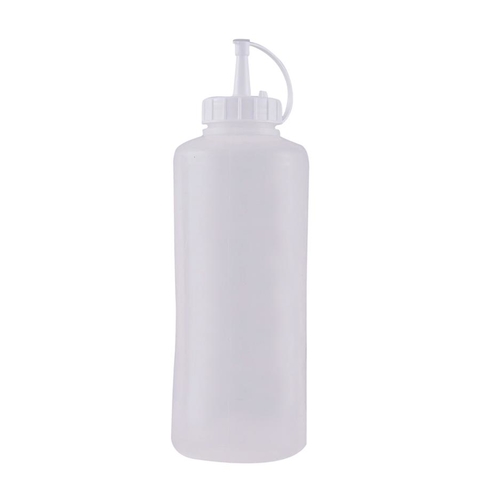
While you’re in Kmart grab the most essential tool – the empty sauce bottle 1 Litre $2 and
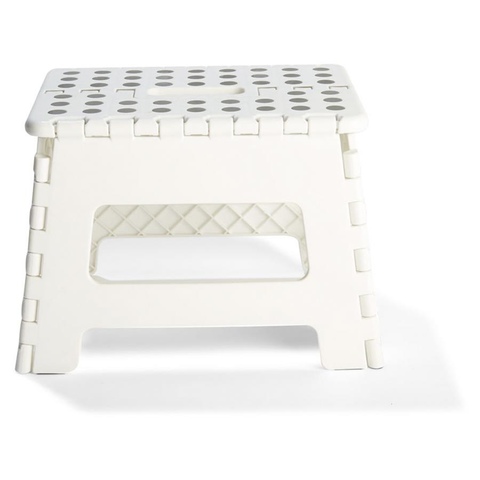
If you’re prone to disliking bending over a lot, grab yourself one of these brilliant Folding Step $5 – they are brilliant! We have these in almost every room of the house to reach all the high places! They fold up and you can easily store them in a cupboard or drawer out of sight! They also double as a nice seat when you’re cleaning grout!
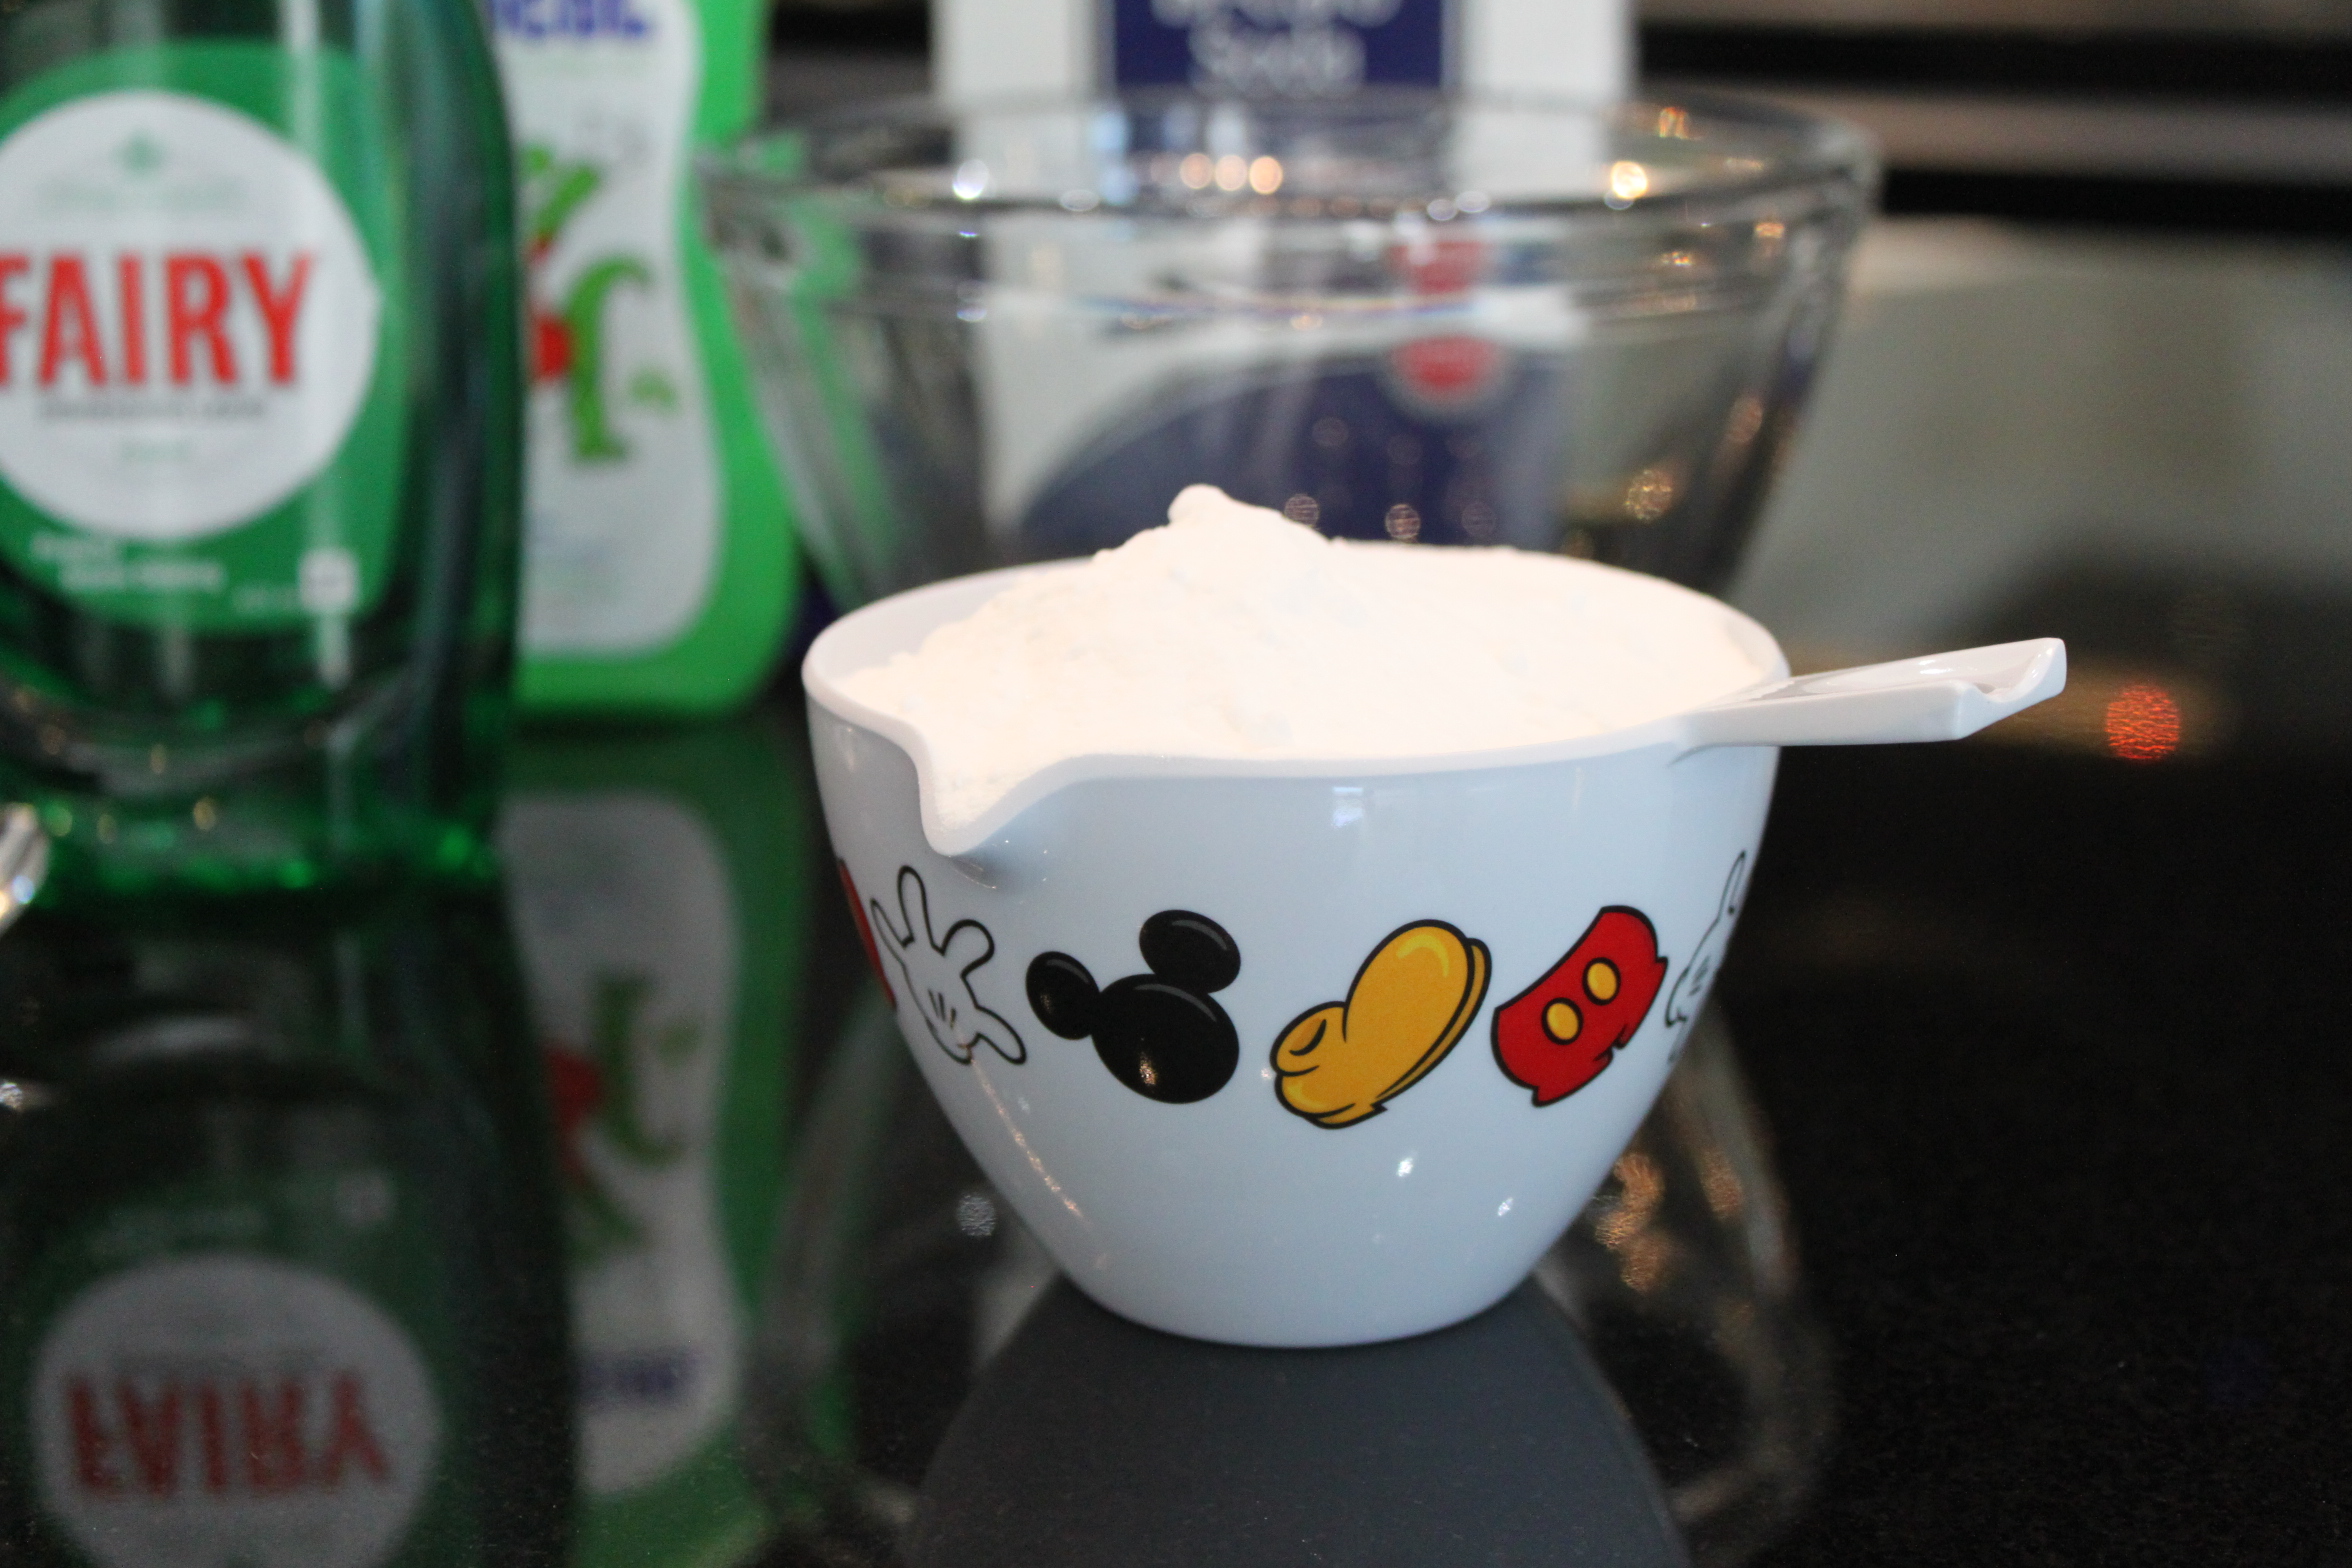
So we’re going to start with One Cup of the Baking Soda – pop that in a medium sized bowl.

Next measure out ½ cup of the Fairy detergent
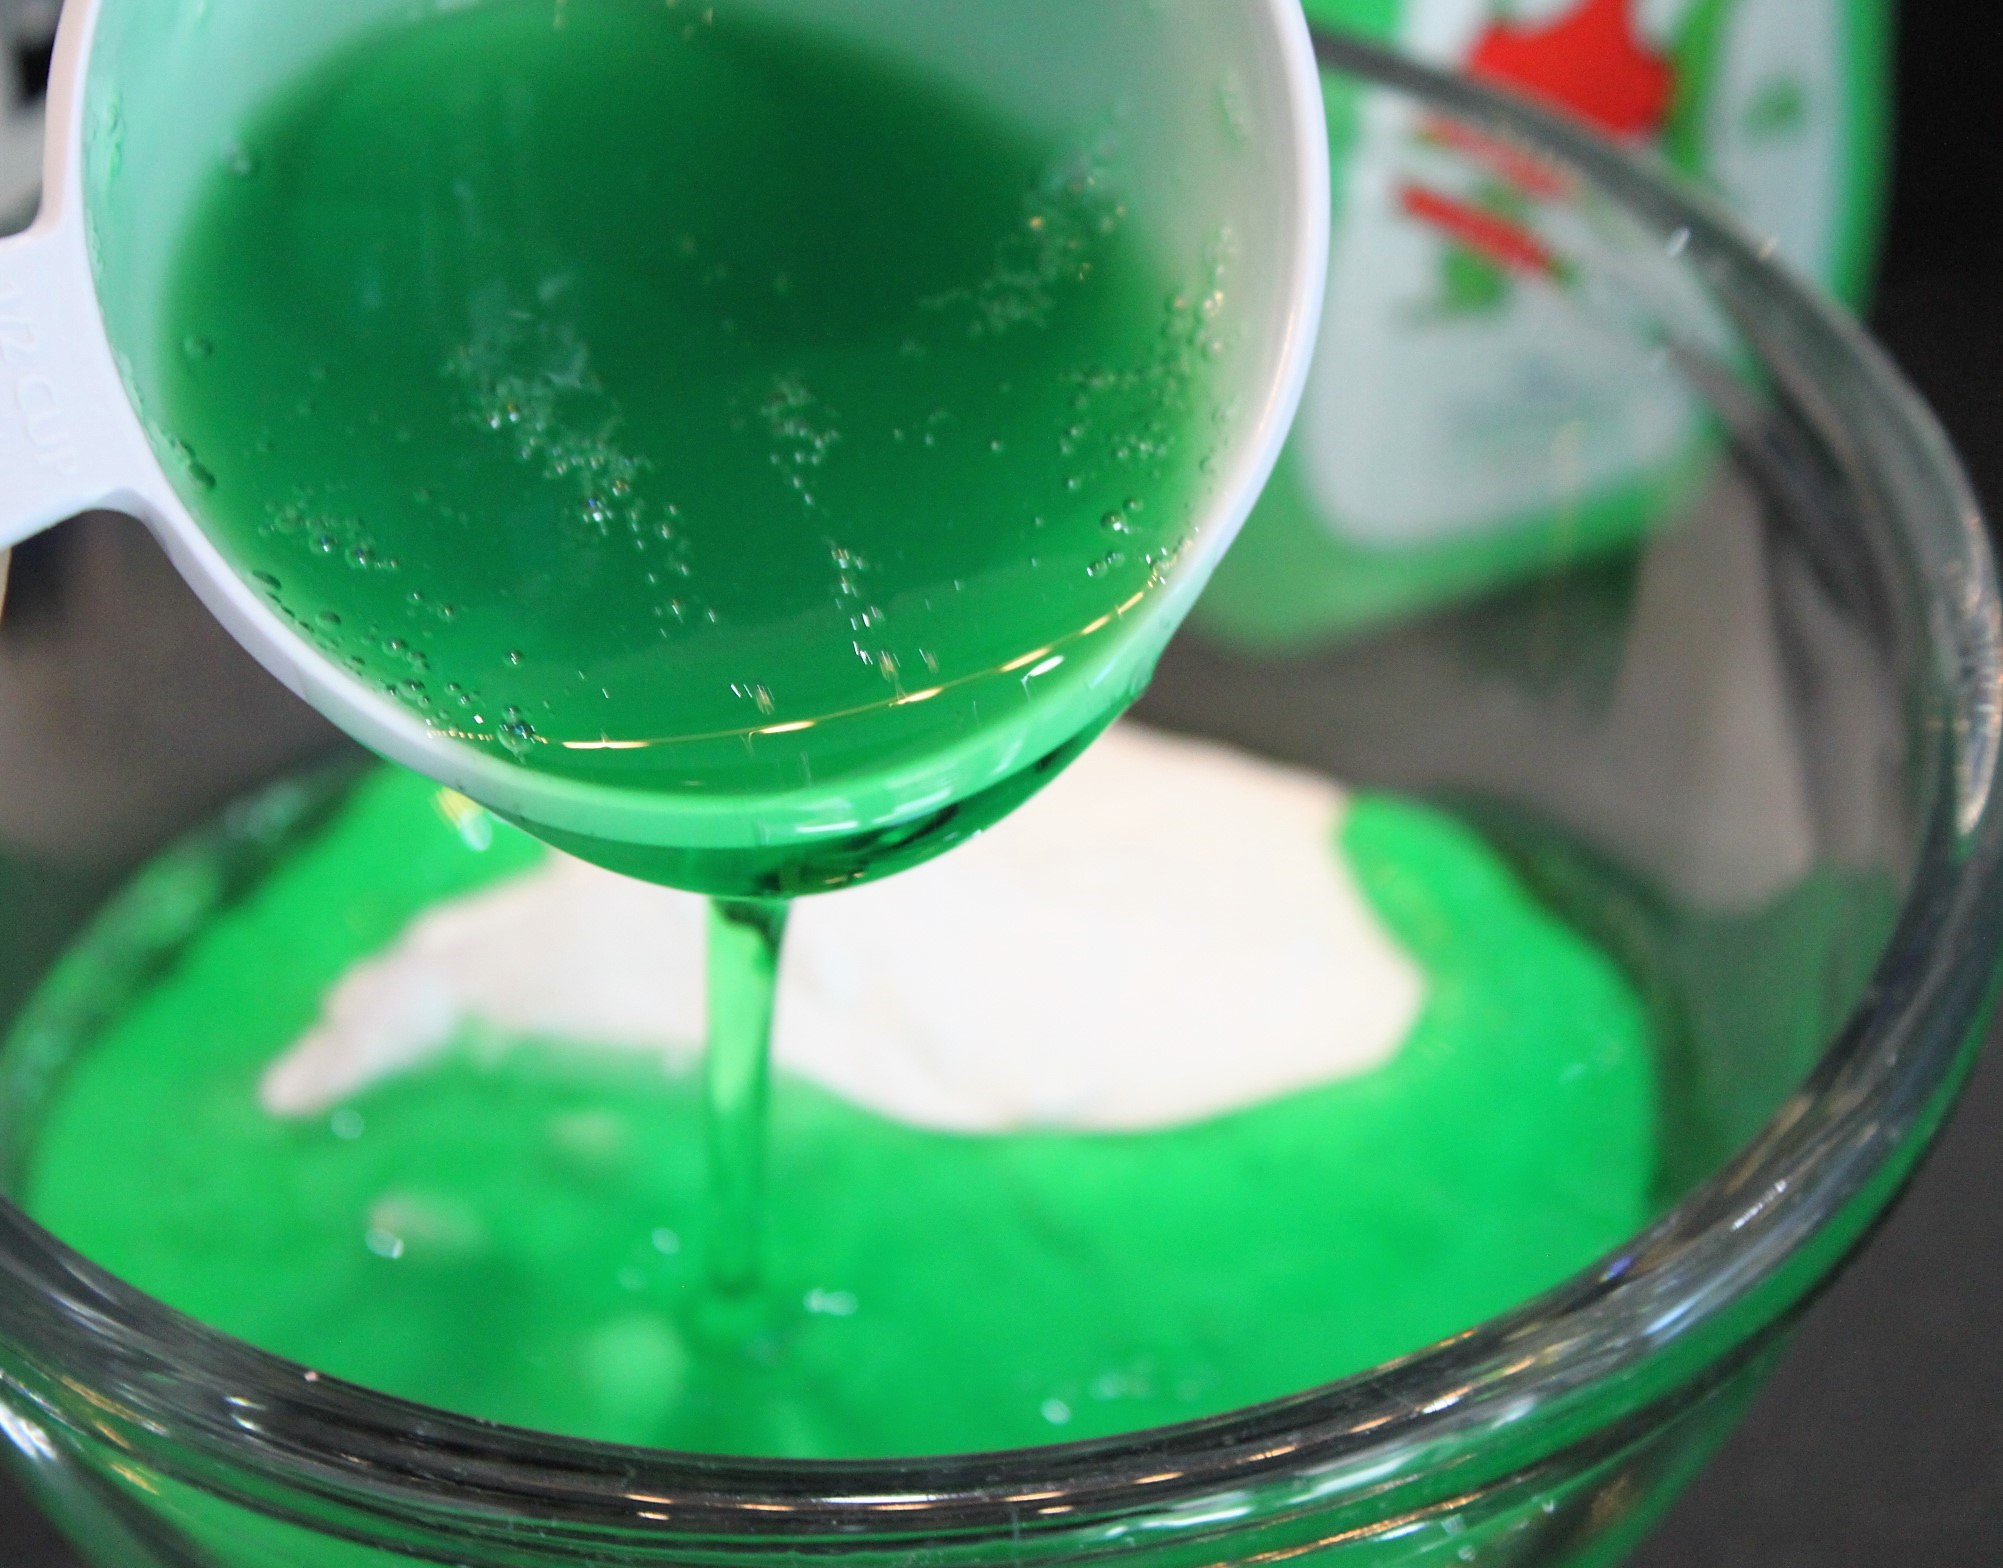
And pour that on top of the baking soda.
Stir the detergent into the baking soda until it looks like this.
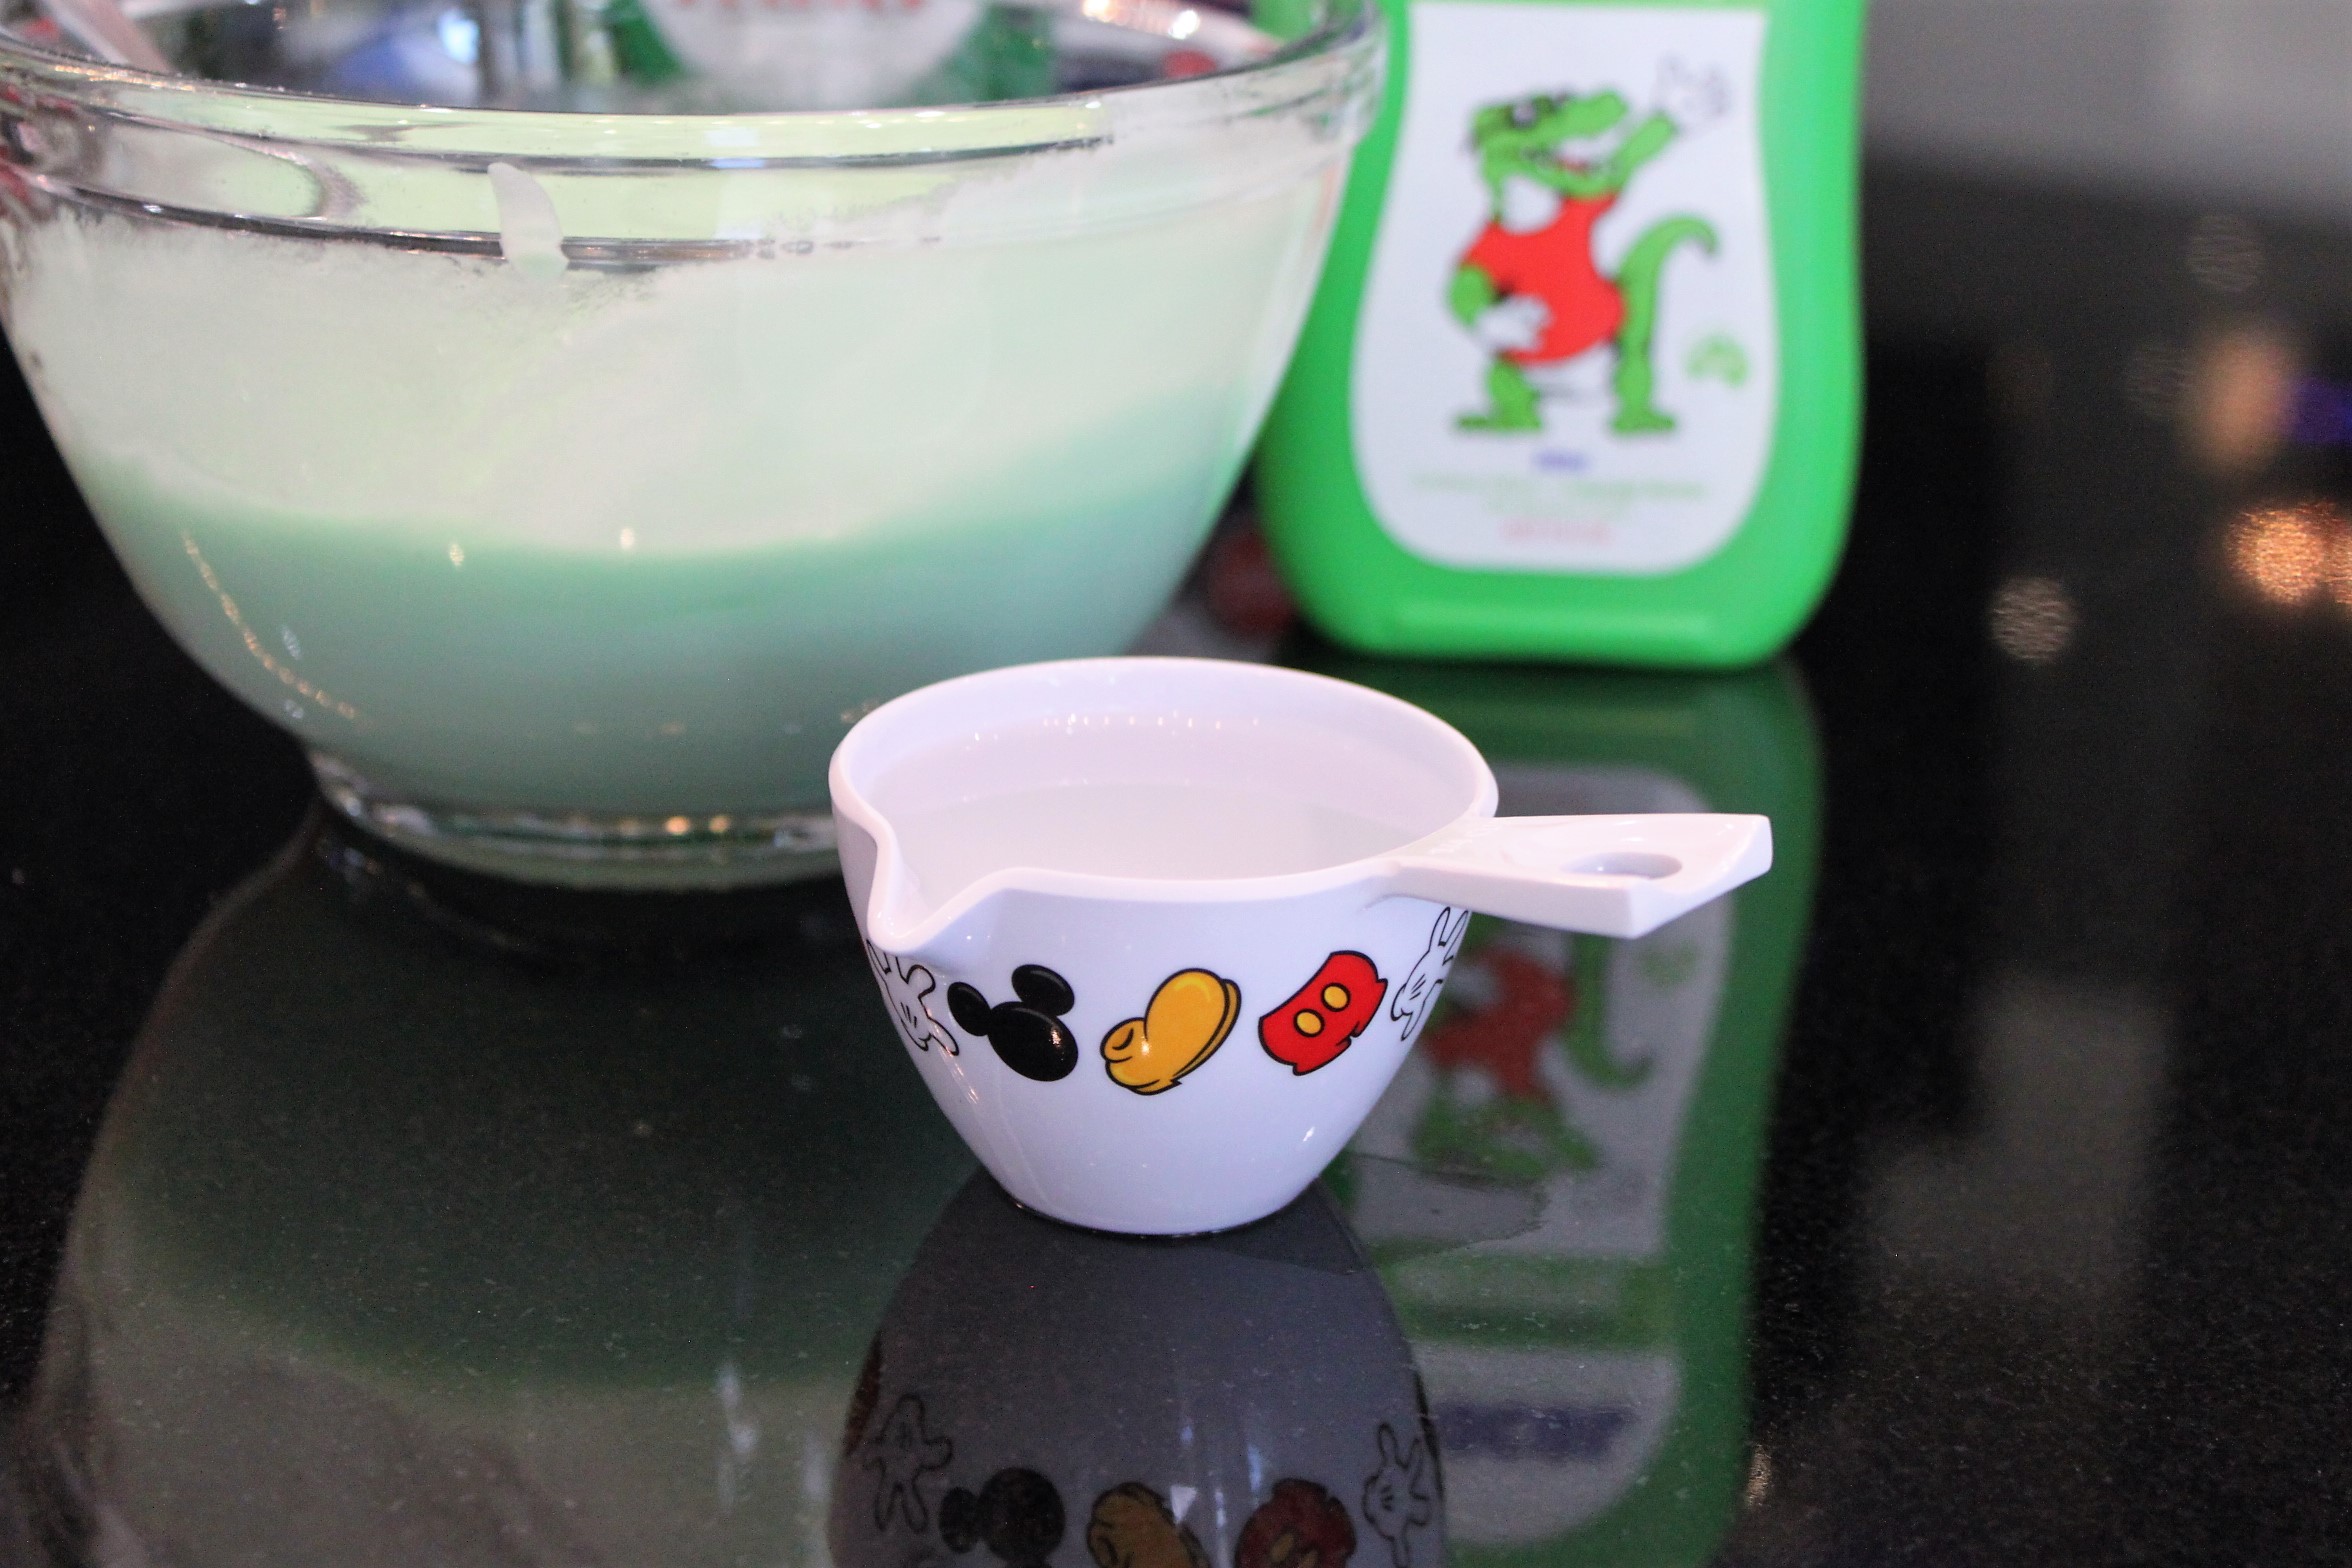
Then measure out ¼ cup of the Isopropyl Alcohol
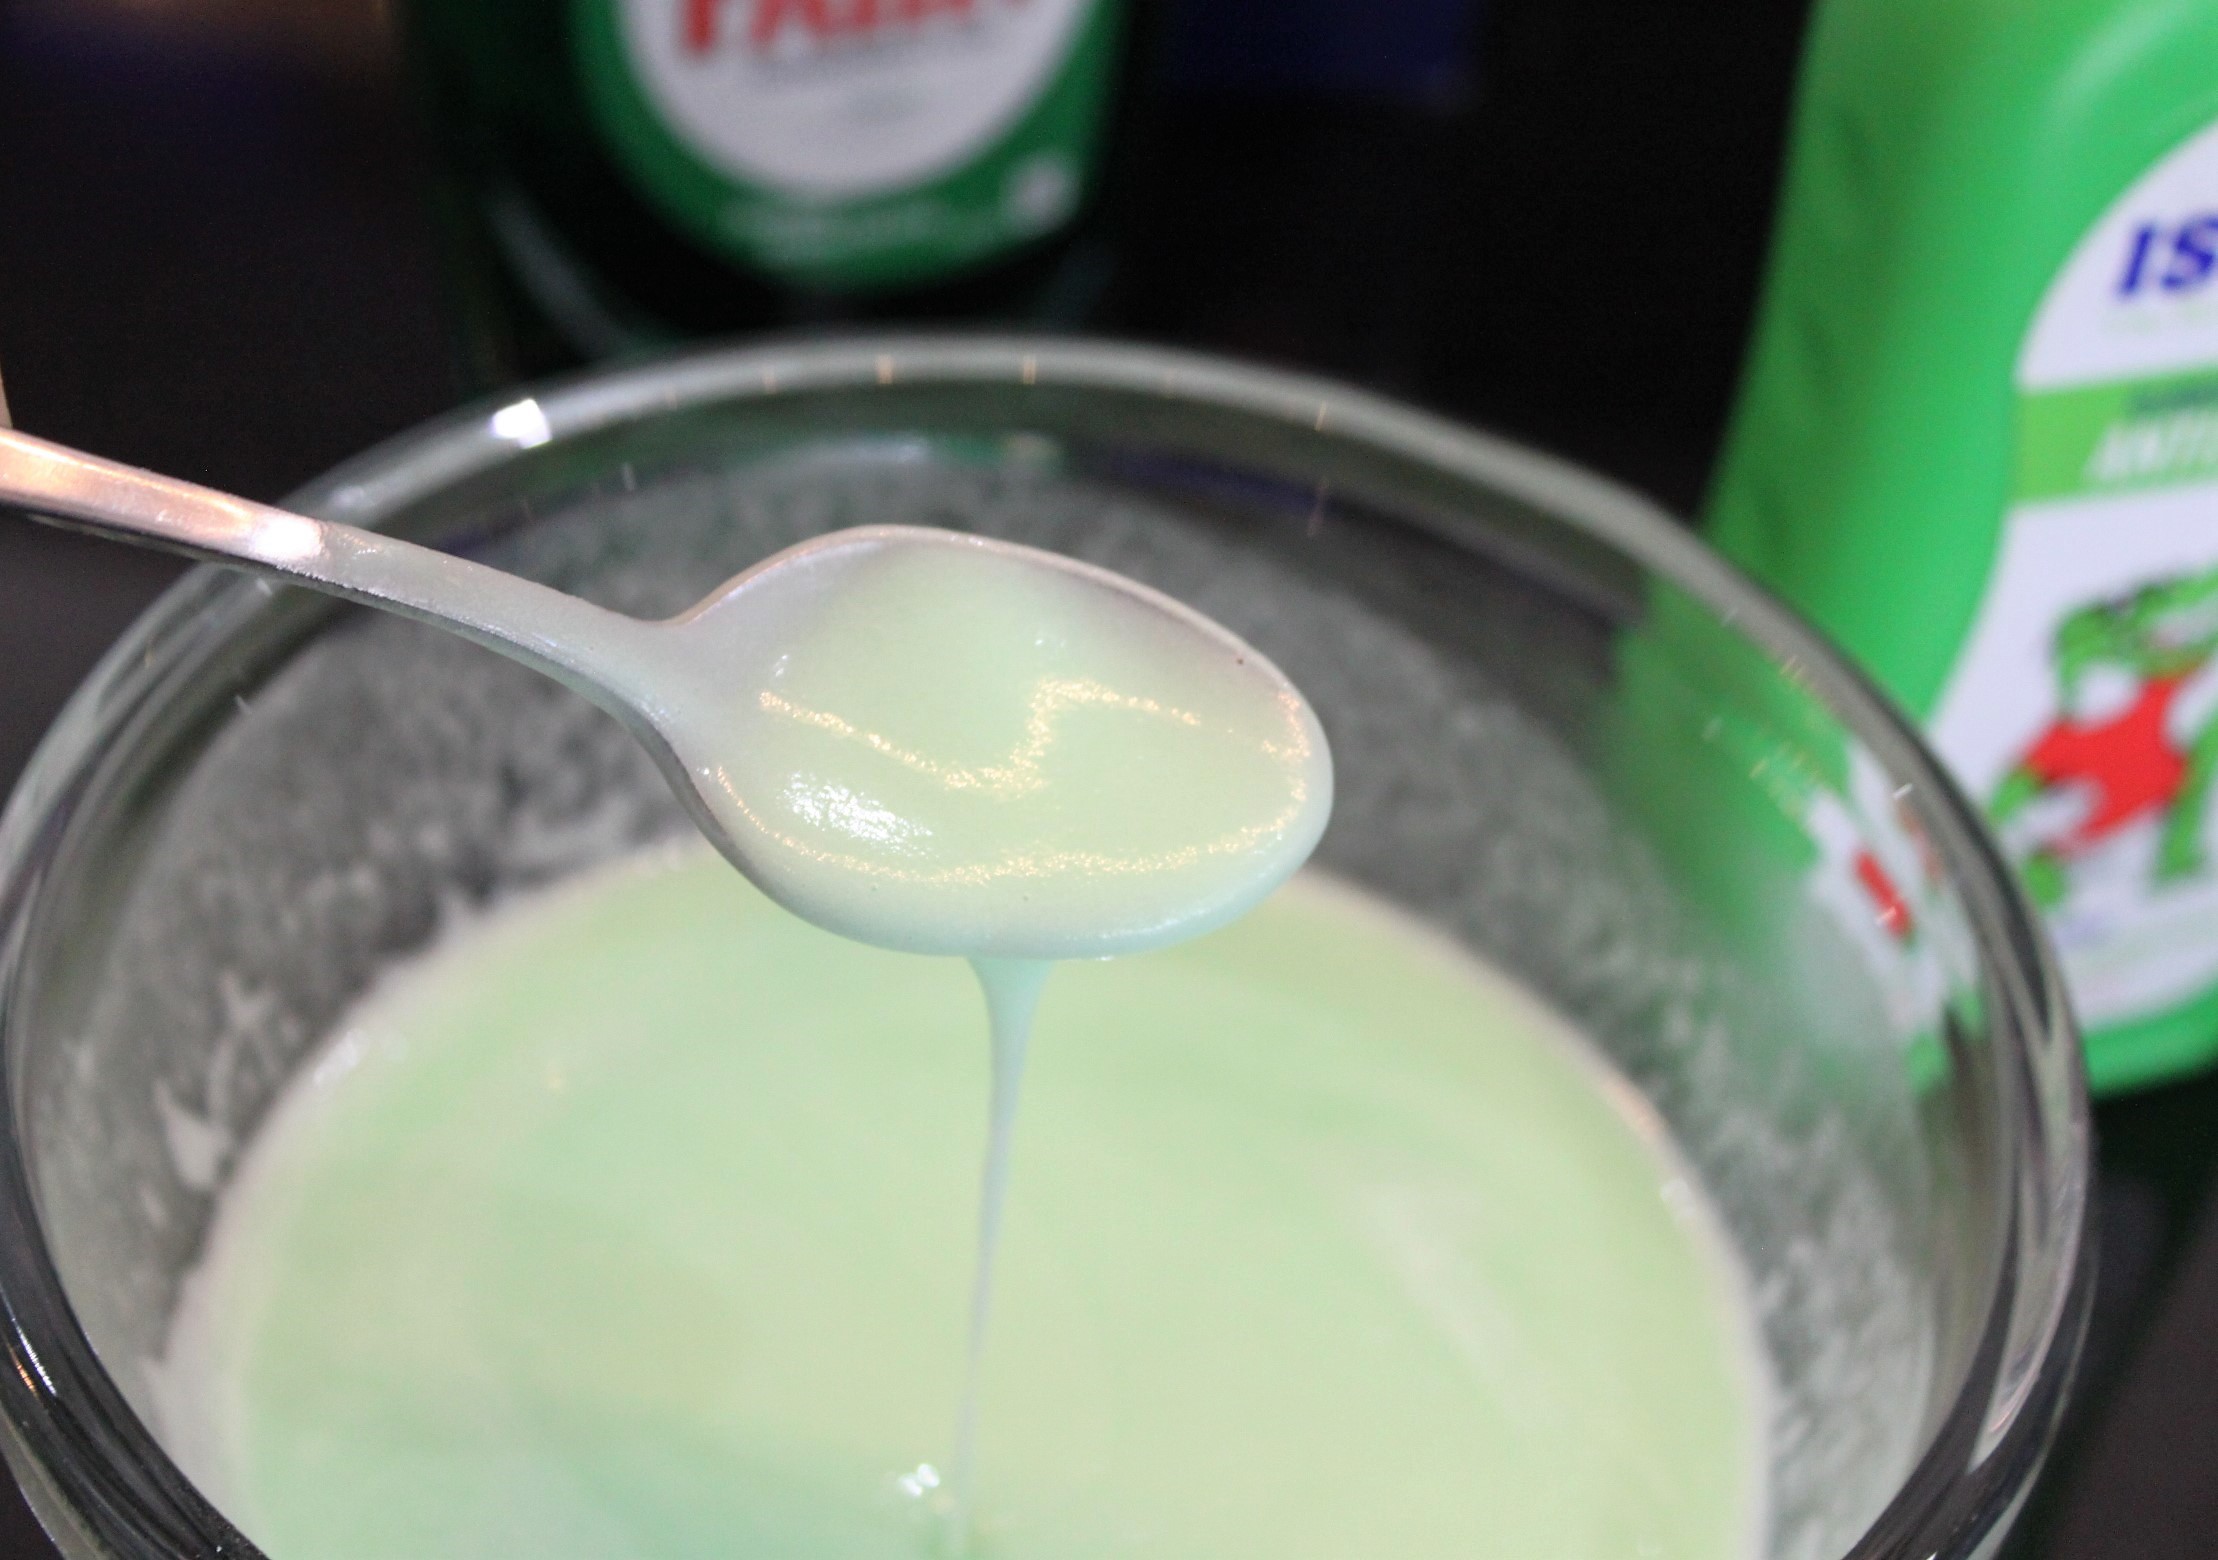
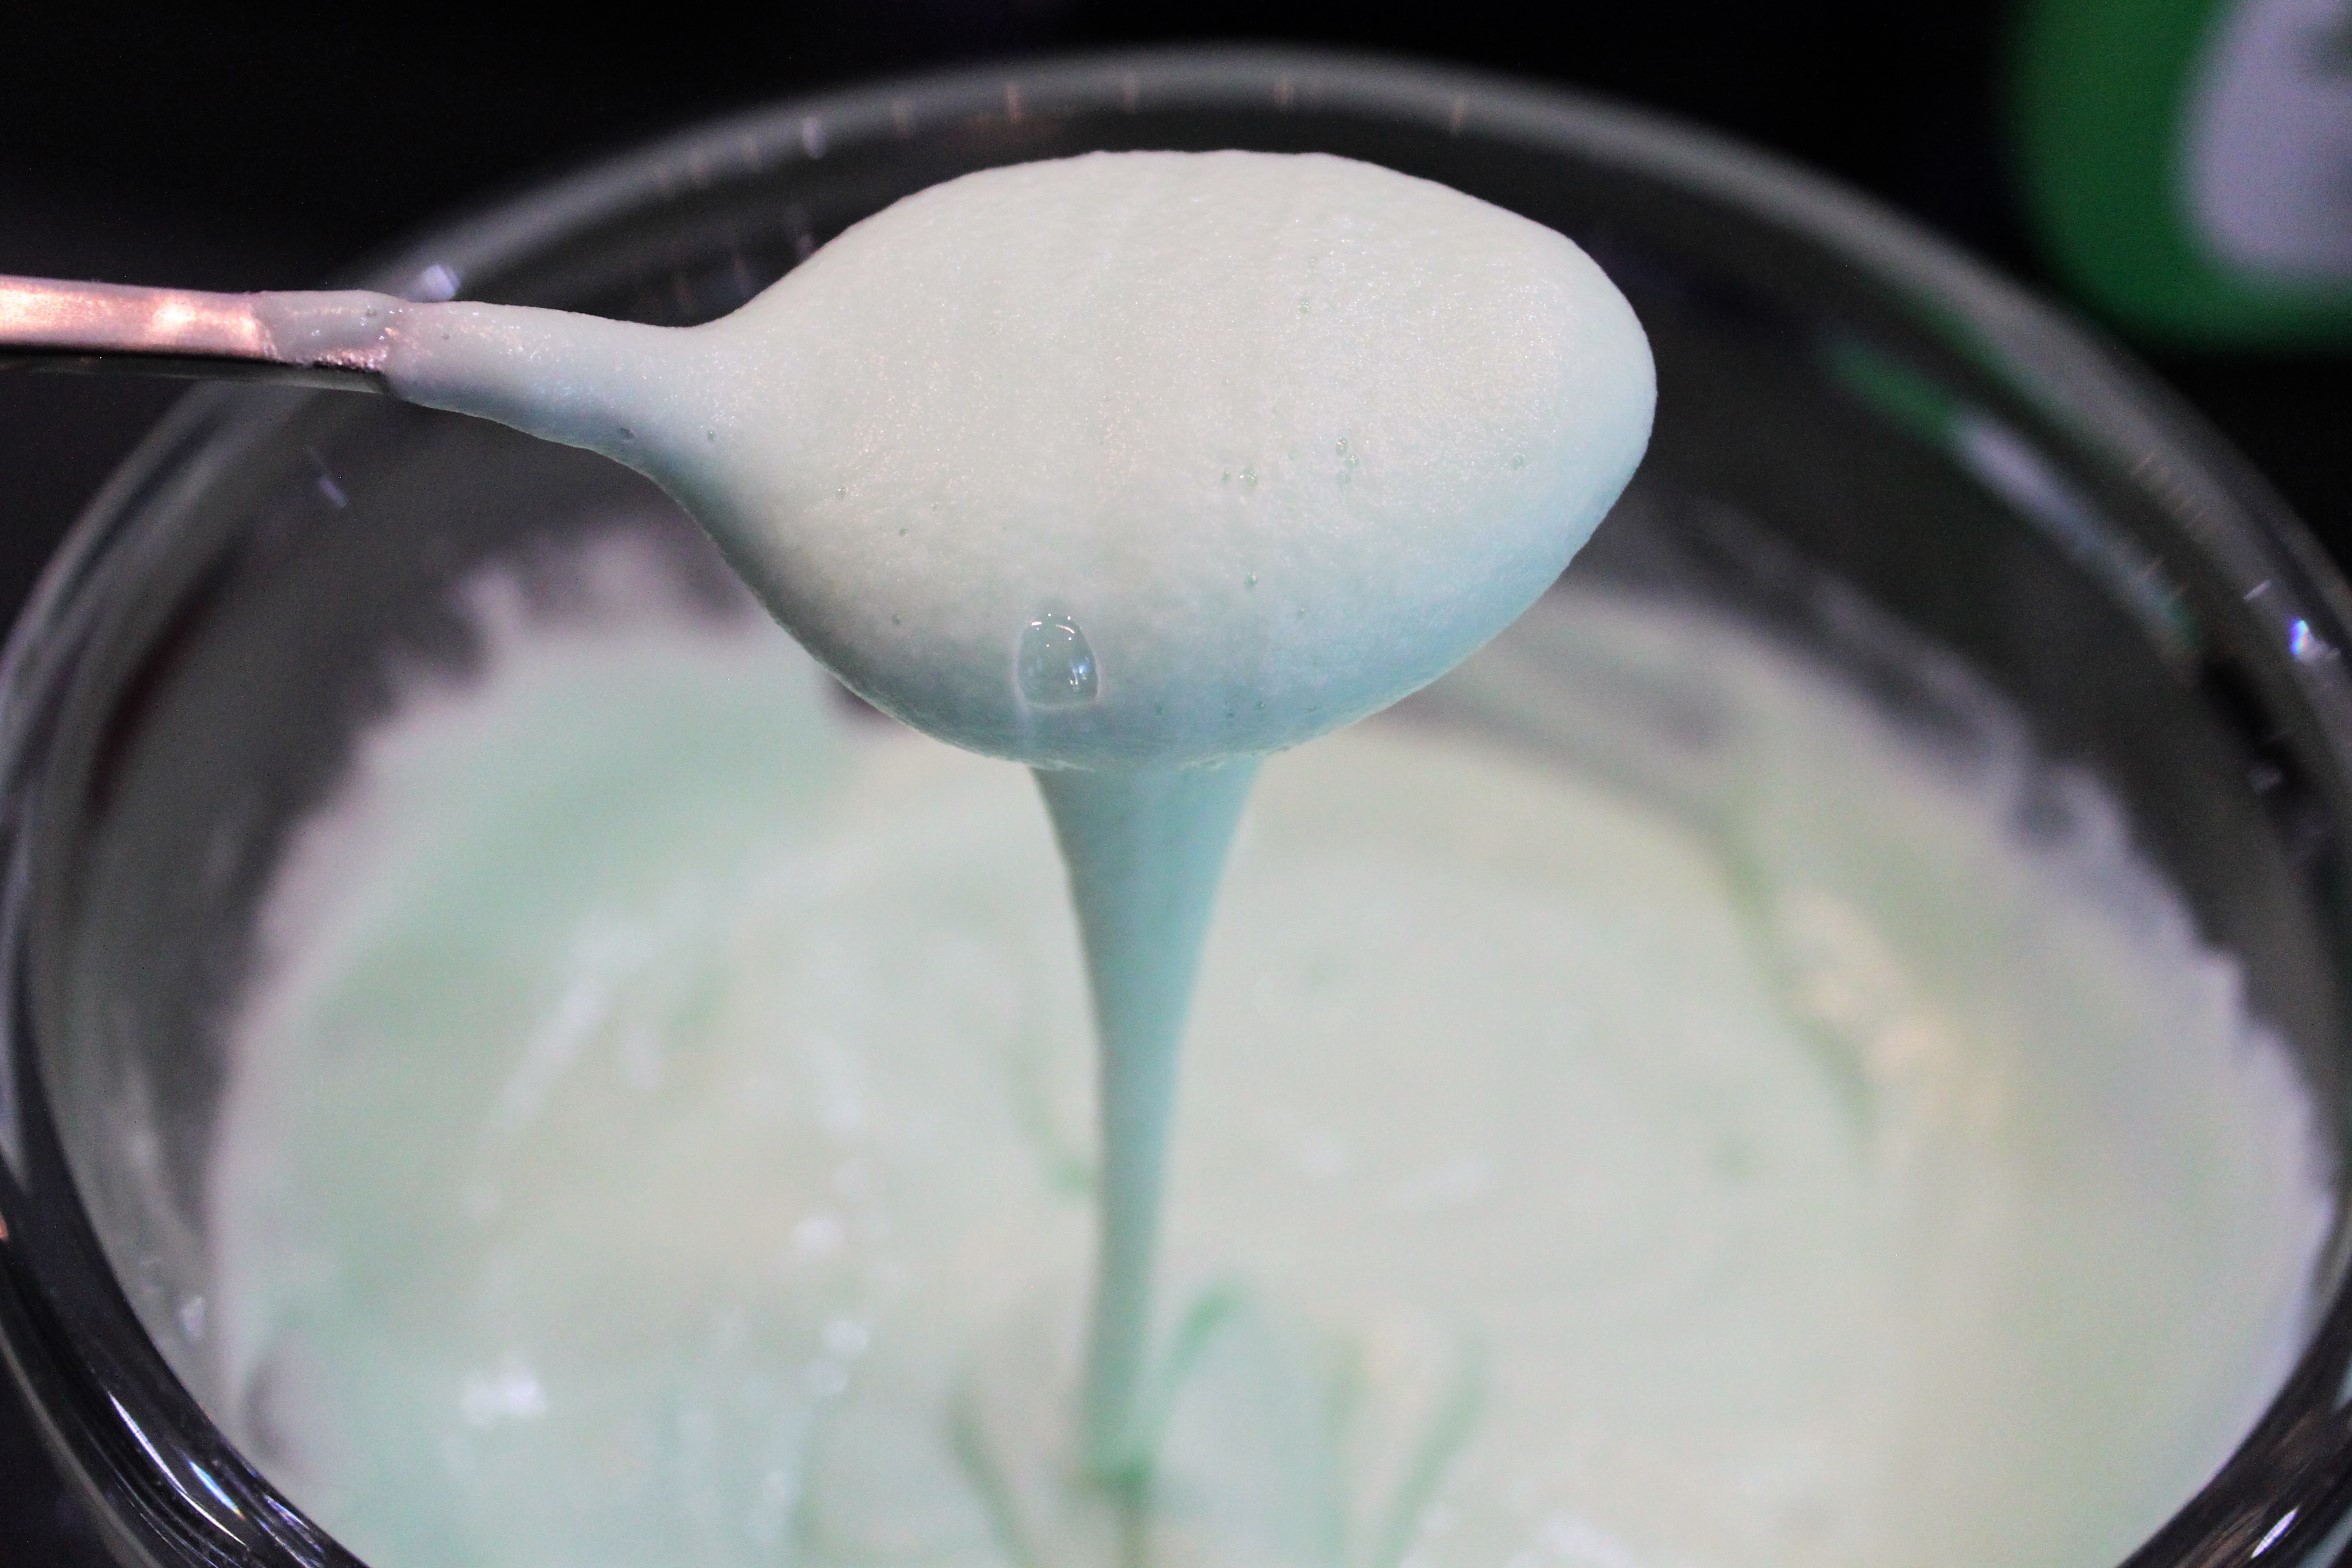
Gently stir that in and you should end up with a liquid that is similar to the consistency of thick pouring cream.
Now pour that into your sauce bottle and pop the cap on.
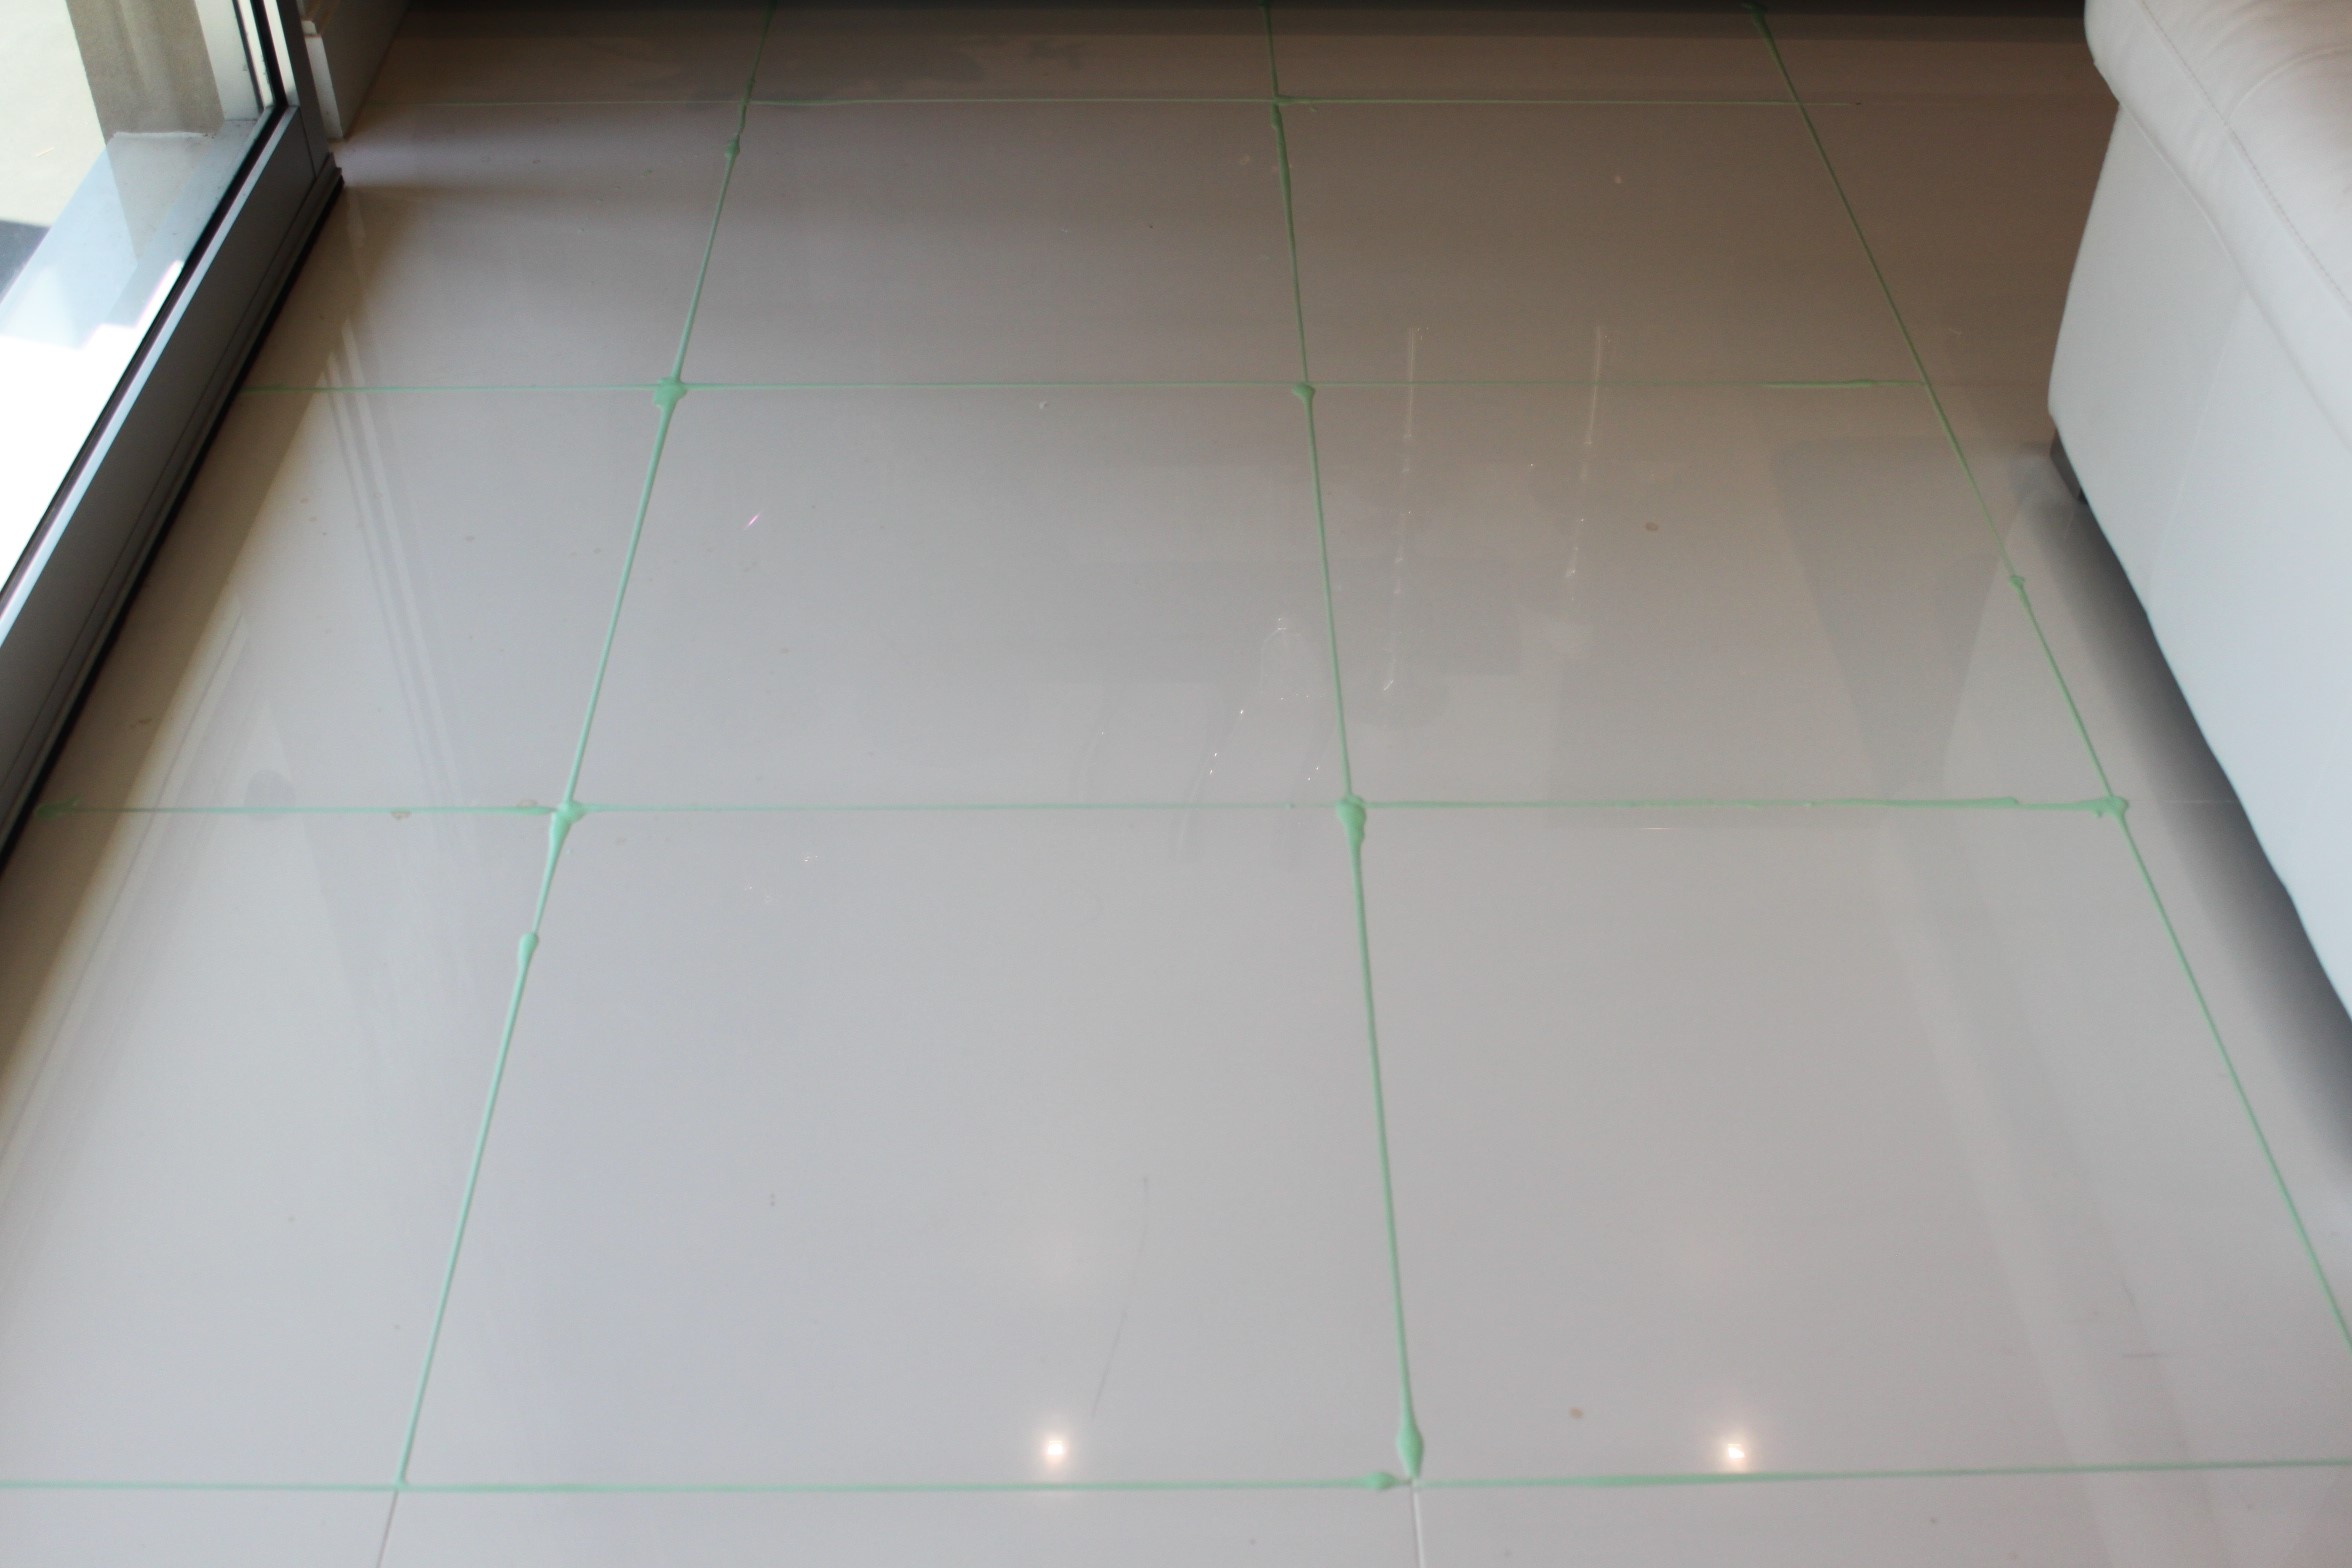
Working in one area at a time, use the sauce bottle to apply your cleaner along all of your grout lines.
We leave this on for about ten minutes before we start cleaning so grab yourself a drink, check out some Instagram, or just kick back on the lounge while the cleaner works it magic!
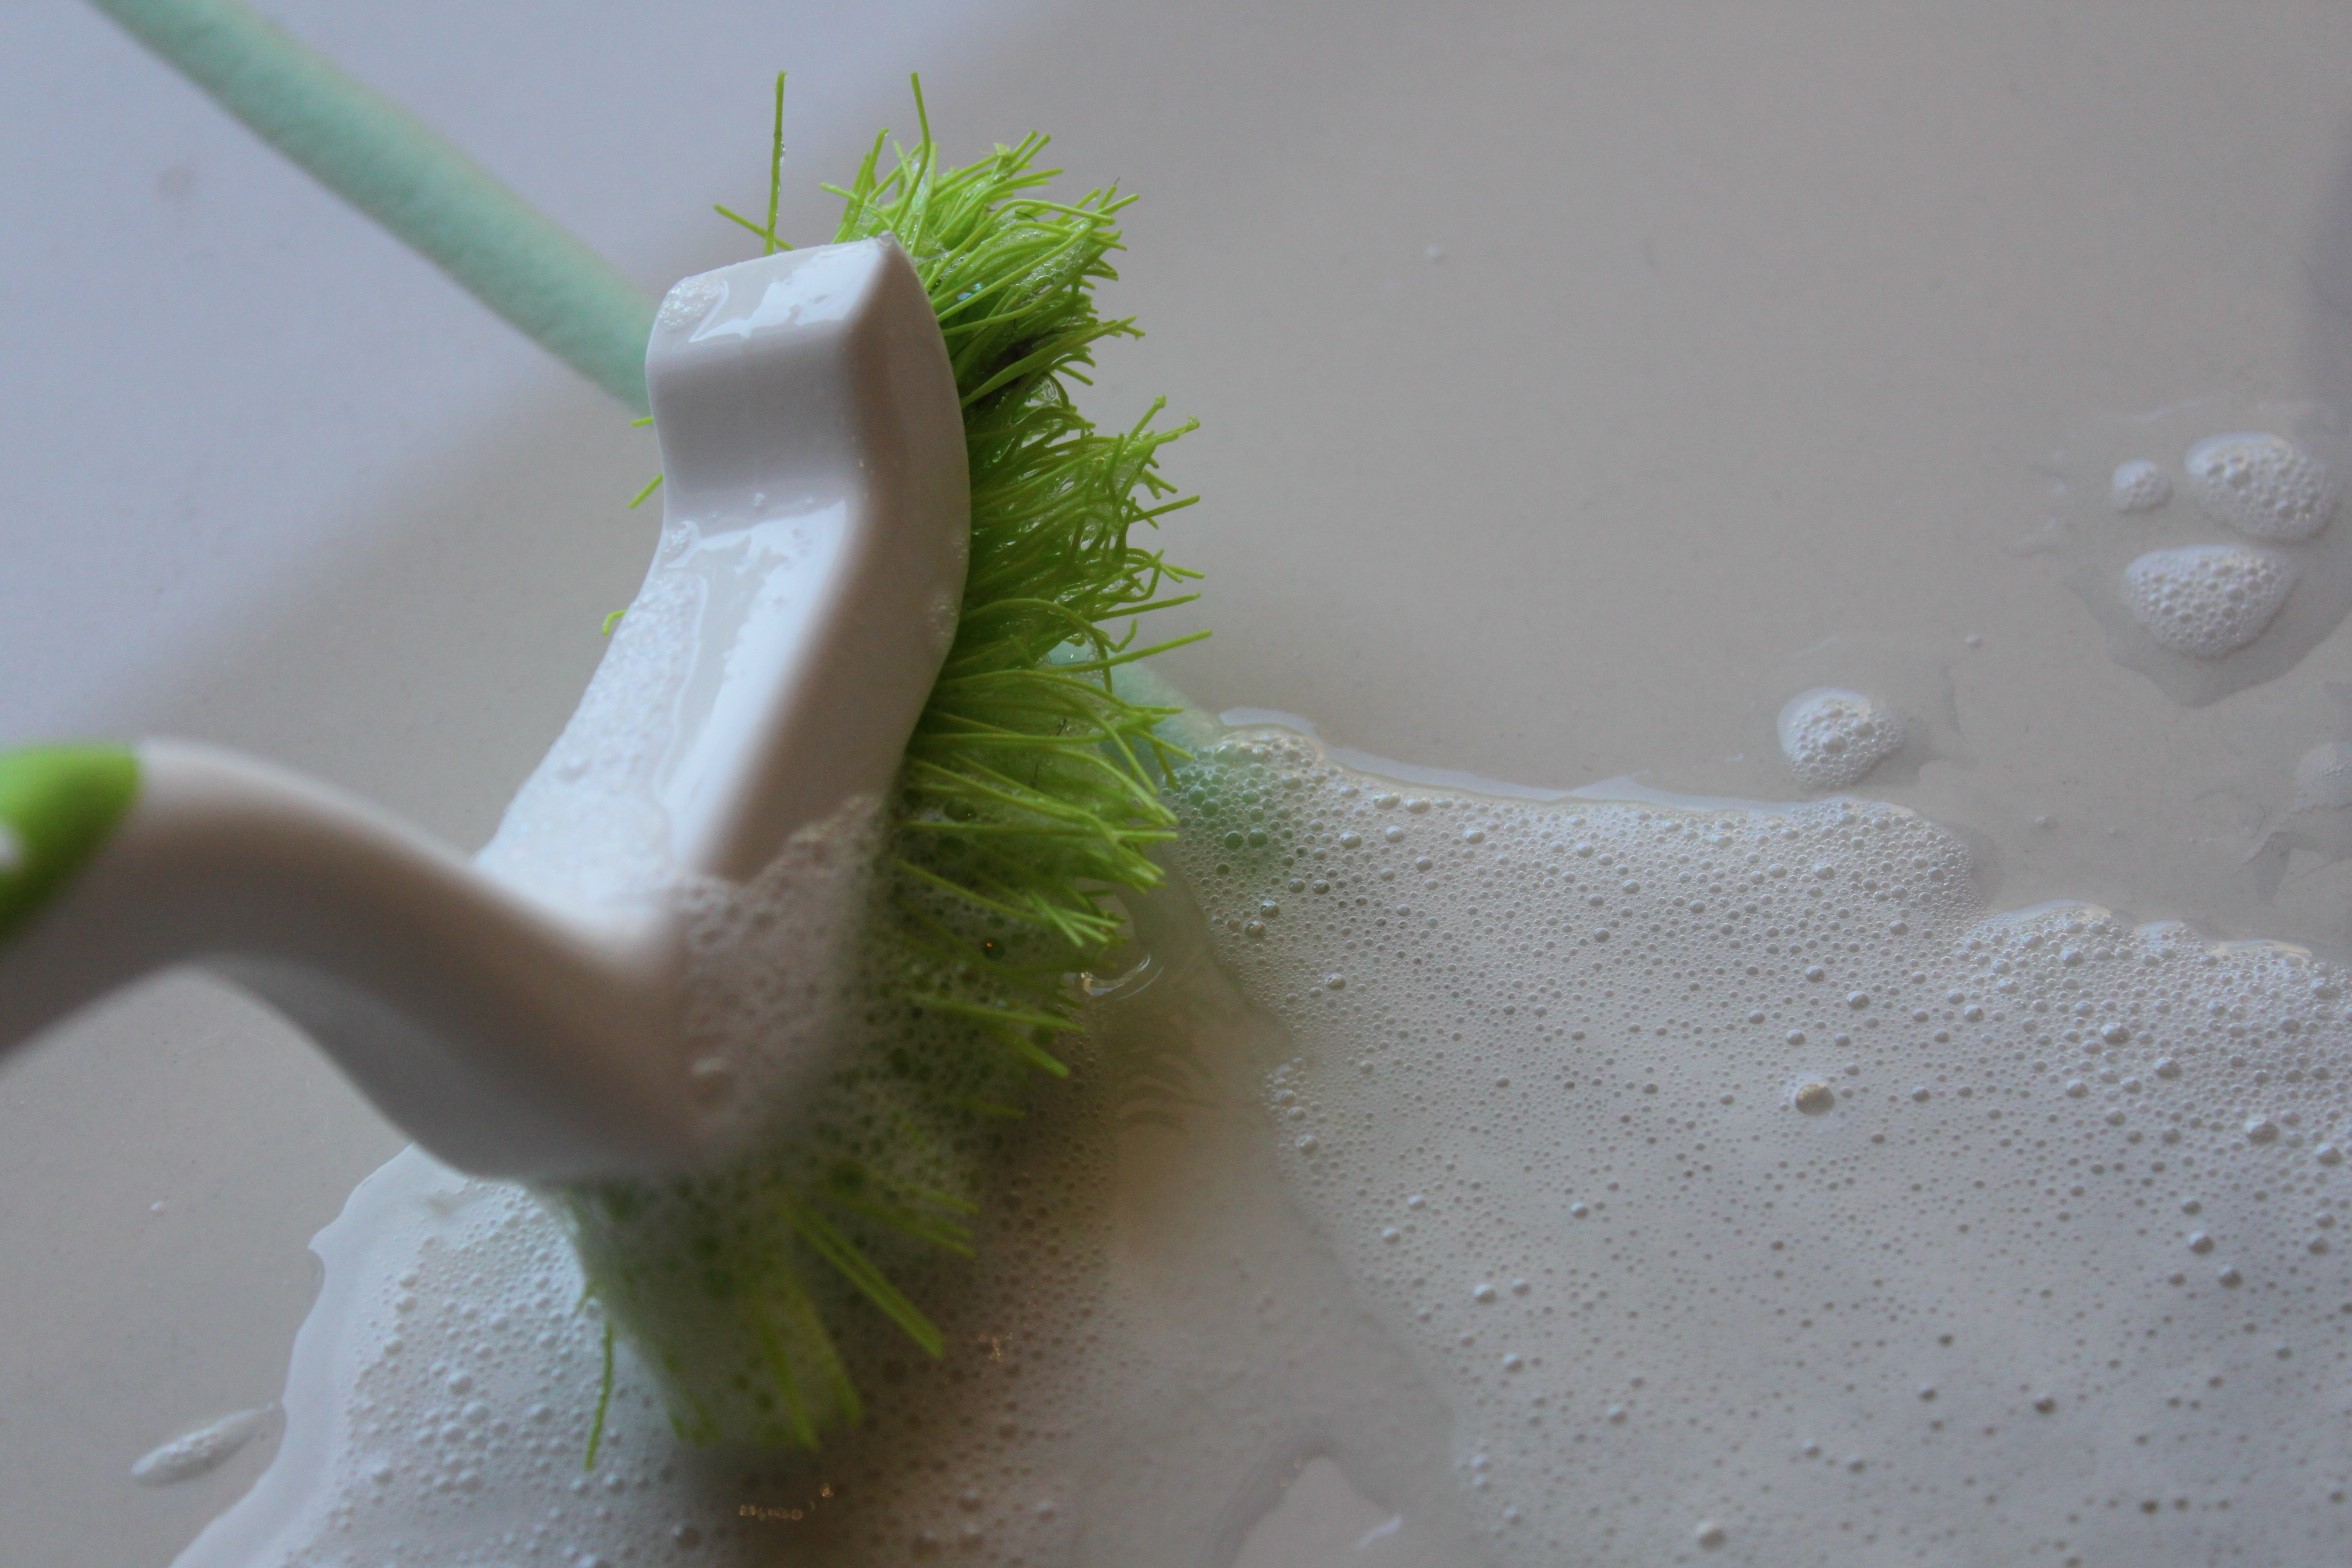
Grab a bowl of water and your scrubbing brush of choice and dip the brush in the water and then start brushing it along the grout line. Here’s the thing …. The more water you use, the easier it is to clean! It reminded us a lot of toothpaste! You know when you add a bit more water the toothpaste bubbles more??!
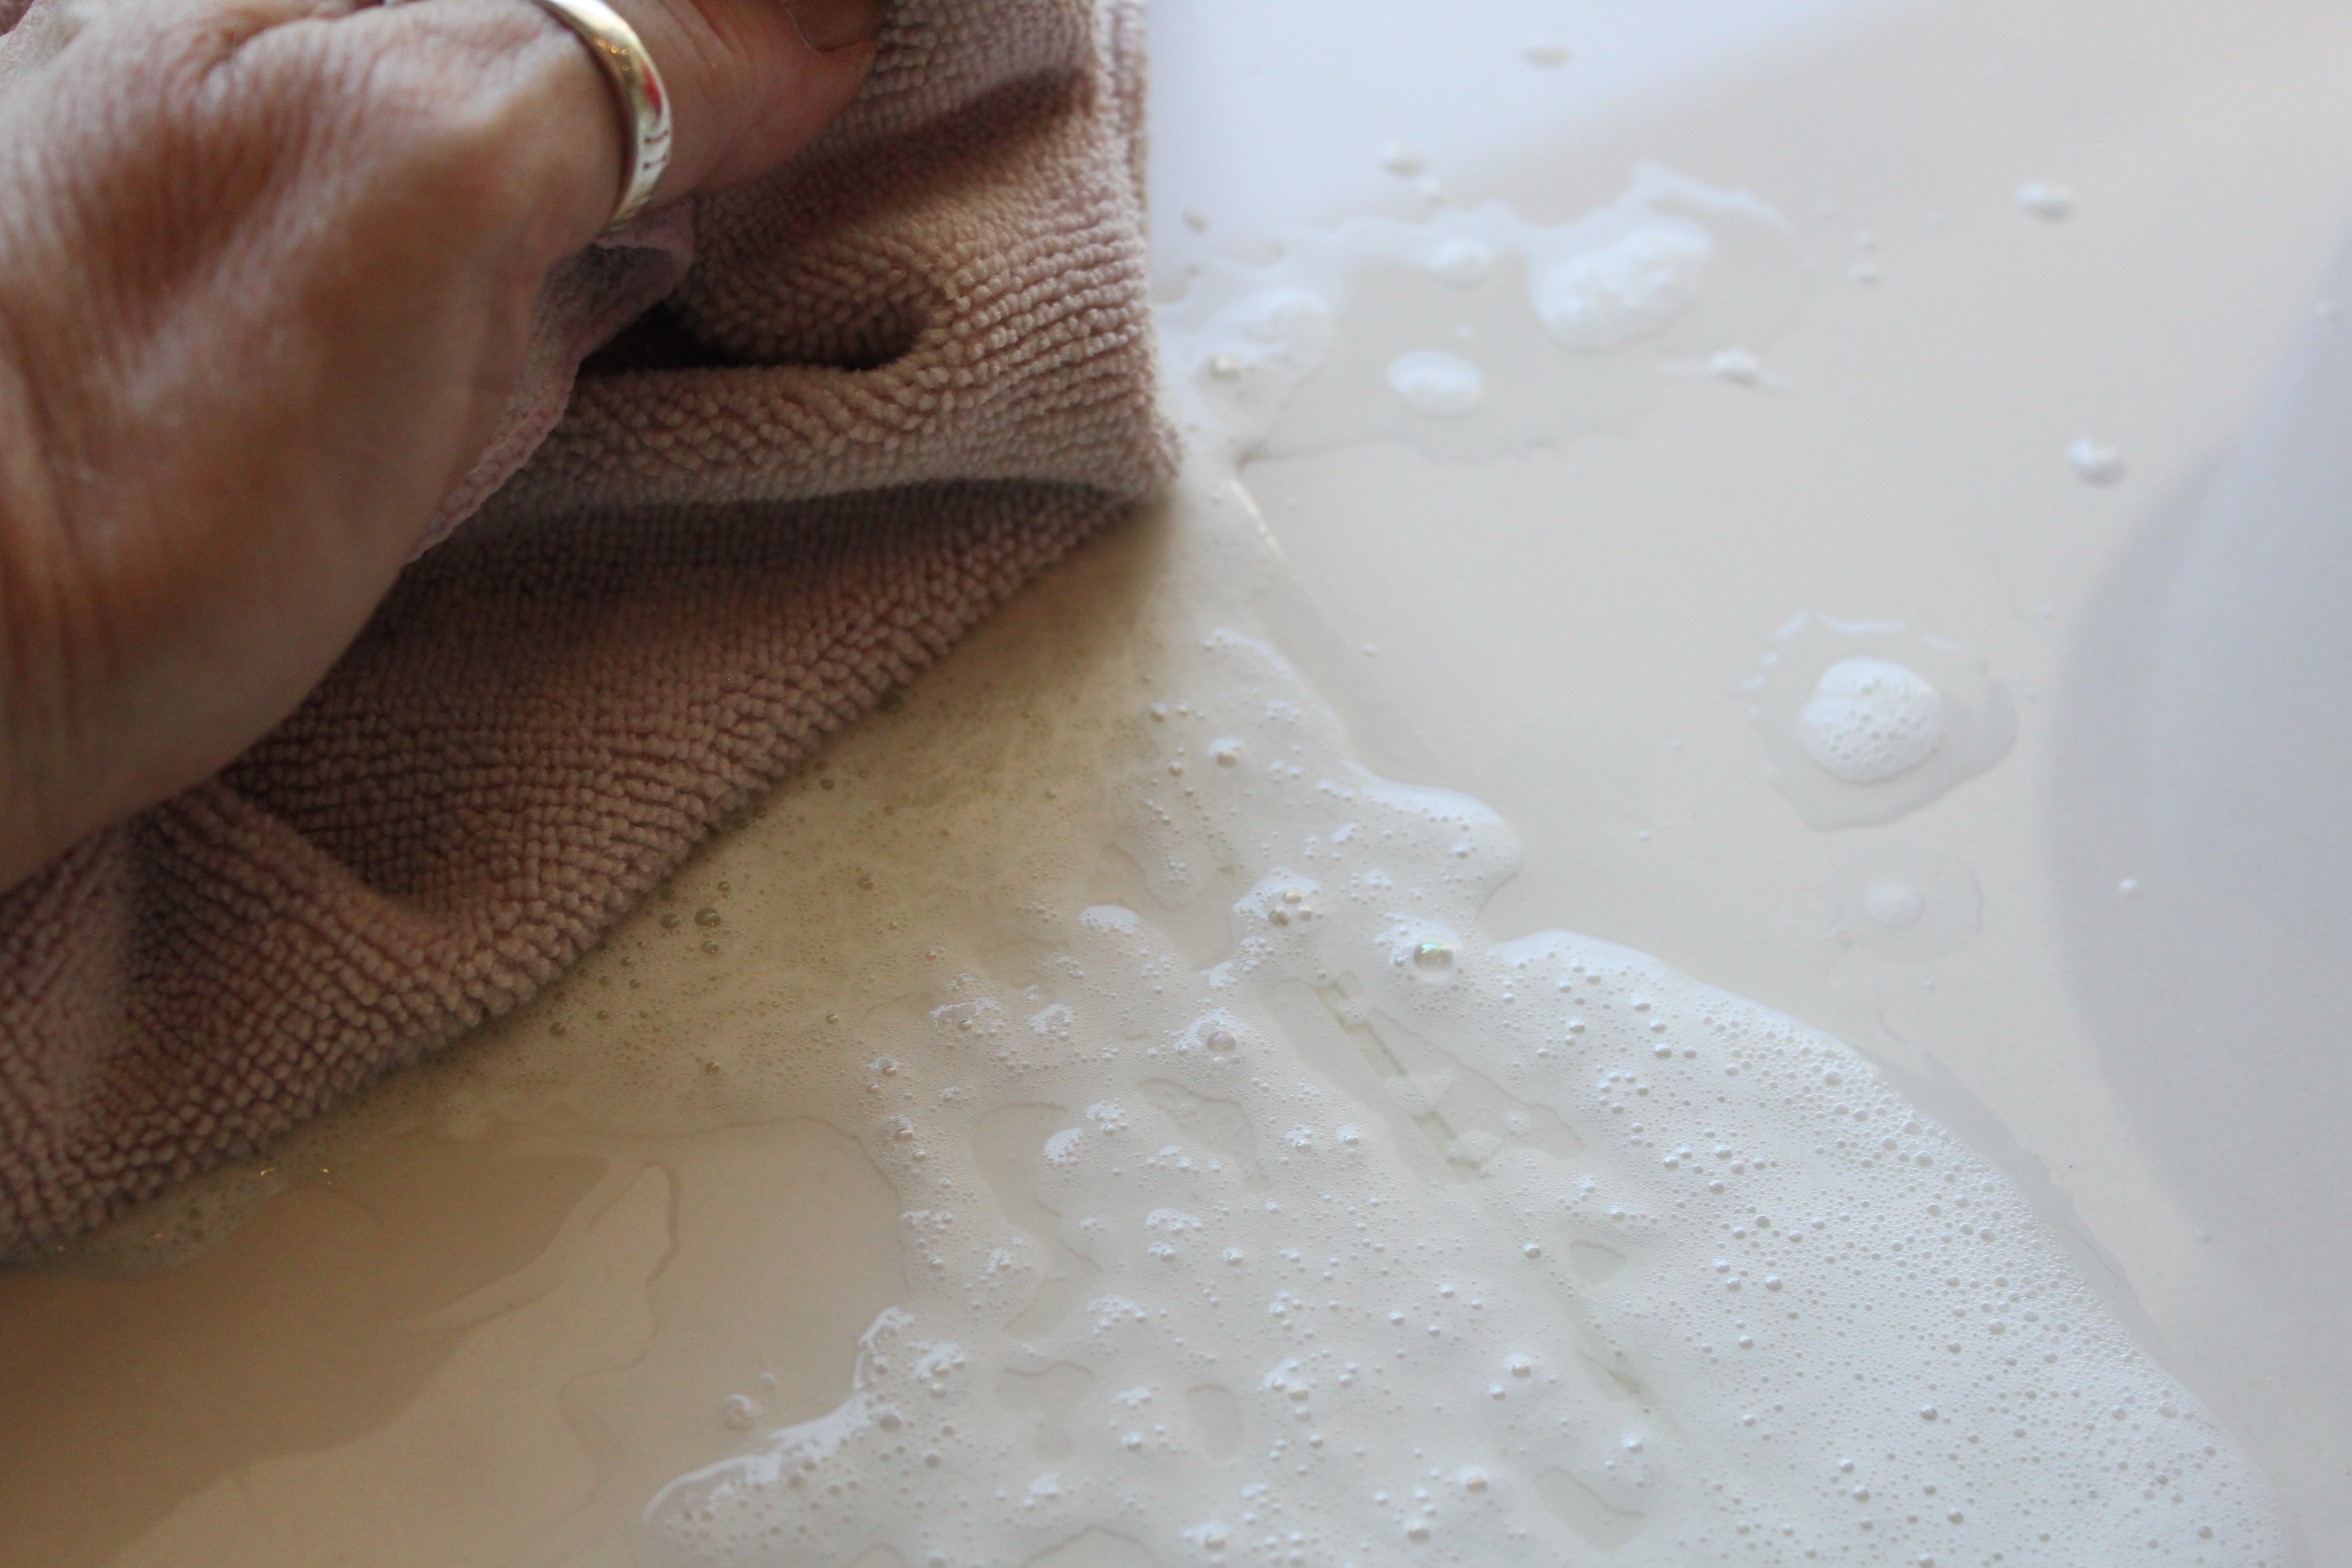
Then all you have to do is wipe it over with the microfibre cloth. These cloths are great and will hold quite a bit of water, but you’ll get the job done easier, if you have lots of cloths ready to go!
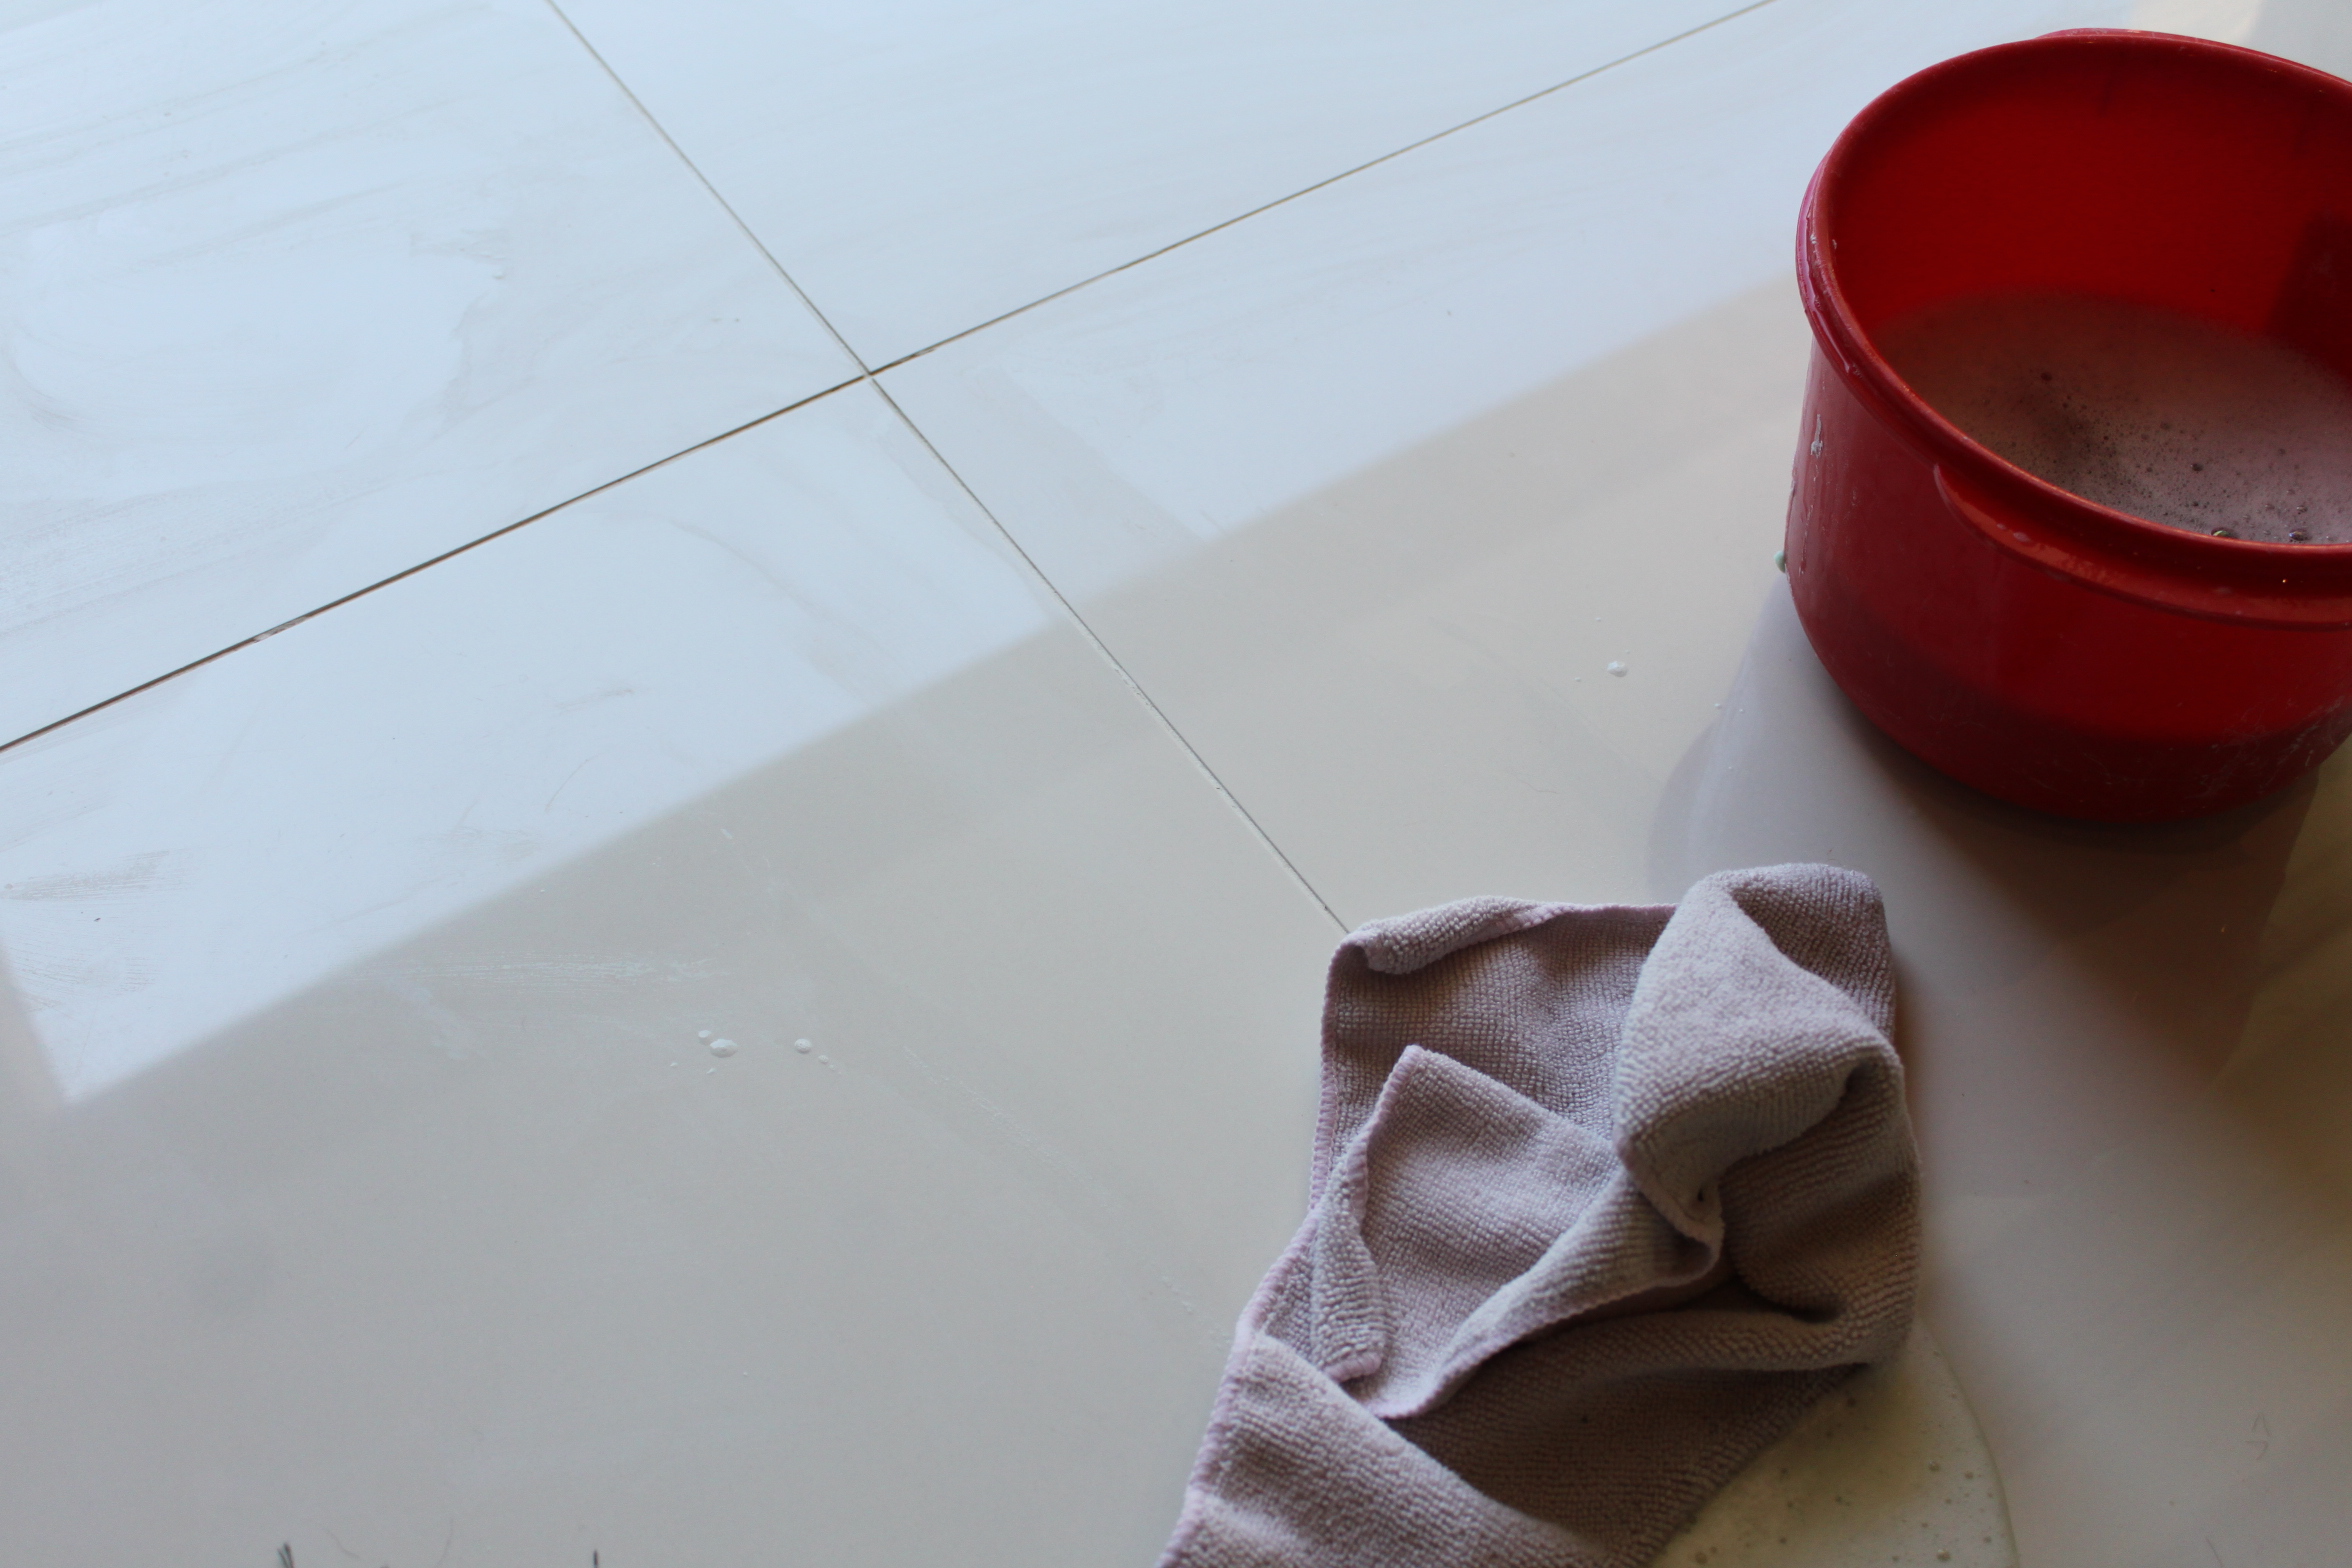
And that’s it! Your grout line is clean! It’s worth noting – once you’ve got your grout clean try and wipe the water away as quickly as possible. All the dirt and grime you’ve just scrubbed out, will settle back onto the grout – so clean a bit, and then wipe it!
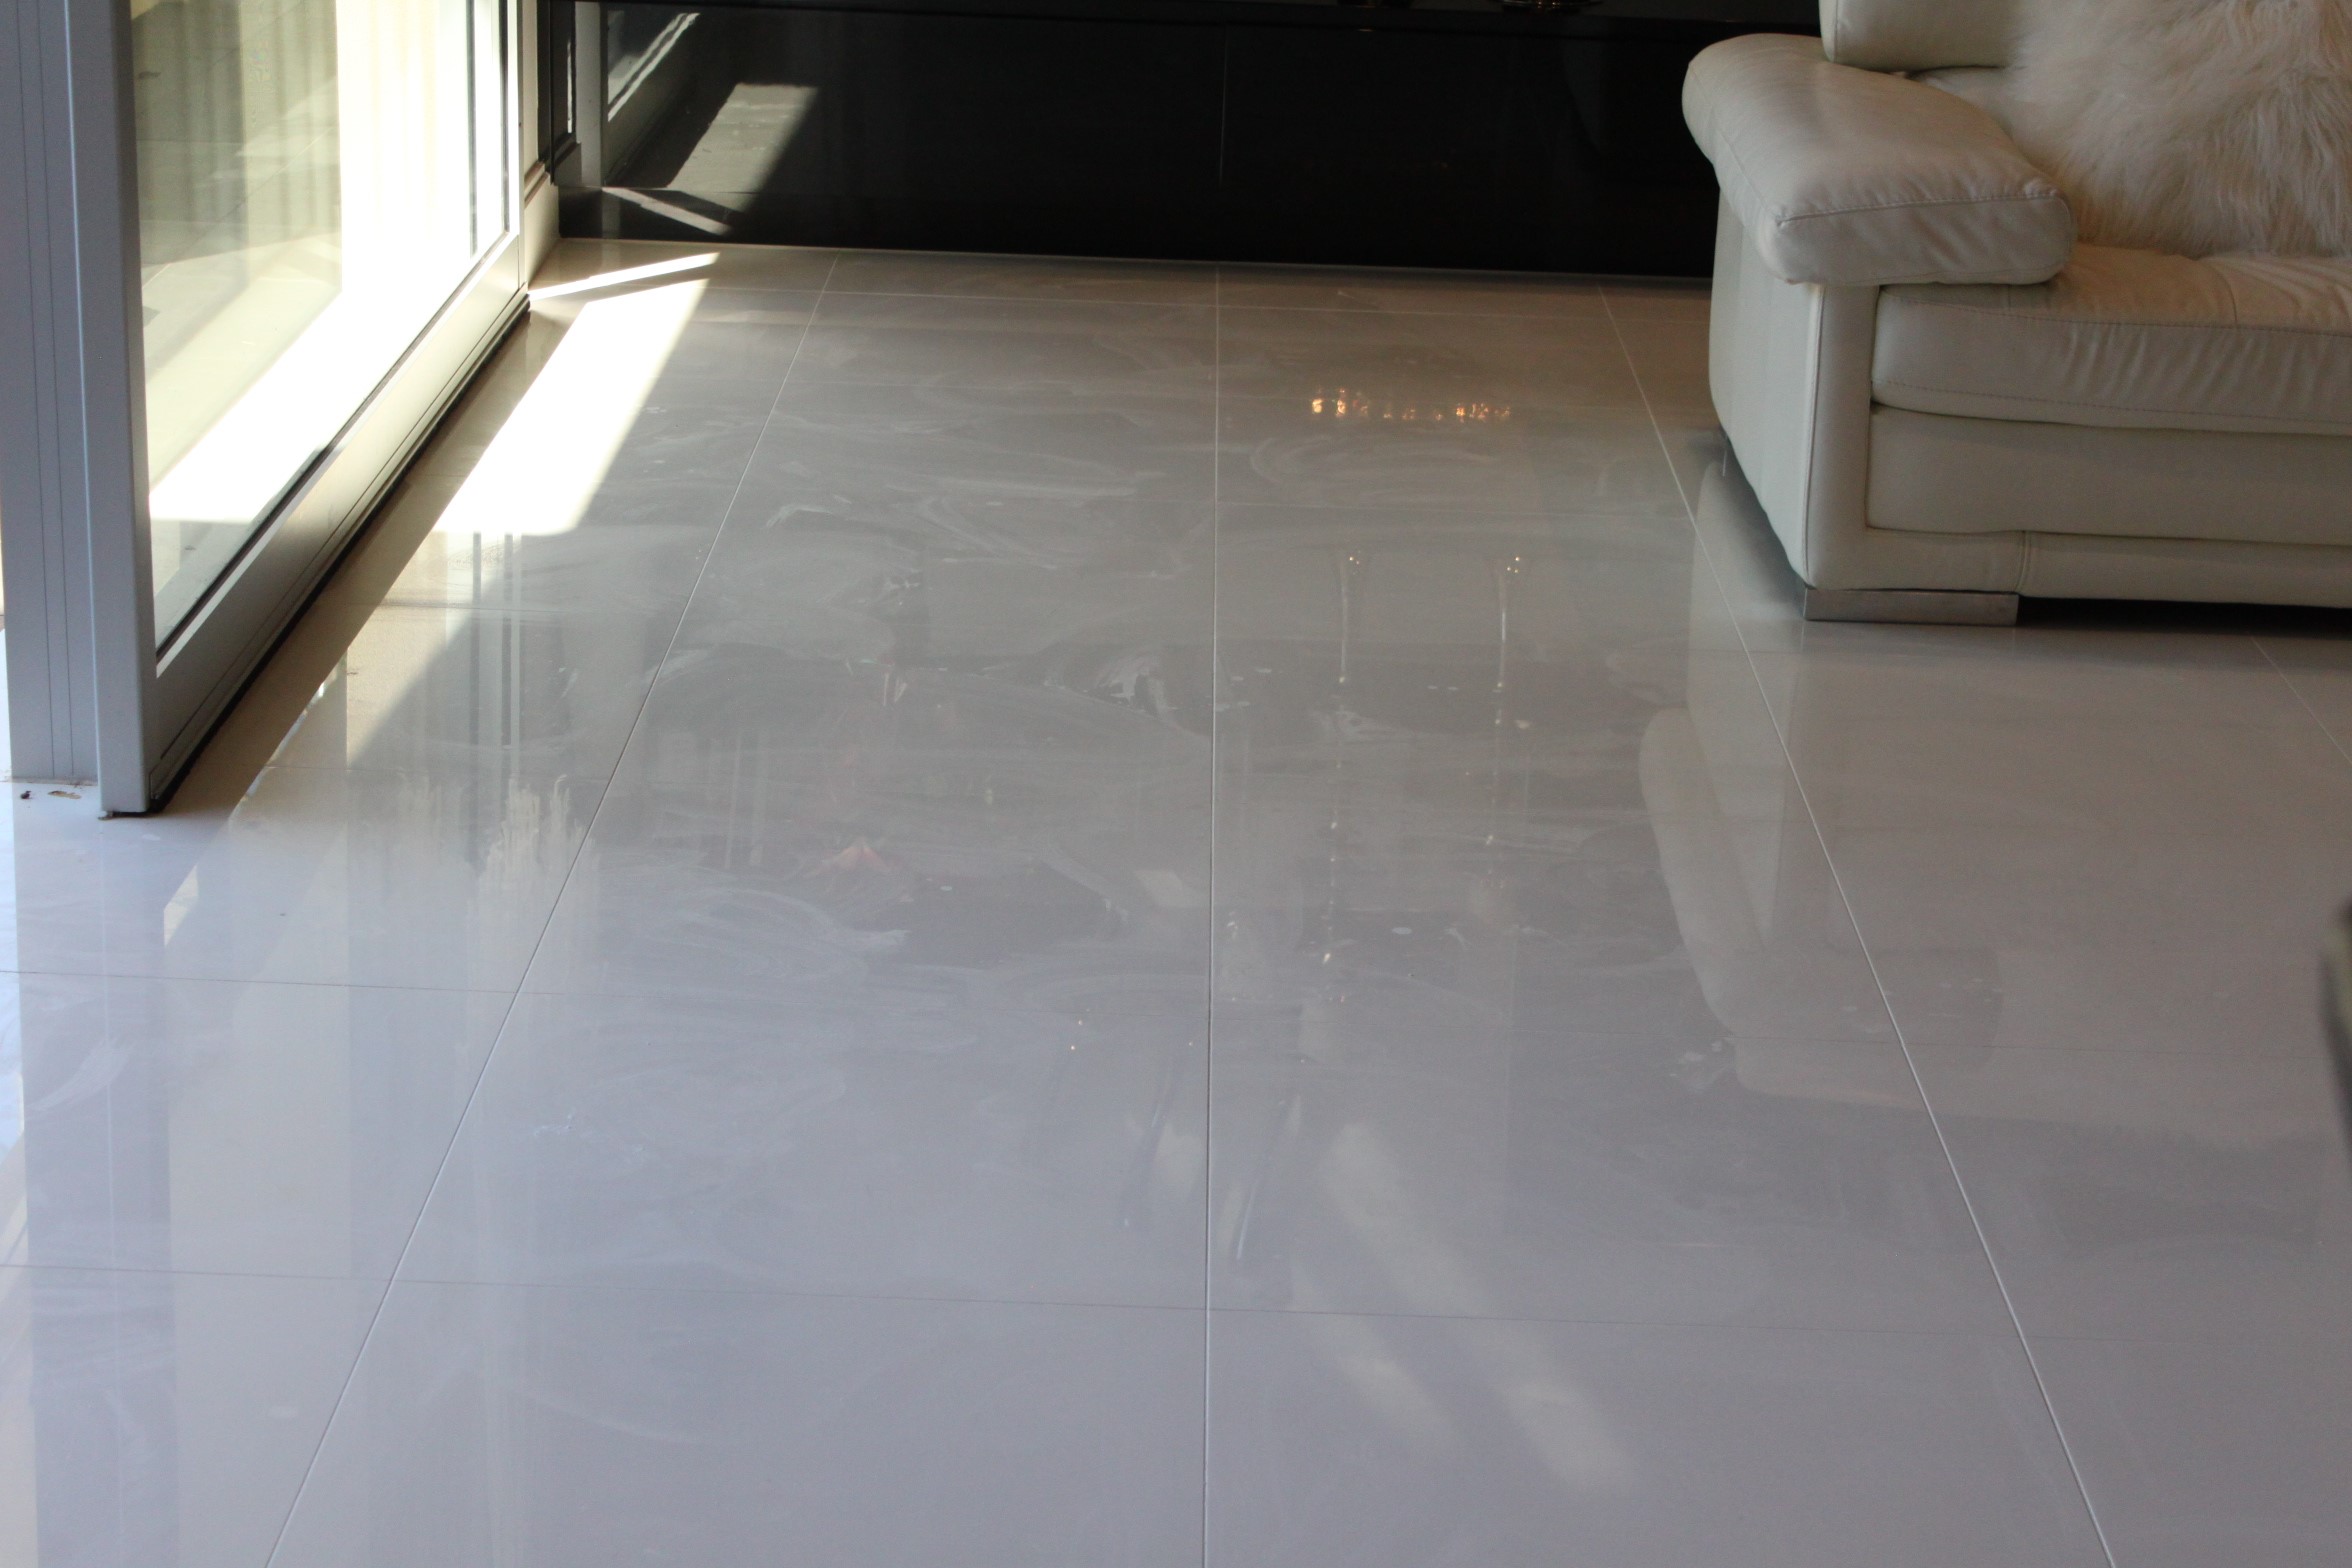
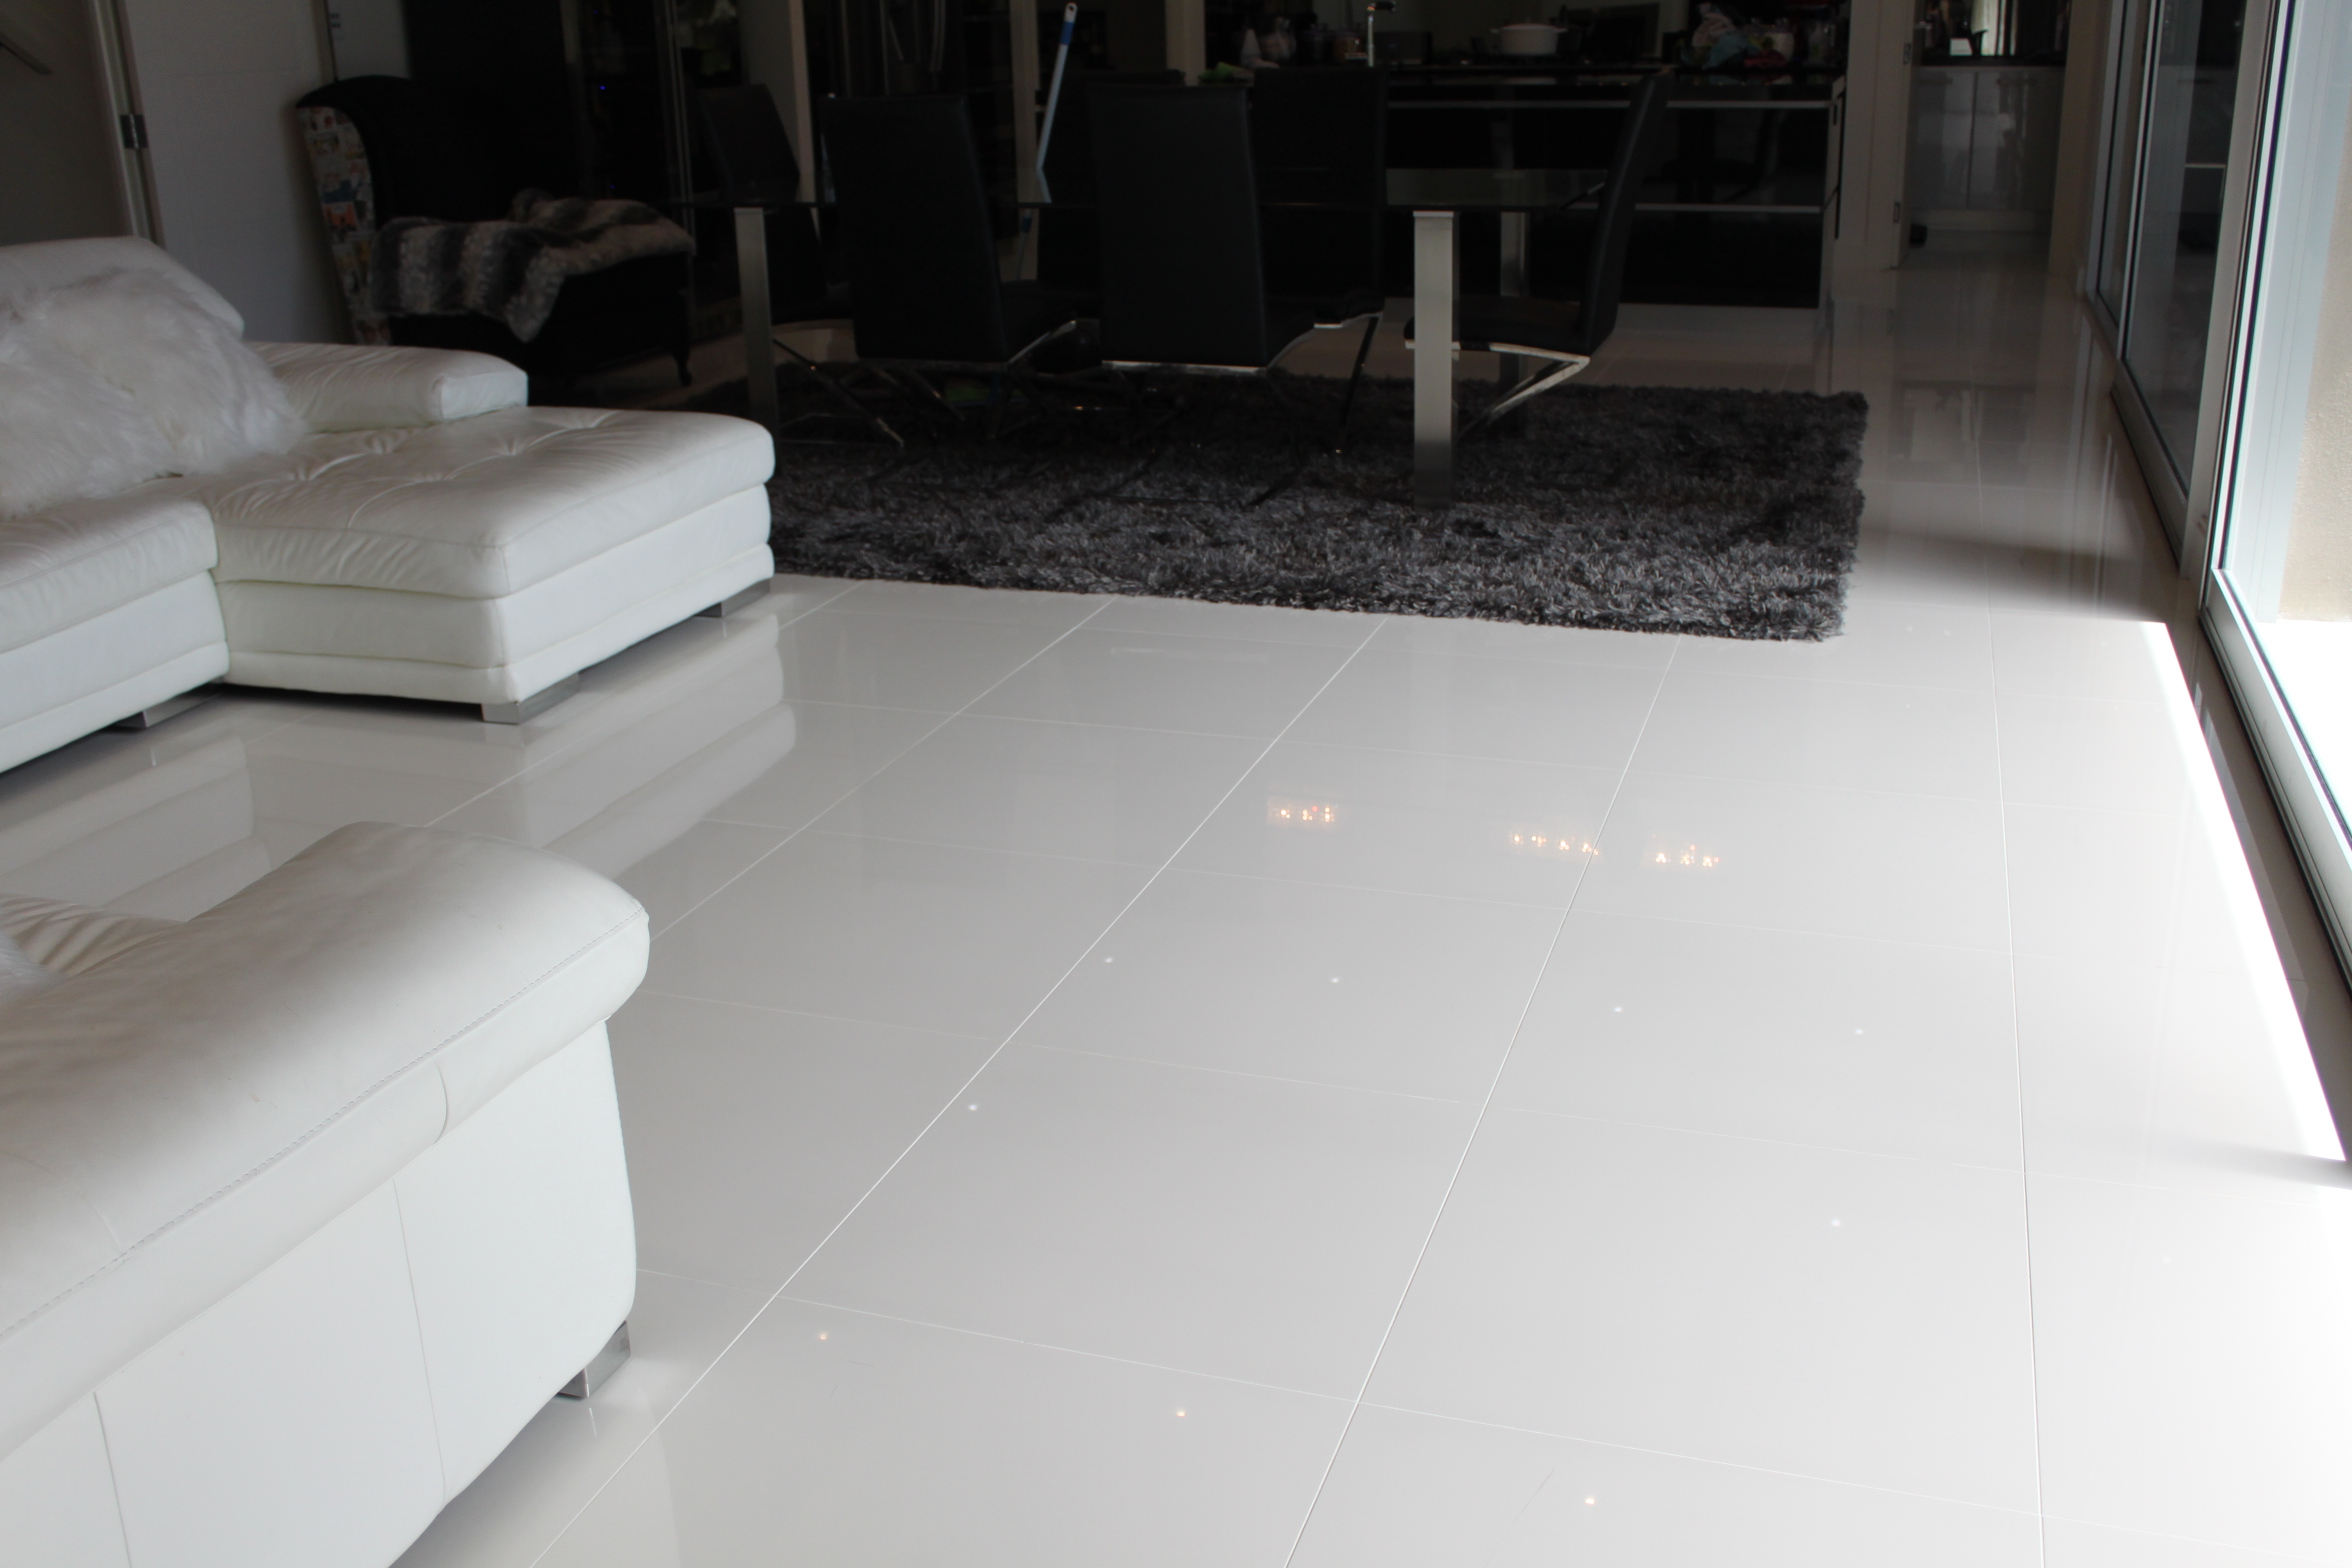
Look at those lines! I know you’re thinking they look great, but what about the haze and smears all over the floor?!
We fixed that really easily using our other mix of cleaning product – which we promise to write about soon! We sprayed the cleaner on the floor and simply wiped it with a clean microfibre cloth attatched to the end of our mop!
This room is approximately 15 metres long by about 6 metres wide and it took us a weekend from start to finish. (Obviously not a whole weekend! Life is too short to spend that much time cleaning!) On and off – taking lots of breaks and finishing early both days we did every grout line in this area!
Fabulous results, and hardly any scrubbing – sounds too good to be true! Give it a try, and let us know what you think! You are going to love your new grout!
Until next time,
Happy Styling!
Categories: Learn How To
Leave a Reply
You must be logged in to post a comment.