The first thing you’re going to need to know about is GLUE!
So. Many. Glues. Out. There!
Glue is actually a very important component in the process of adding stones to your items. You can’t use just any glue,
and no, not all glues are the same! (Please don’t be tempted to use ‘Super Glue’ – whilst its bond is tough, it dries like
glass, and can break like glass. It also discolours and clouds most stones.)
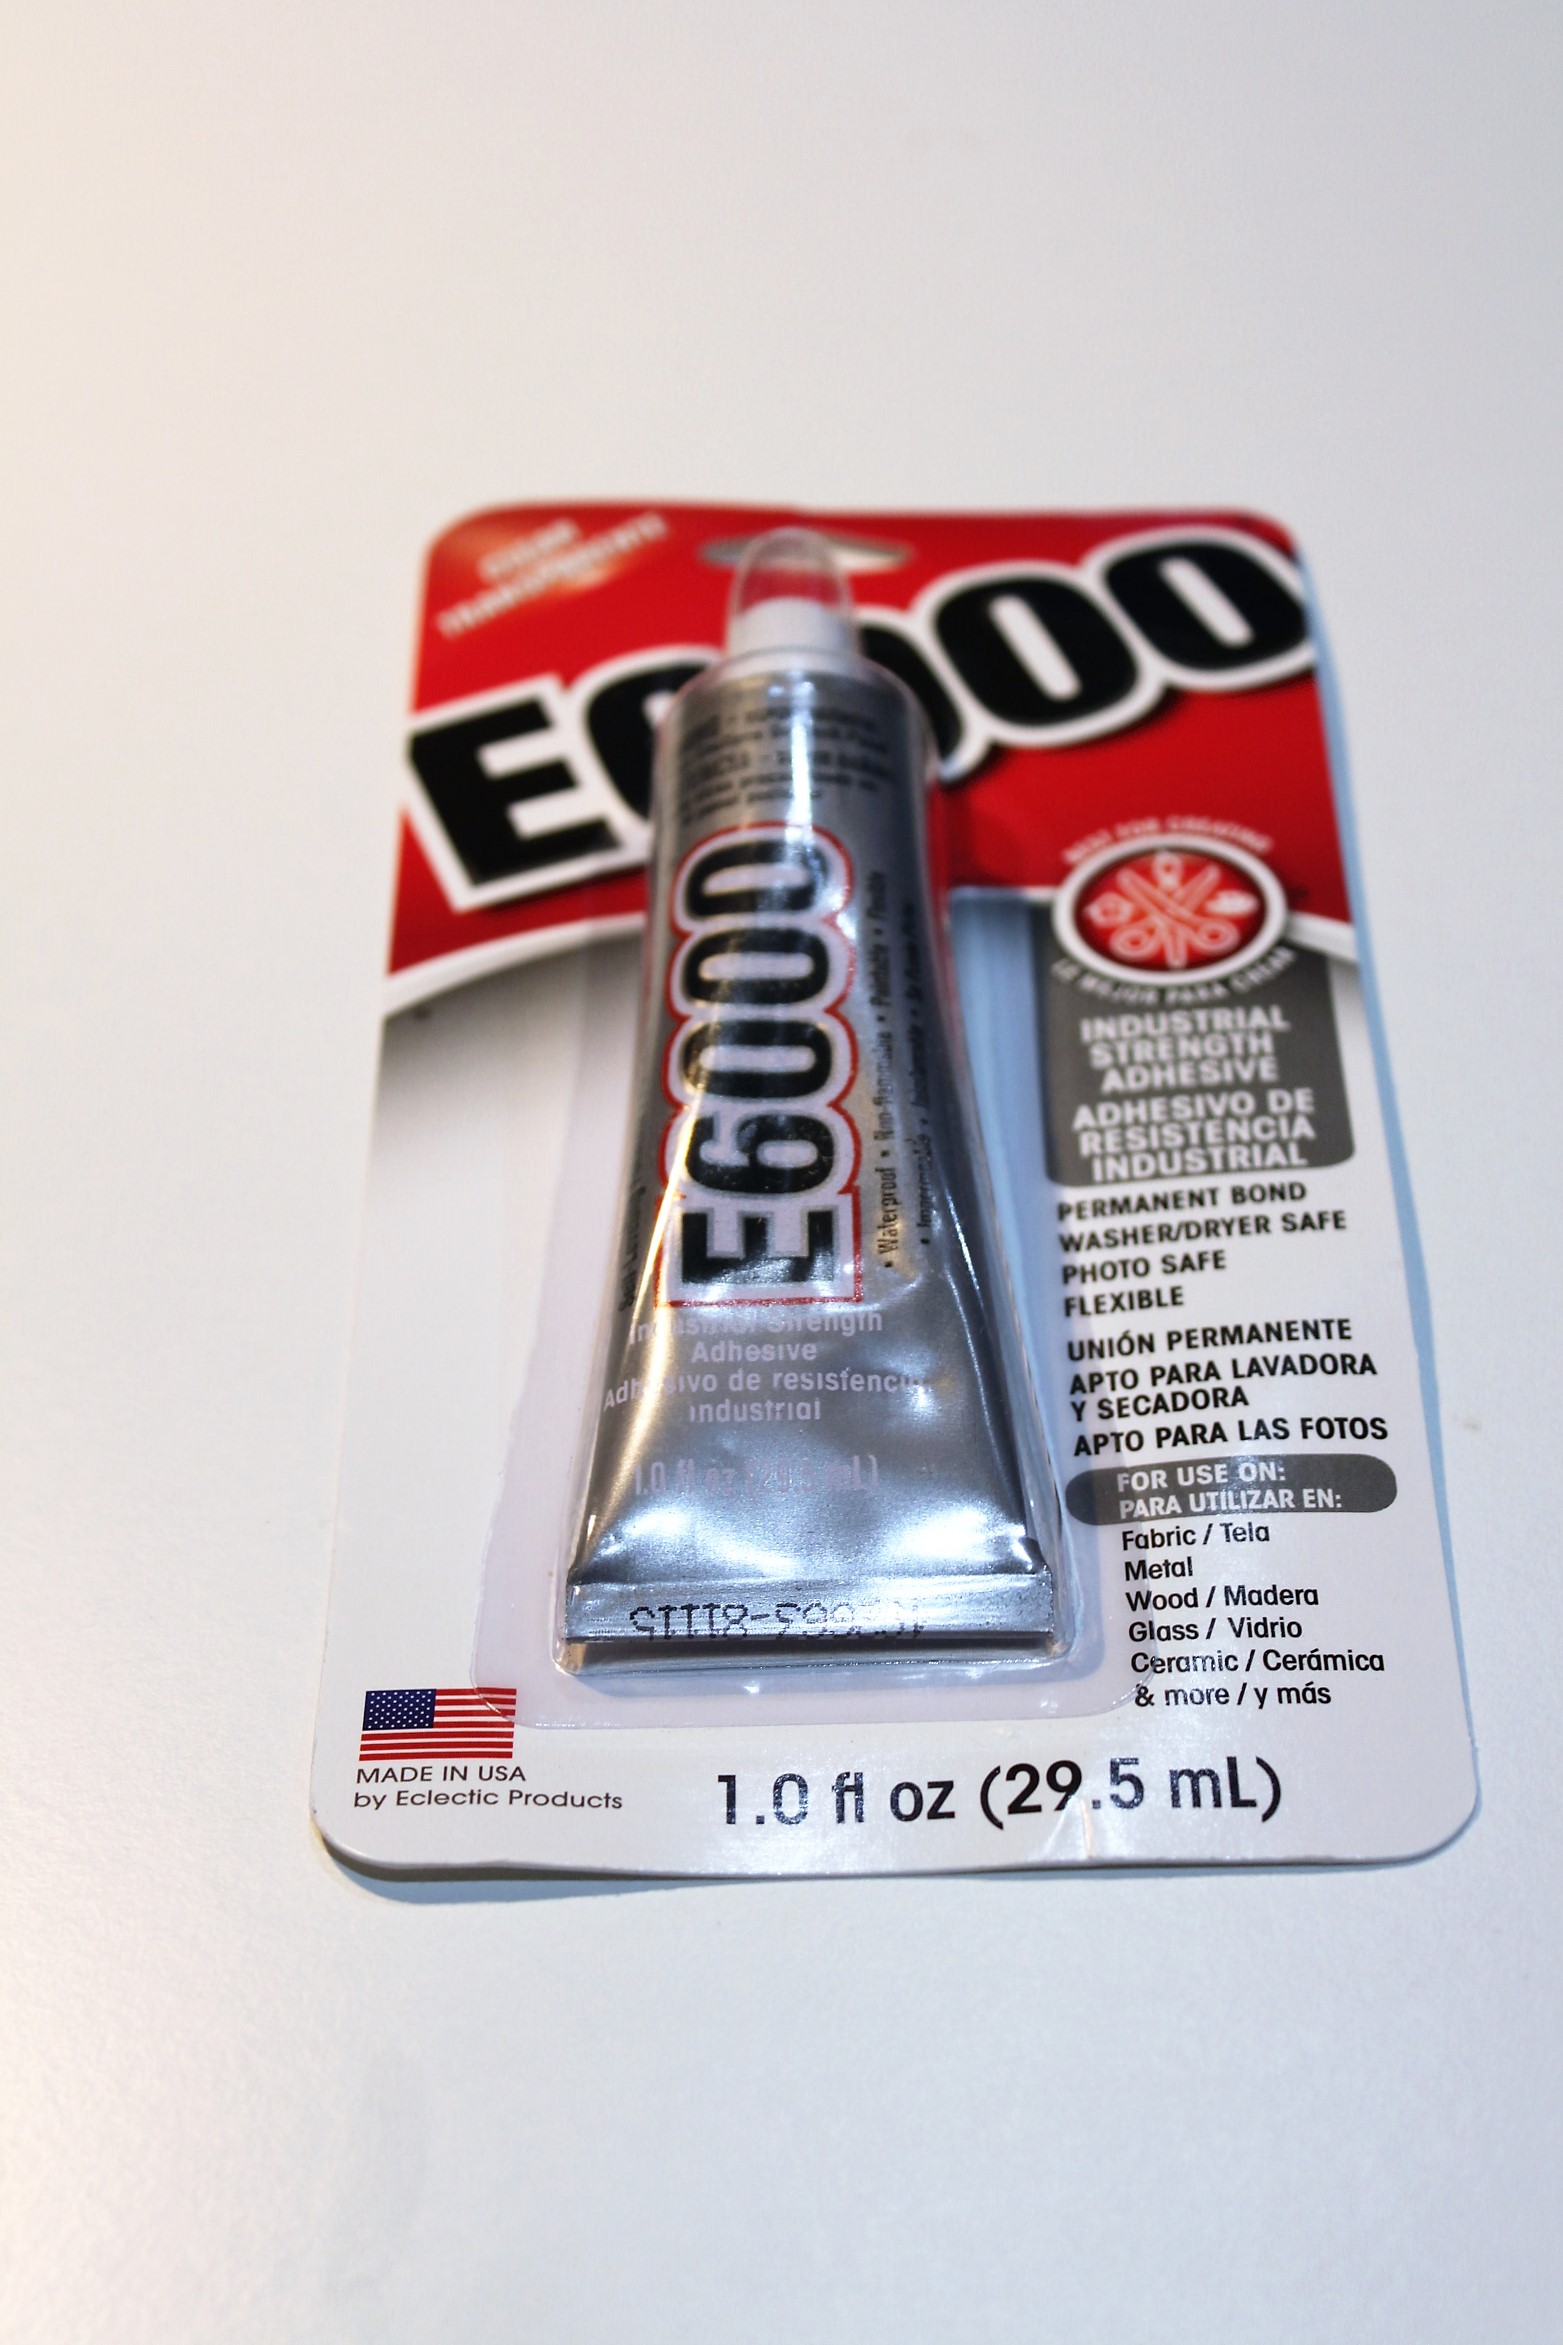
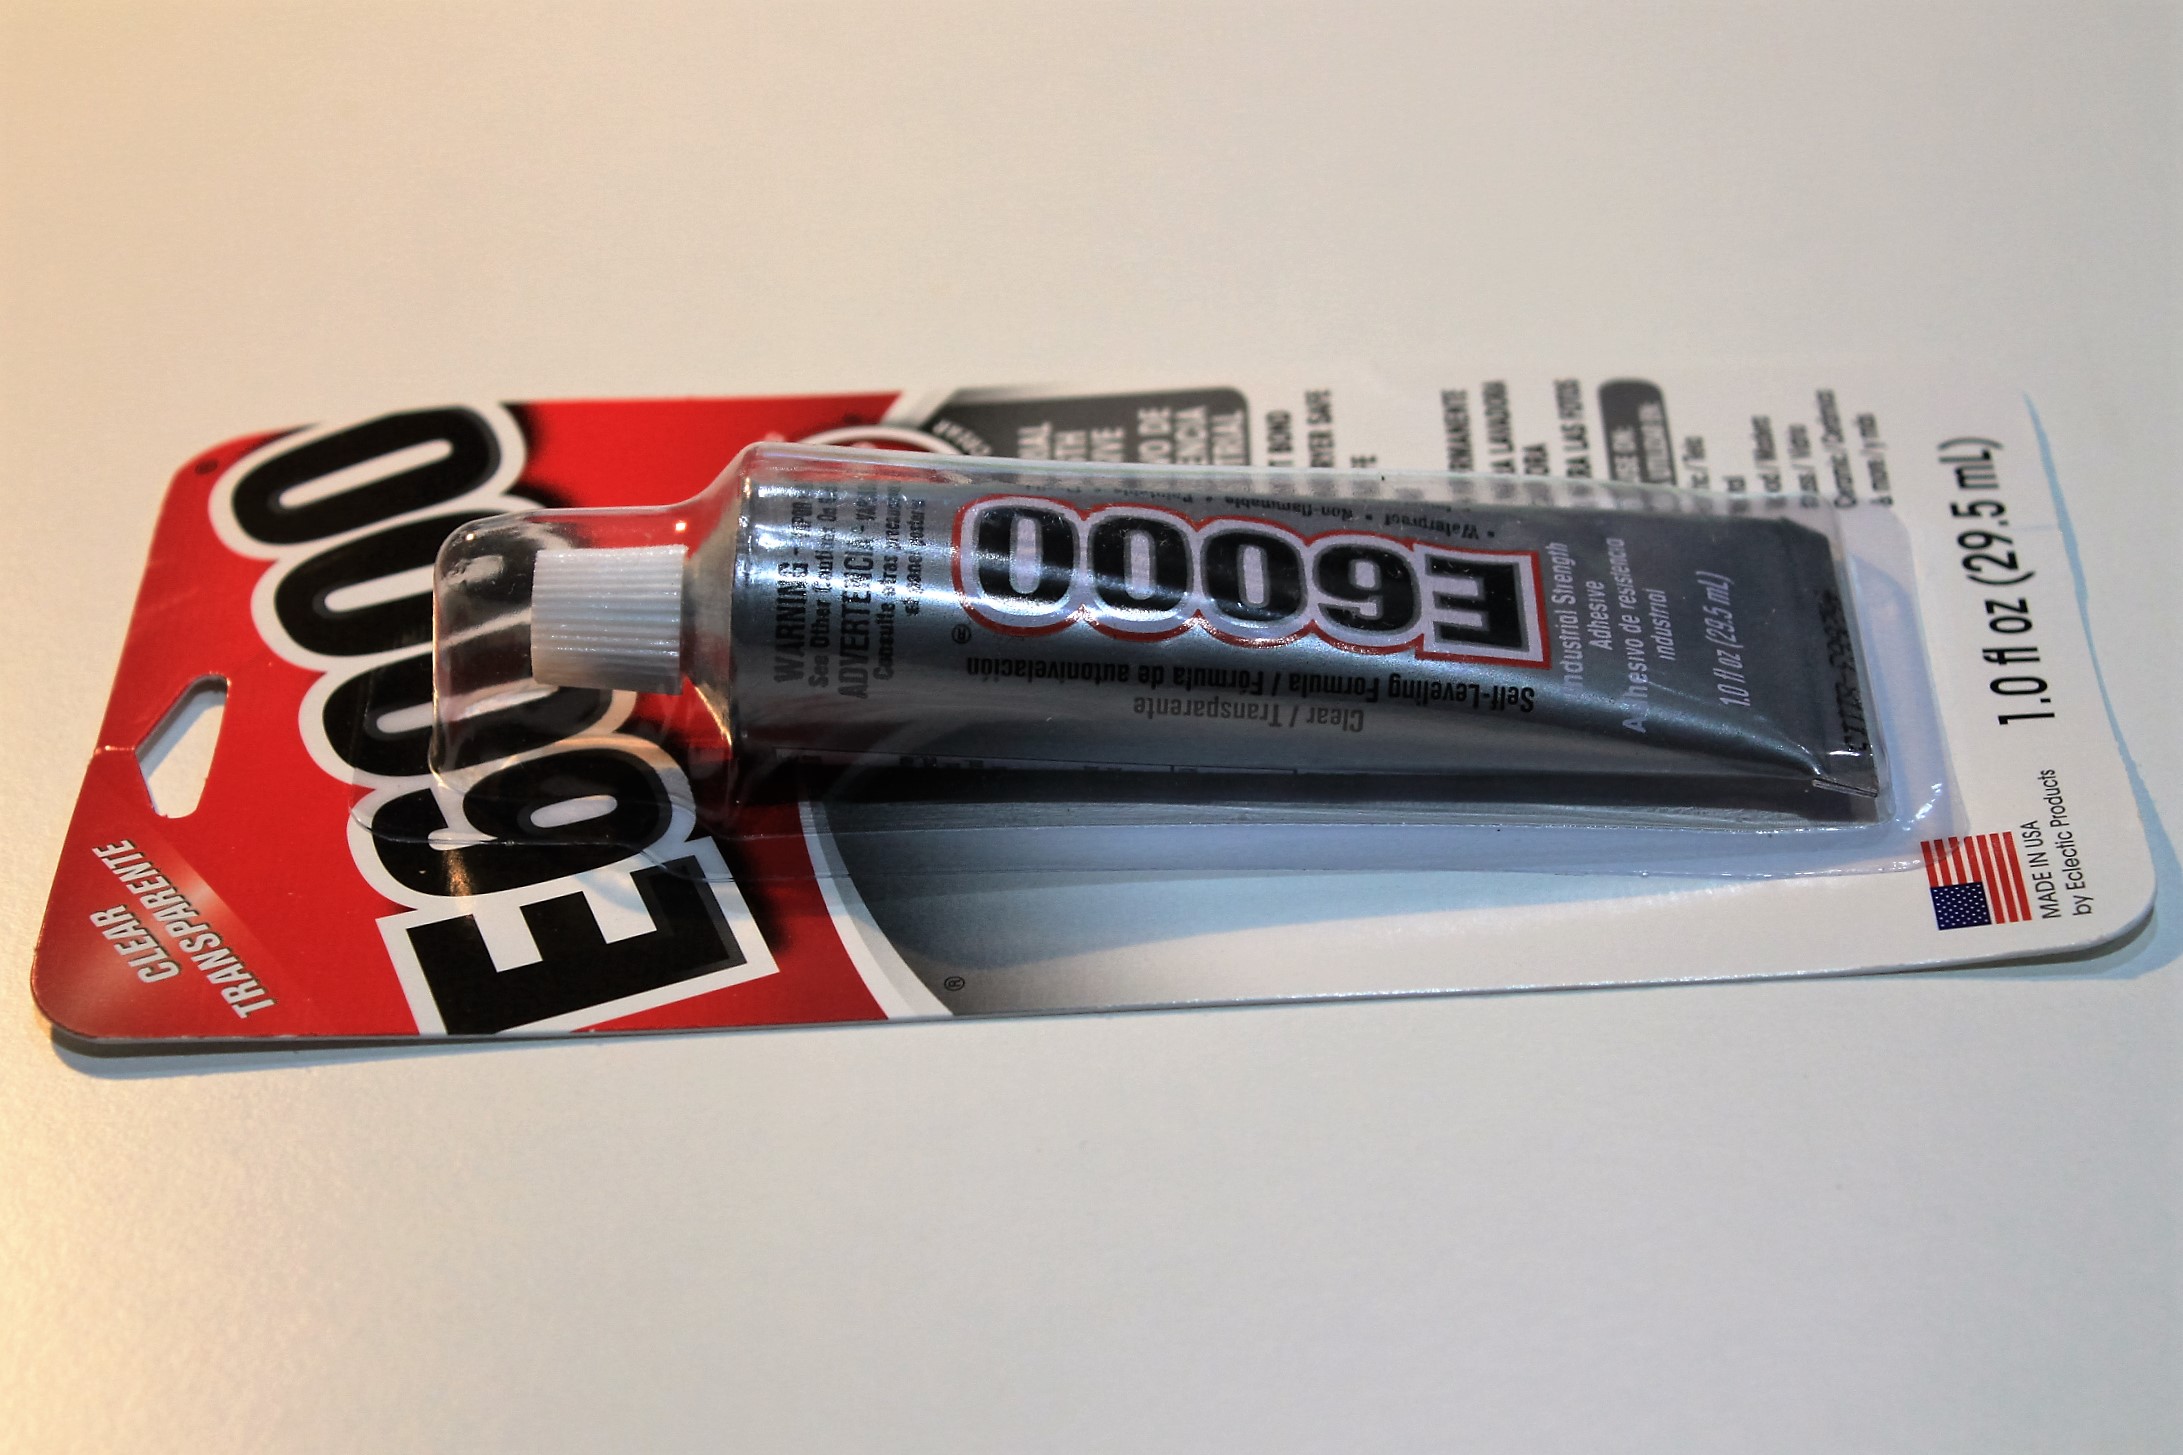
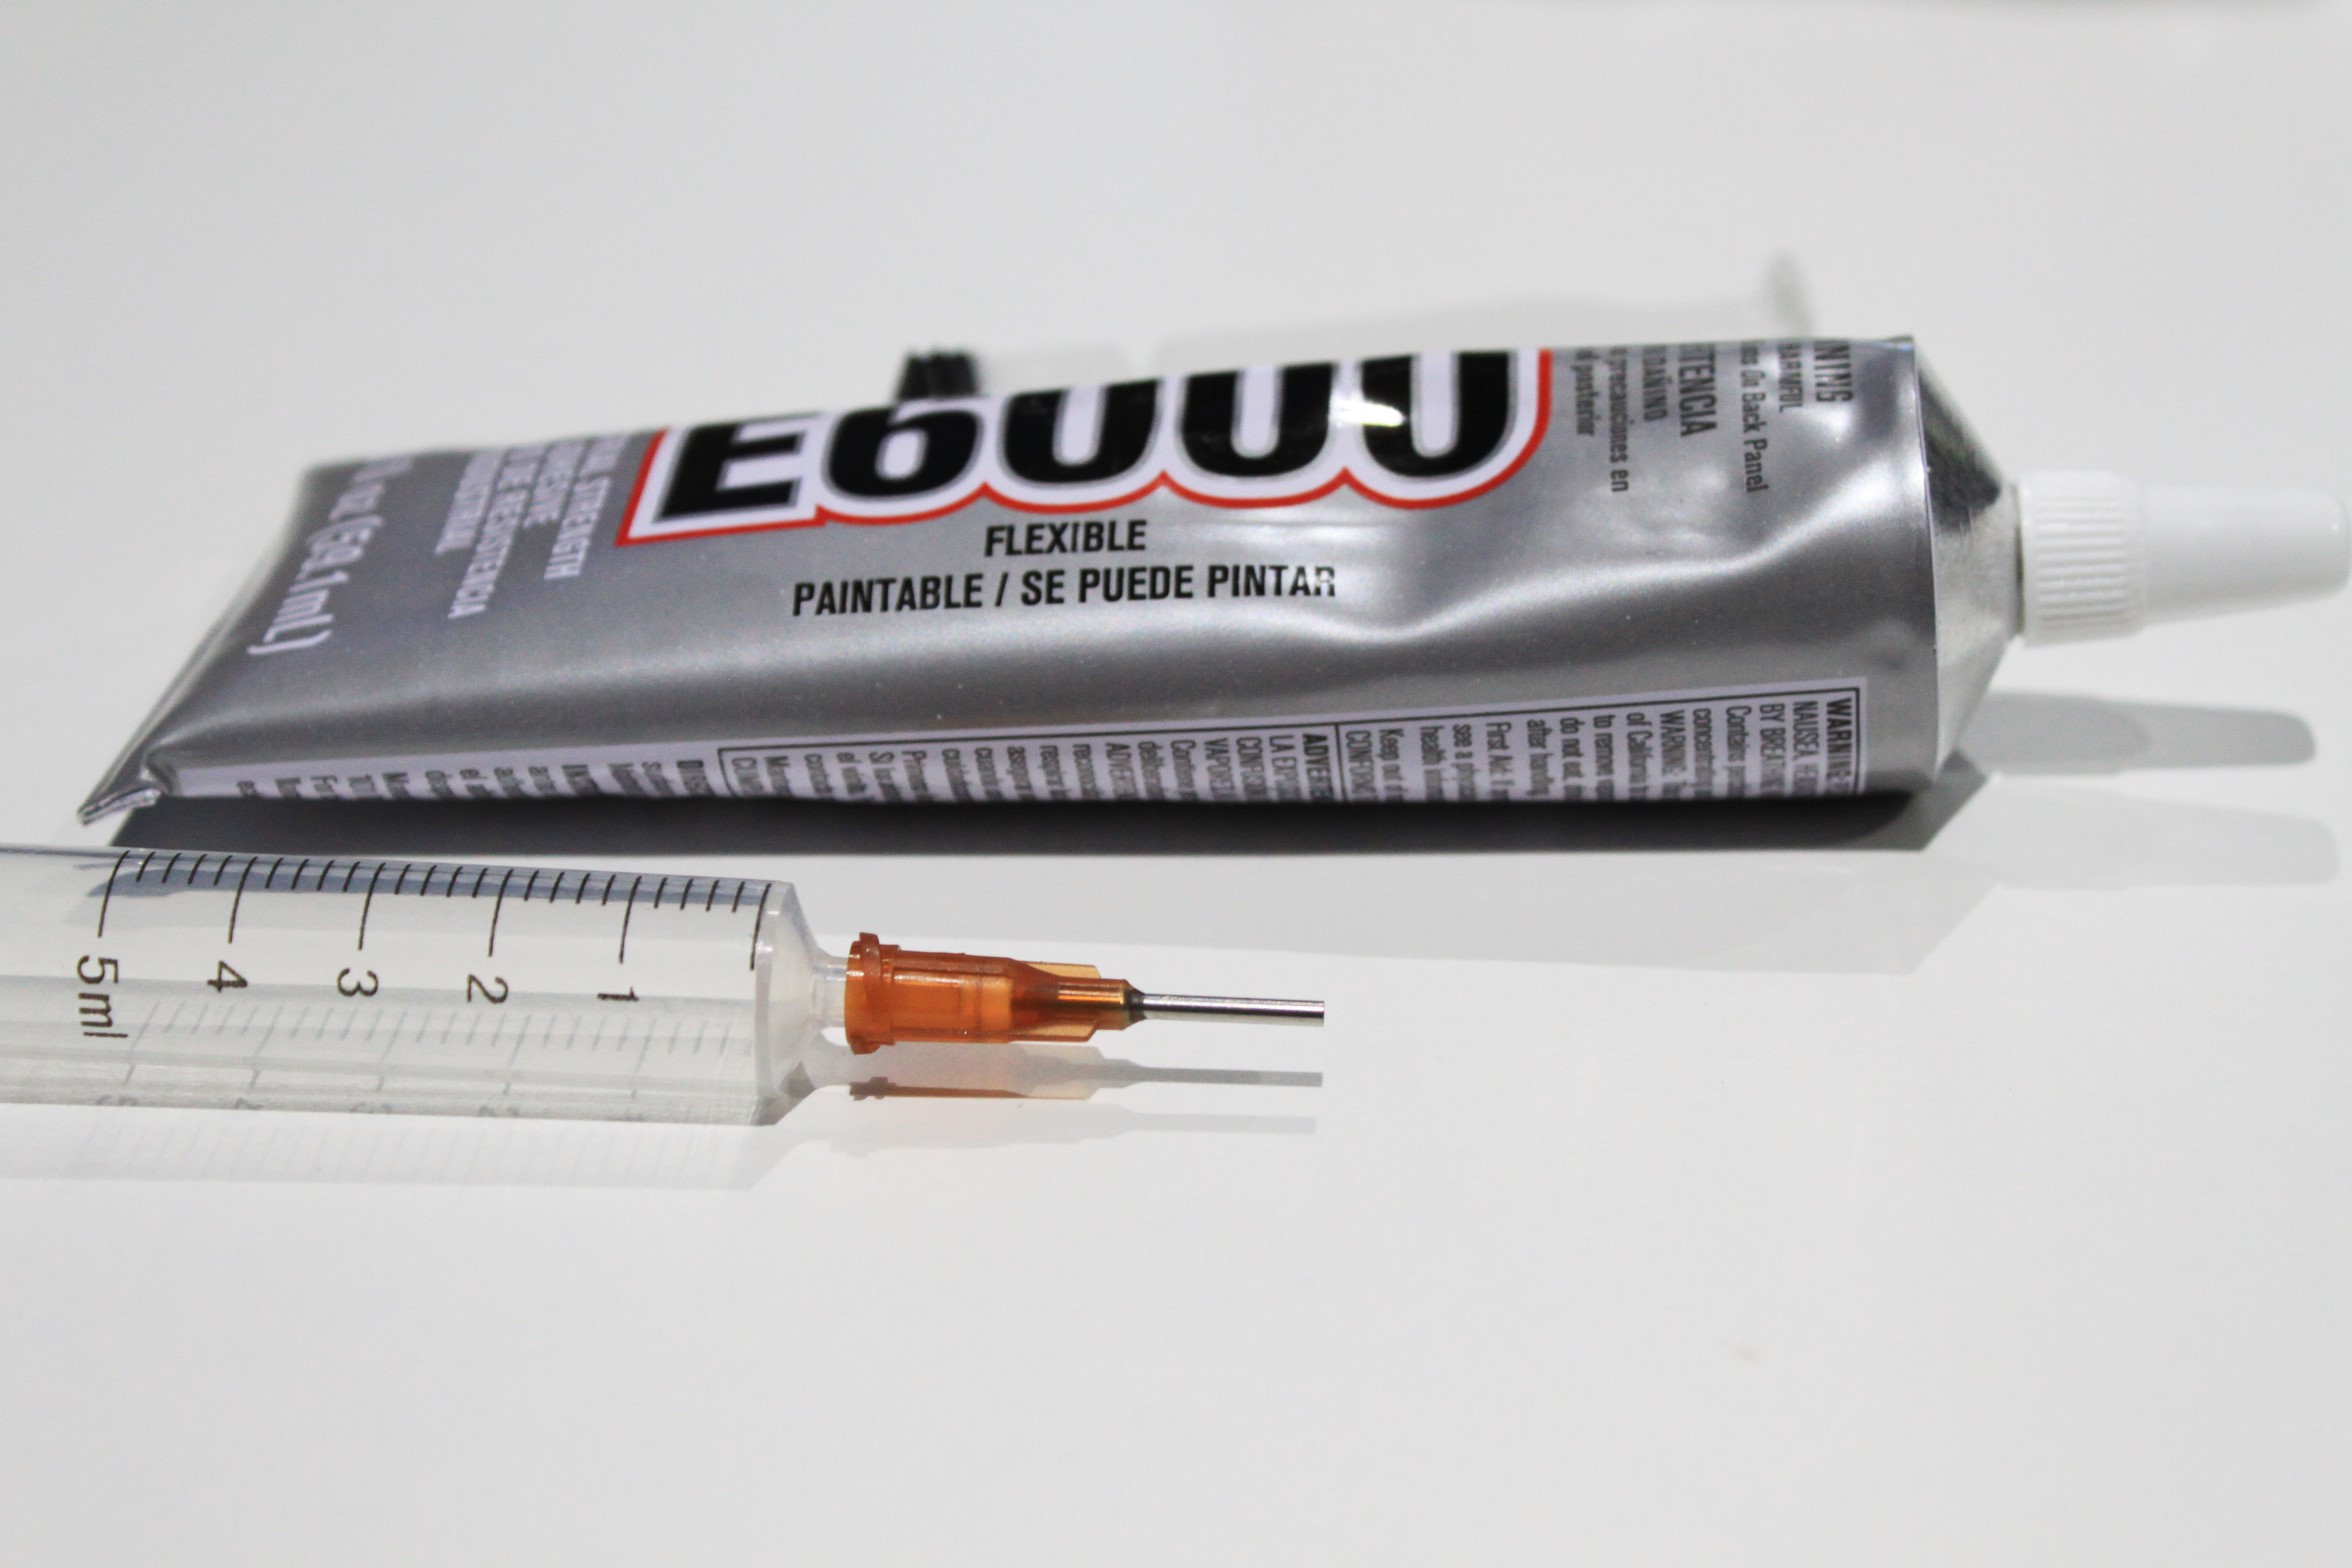
There are many glues out there on the market that will work with our stones, but the very best, by far, (and the only glue
we use) is E6000. E6000 is an industrial strength glue that sticks just about everything! It dries clear and sets up quite
quickly. It will though, take about 24 hours to set up properly. We find it to be a very forgiving glue, which means it’s easy
to use, easy to clean up if you have a little spill and very easy to apply. The only downside to this glue is the fumes so make
sure you only ever work in a well ventilated area and it is preferable to wear a mask.
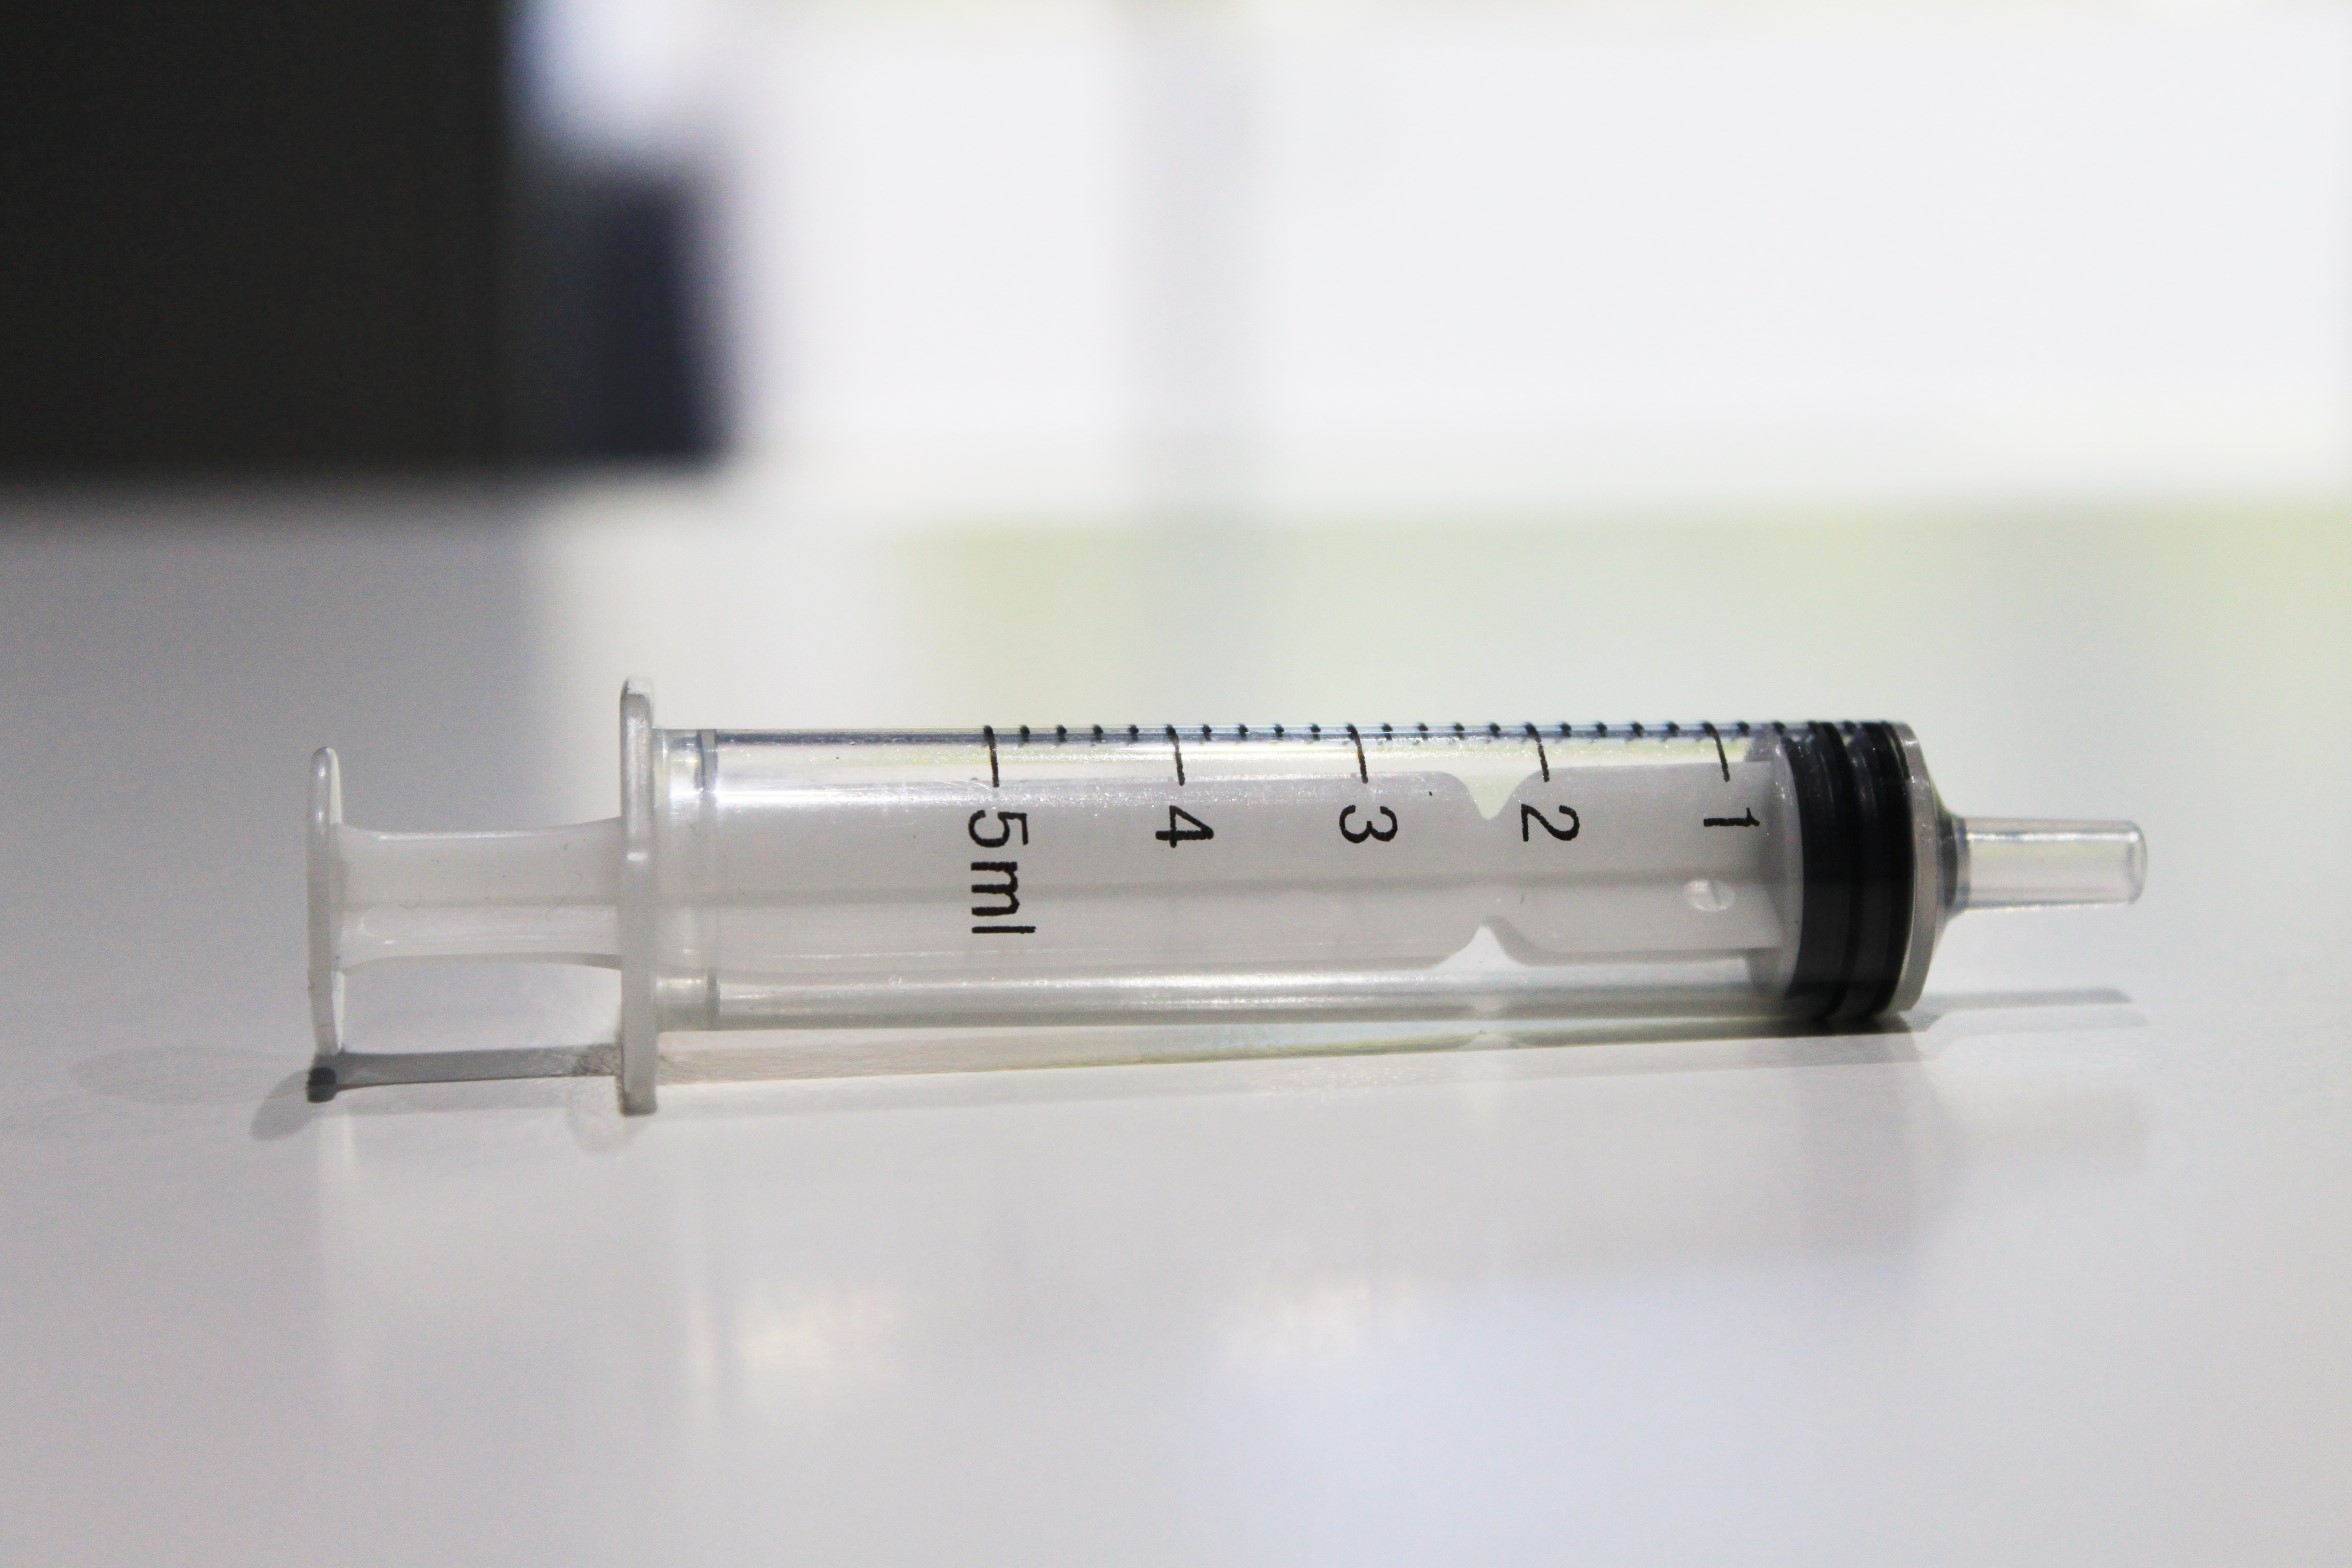
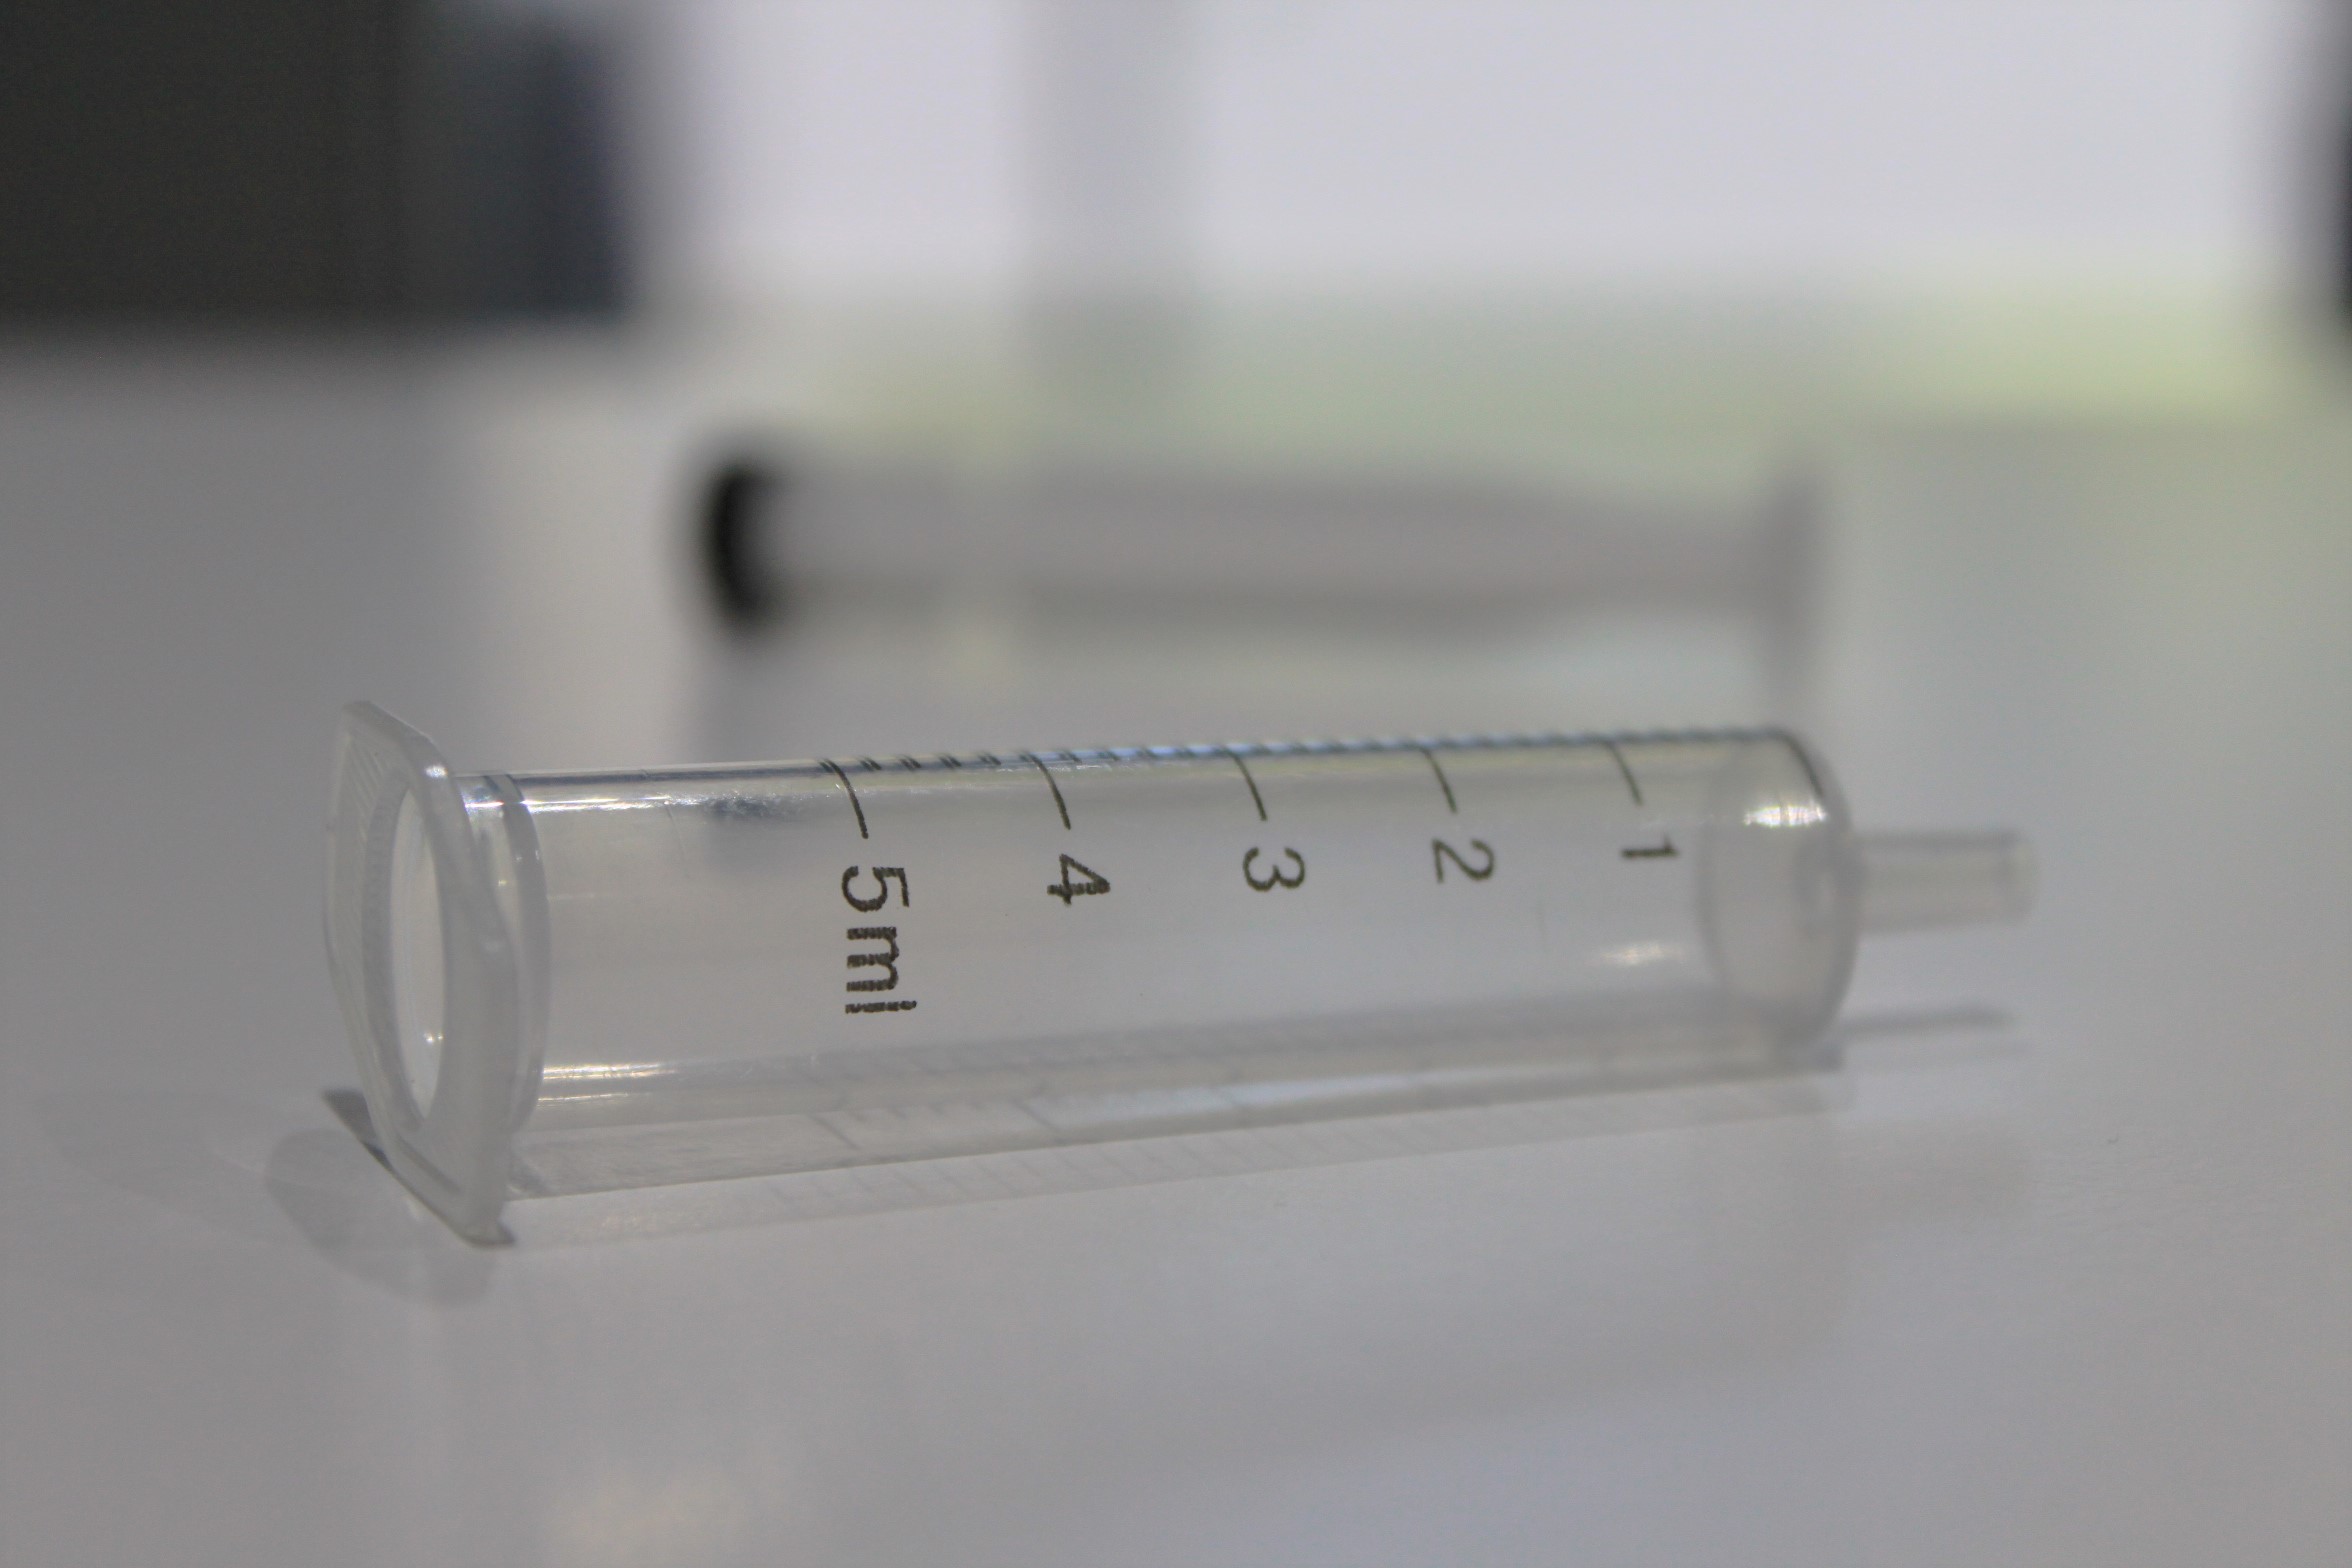
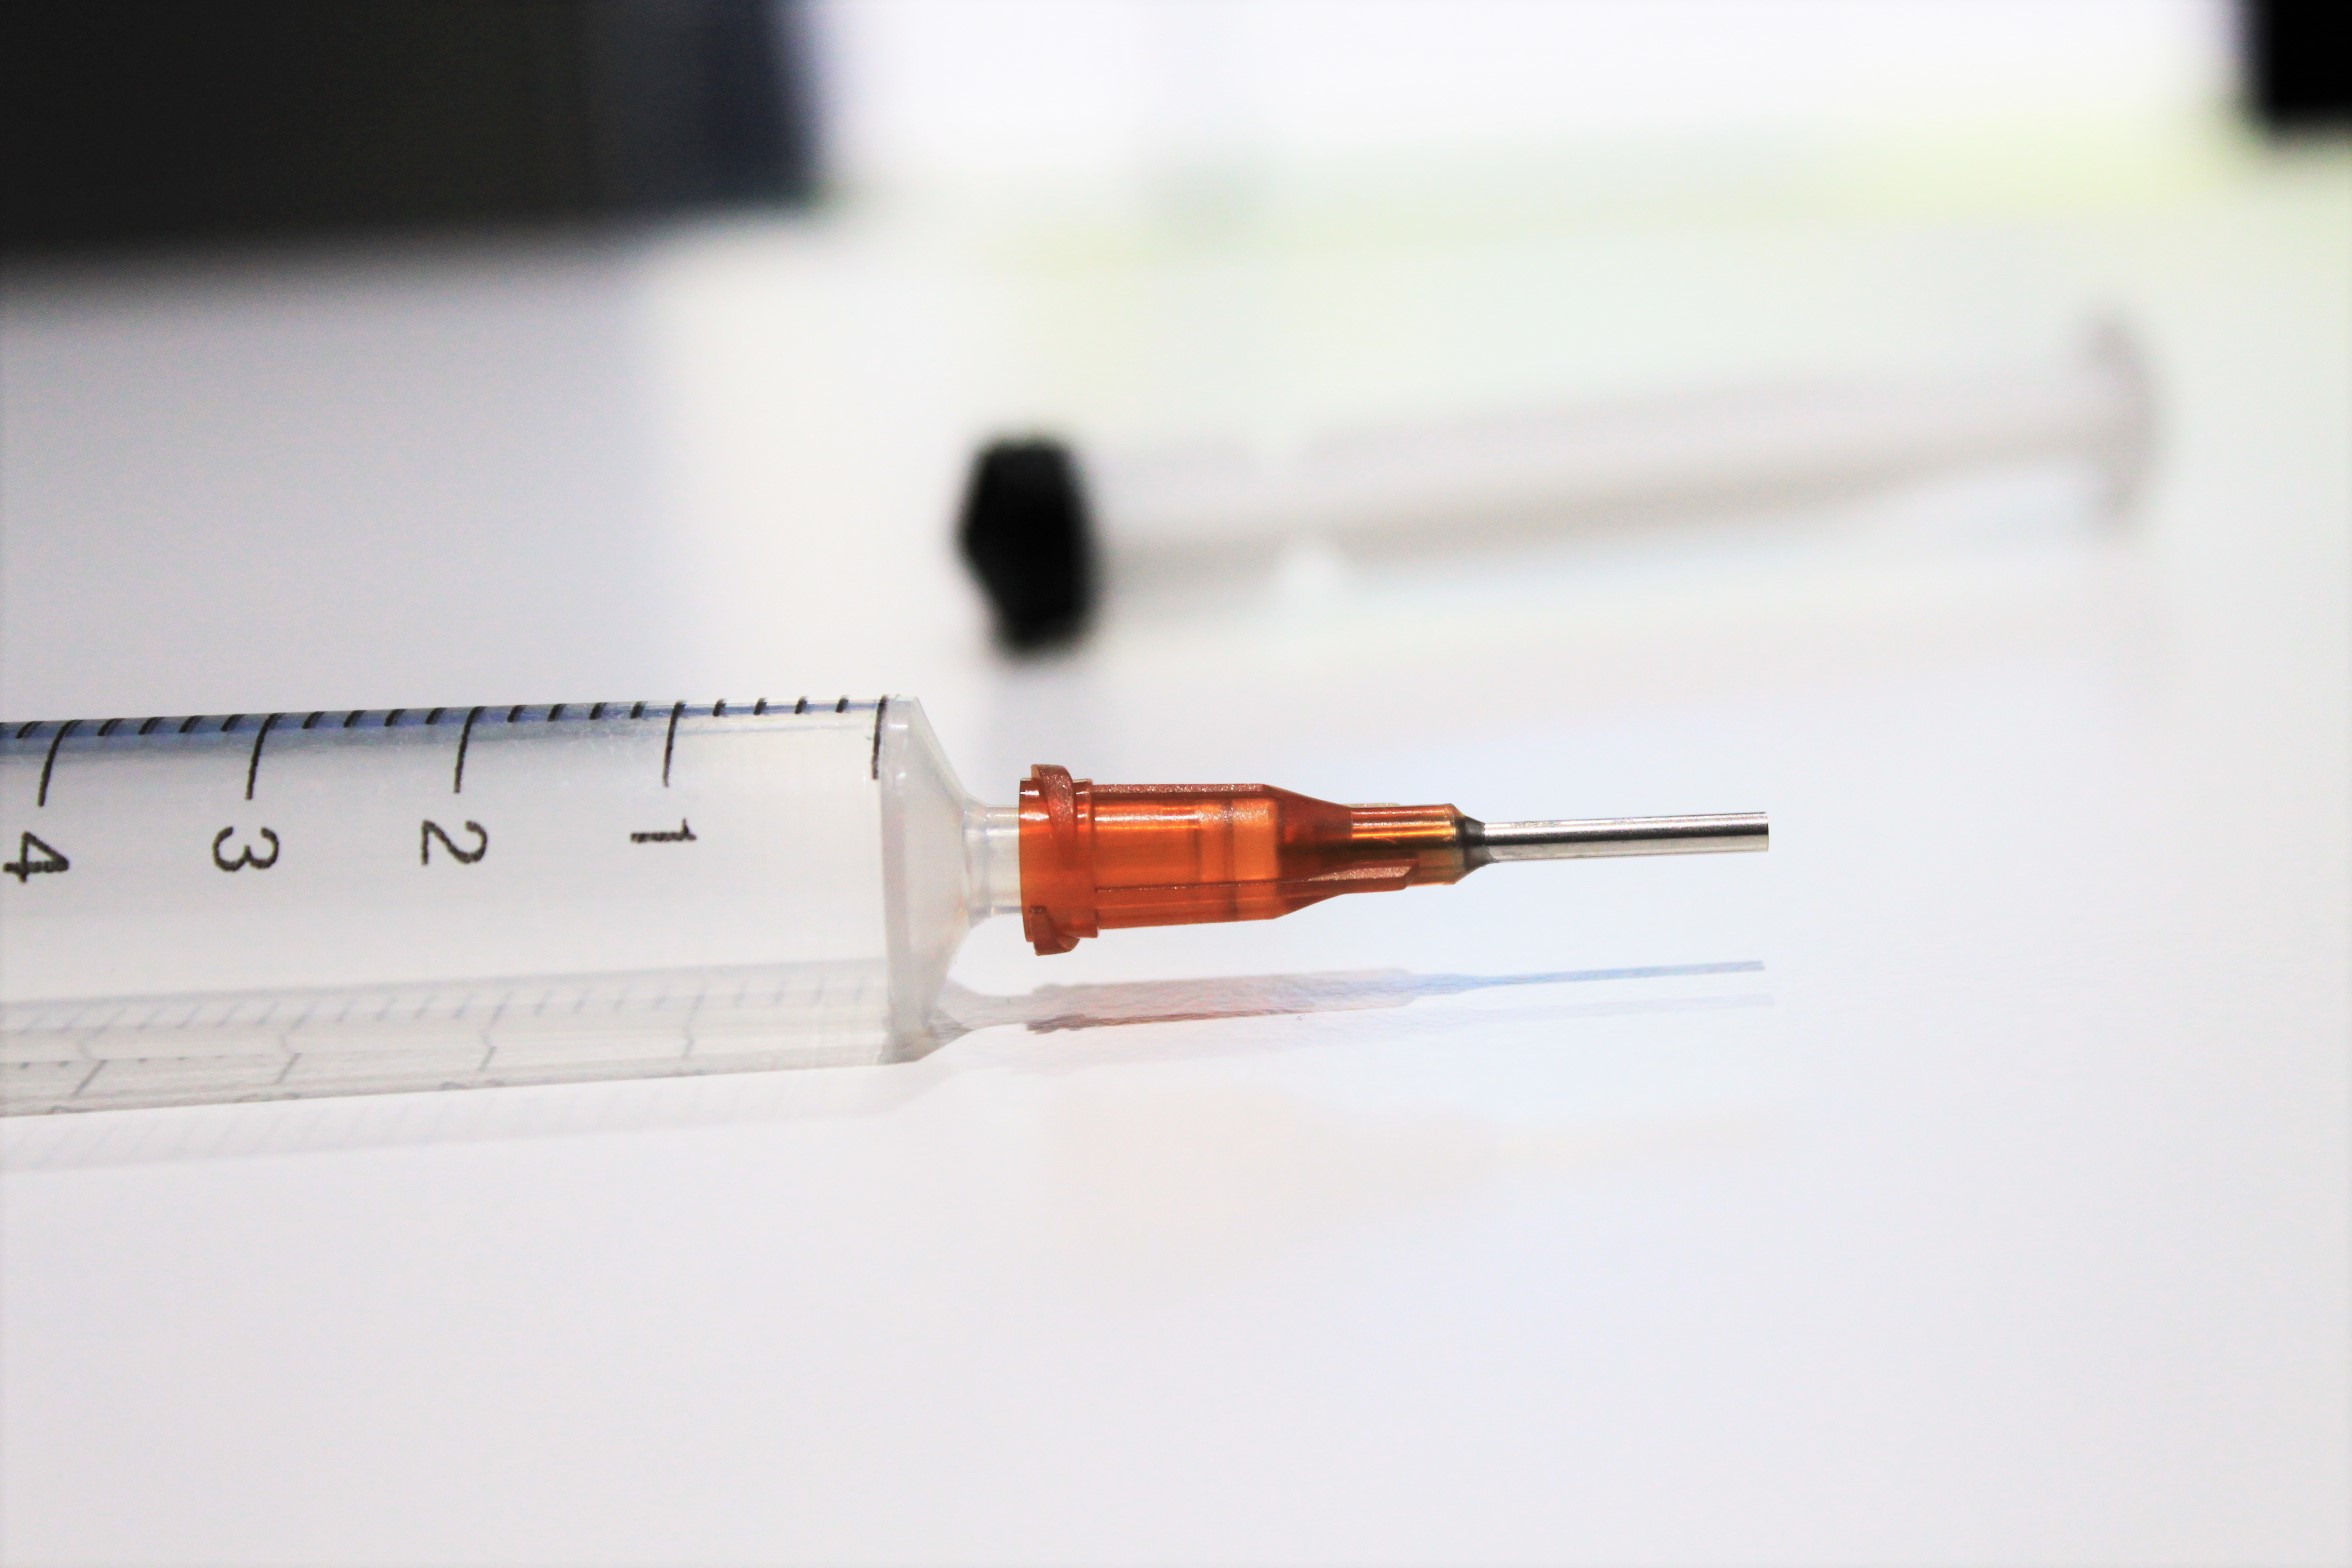
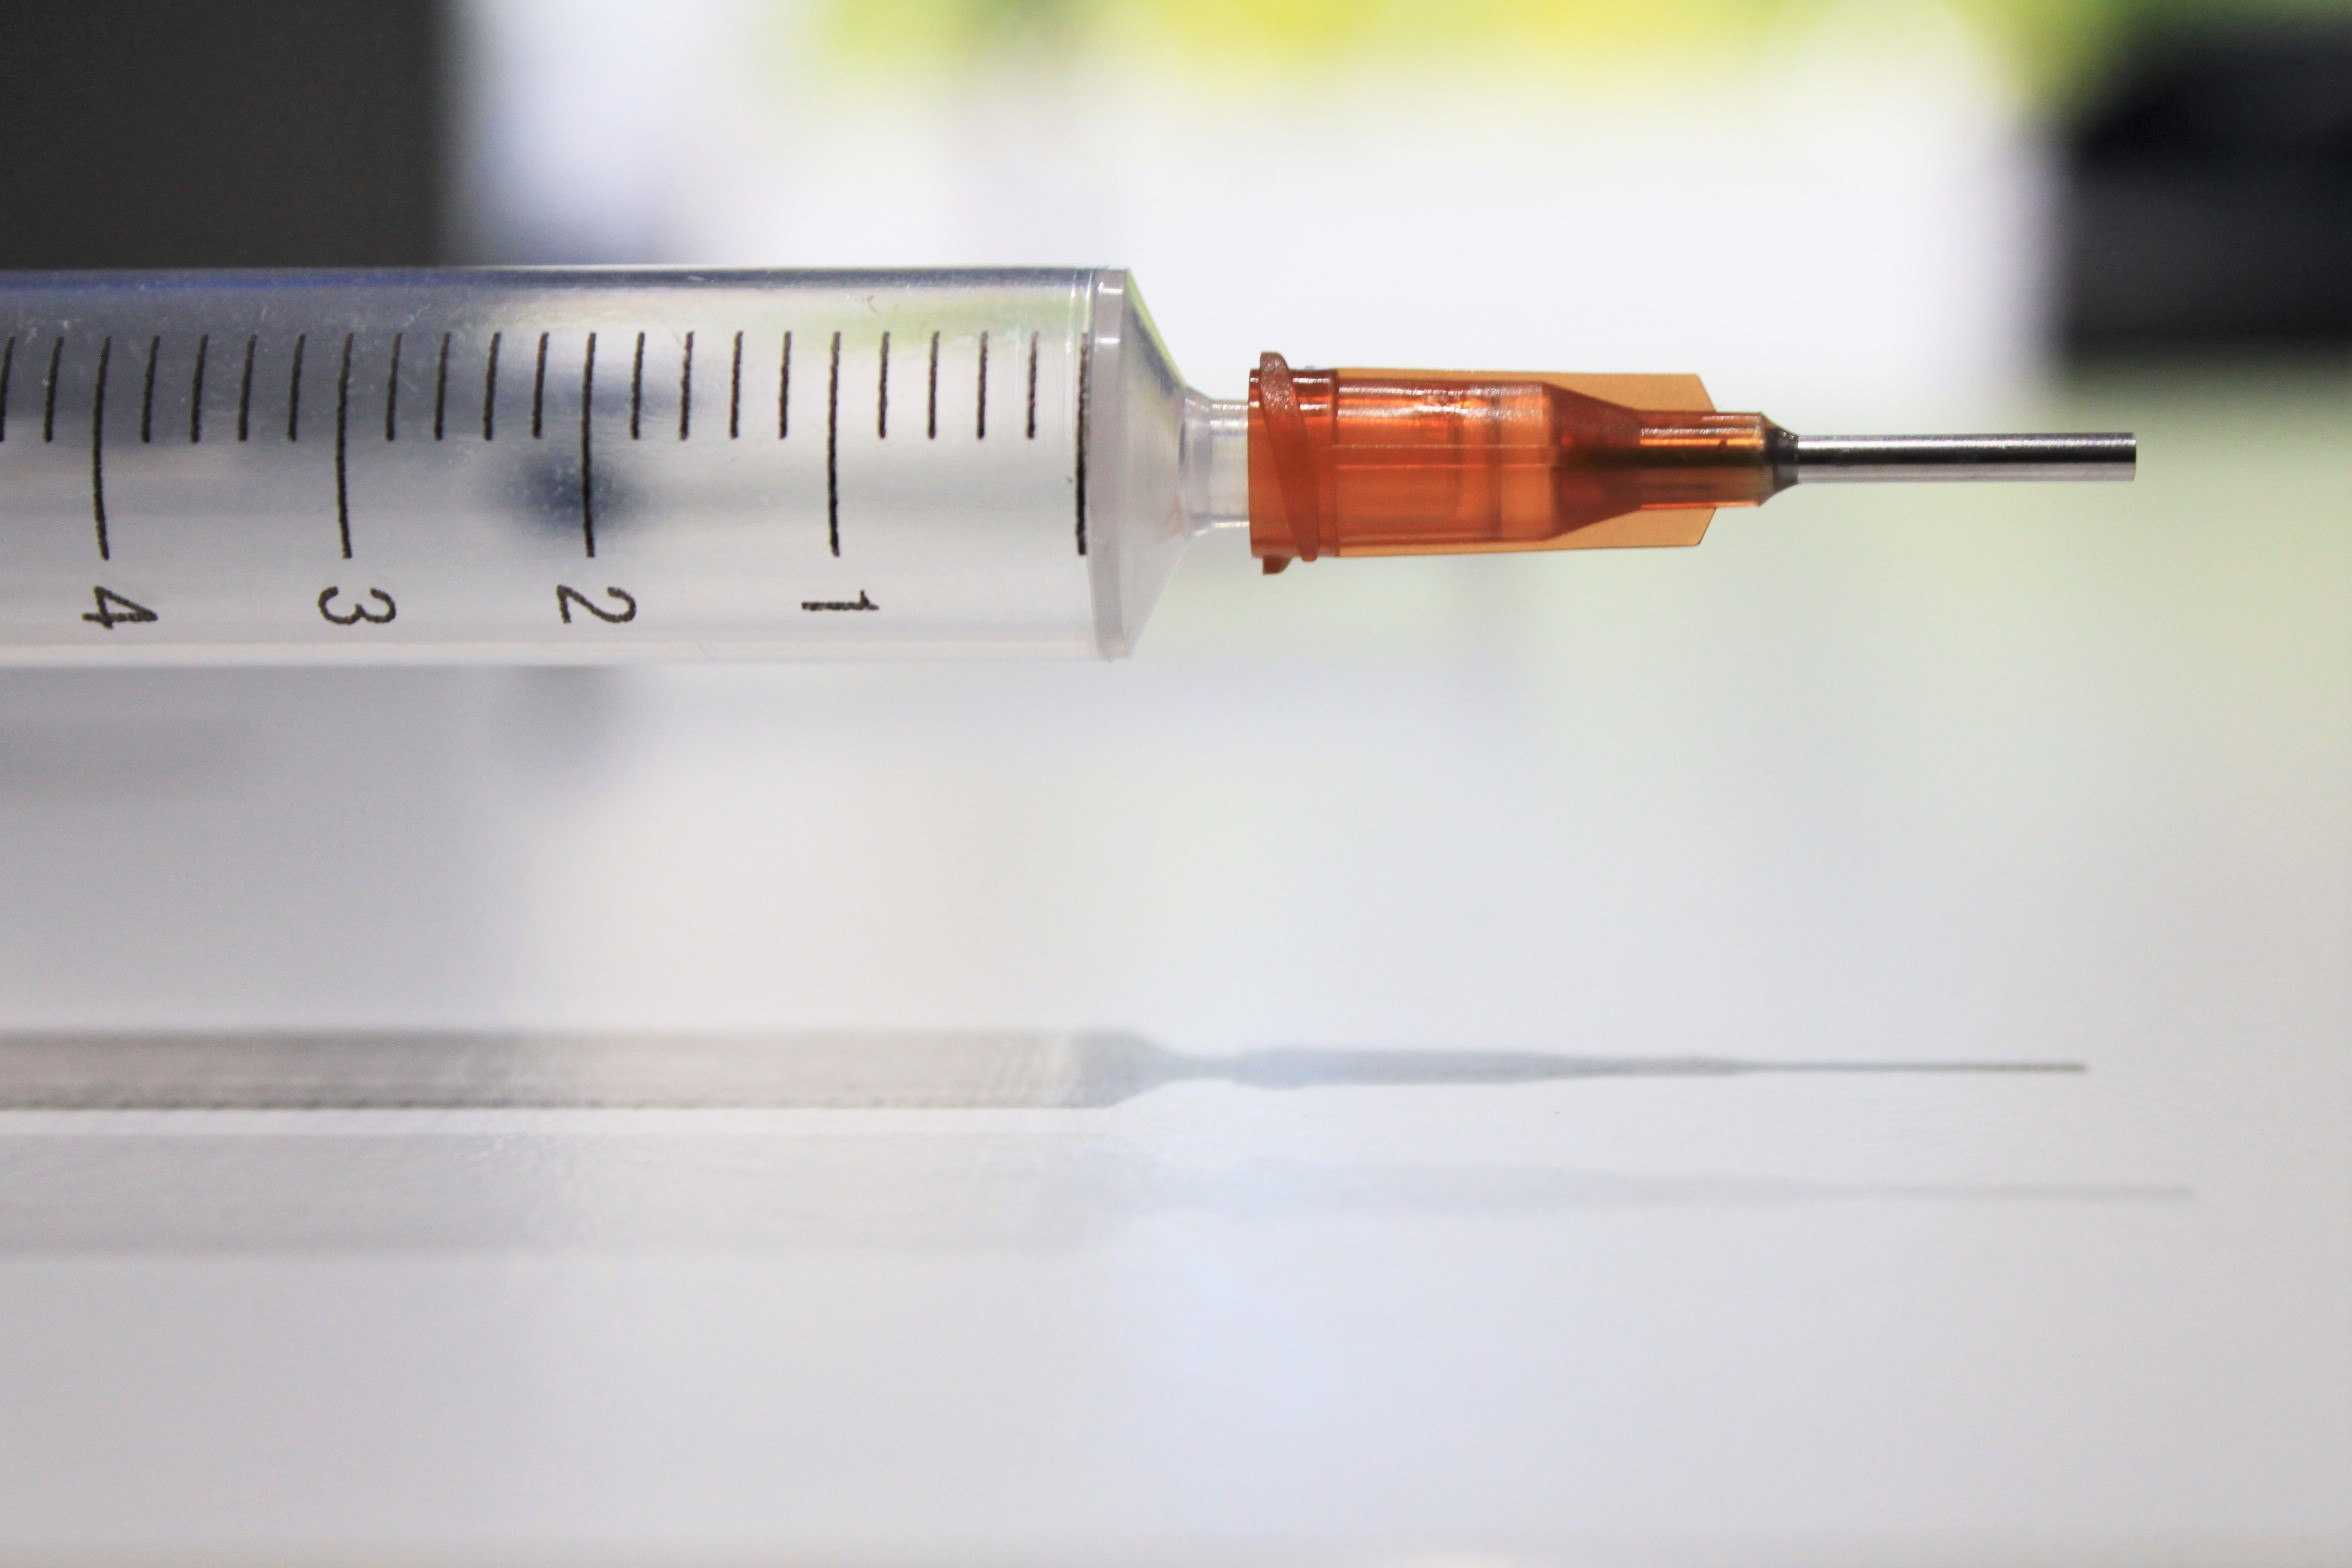
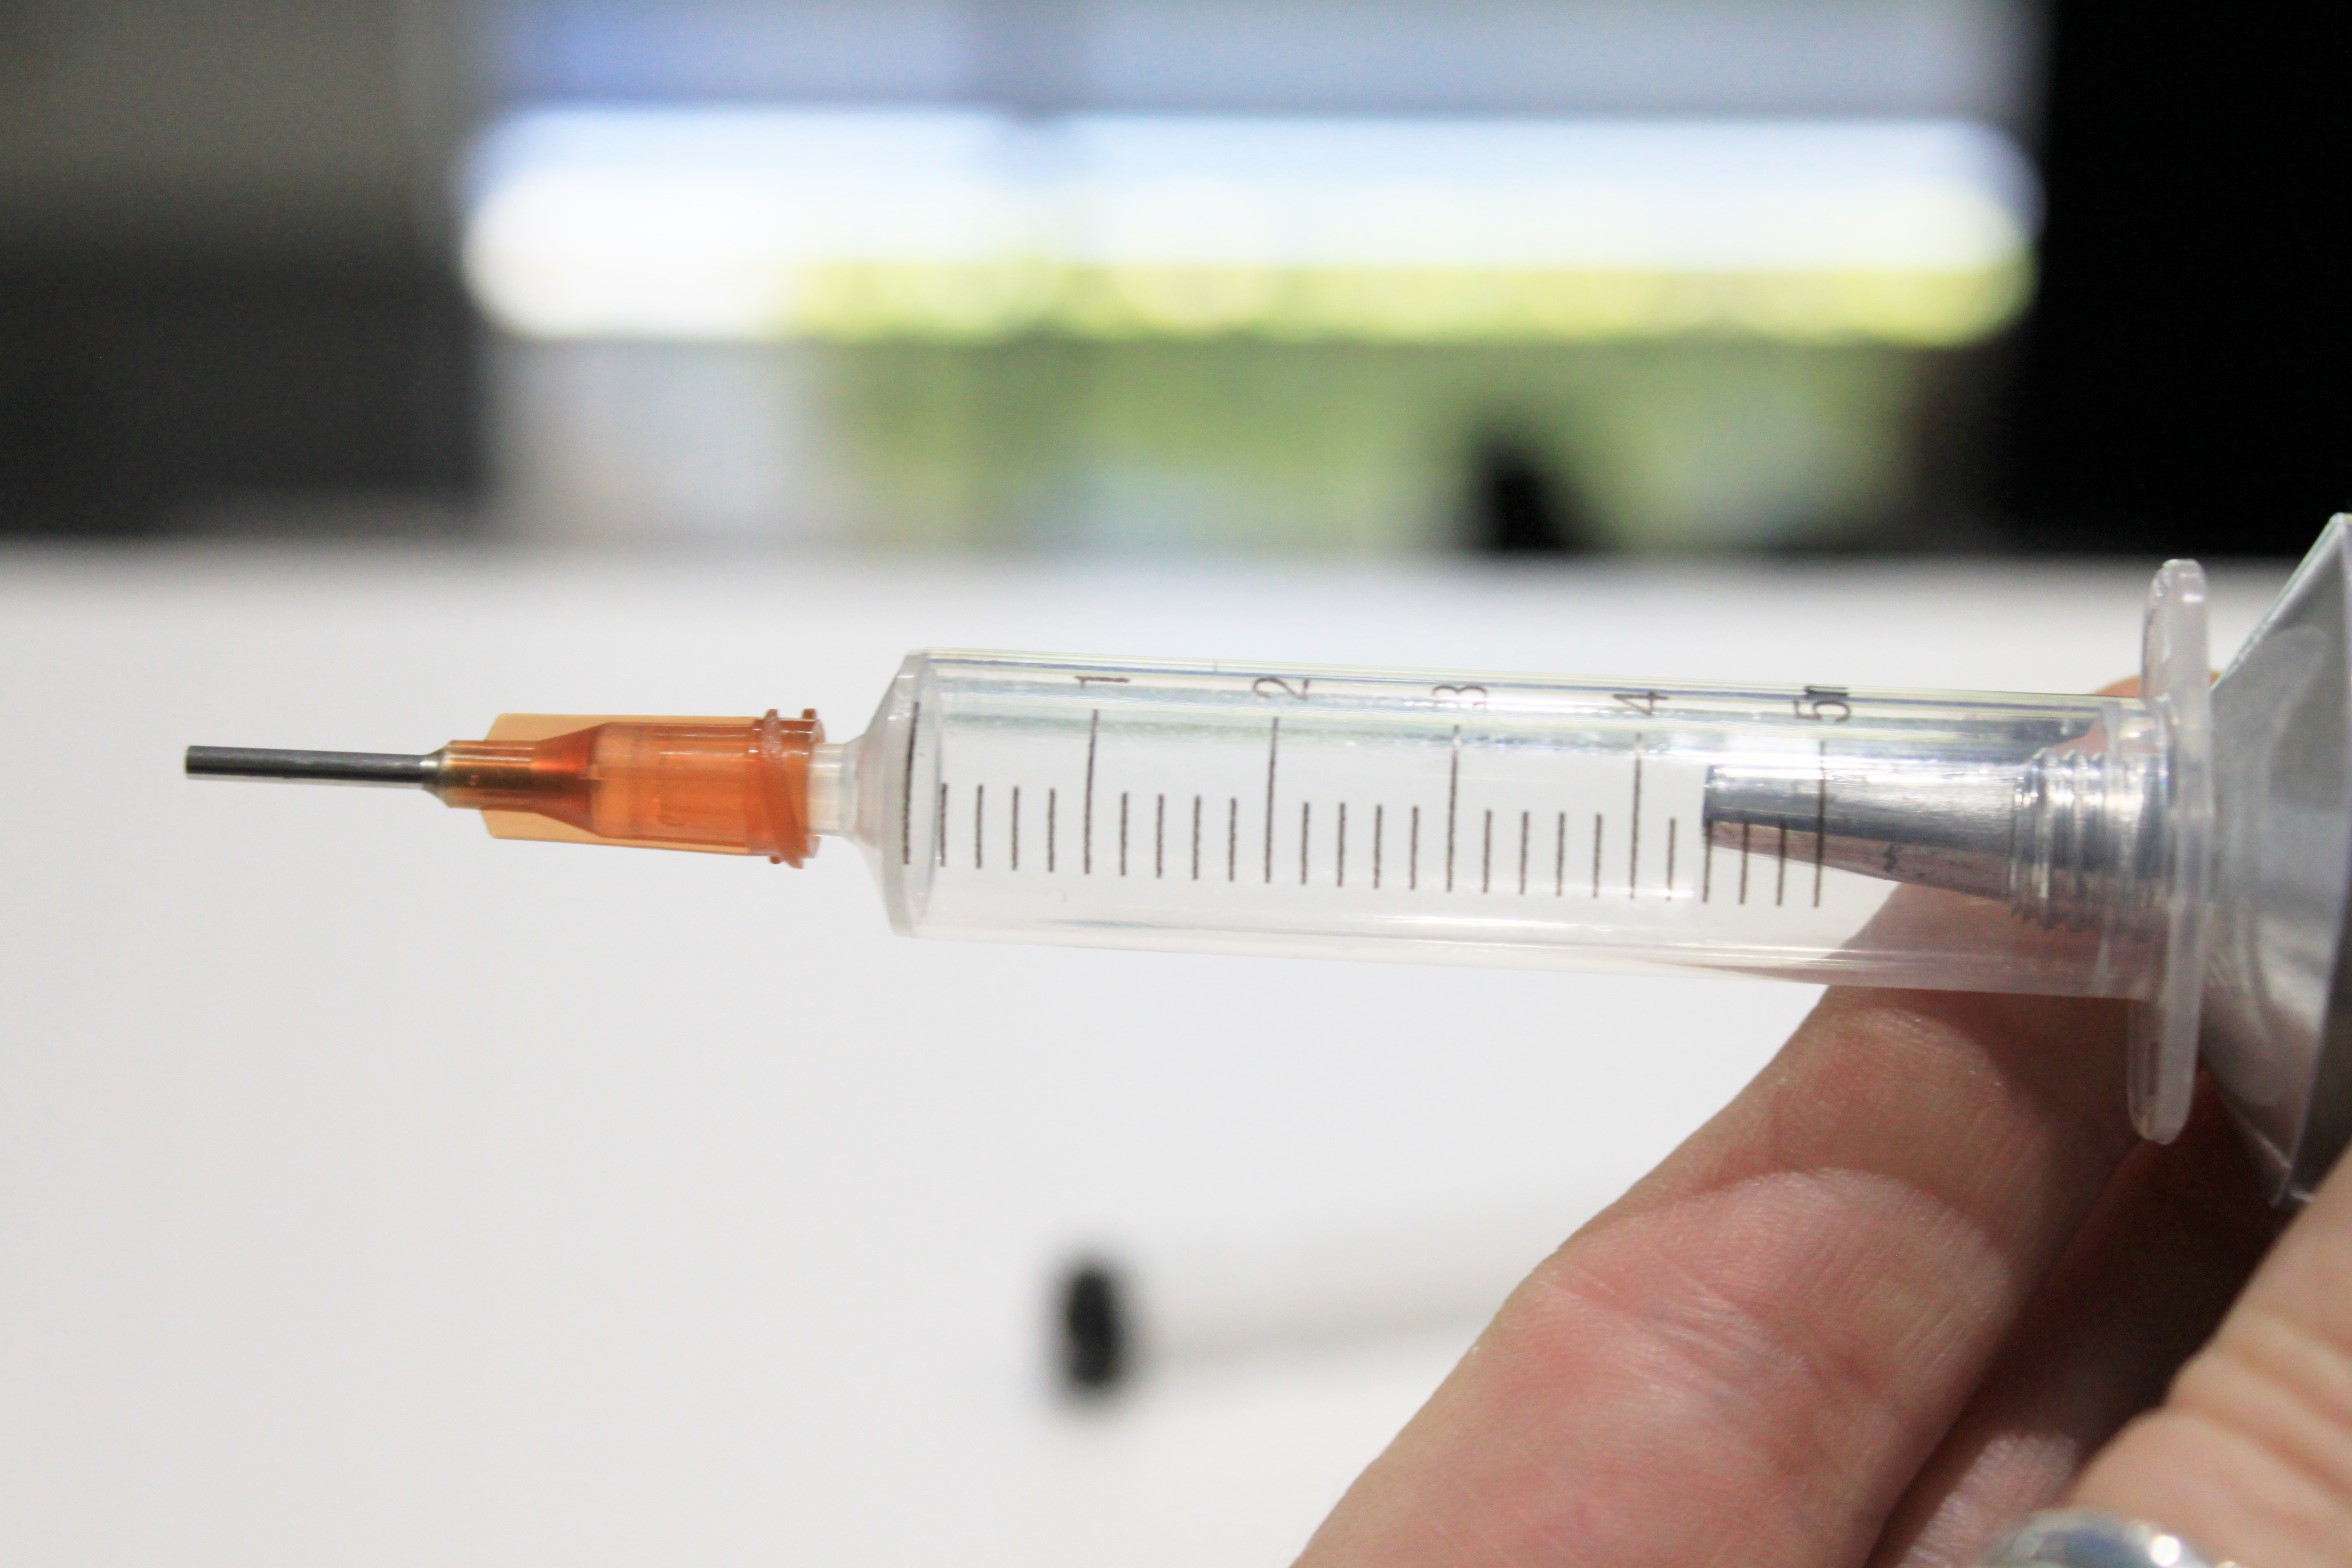
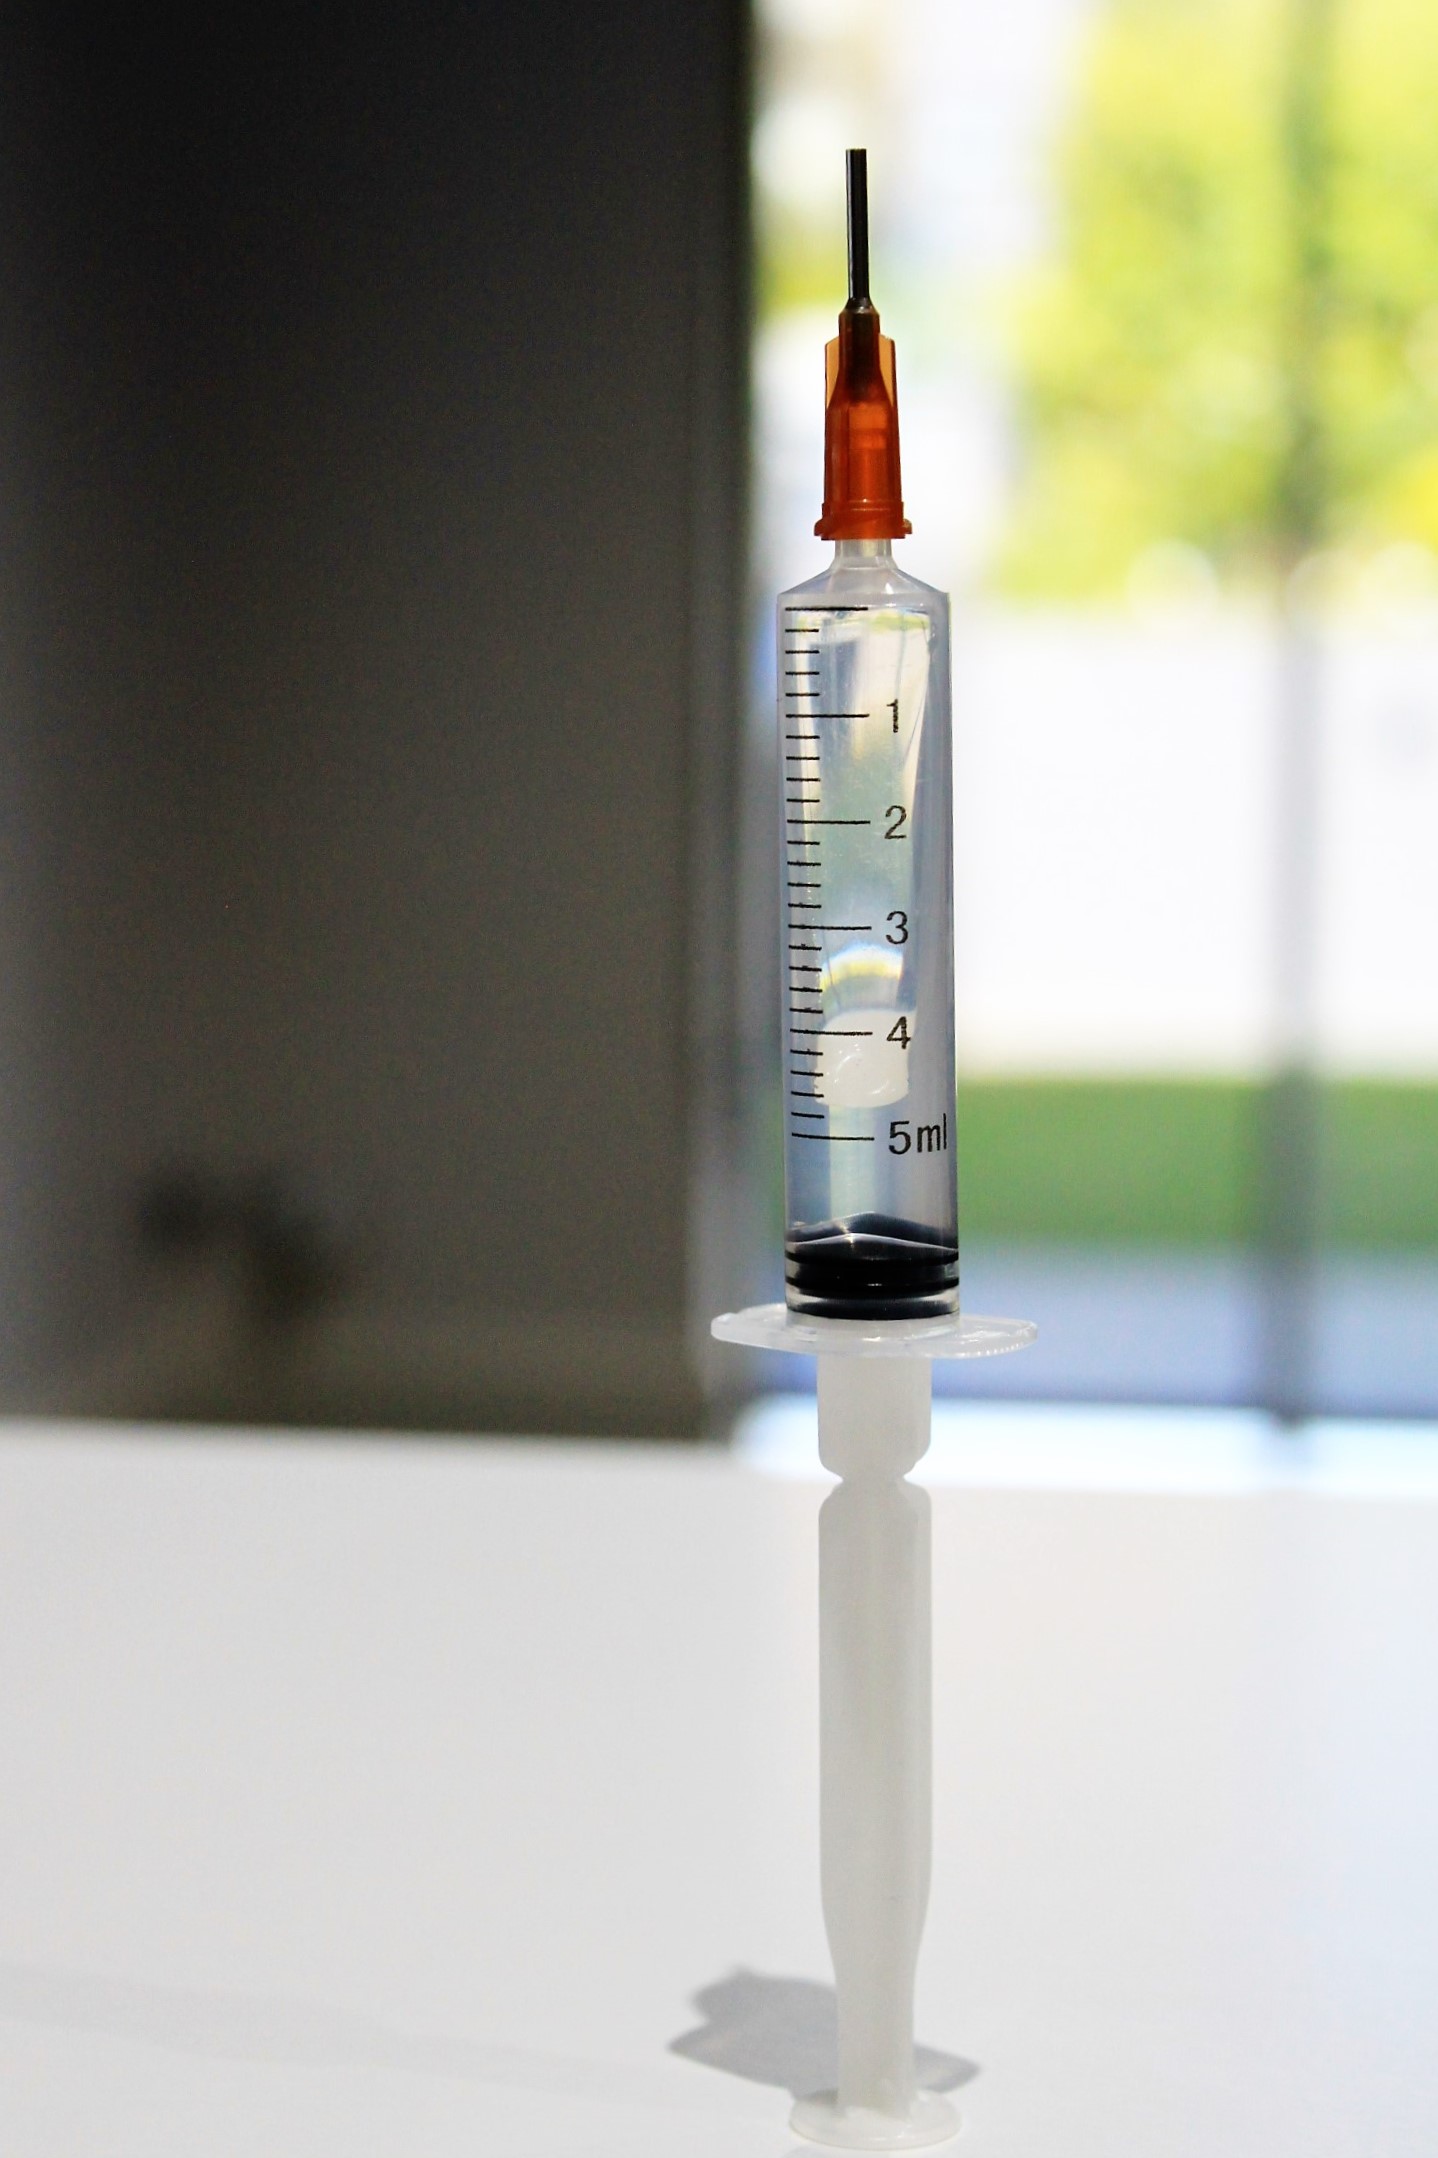
We use a very simple item to dispense the glue. A syringe. Yup, that’s right, a plastic syringe that we add a blunt tip to. This is
the perfect device to dispense small, accurate amounts of glue. Pretty clever right? And much easier than trying to use glue straight
from the tube!
Loading up the syringe is a piece of cake! You’ll be doing it properly in no time at all.
First you will need to remove the plunger from the syringe and set it aside.

Then take your blunt tip and push it onto the other end, nice and snuggly.
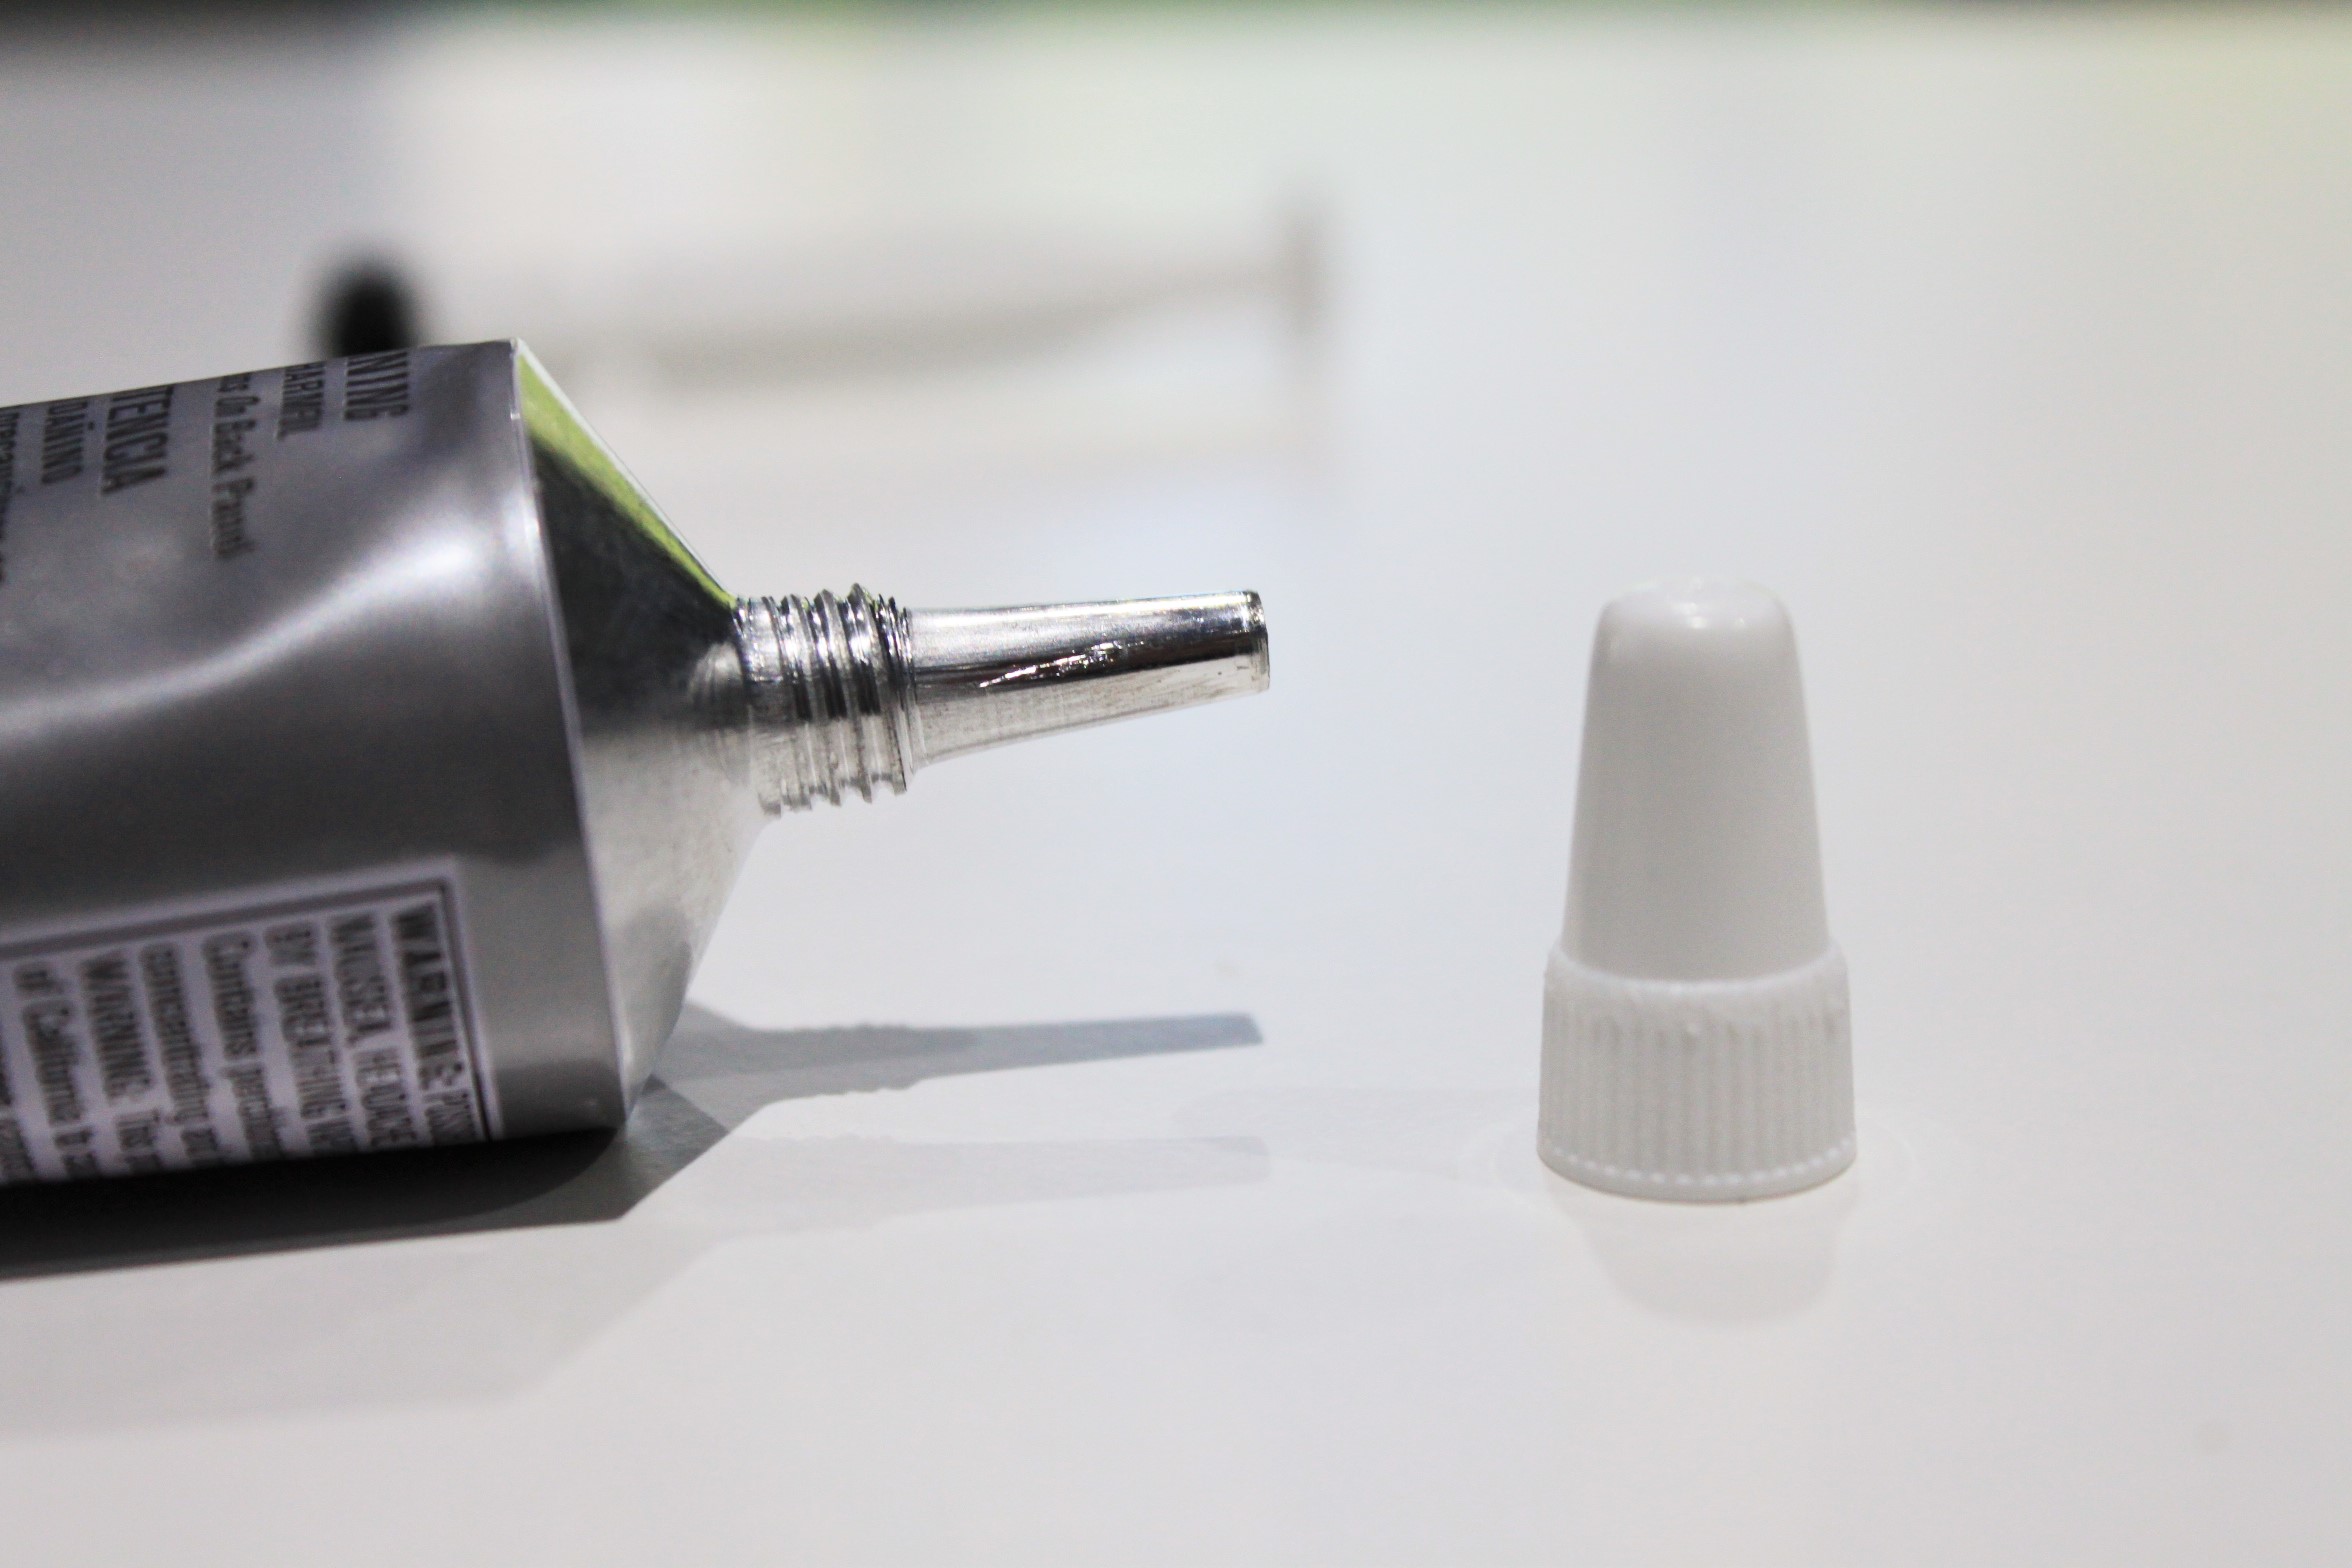
When opening up your glue, especially E6000, you need to work quickly!
Open your glue but make sure you keep the cap close by …. When you’ve finished filling the syringe, you need to get that cap
back on ASAP! (Glue will continue to flow from the tube and if you’re too slow getting the cap back on you will literally find
yourself in a sticky mess!)
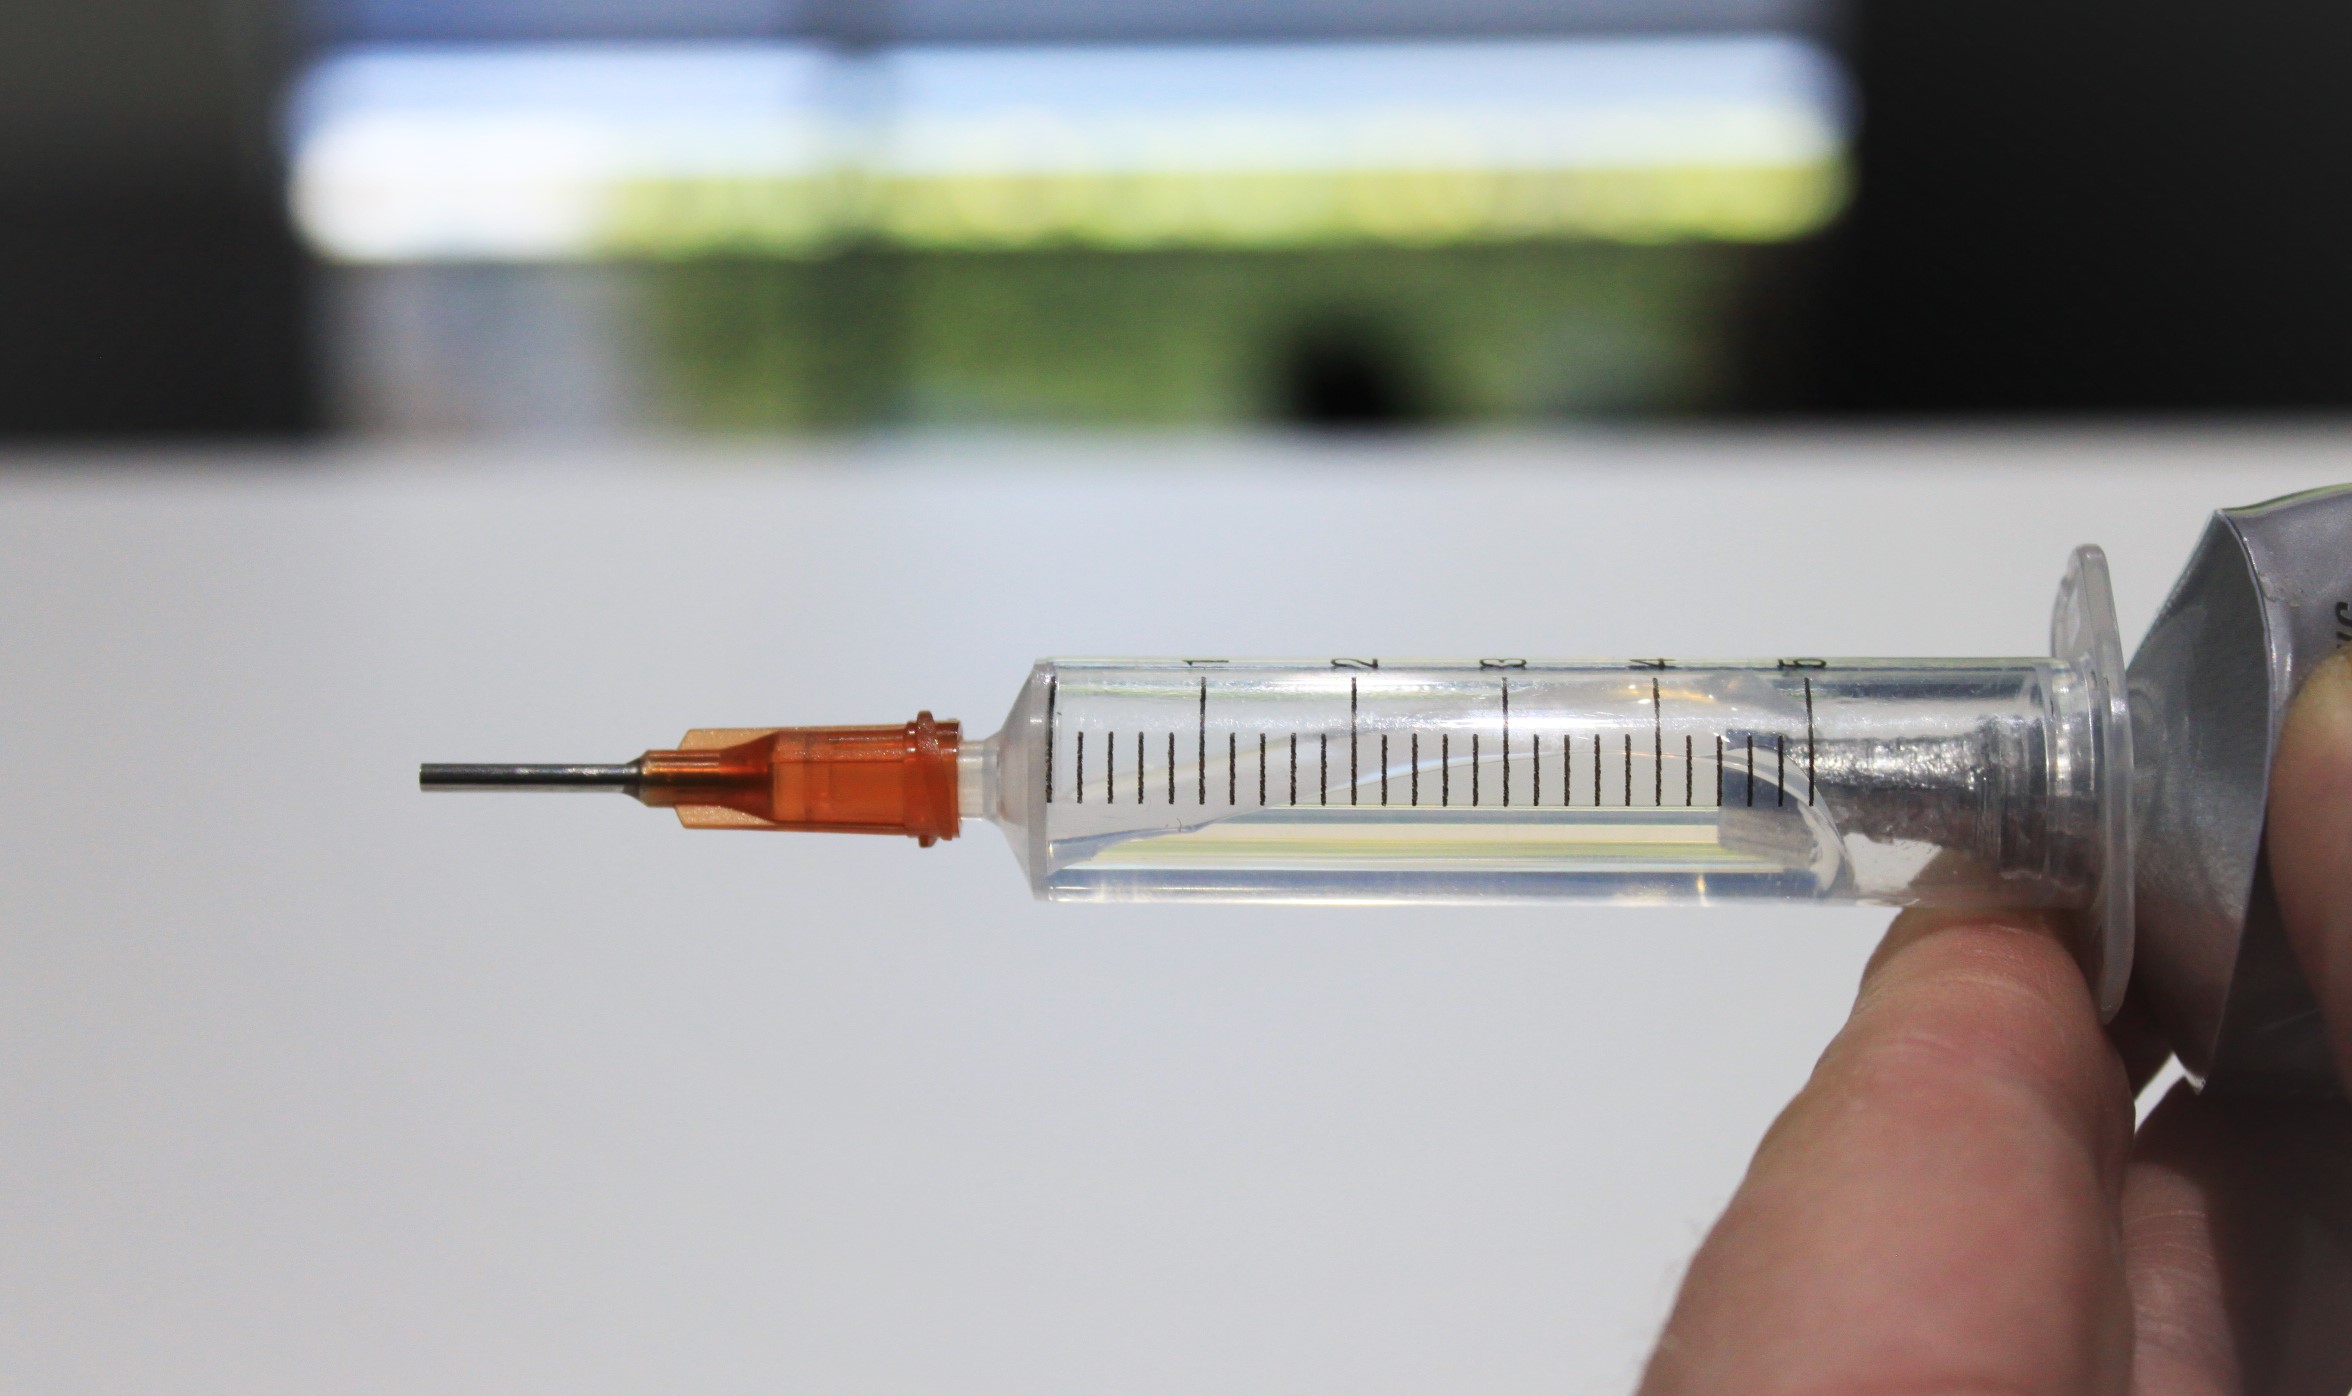
Now hold your syringe in your less dominant hand horizontally (parallel to the ground, or your desk) and push the tube of glue
inside the syringe as far as it will go and start squeezing! Don’t squeeze too hard, gently does it – the last thing you want is glue
spurting everywhere!
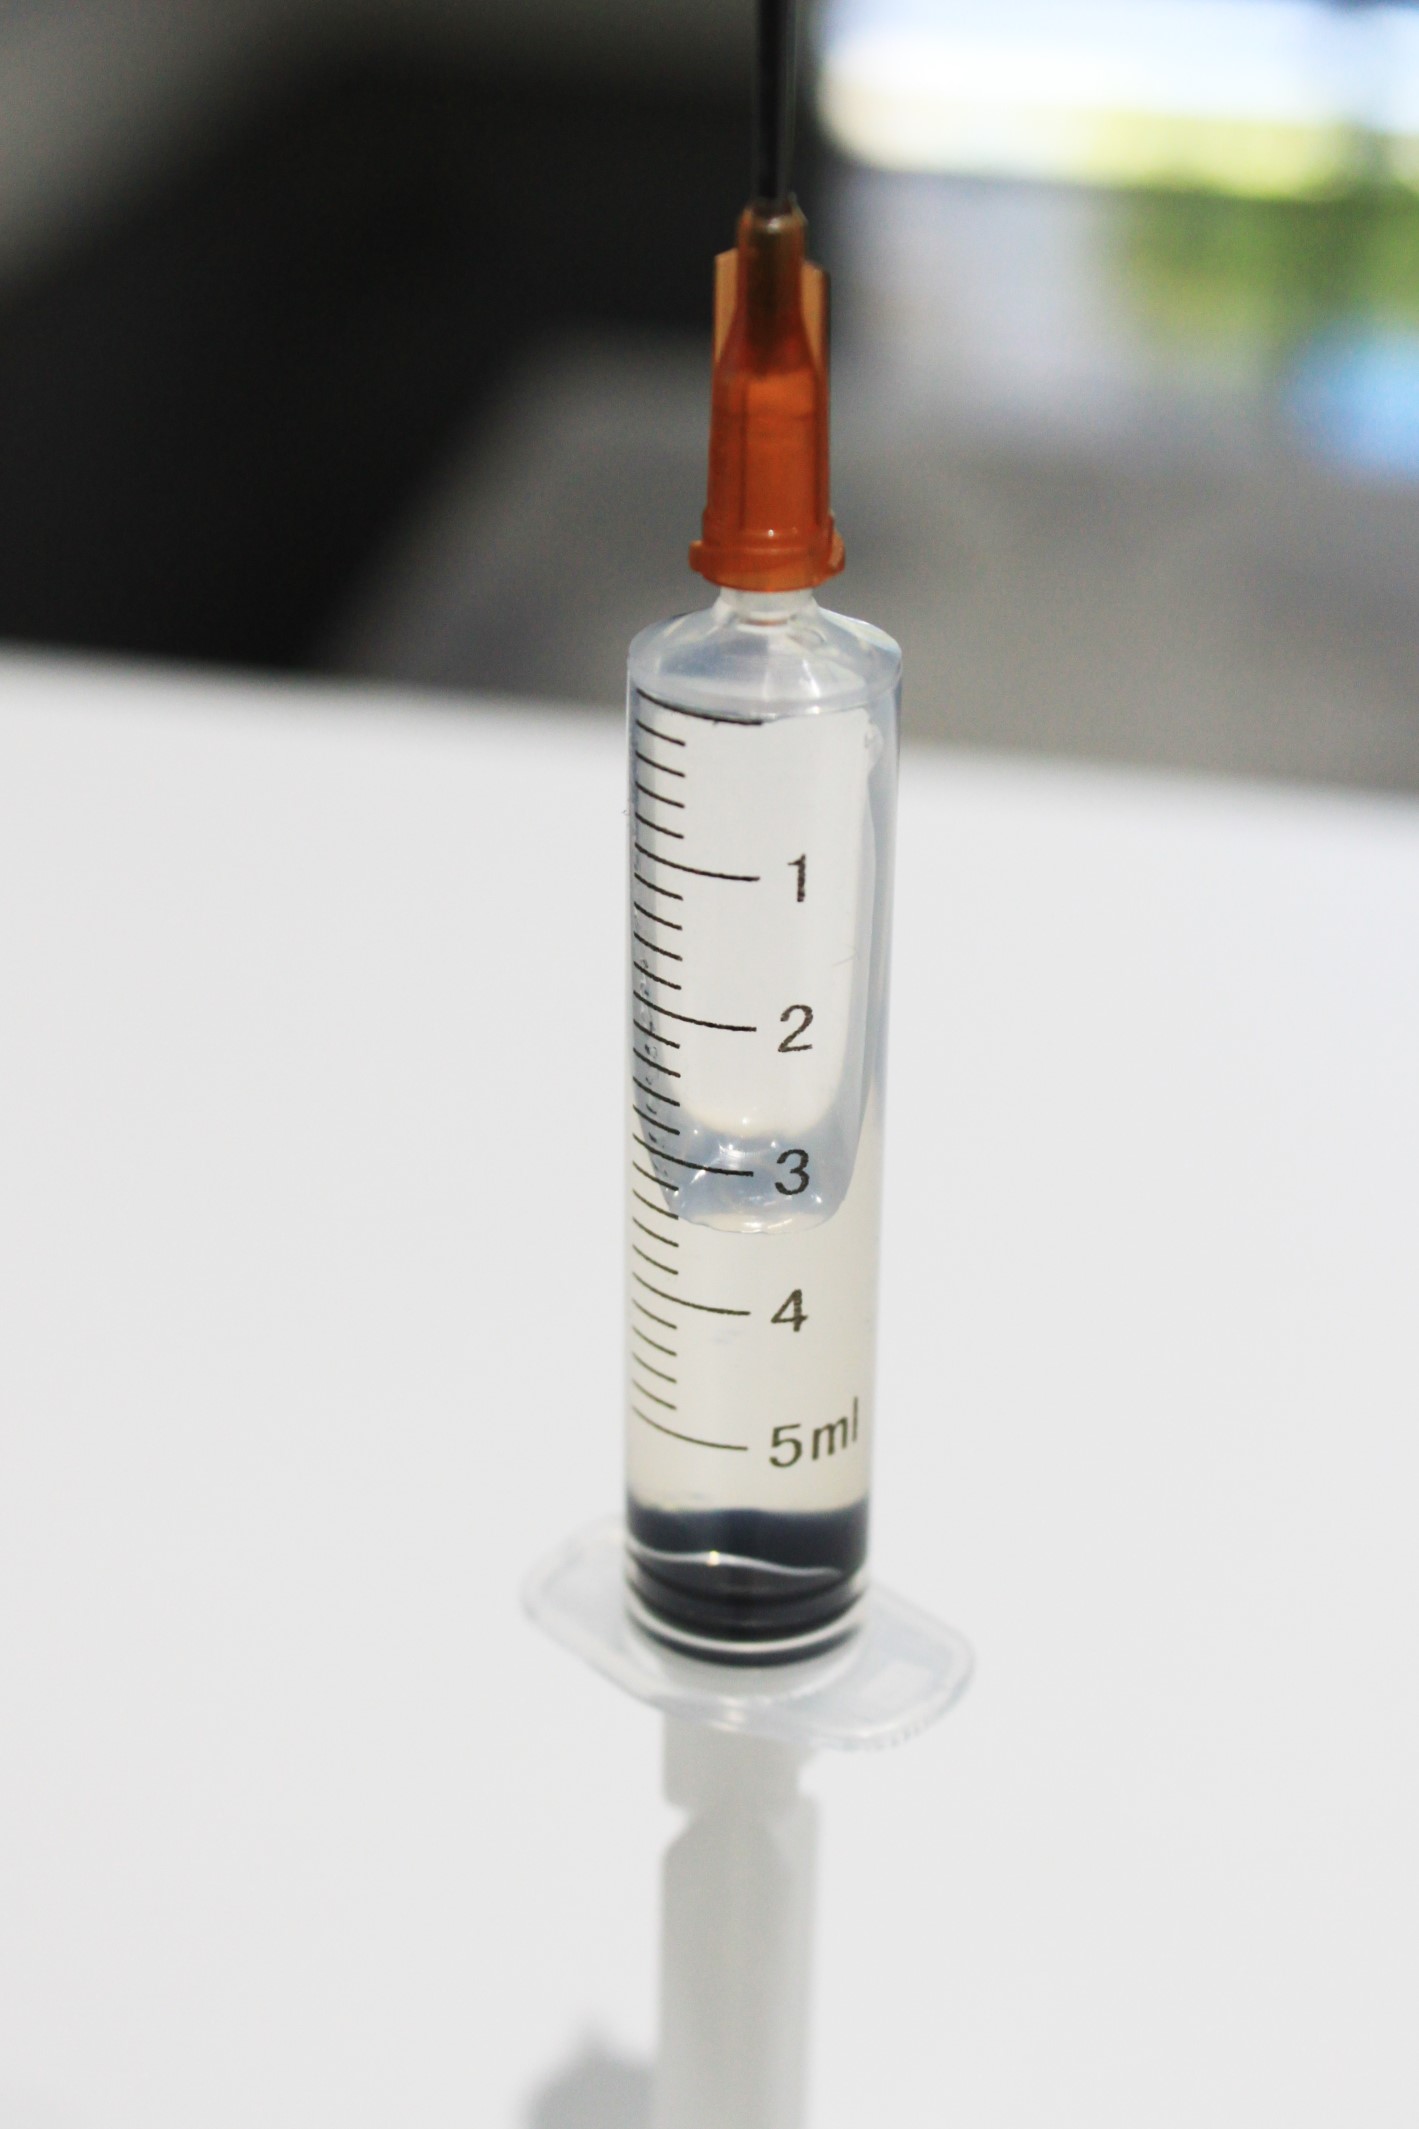
You never want to fill your syringe to capacity – load it up depending on the job you’re doing, but generally we aim for about half full.
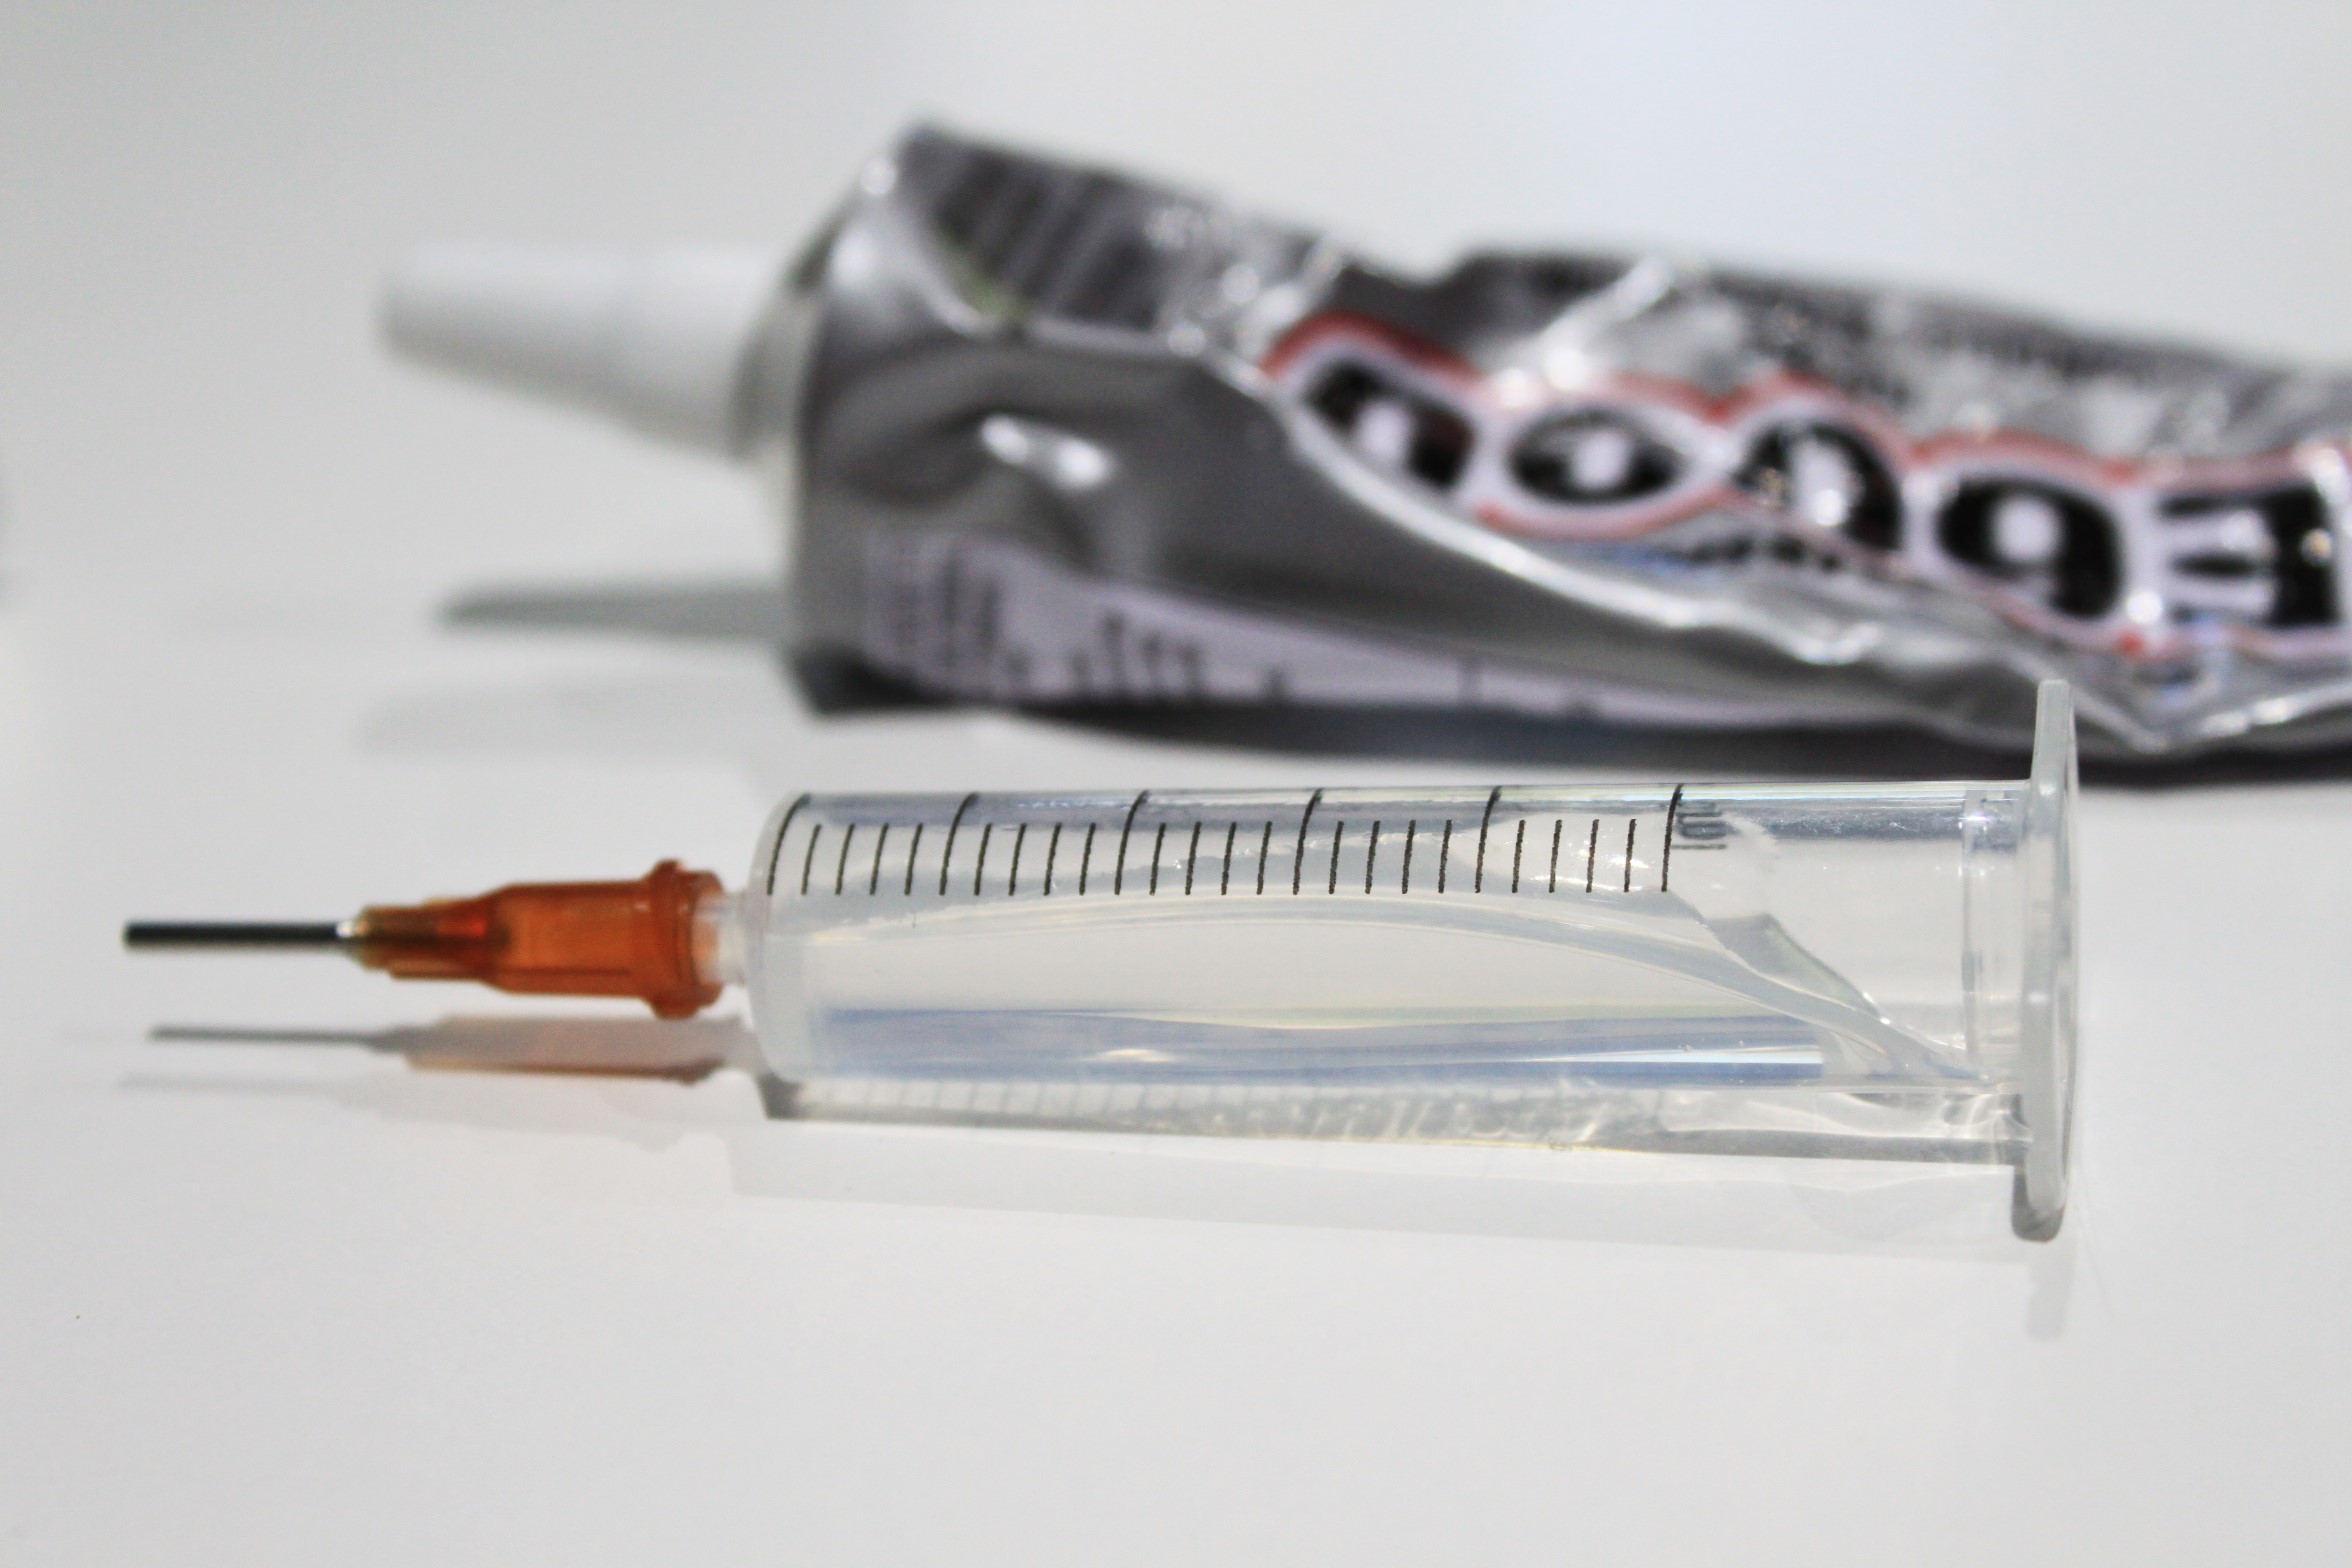
This glue doesn’t do well left in the syringe for long periods of time – that’s why it’s best to only load up as much as you need – if
you’ve overloaded it and you need to leave it make sure you use a sewing pin or something similar pushed into the end of the blunt
tip. You also need to make sure there are no air bubbles in the syringe, if there are, release them and then close of with the pin.
Once you’ve got enough glue in there, take your eyes off the syringe for a second, locate your cap, eyes back on glue, remove it and
and get that cap on as quick as you can!
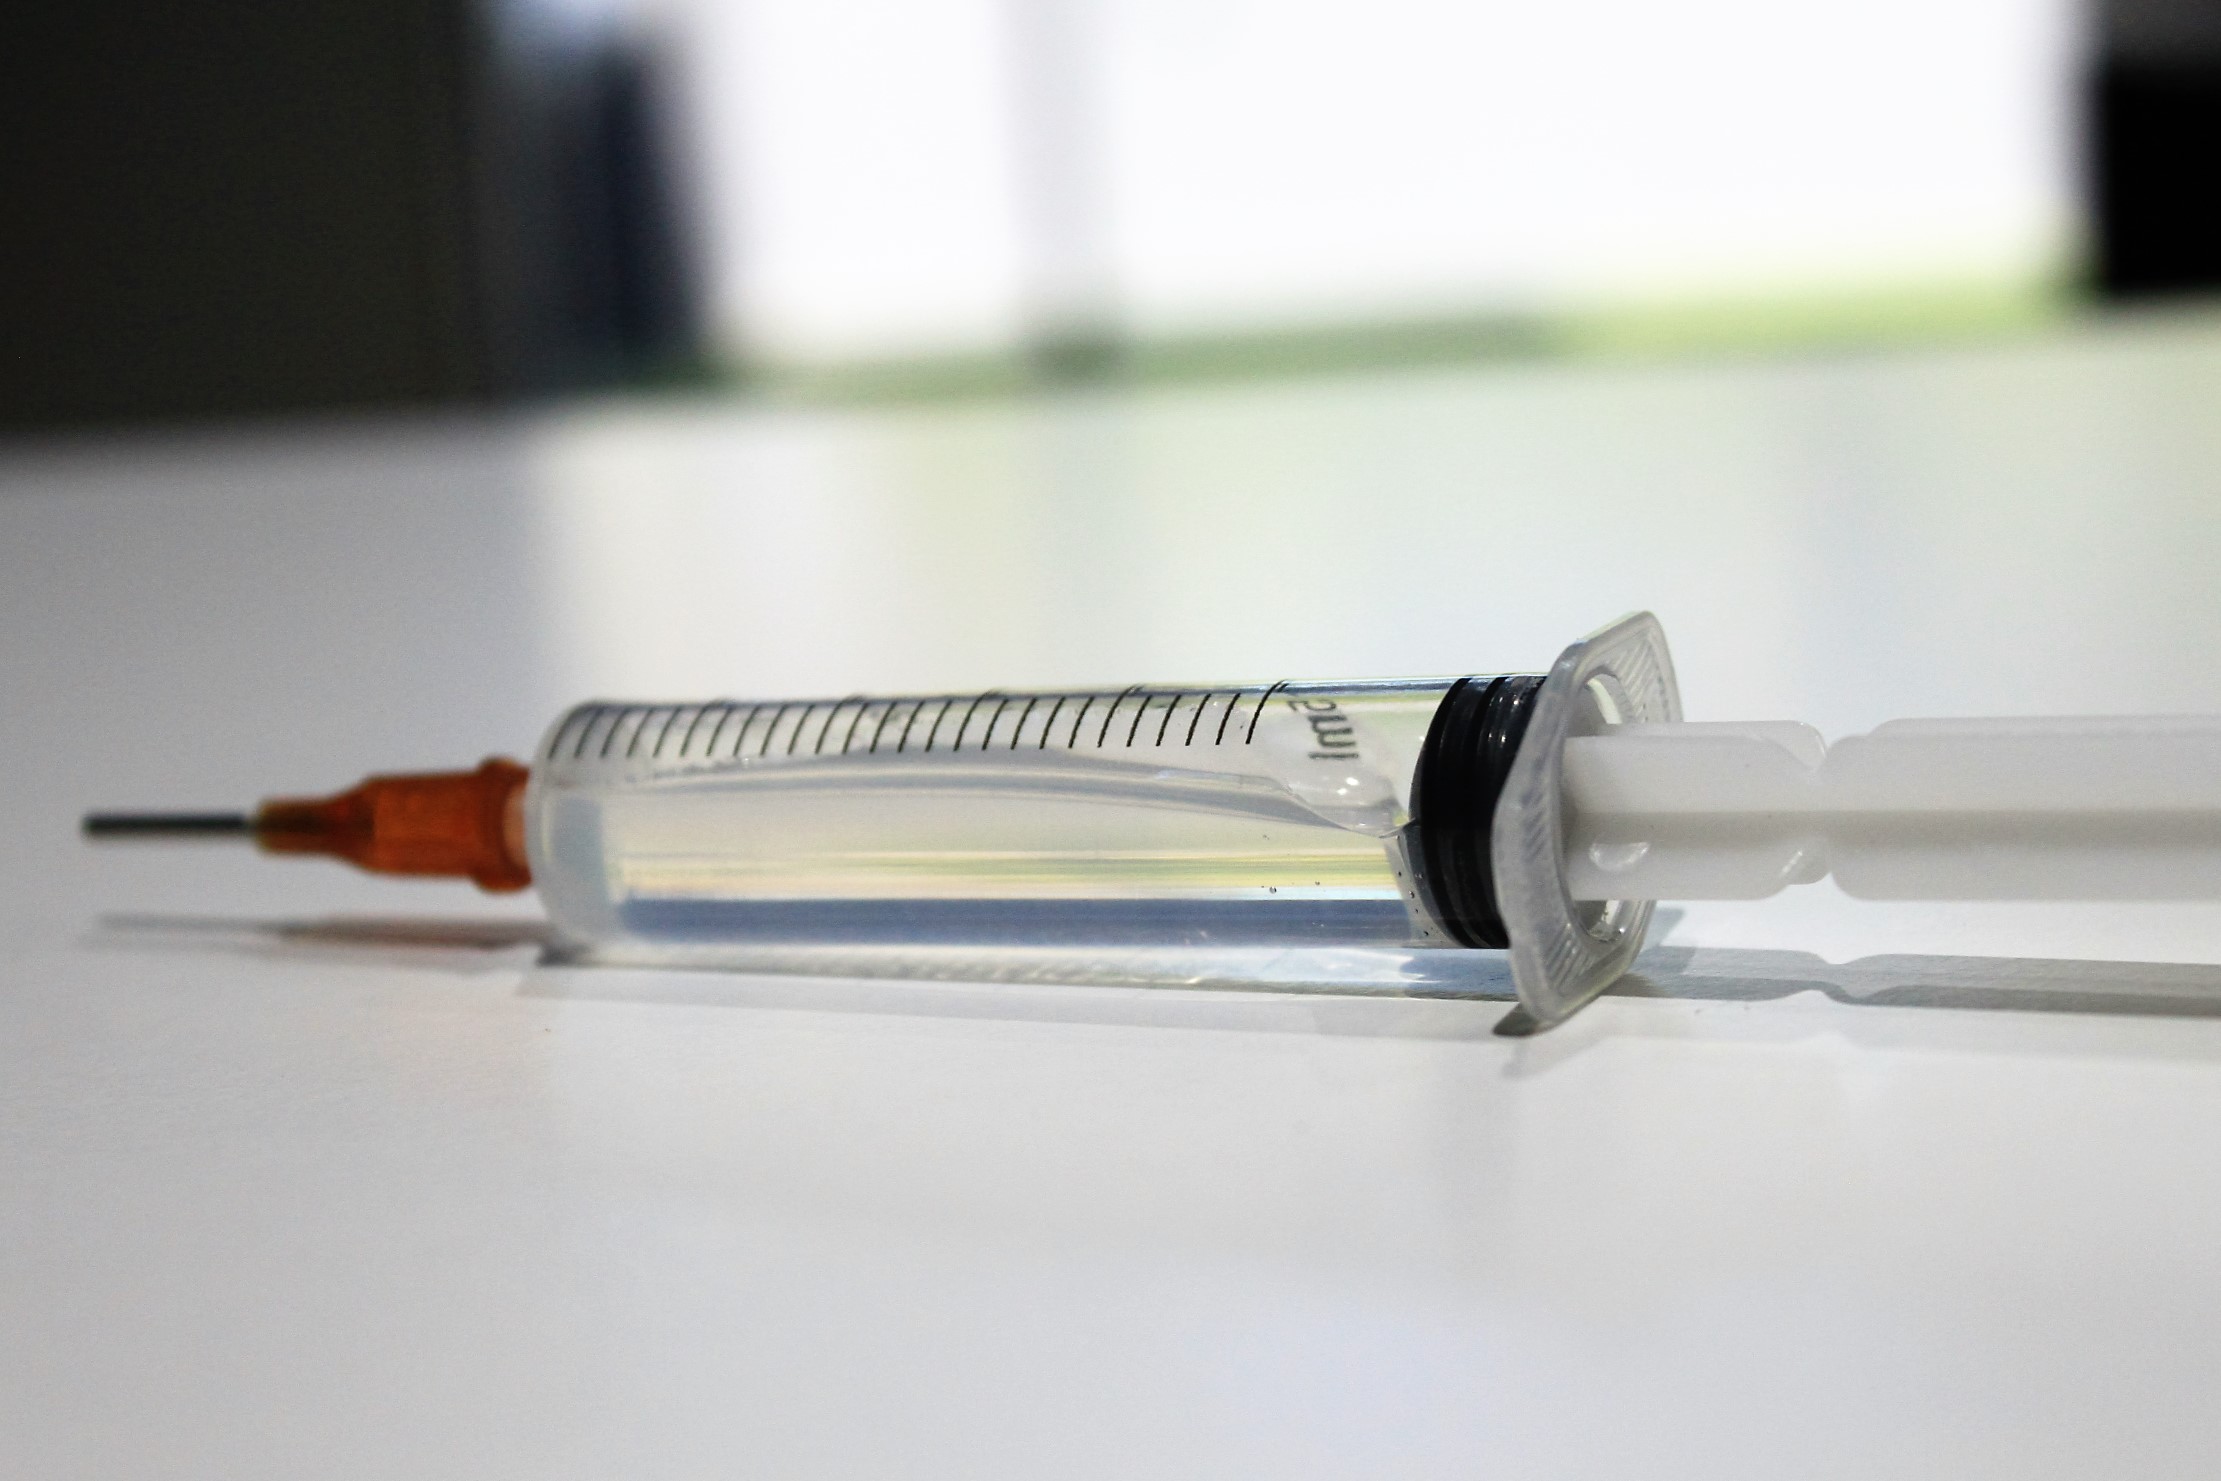
Now you need to put the plunger back into the syringe
and turn the whole thing upright (vertical).
Give it a minute or two, and the glue will slowly run back down toward the plunger. You can give it a little finger tap or two if
you like, it may speed up the process but we’re still not sure it does!
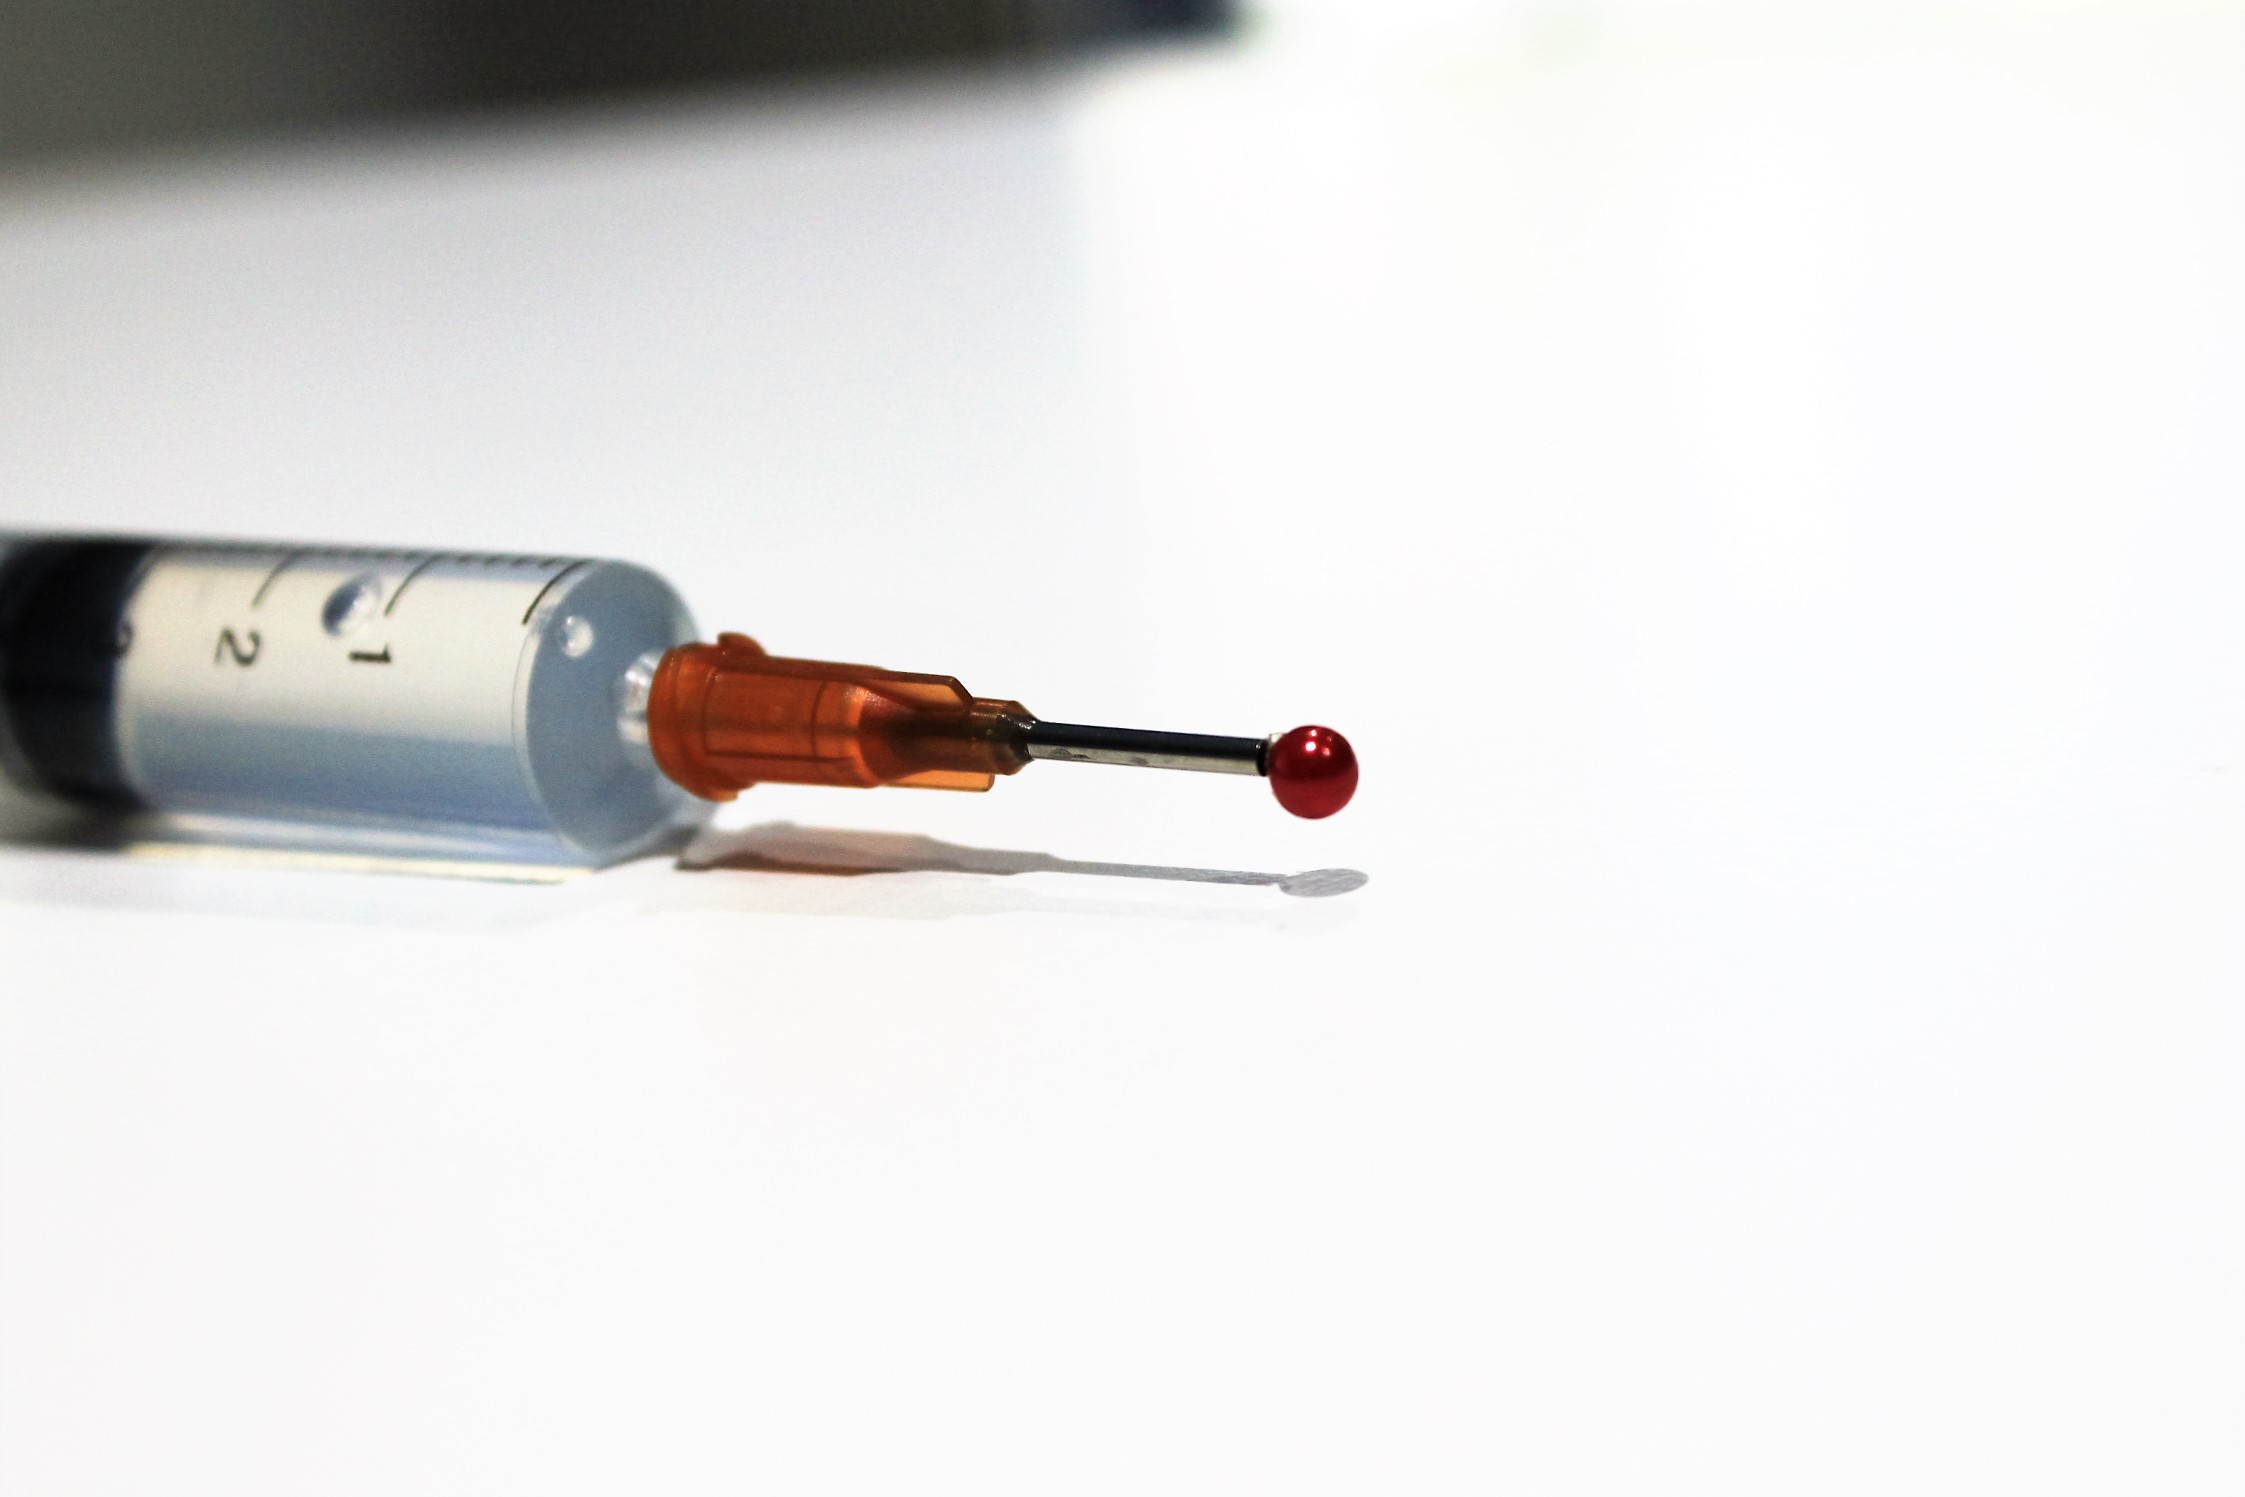
If you look inside your syringe, you will see an air bubble – you have to release that and then you’re ready to go!
Gently push the plunger in and watch the bubble get pushed toward the tip. Keep gently pushing the plunger up until you
hear the %$#@!&^ sound and that’s it! You’re syringe is loaded! Don’t forget, when you’re not using your glue, cap the end
of the blunt tip off with a sewing pin or something similar!
Now that you’ve mastered loading your syringe, you are ready to start glamming up some projects!
To learn how to hold and use the syringe here and how to apply the stones click here.
Categories: Learn How To
Leave a Reply
You must be logged in to post a comment.