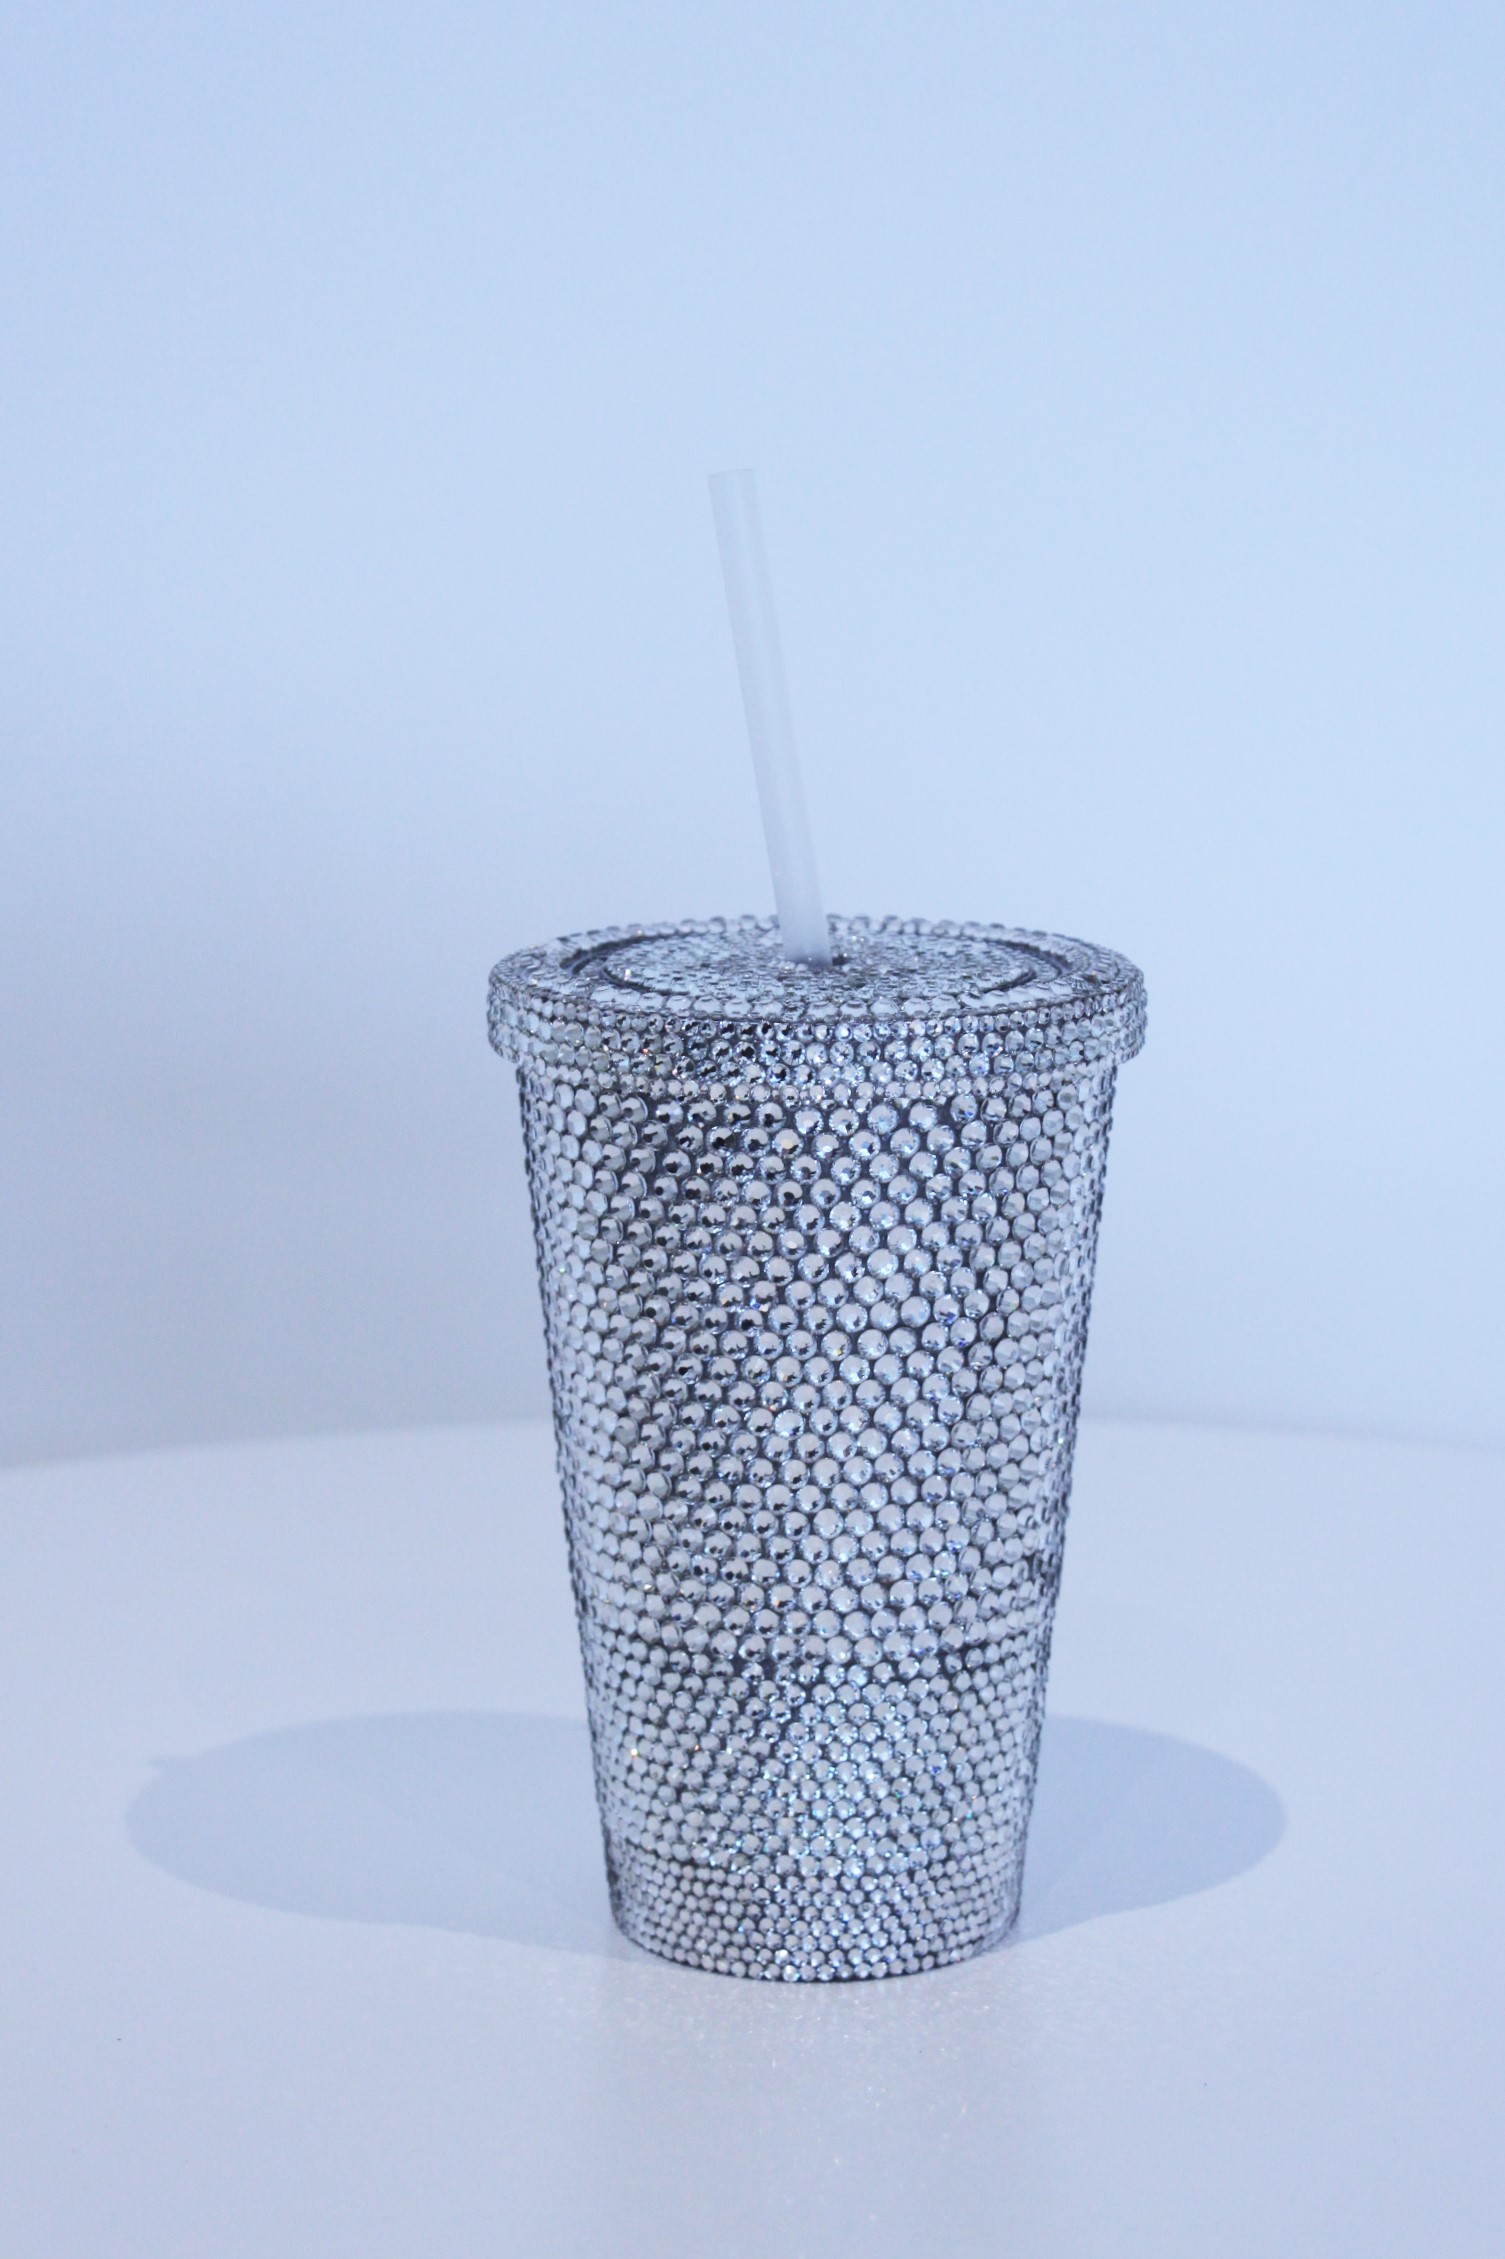
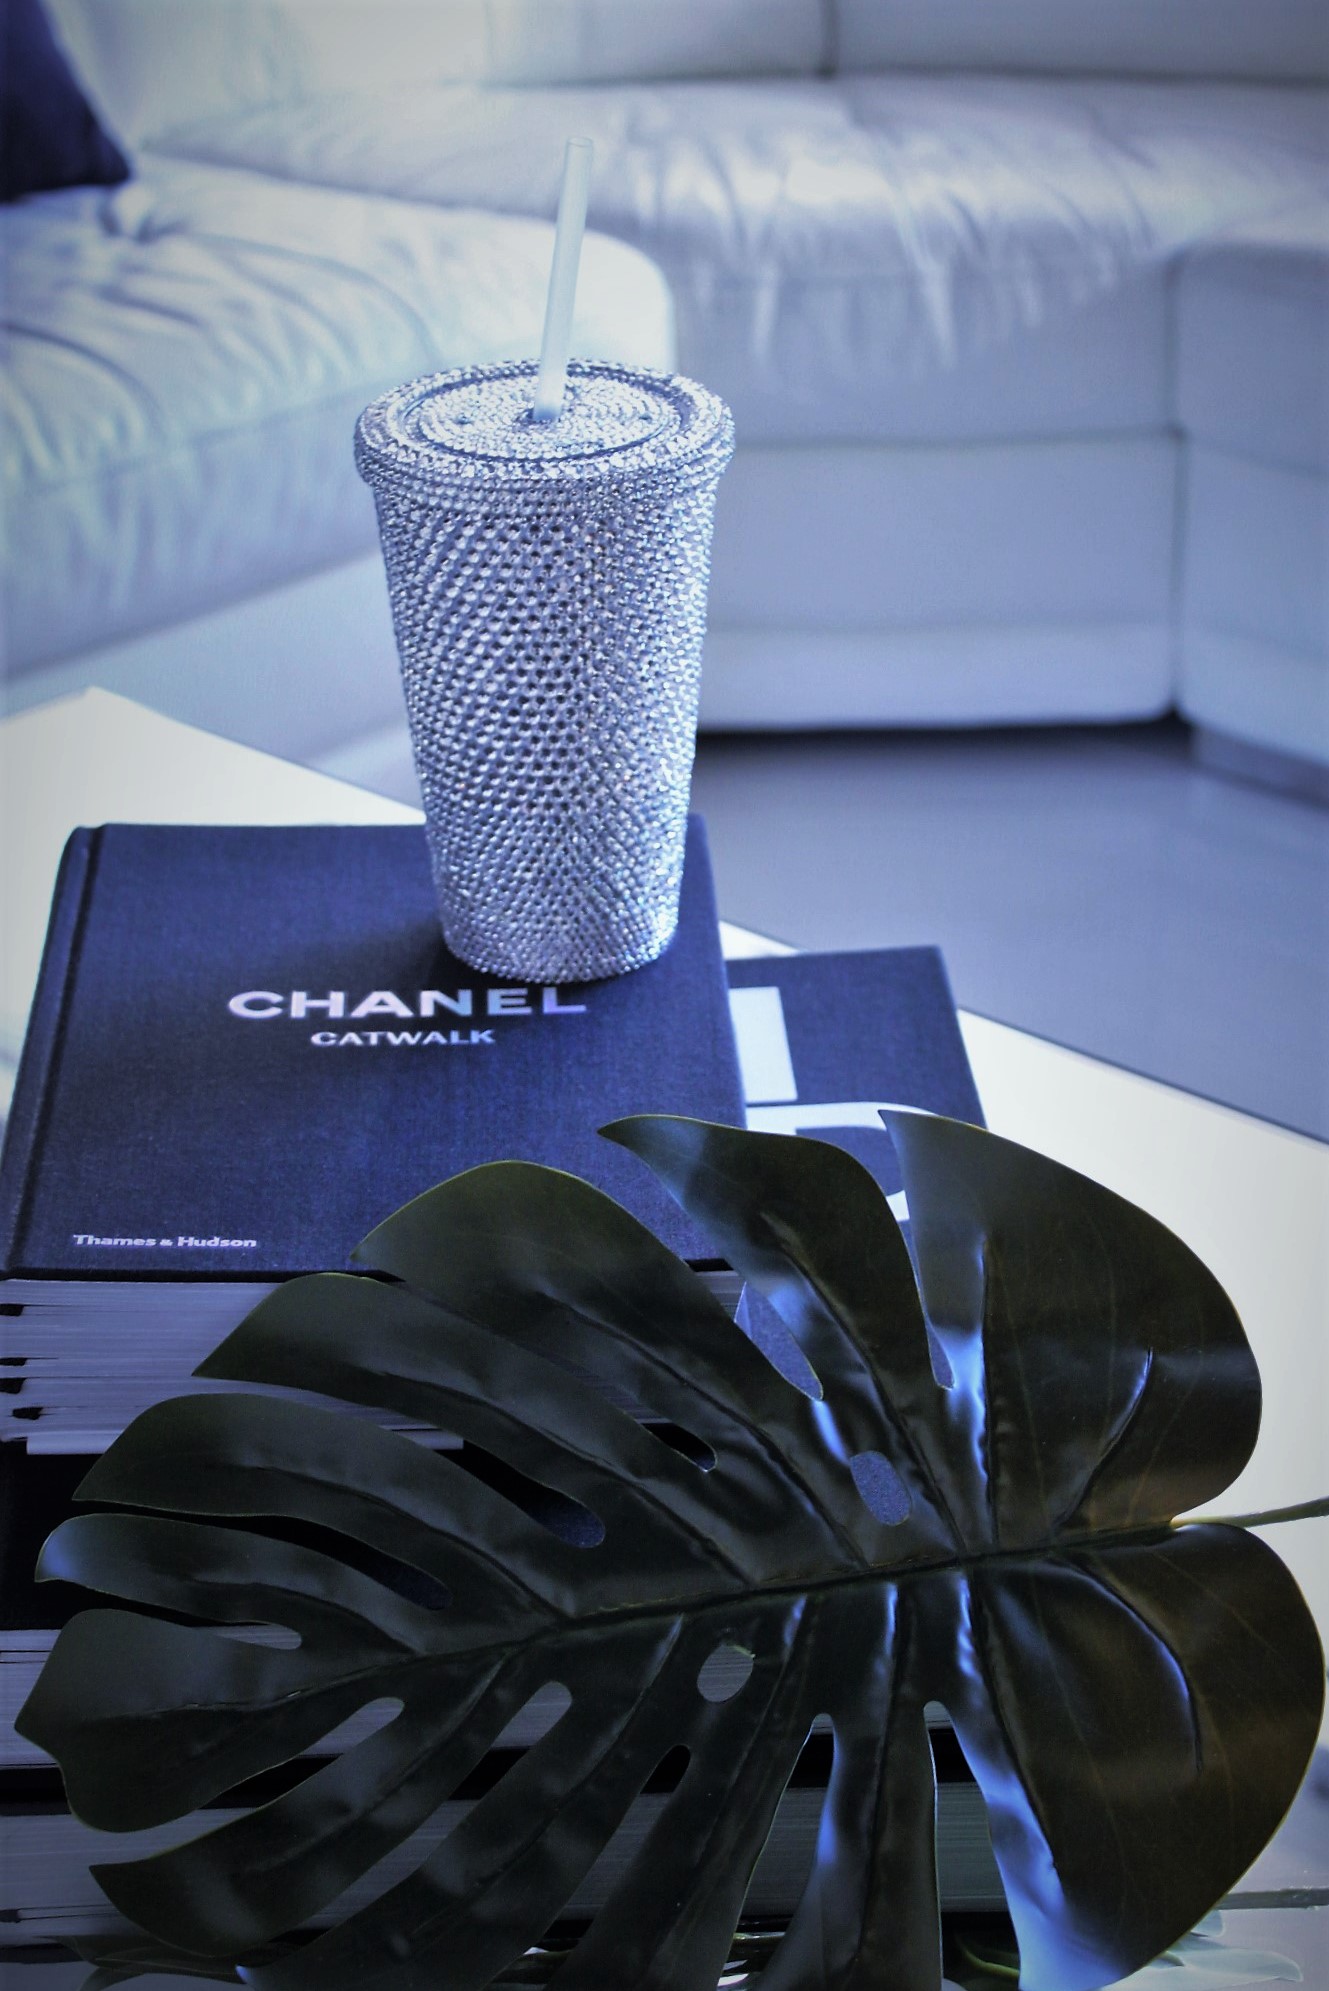
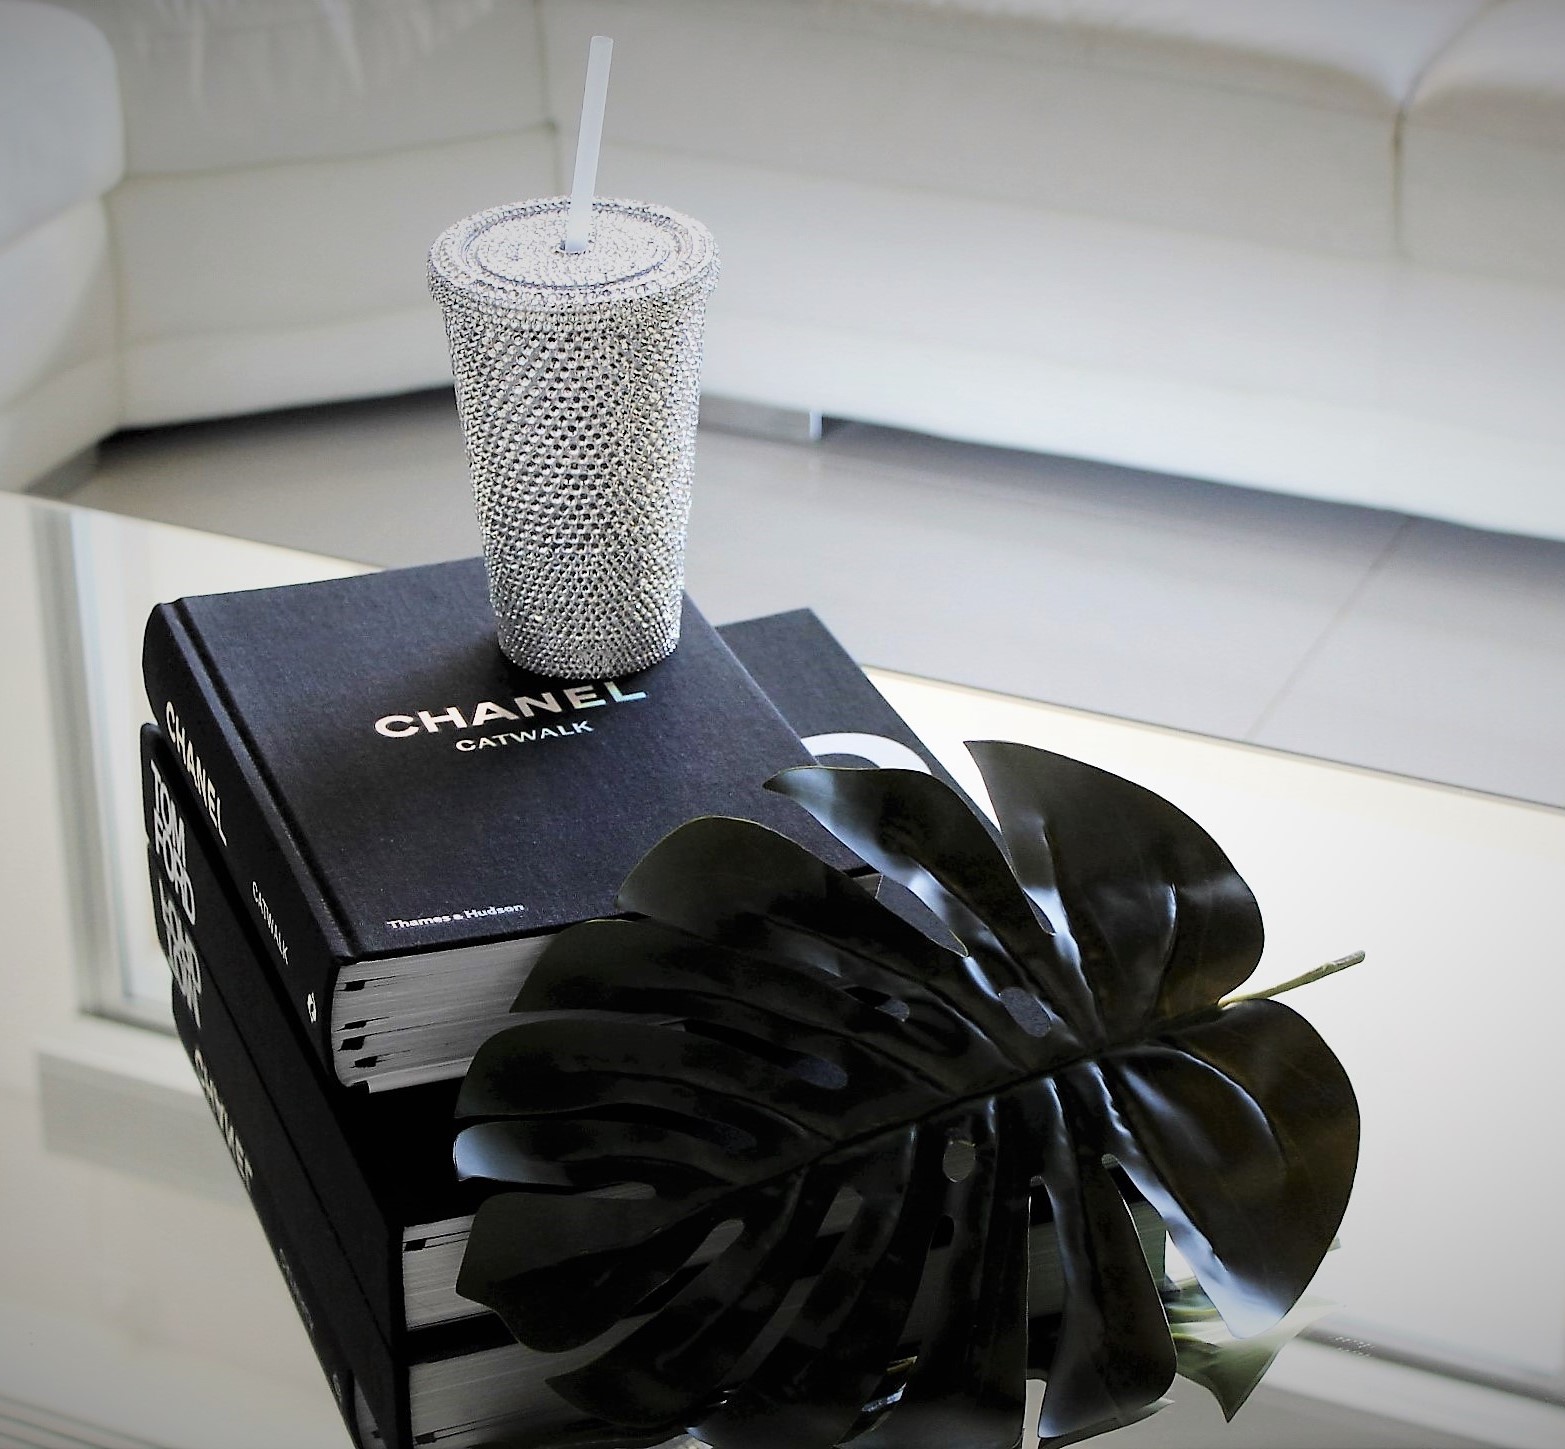
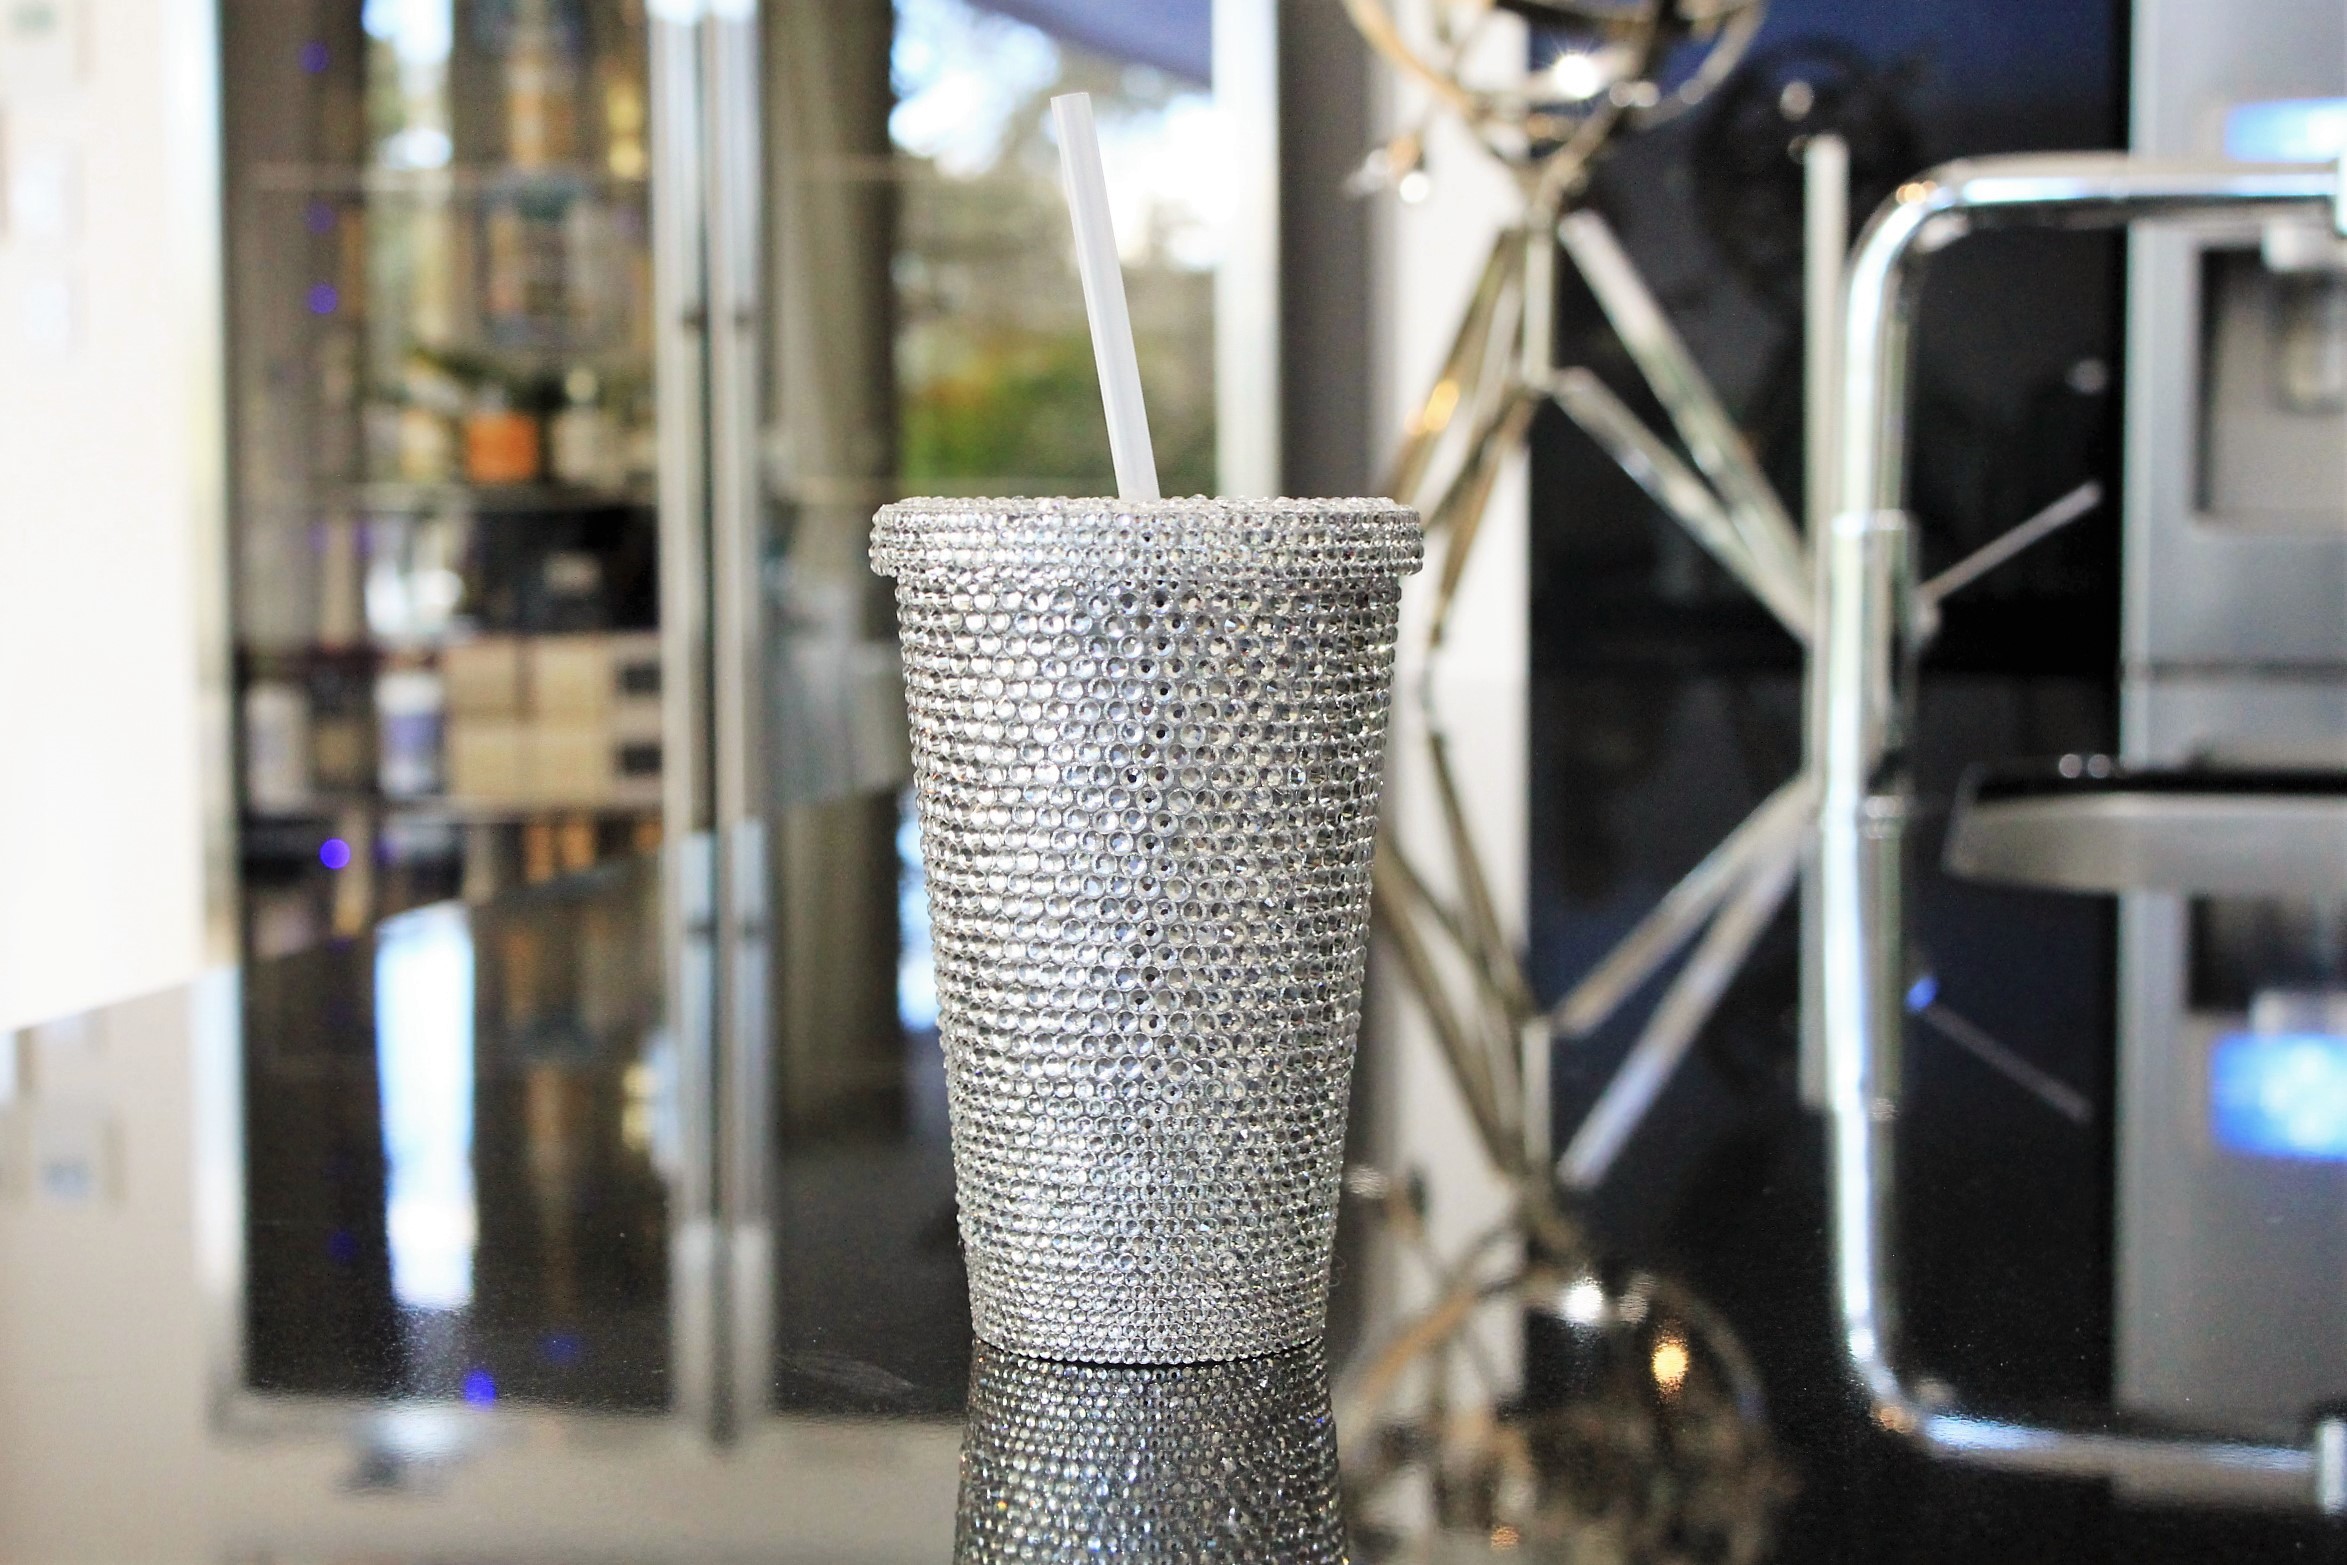
This may be the craziest transformation we’ve done to date! Somehow we’ve transformed a $3.00 item into the most
unbelievable drinking cup ever! This cup will definitely put an end to boring refreshments! We have used a lot of stones
on this one – we thought we’d shake things up a bit and really went OTT with the bling!
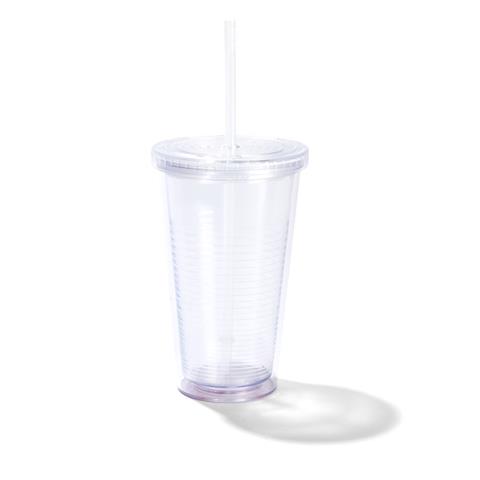
We started out with the plain drinking cup with removable straw, which set us back a crazy $3.00 – it’s a total bargain right?!
And then we set about spending hours laying an array of stones, around and around the cup until it was done. And we don’t
regret one second of it!
Let’s break things down step by step so you don’t get overwhelmed by the information on this one.
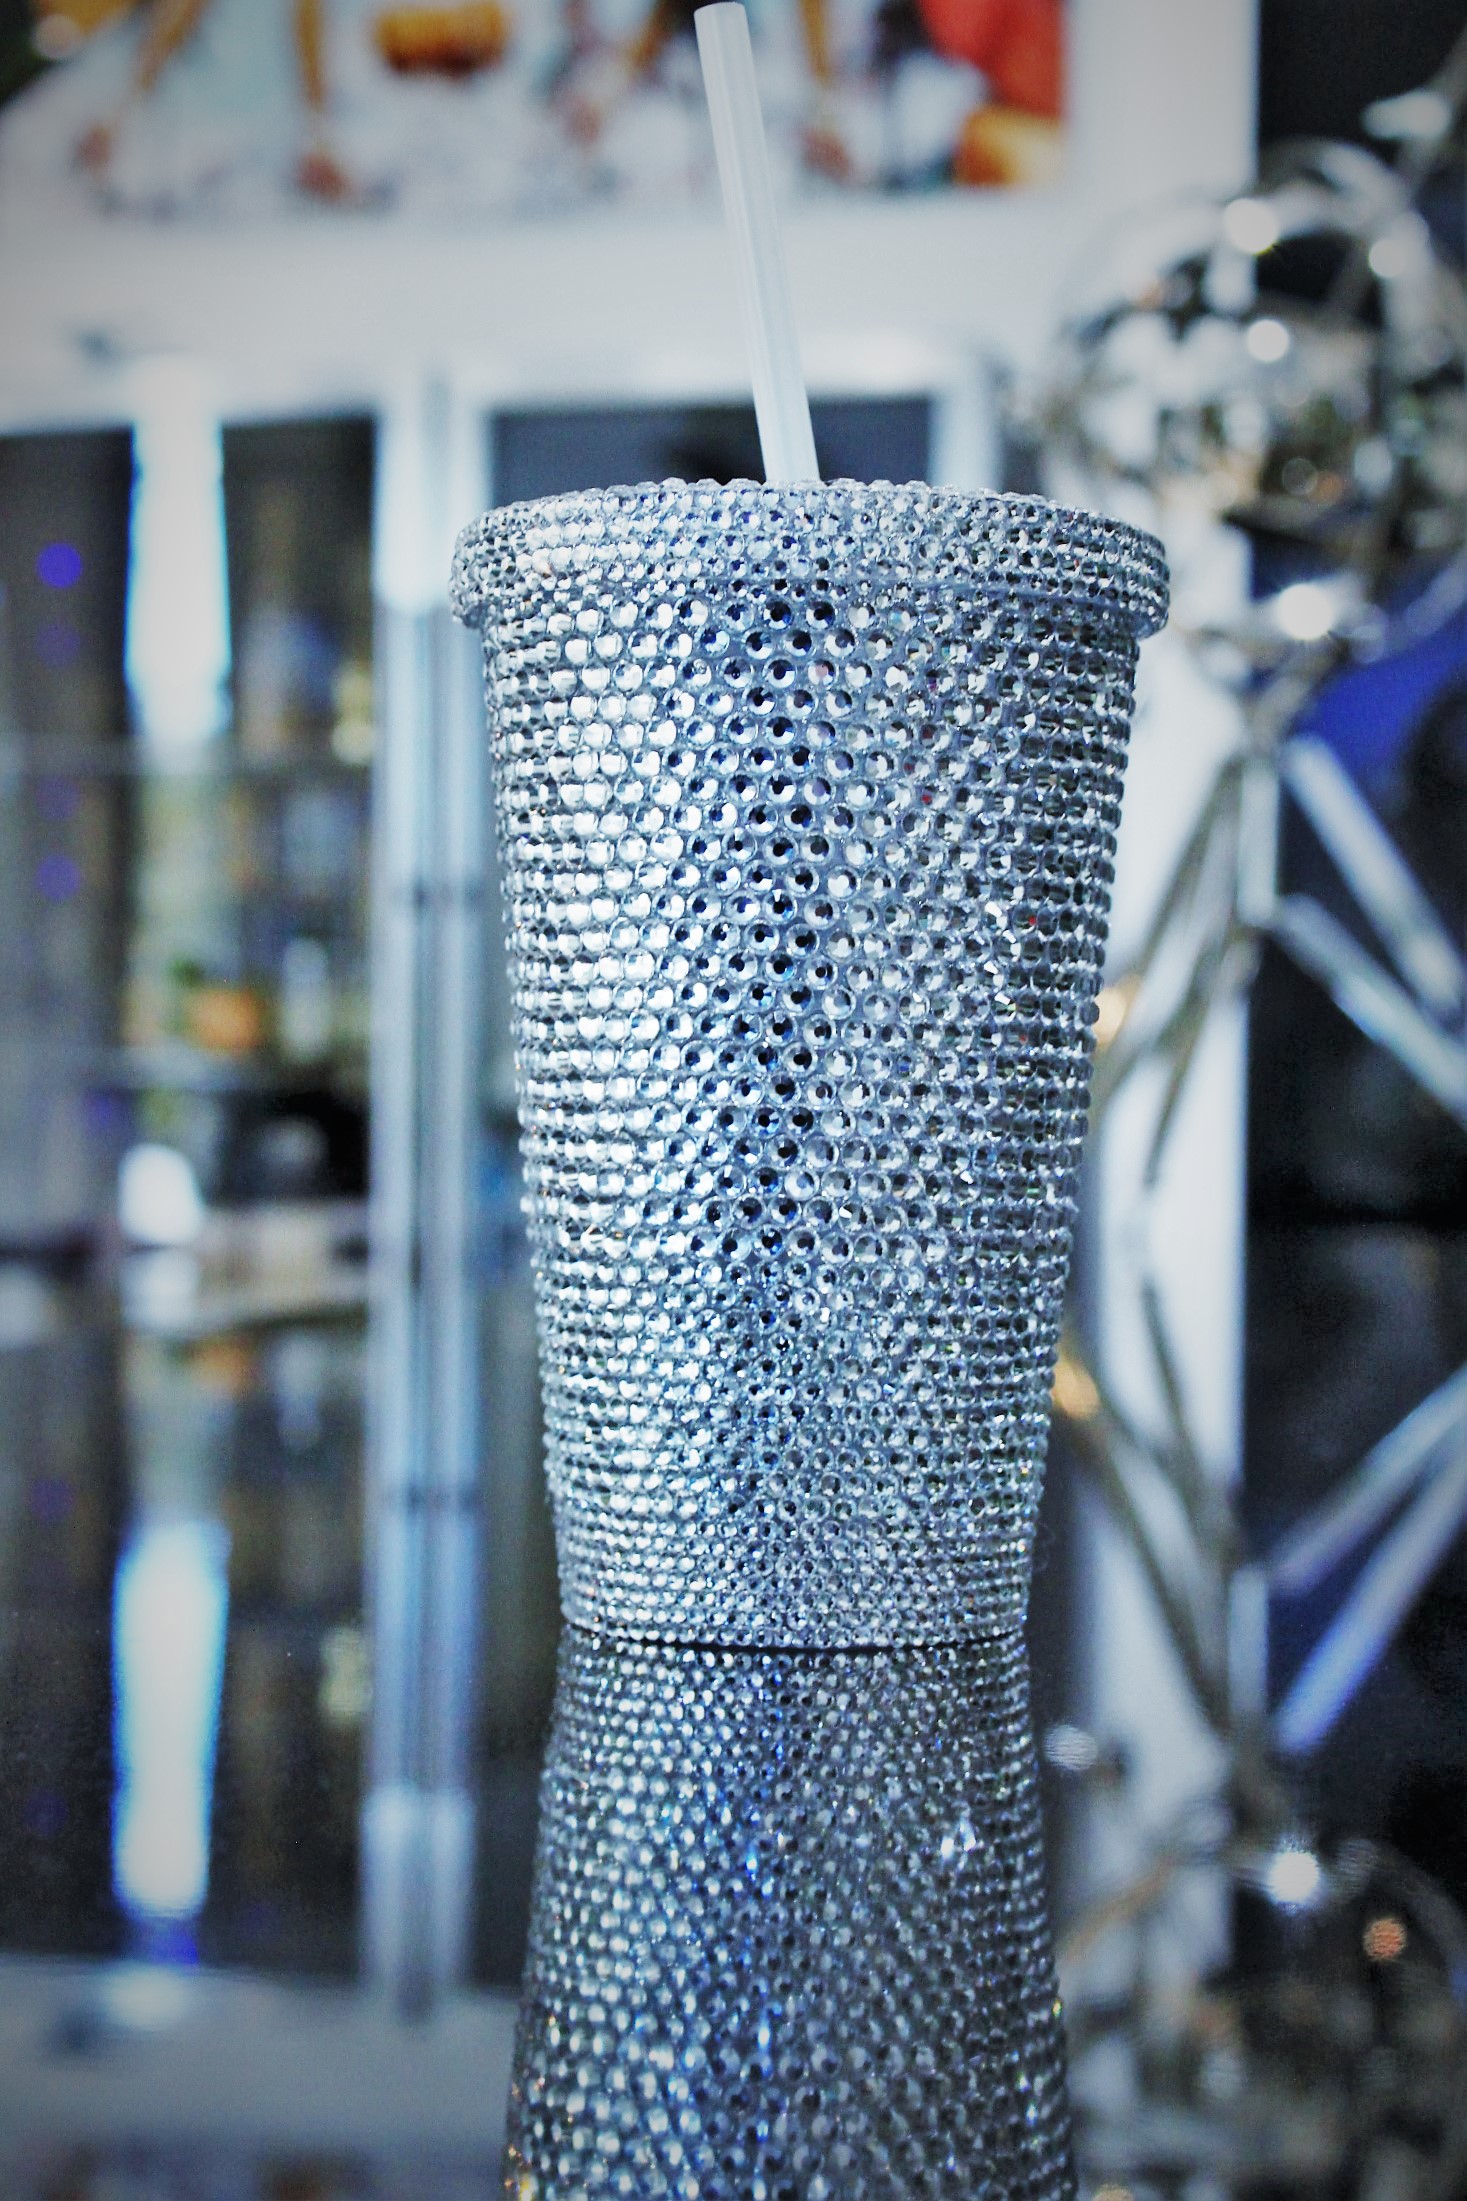
We’ll start with the lid. Because of the different levels on the lid we were able to incorporate more than one size stone which always
adds a little something something to a design! And it is so much fun to do!

Later on we will give you a complete breakdown of all the stones used, but for now we’ll just continue with how we carried out this project.
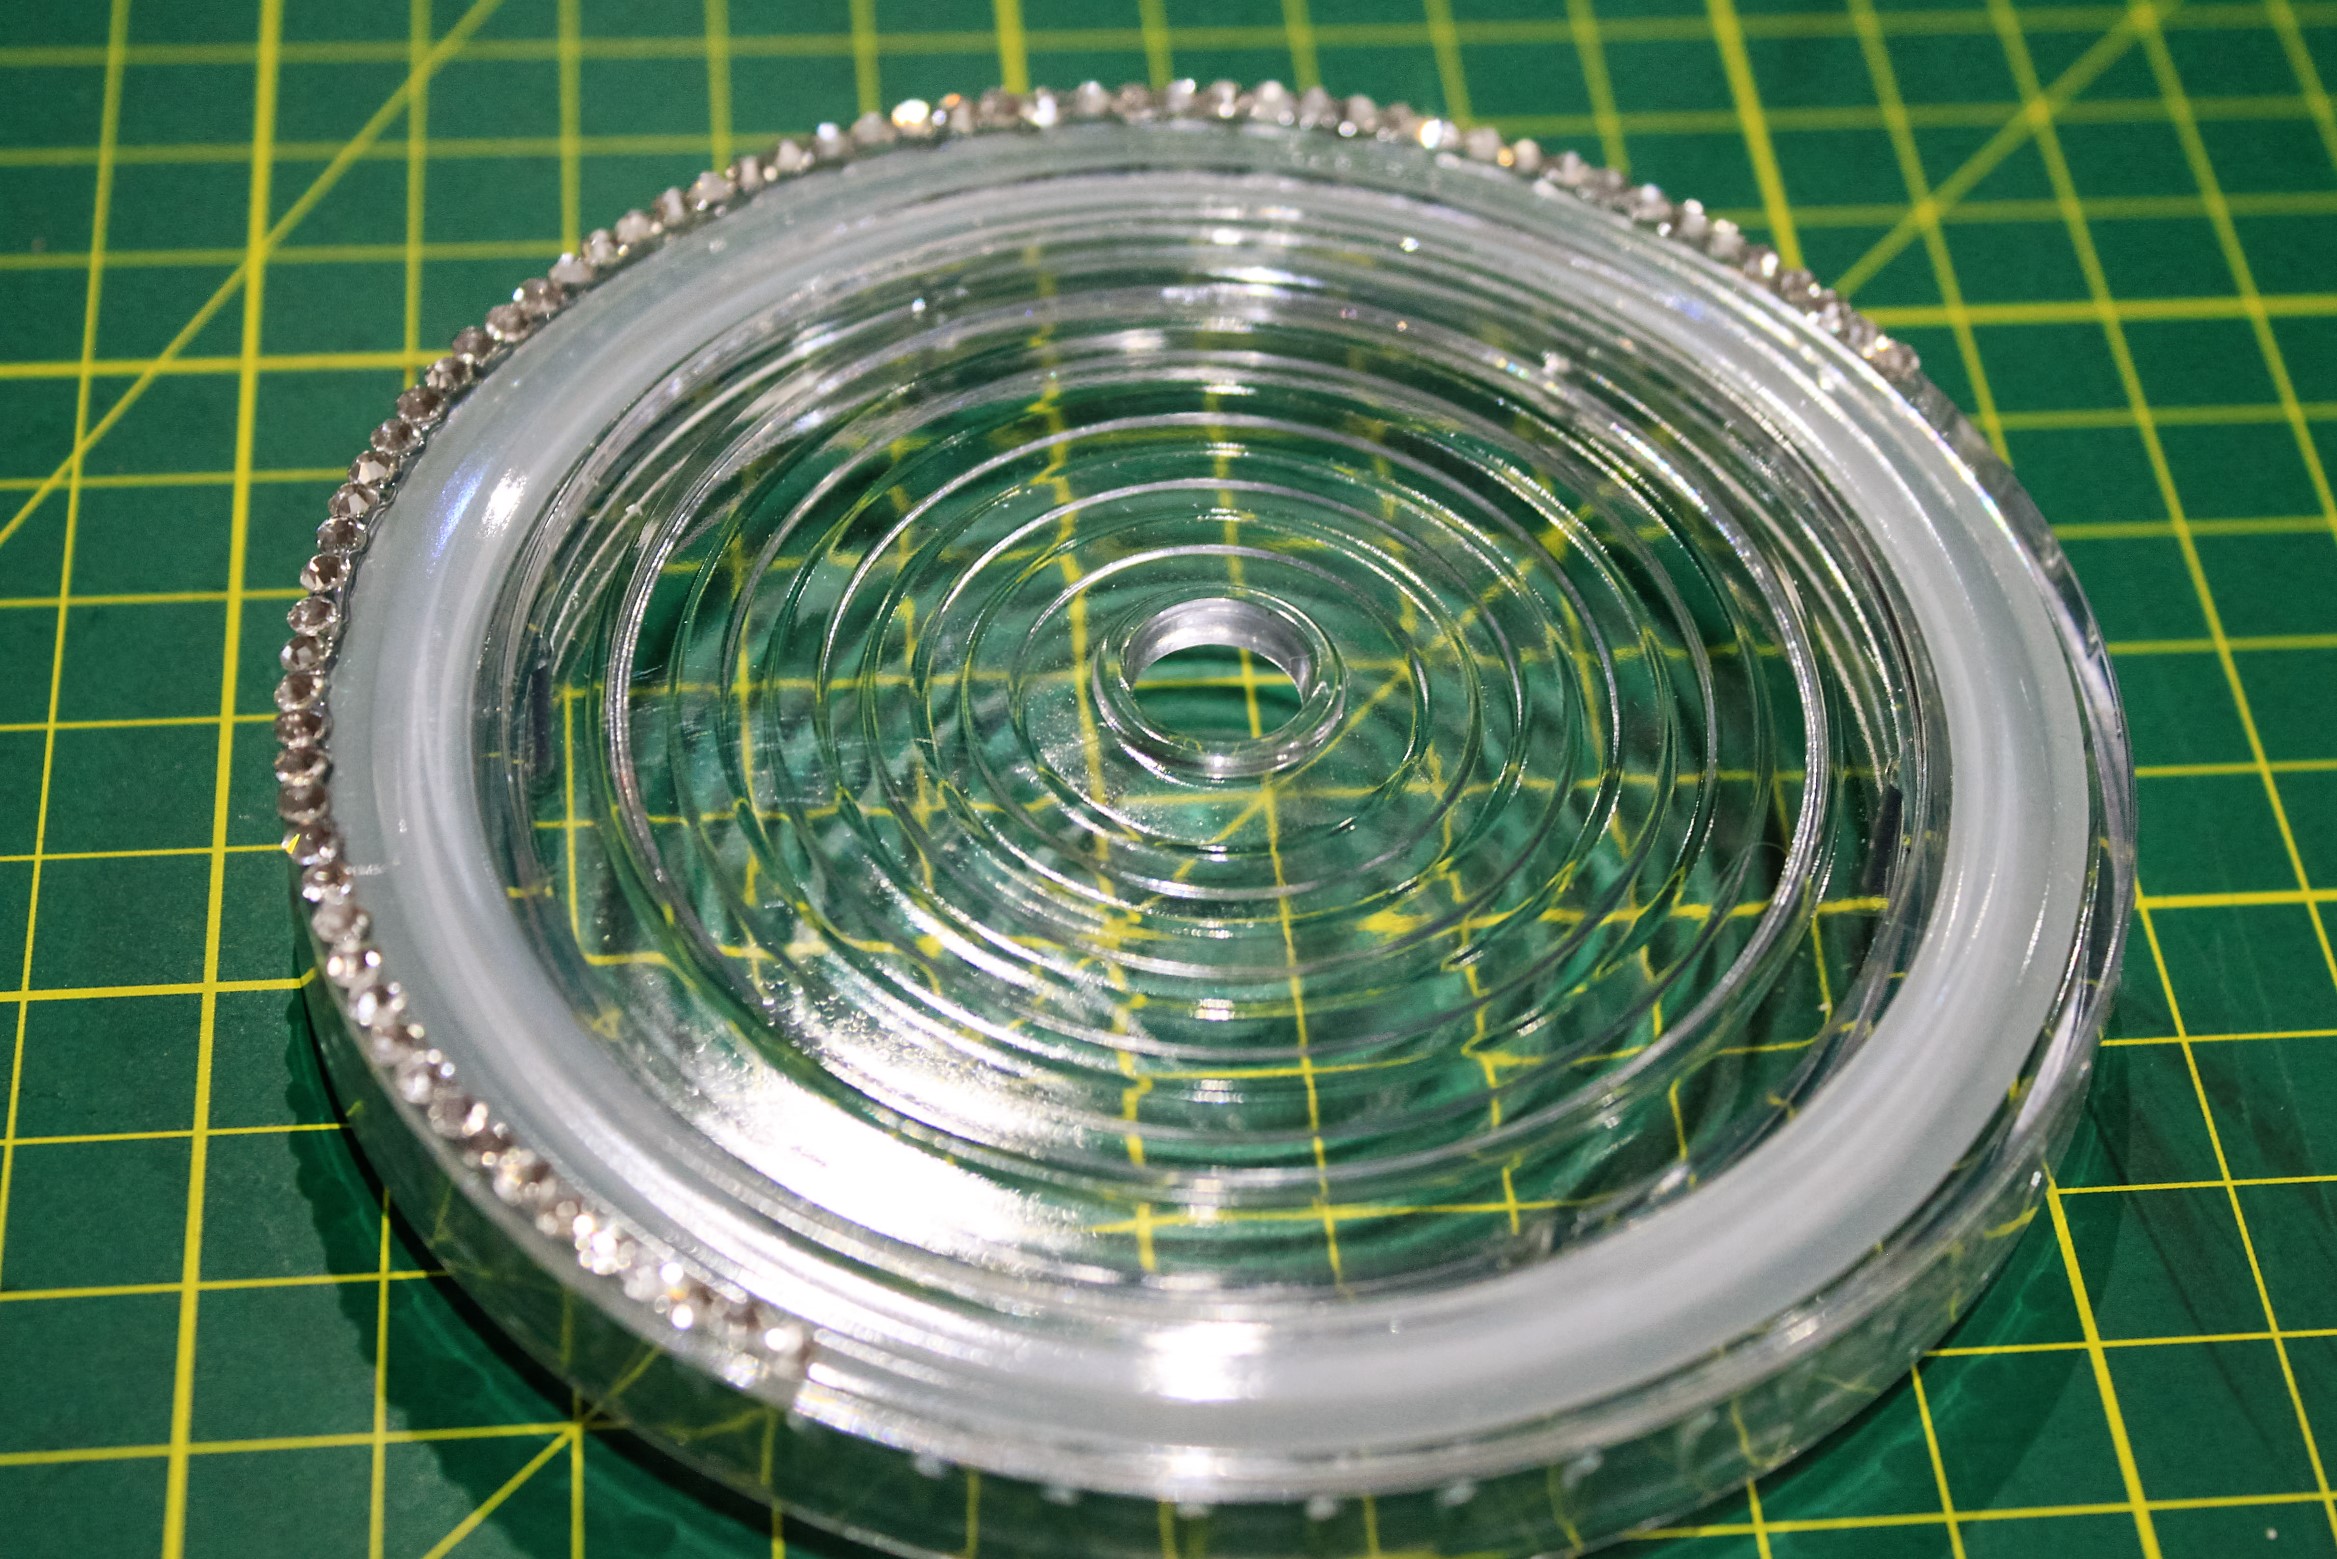
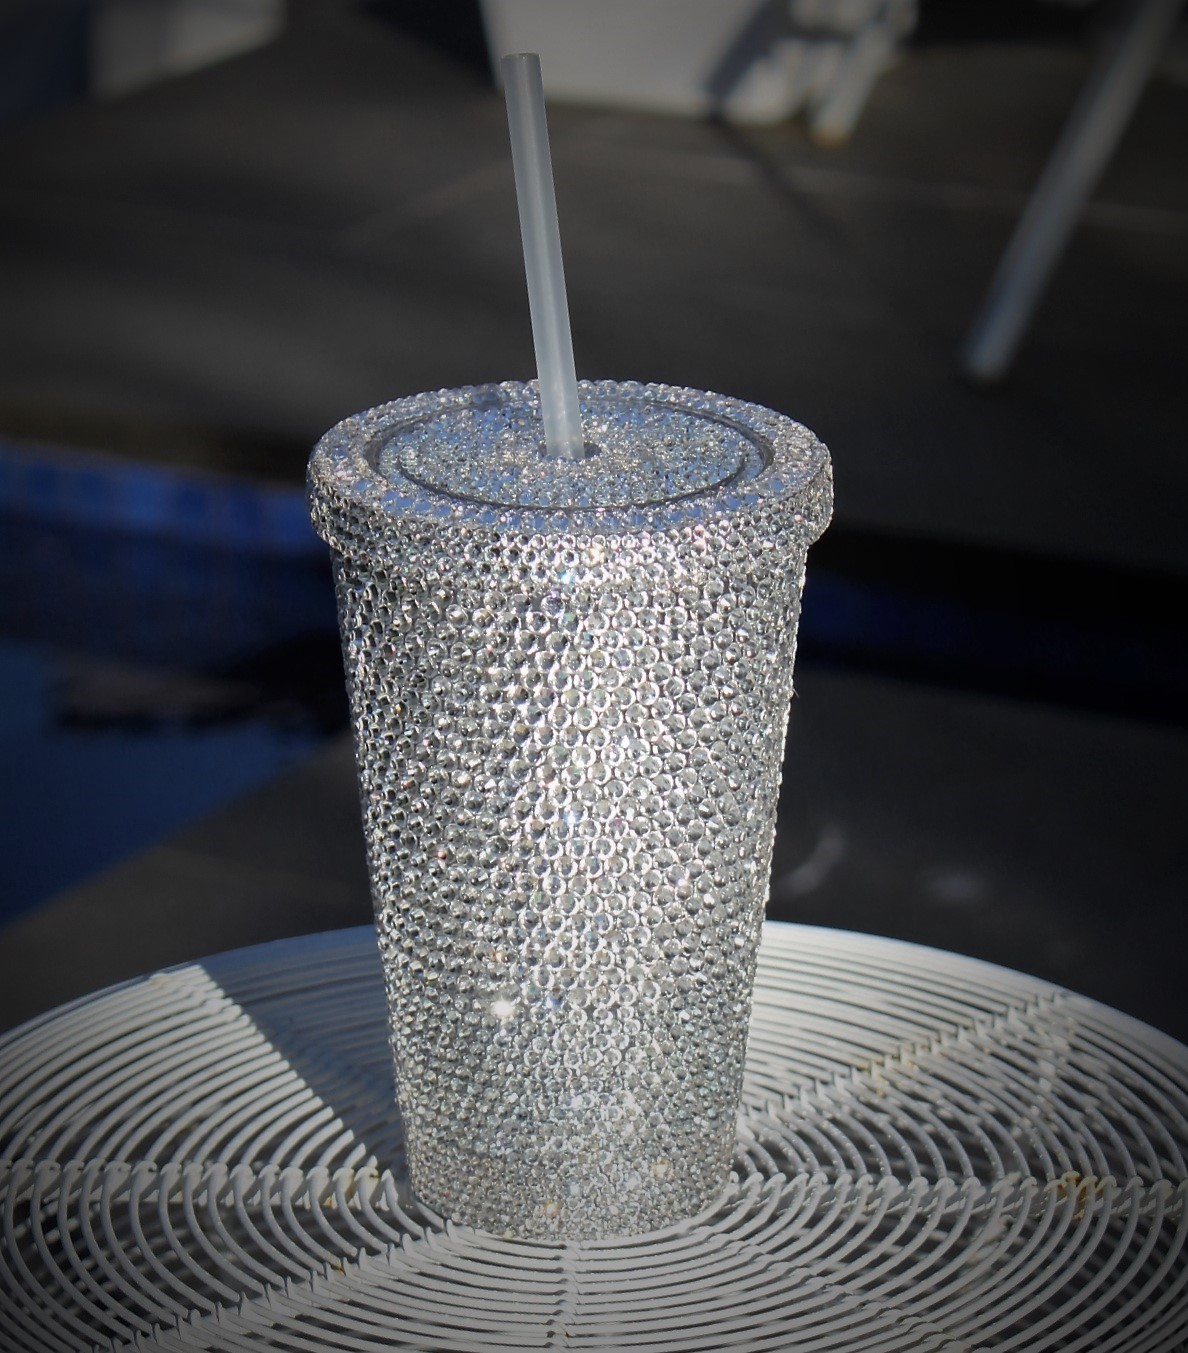
The great thing about this cup/lid design is the way the lid fits onto the cup.
If you turn the lid upside down you can see the inner ring is higher than the outside edge which means when we screw the lid onto the cup
there is enough clearance everywhere so no stones get damaged. This screw cap system means we can apply stones right to the bottom edges
on the side of the lid.
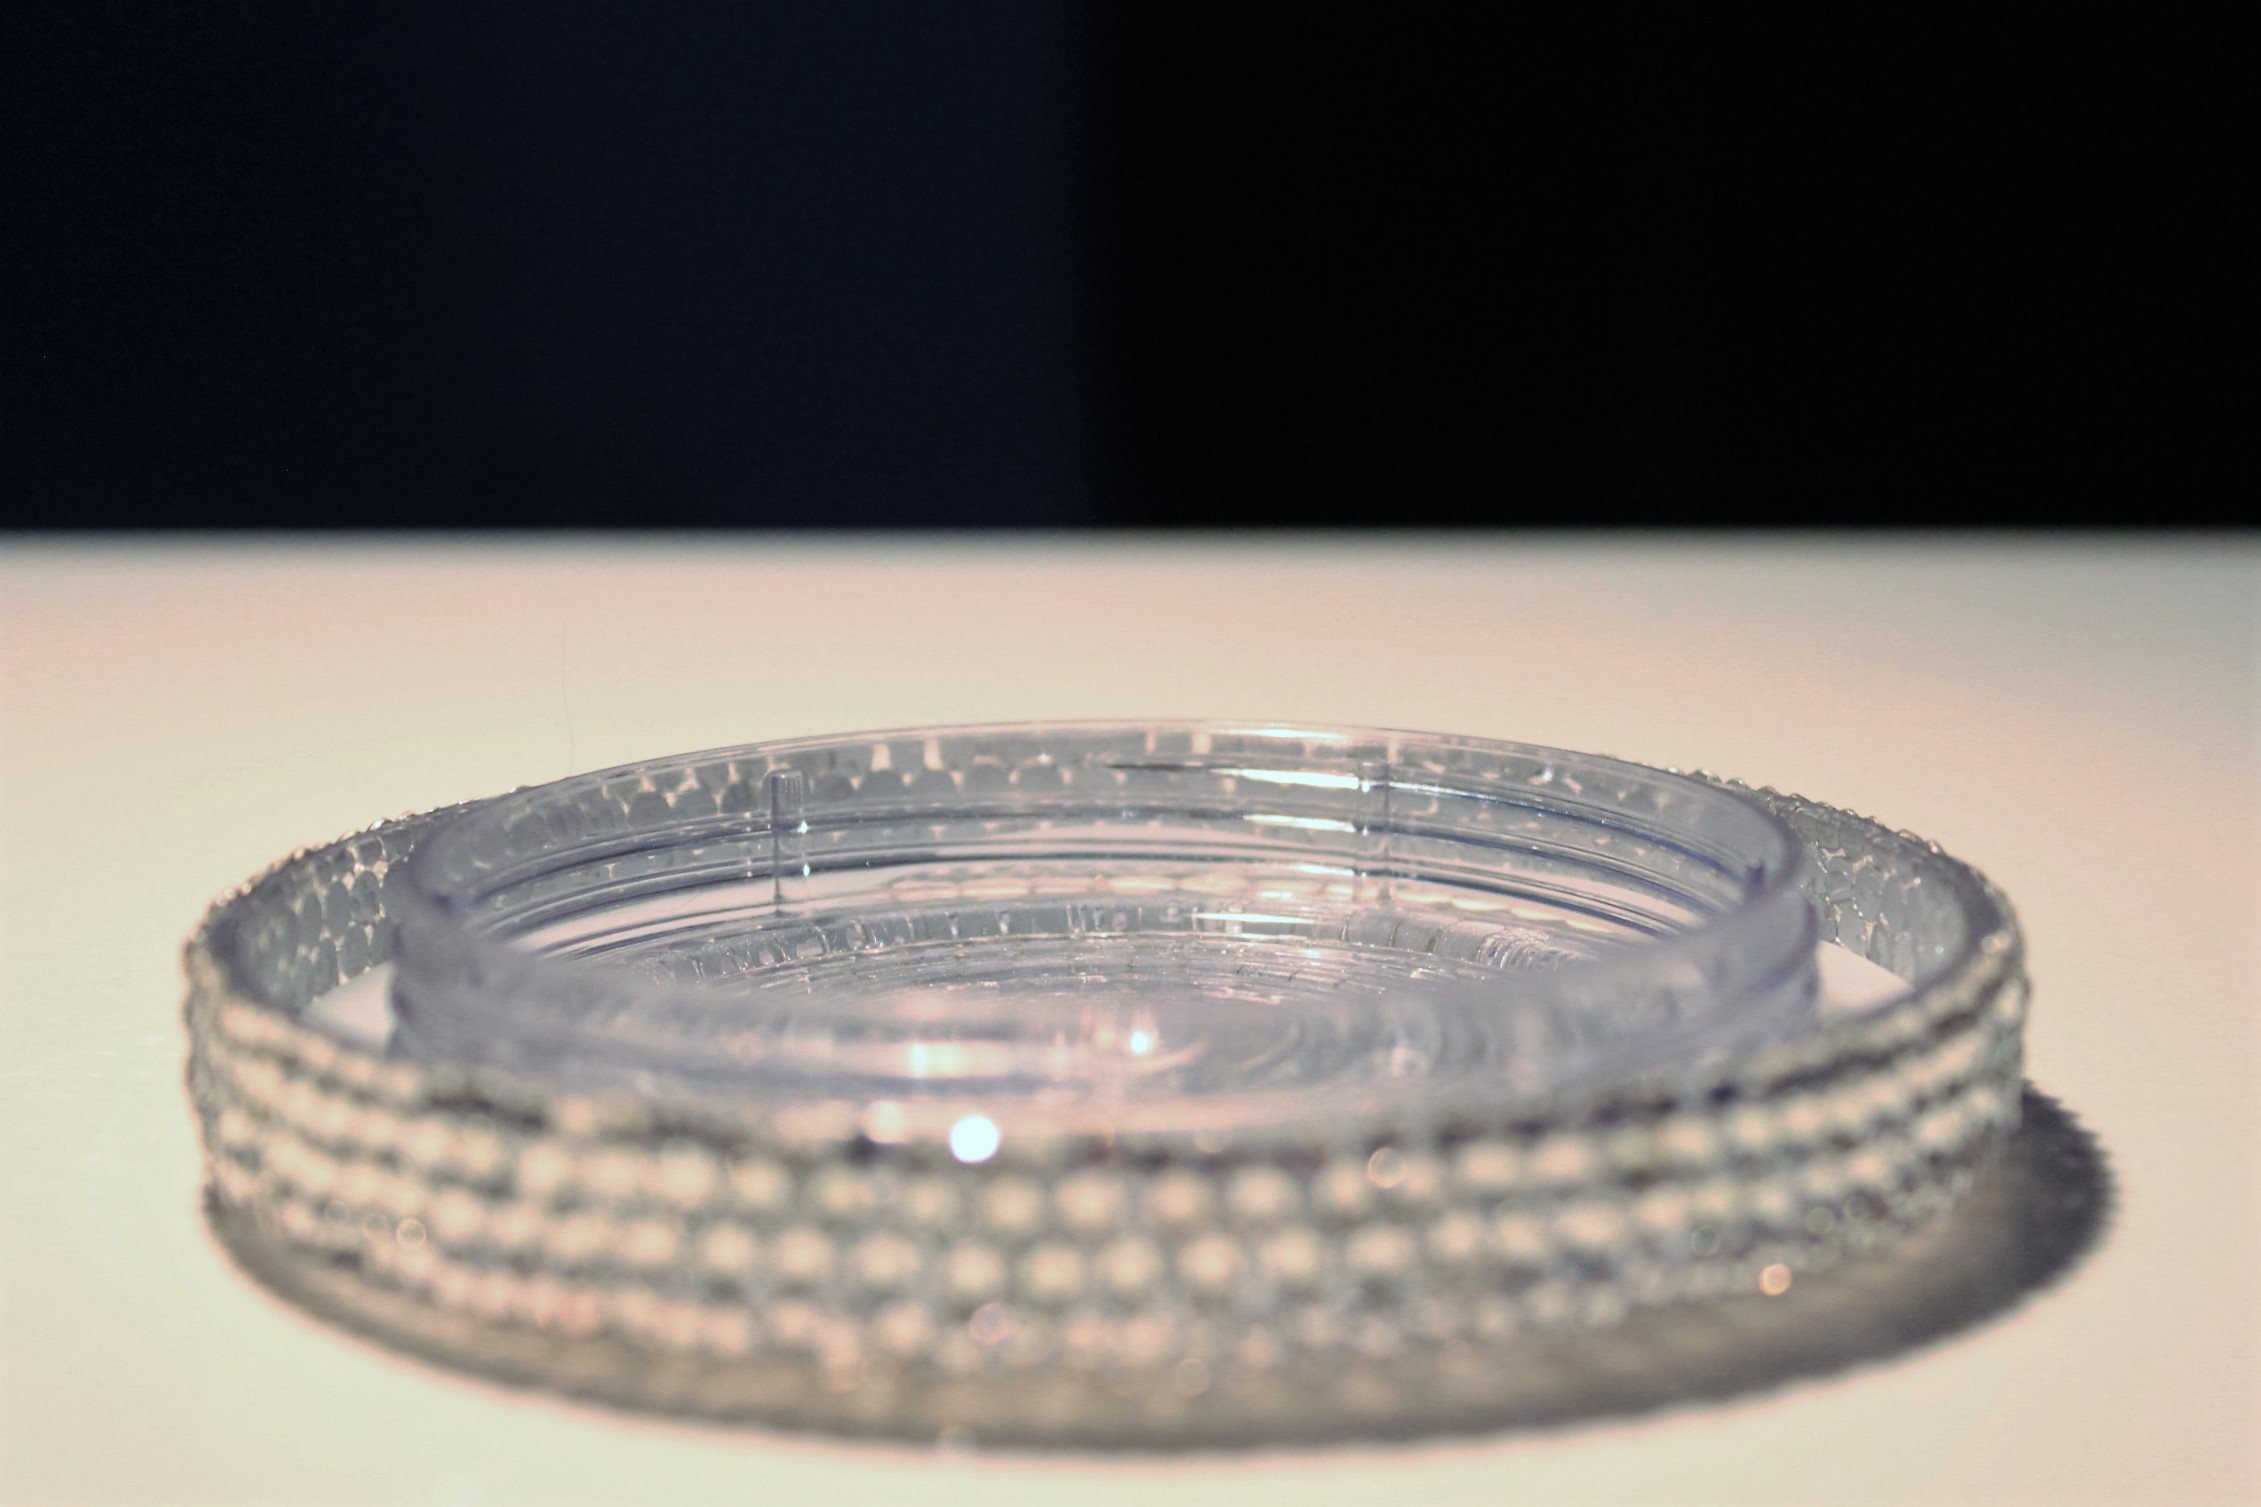
We glued the stones on the lid, starting from the outside working our way inward. As with similar projects, don’t add too much glue
– remember to go back and check the stones you’ve laid because they may have slid around a bit.
Then we started on the cup. We turned it upside down and started working down in rows. We did quite a few rows of a smaller stone before
graduating our way through a few more sizes.
It’s really up to you to choose what size stones to use. There’s no rules here! Just go with what feels right for you!
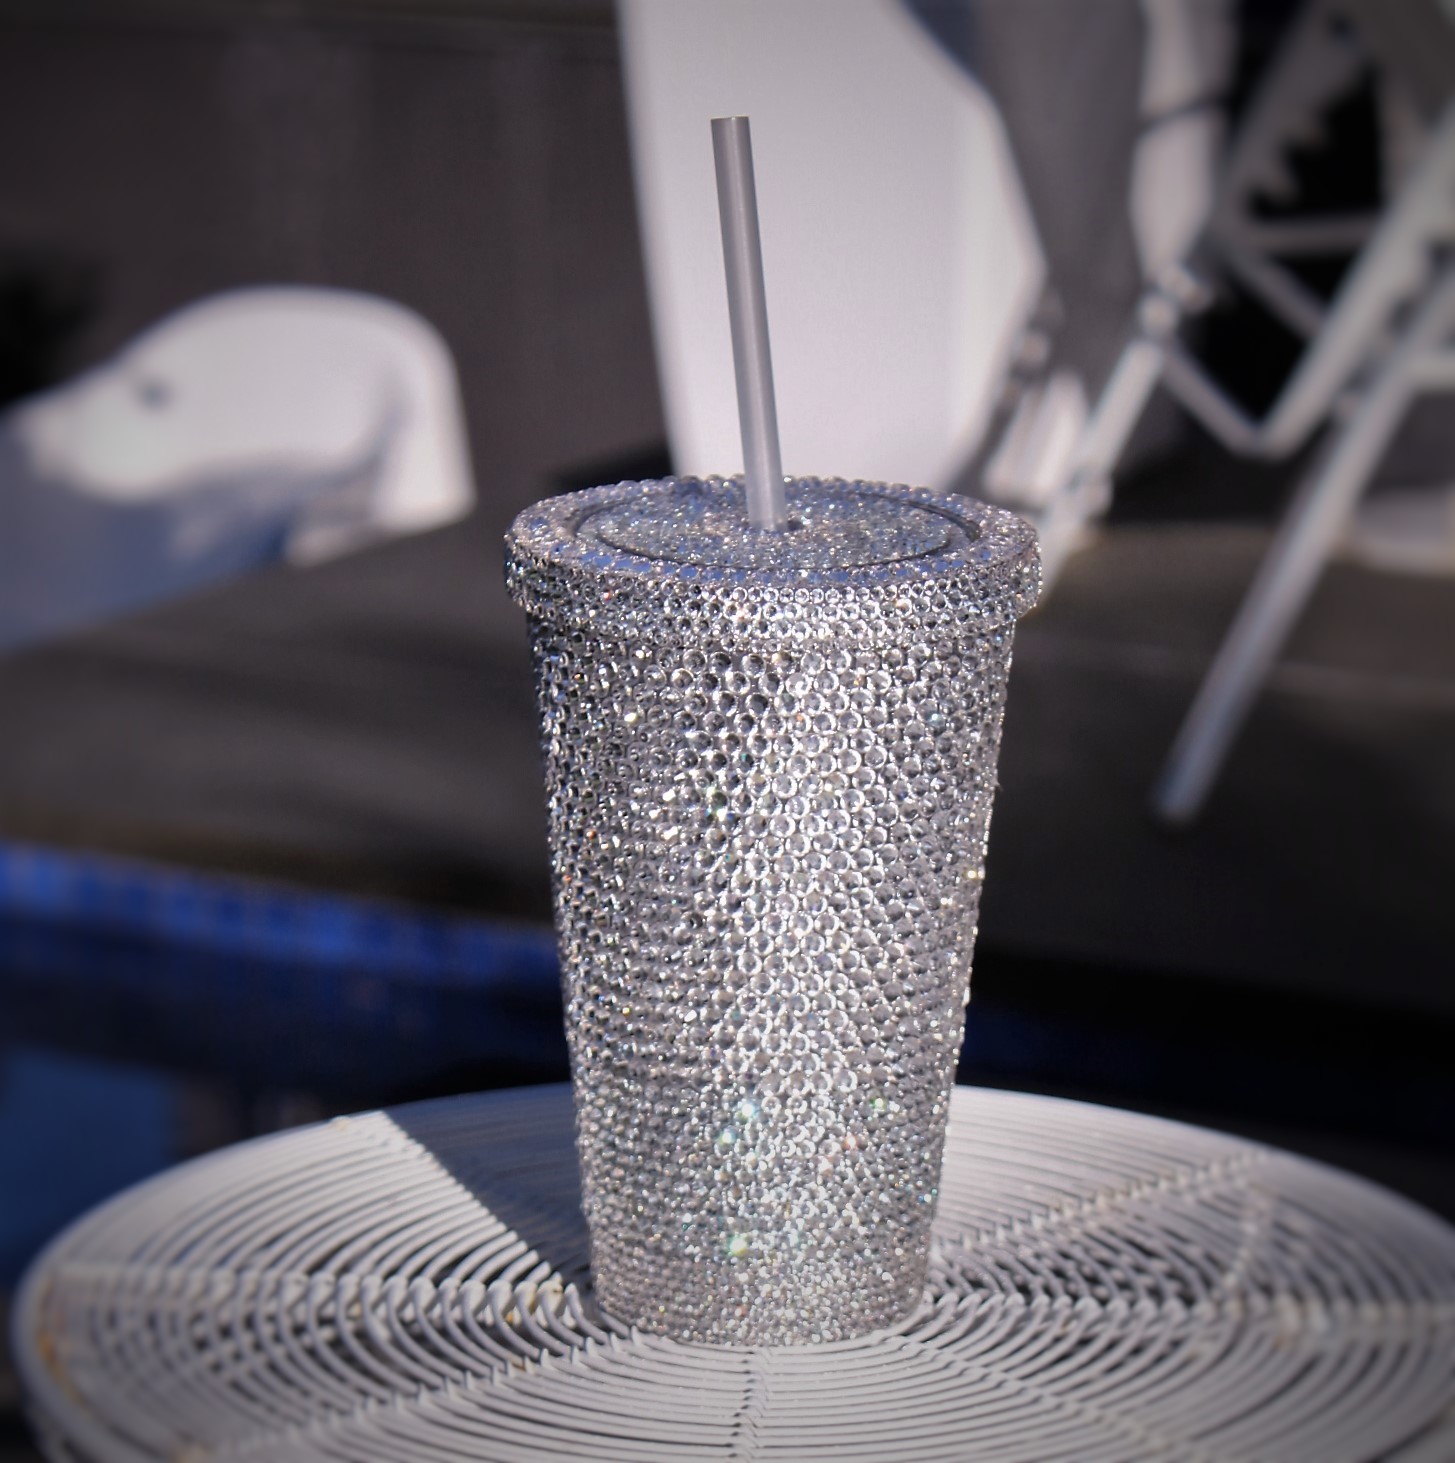
This is the ultimate cup to have poolside!! If you’re interested in knowing what we used to create this piece we’ve broken it down for you –
For The Cup – we used approximately 520 of our KS 1.0 stones.
Then we added approximately 660 of our KS1.6 stones.
We finished the upper part with approximately 1100 of our KS 2.0 stones.
For the top of the lid we used –
On the outer edge first row we used approximately 111 of our KS 1.0 stones.
2nd row in we used approximately 60 of our KS 2.0 stones and then on the
3rd row we used approximately 90 of our KS 1.0 stones.
Then we filled the middle section with approximately 320 of our KS 1.6 stones.
To finish the centre we used approximately 120 of our KS 1.0 stones.
On the outer rim of the lid we used approximately 230 of our KS 1.0 stones and
Approximately 175 of our KS 1.6 stones.
Totalling – KS 1.0 – 1071 stones
KS 1.6 – 1155 stones
KS 2.0 – 1160 stones
Remember if you do this project (or any of the others) post your pics on social media using the hashtags #kmartstyling and #kmartkraze so we can see them too!
Everything you need for this project is available from our store here and if you want to learn how to lay the stones, click here.
We strongly advise that you only hand wash this item – please don’t put it in the dishwasher!
Warm soapy water and a rinse and it will be good to go!
We hope you love this one as much as we do!
As always, have a blinging great day!
Categories: Personal Items
Leave a Reply
You must be logged in to post a comment.