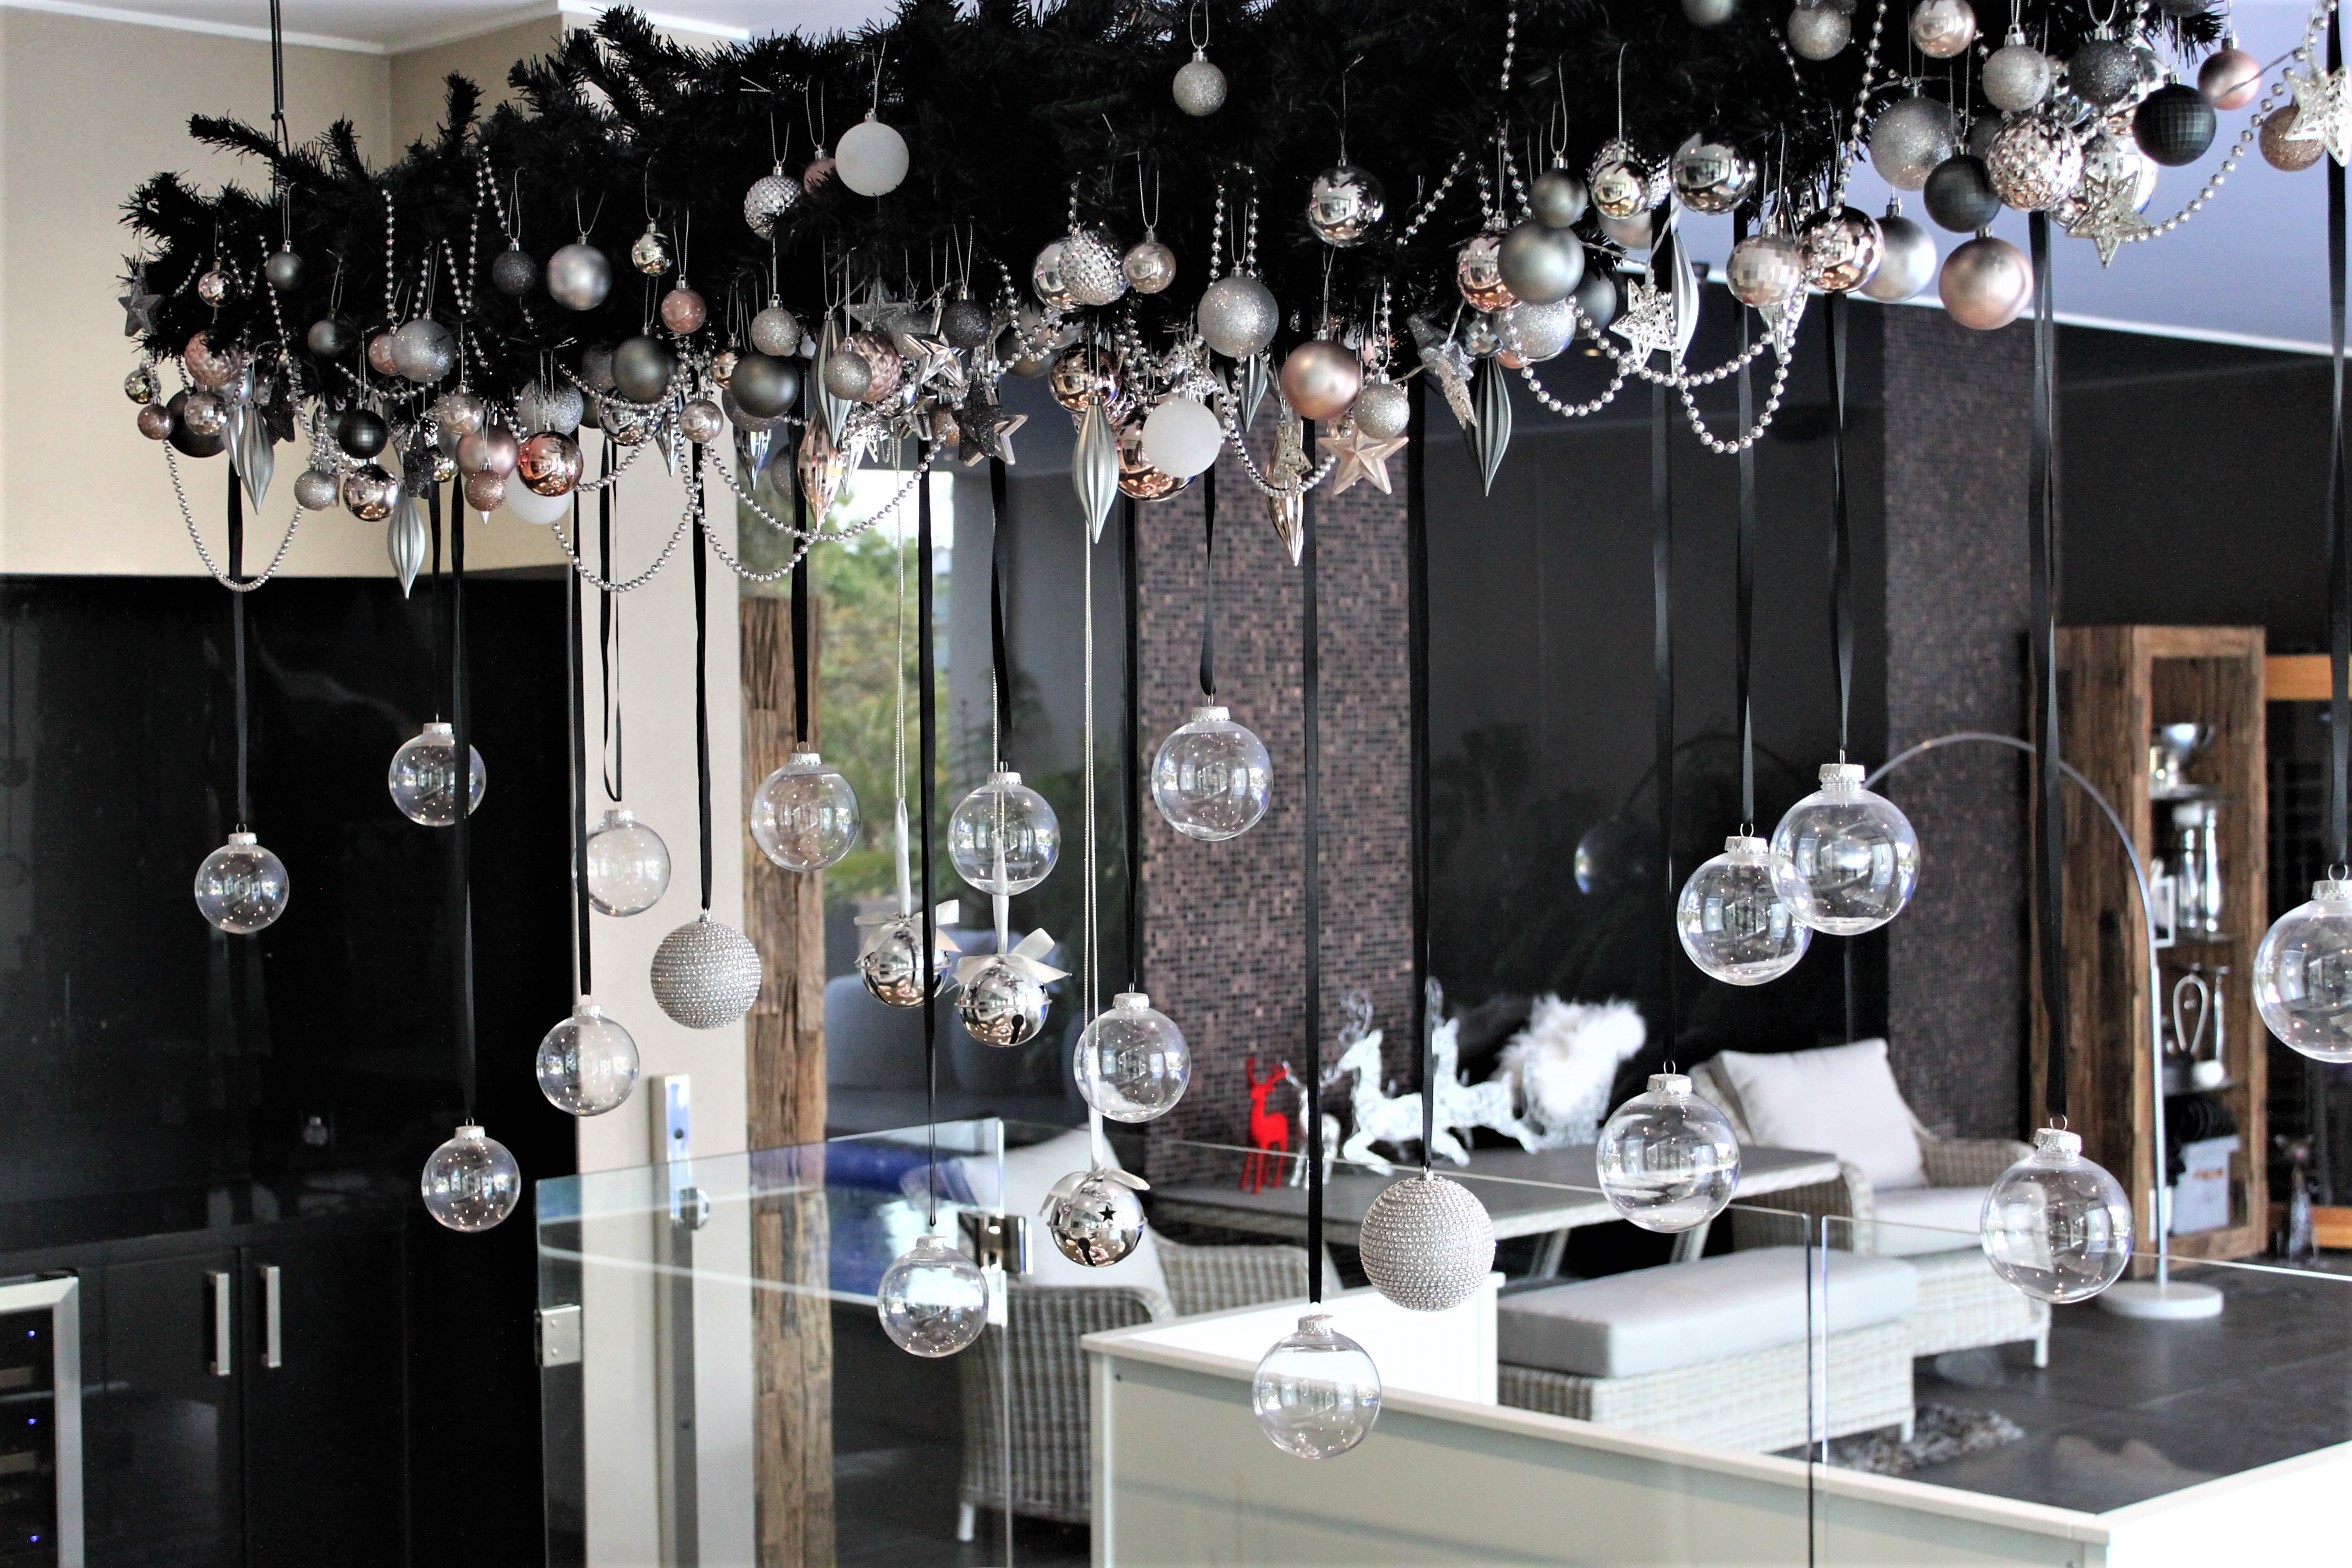
Last year I suspended my Christmas Tree over our outdoor dining table and it gathered a small amount of interest on the ‘social scene’ …. Wind the clock forward one year and for some reason a picture of this tree surfaced and now it’s gathered a whole lot of attention!!
The big question is, “How did you make it?”
The answer to the big question is, “It’s really easy!”
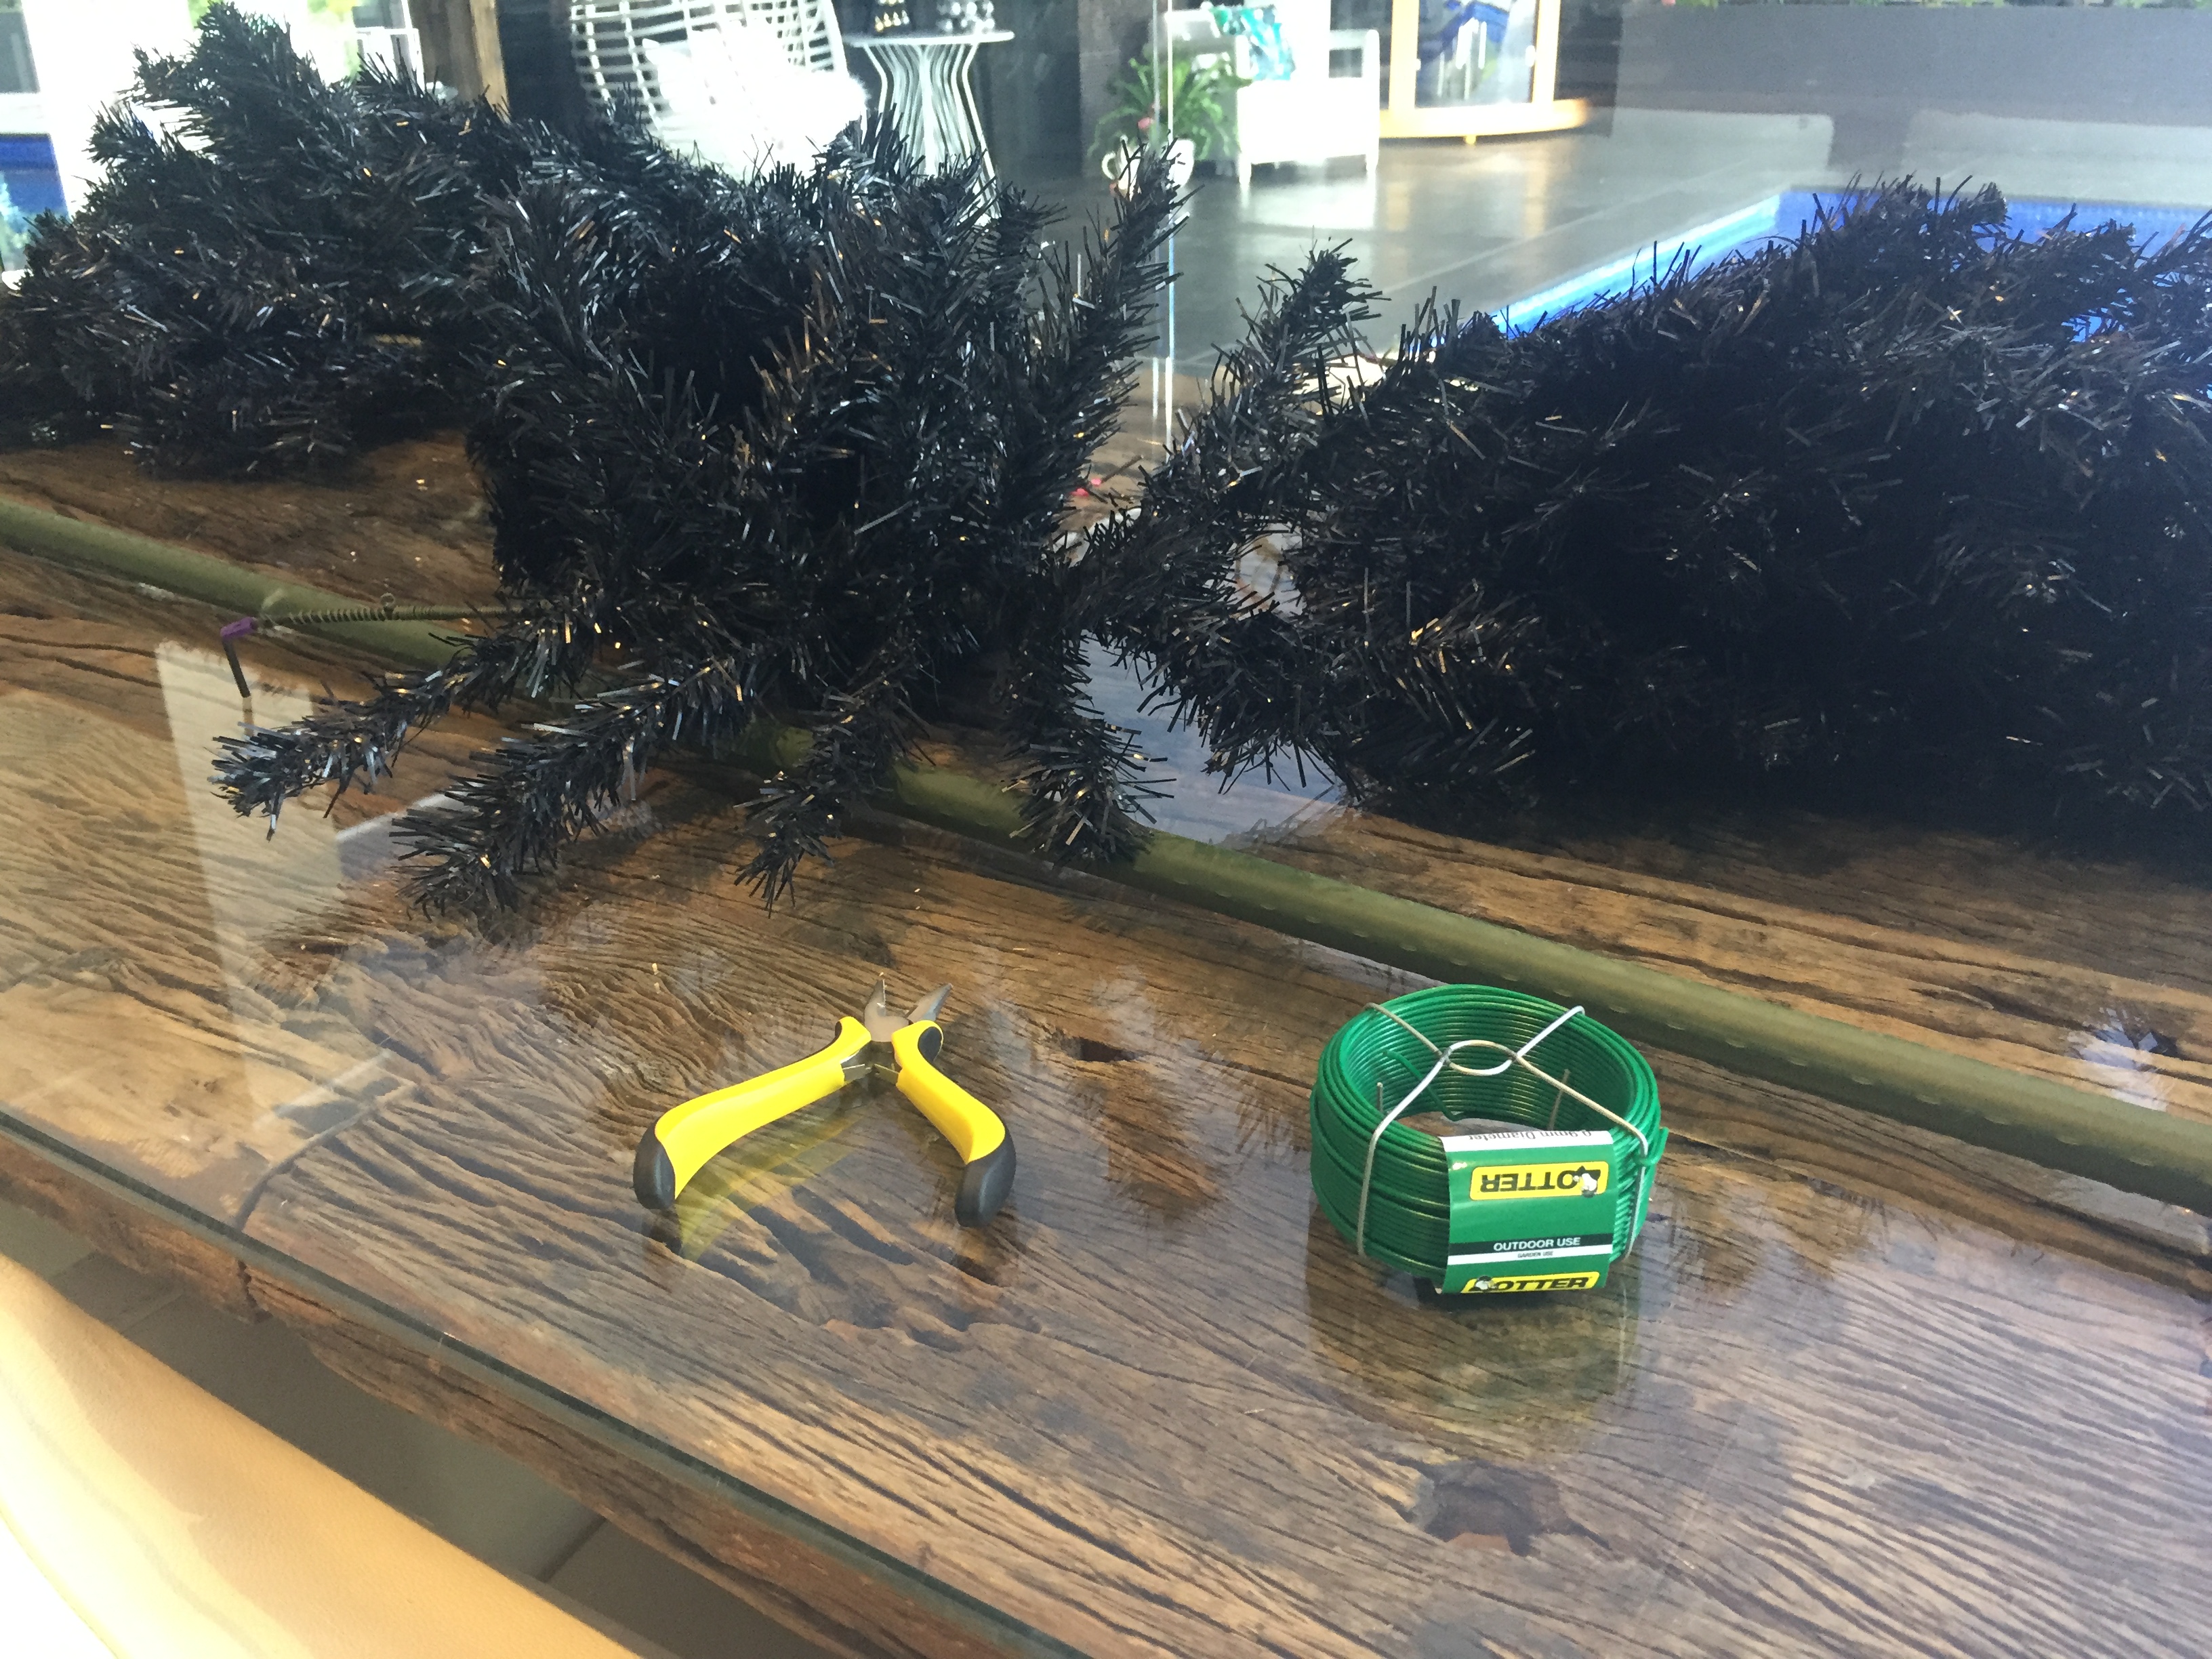
You’re going to need:
A Christmas Tree – preferably one with branches that you insert into a main trunk – if not, you’ll need to be able to grind/cut branches from the trunk.
A large, thick plastic garden stake – I got this one from Bunnings.
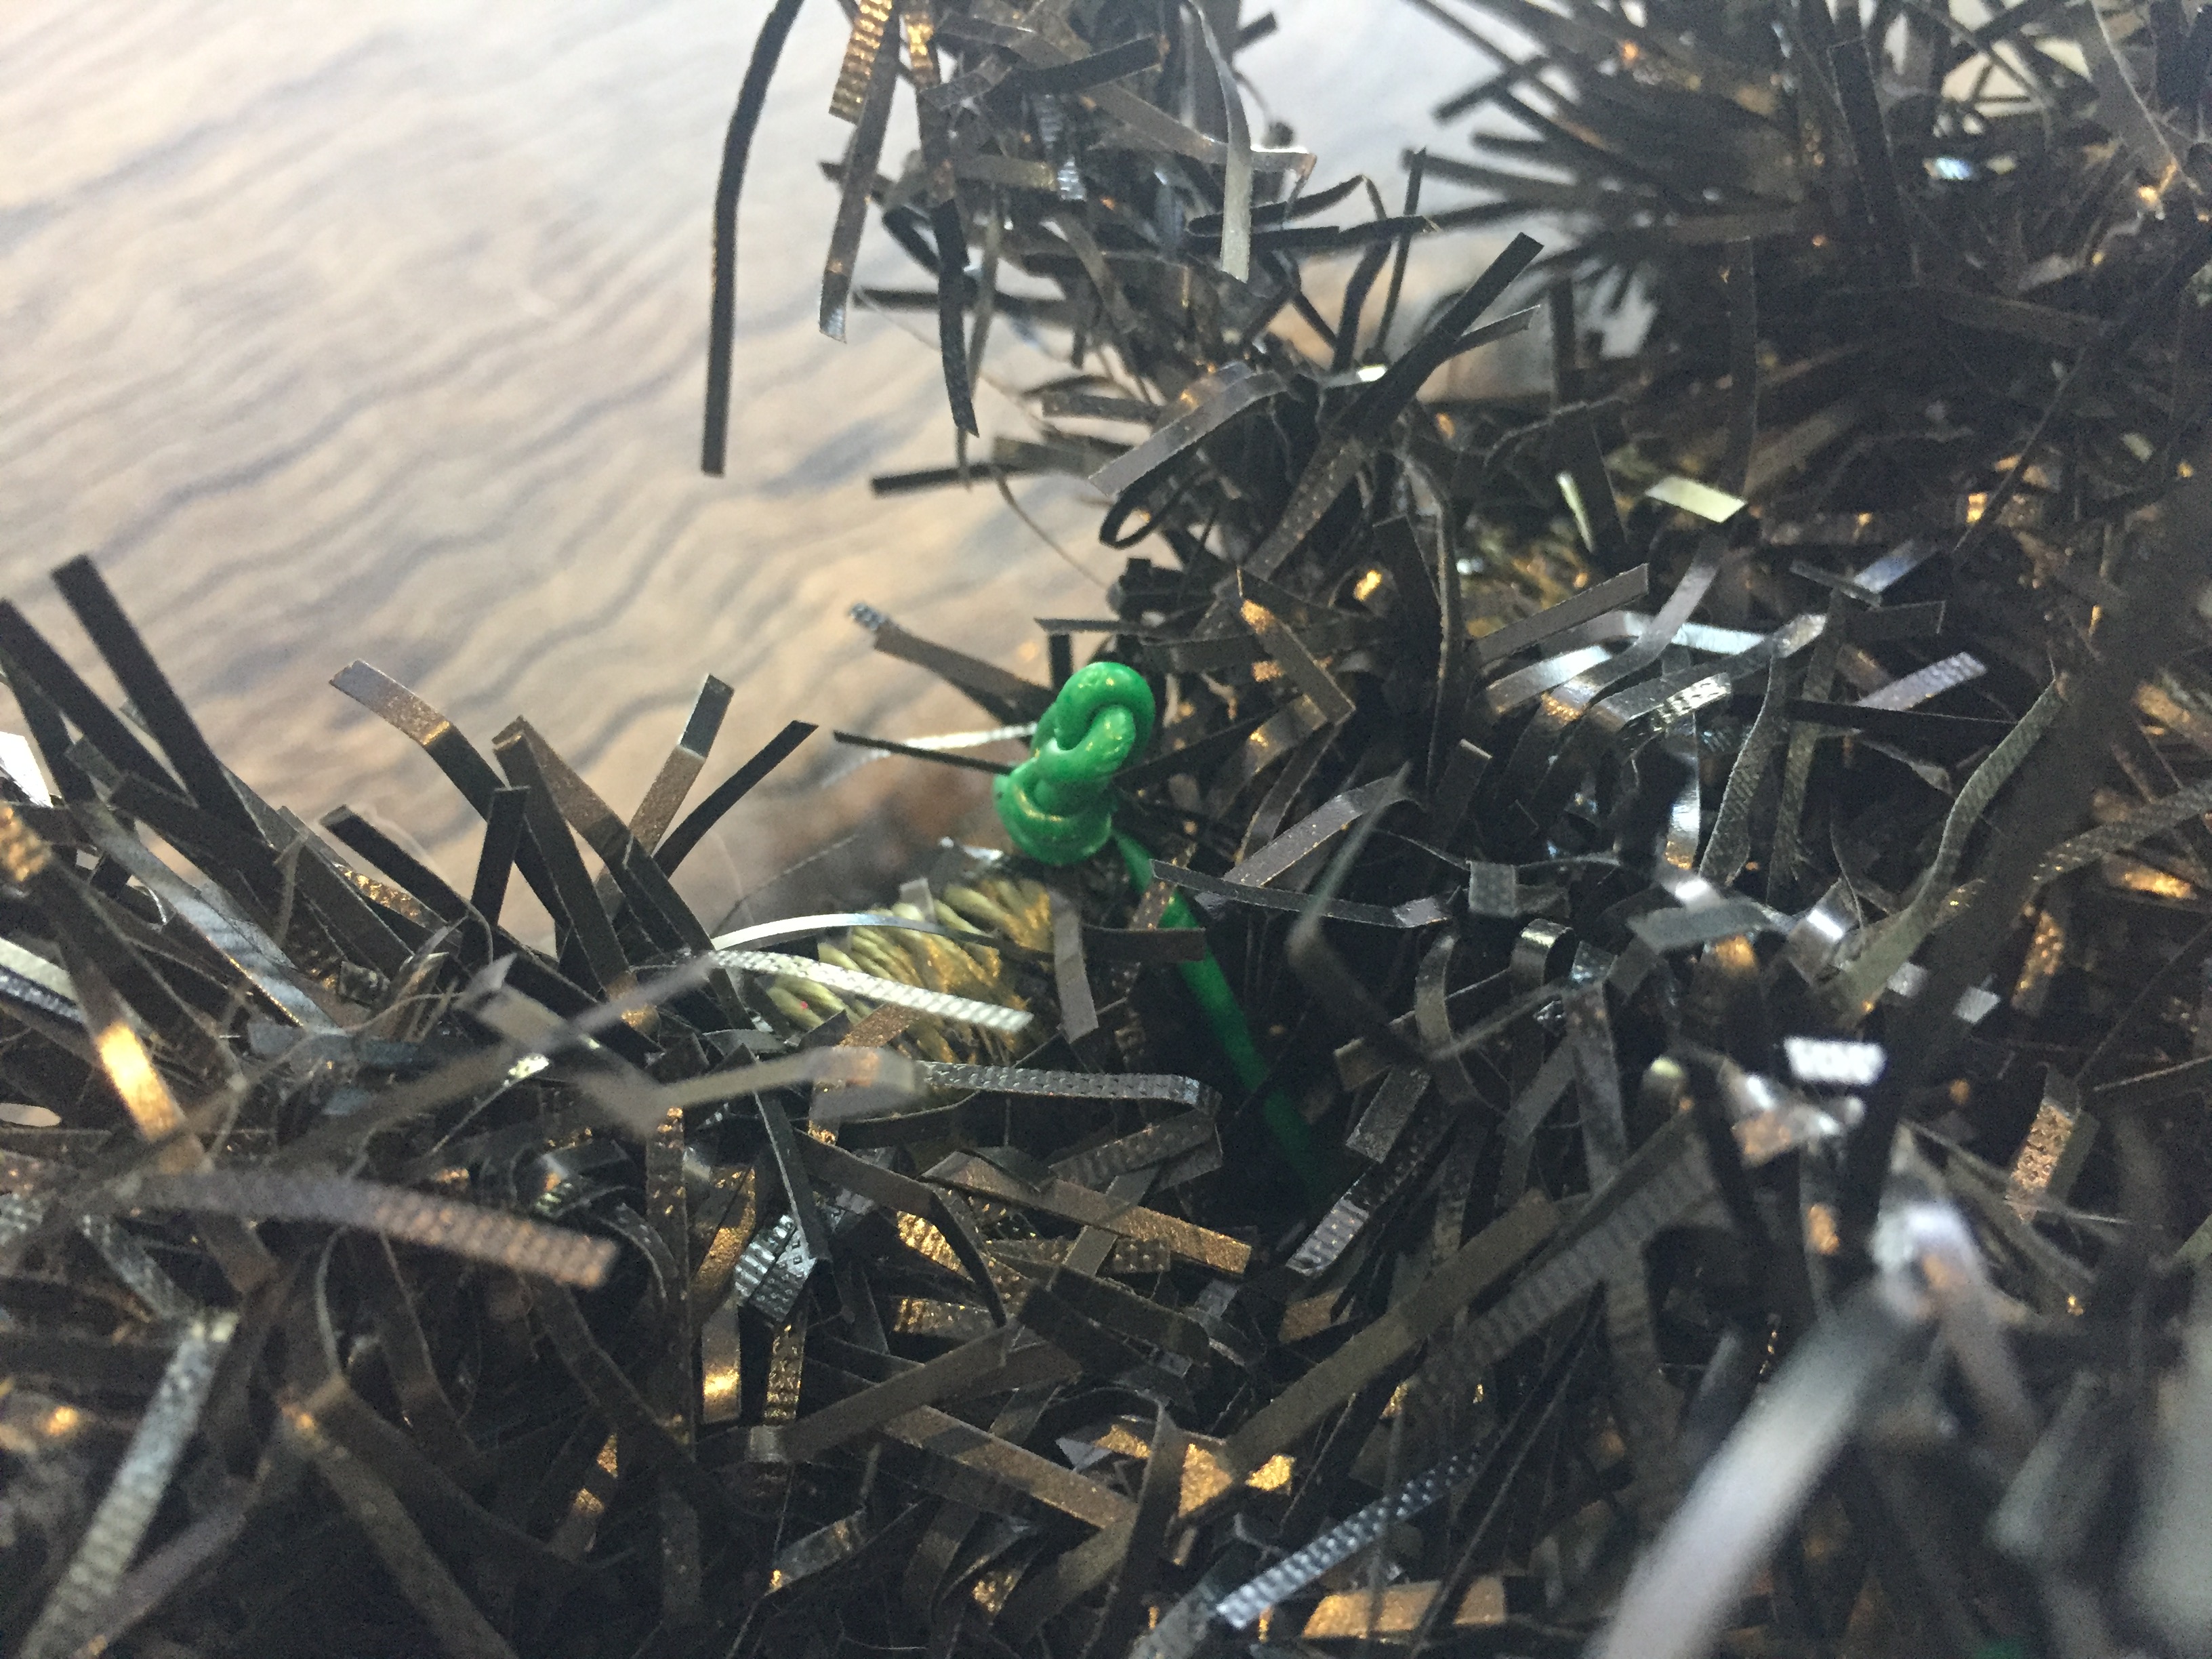
Some plastic covered garden tie wire
And a pair of pliars for cutting the wire.
It’s also a good idea to have have 2 x stools/chairs/ etc to support the tree while you’re working on it.
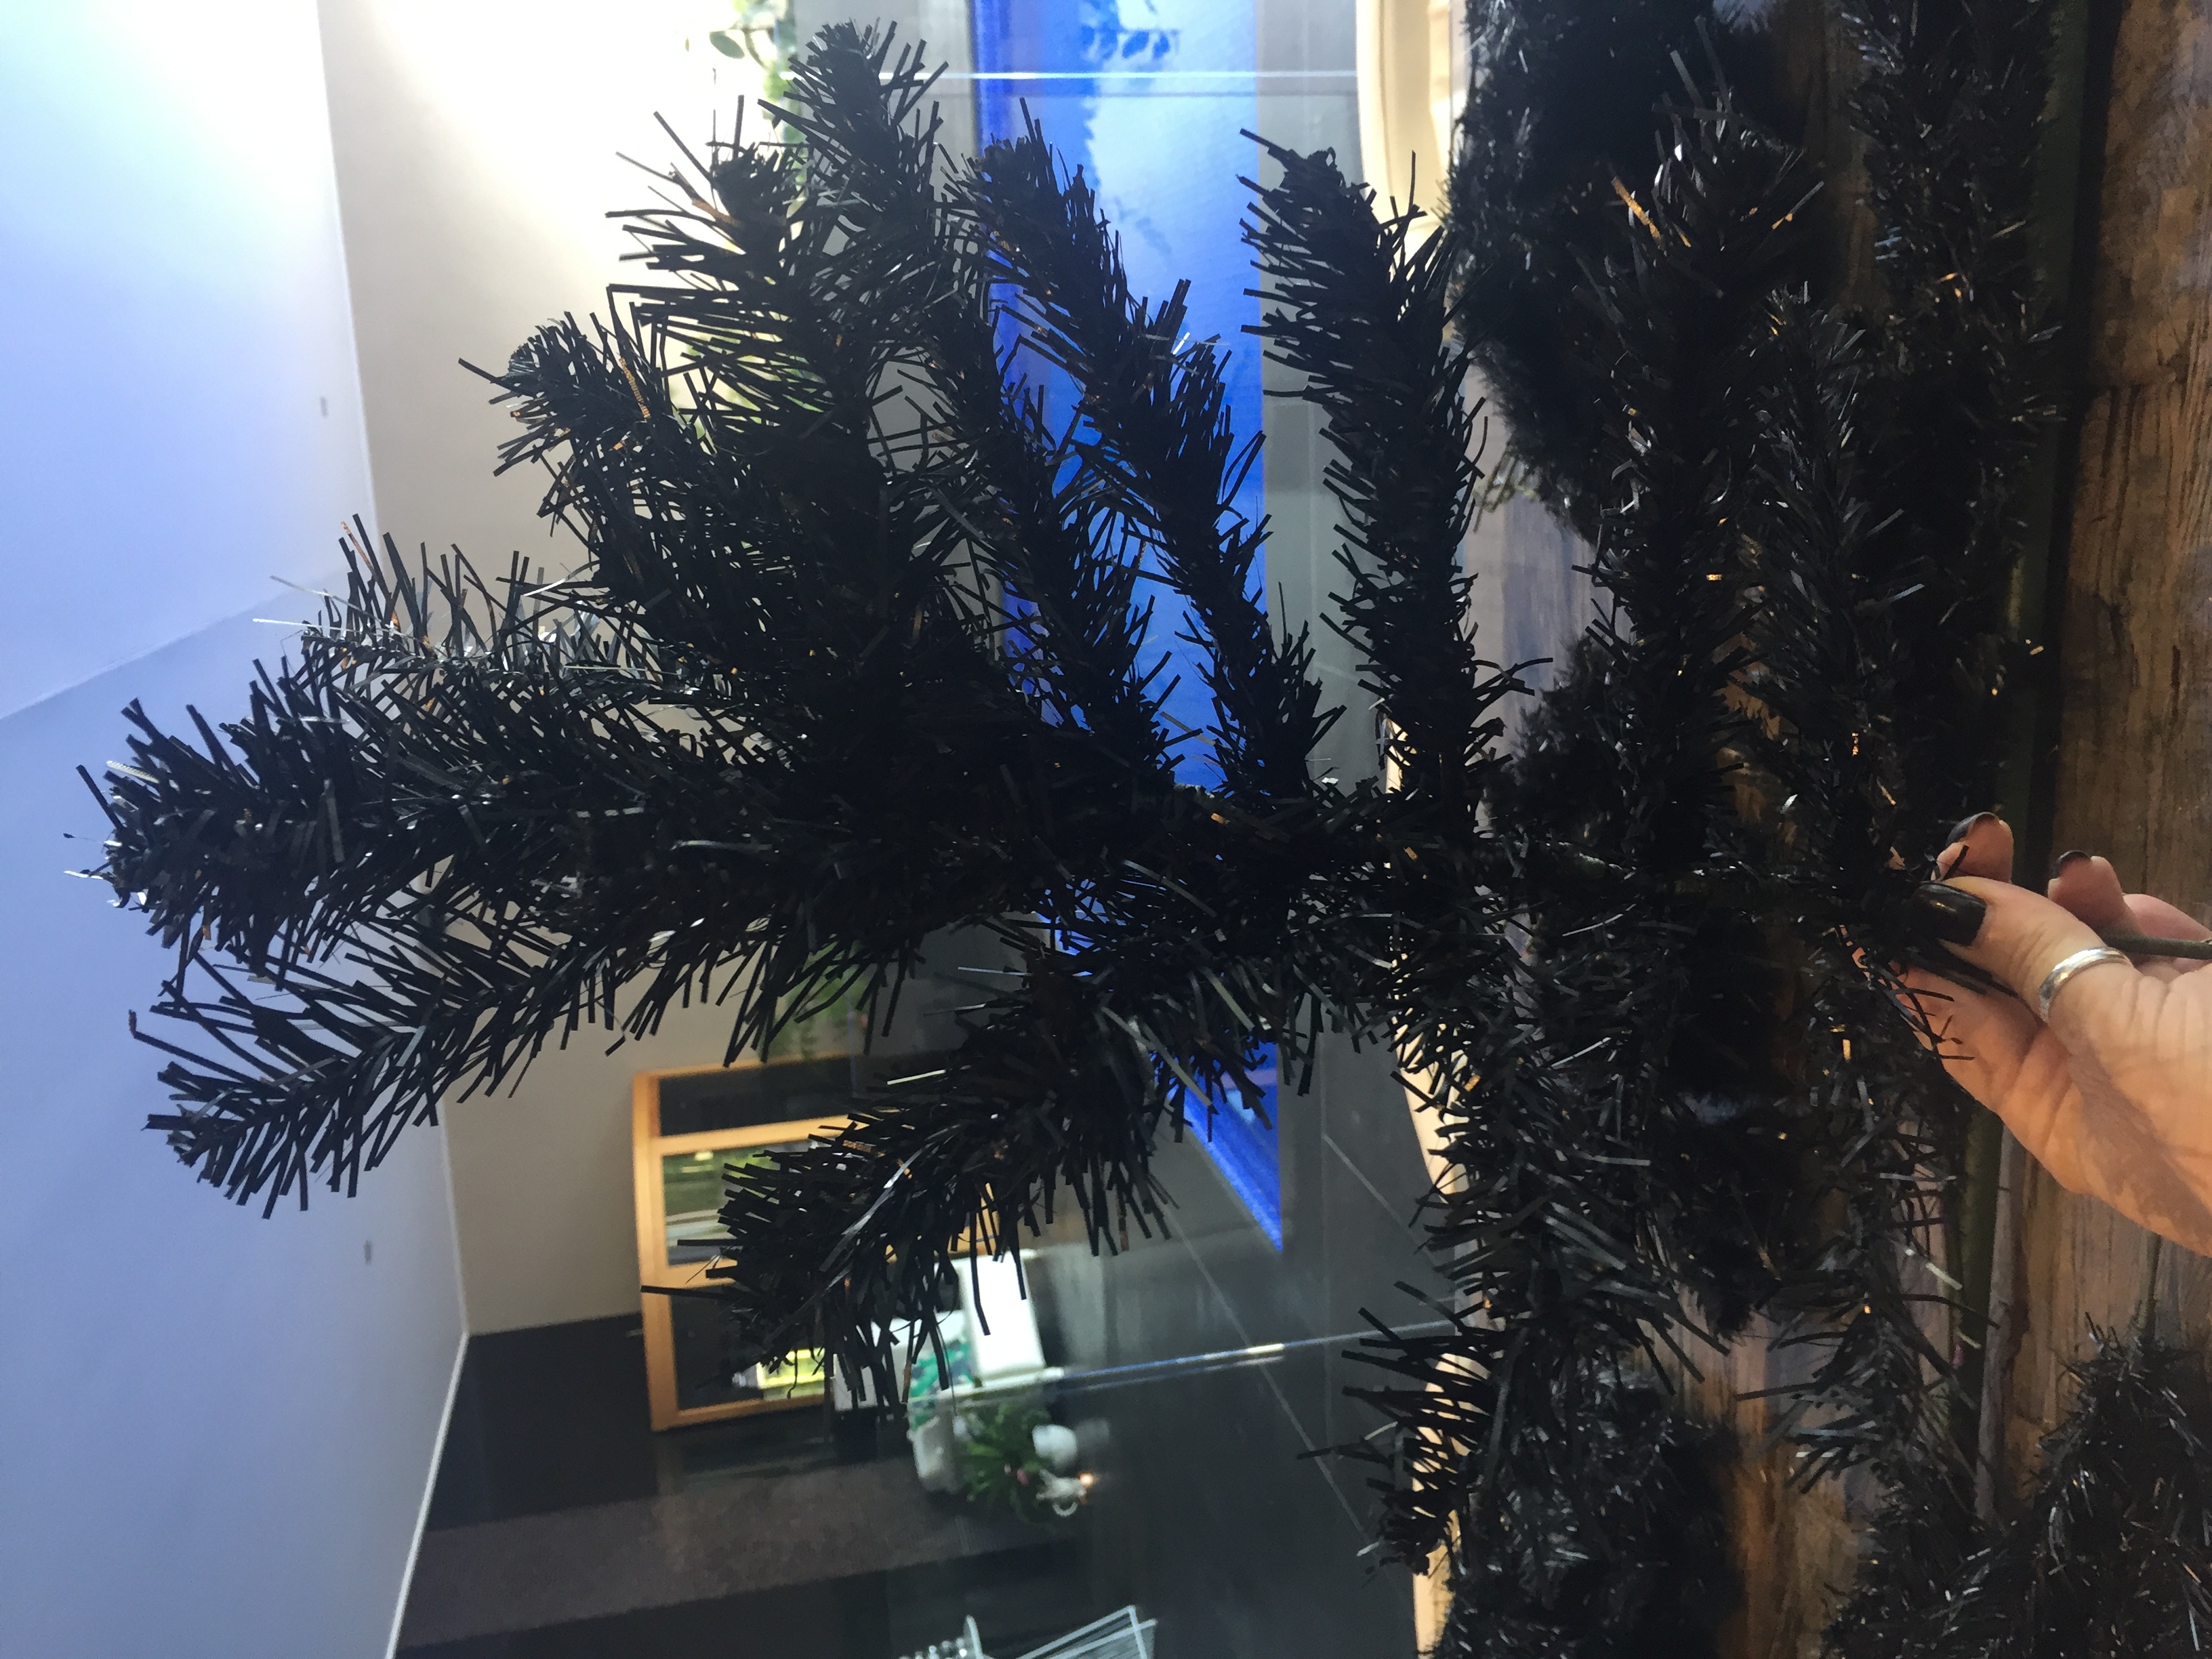
The Christmas Tree that I used for this had individual branches that got inserted into the main trunk of the tree – the picture above is one of the branches – if yours isn’t assembled like this one, then you will have to cut your individual branches off and then use them.
It’s a good idea to gather all your individual branches and sort them into sizes – (the top branches should be smaller than the branches used on the base of the tree.)
The first thing I did was ‘fluff’ up every branch. I wanted the tree to look as full as possible. Once the branch was fluffed, I then laid it onto the garden stake and wired it into place. I started by laying and tying the larger branches first – half of them facing toward one end of the stake, and the other half facing the other way.
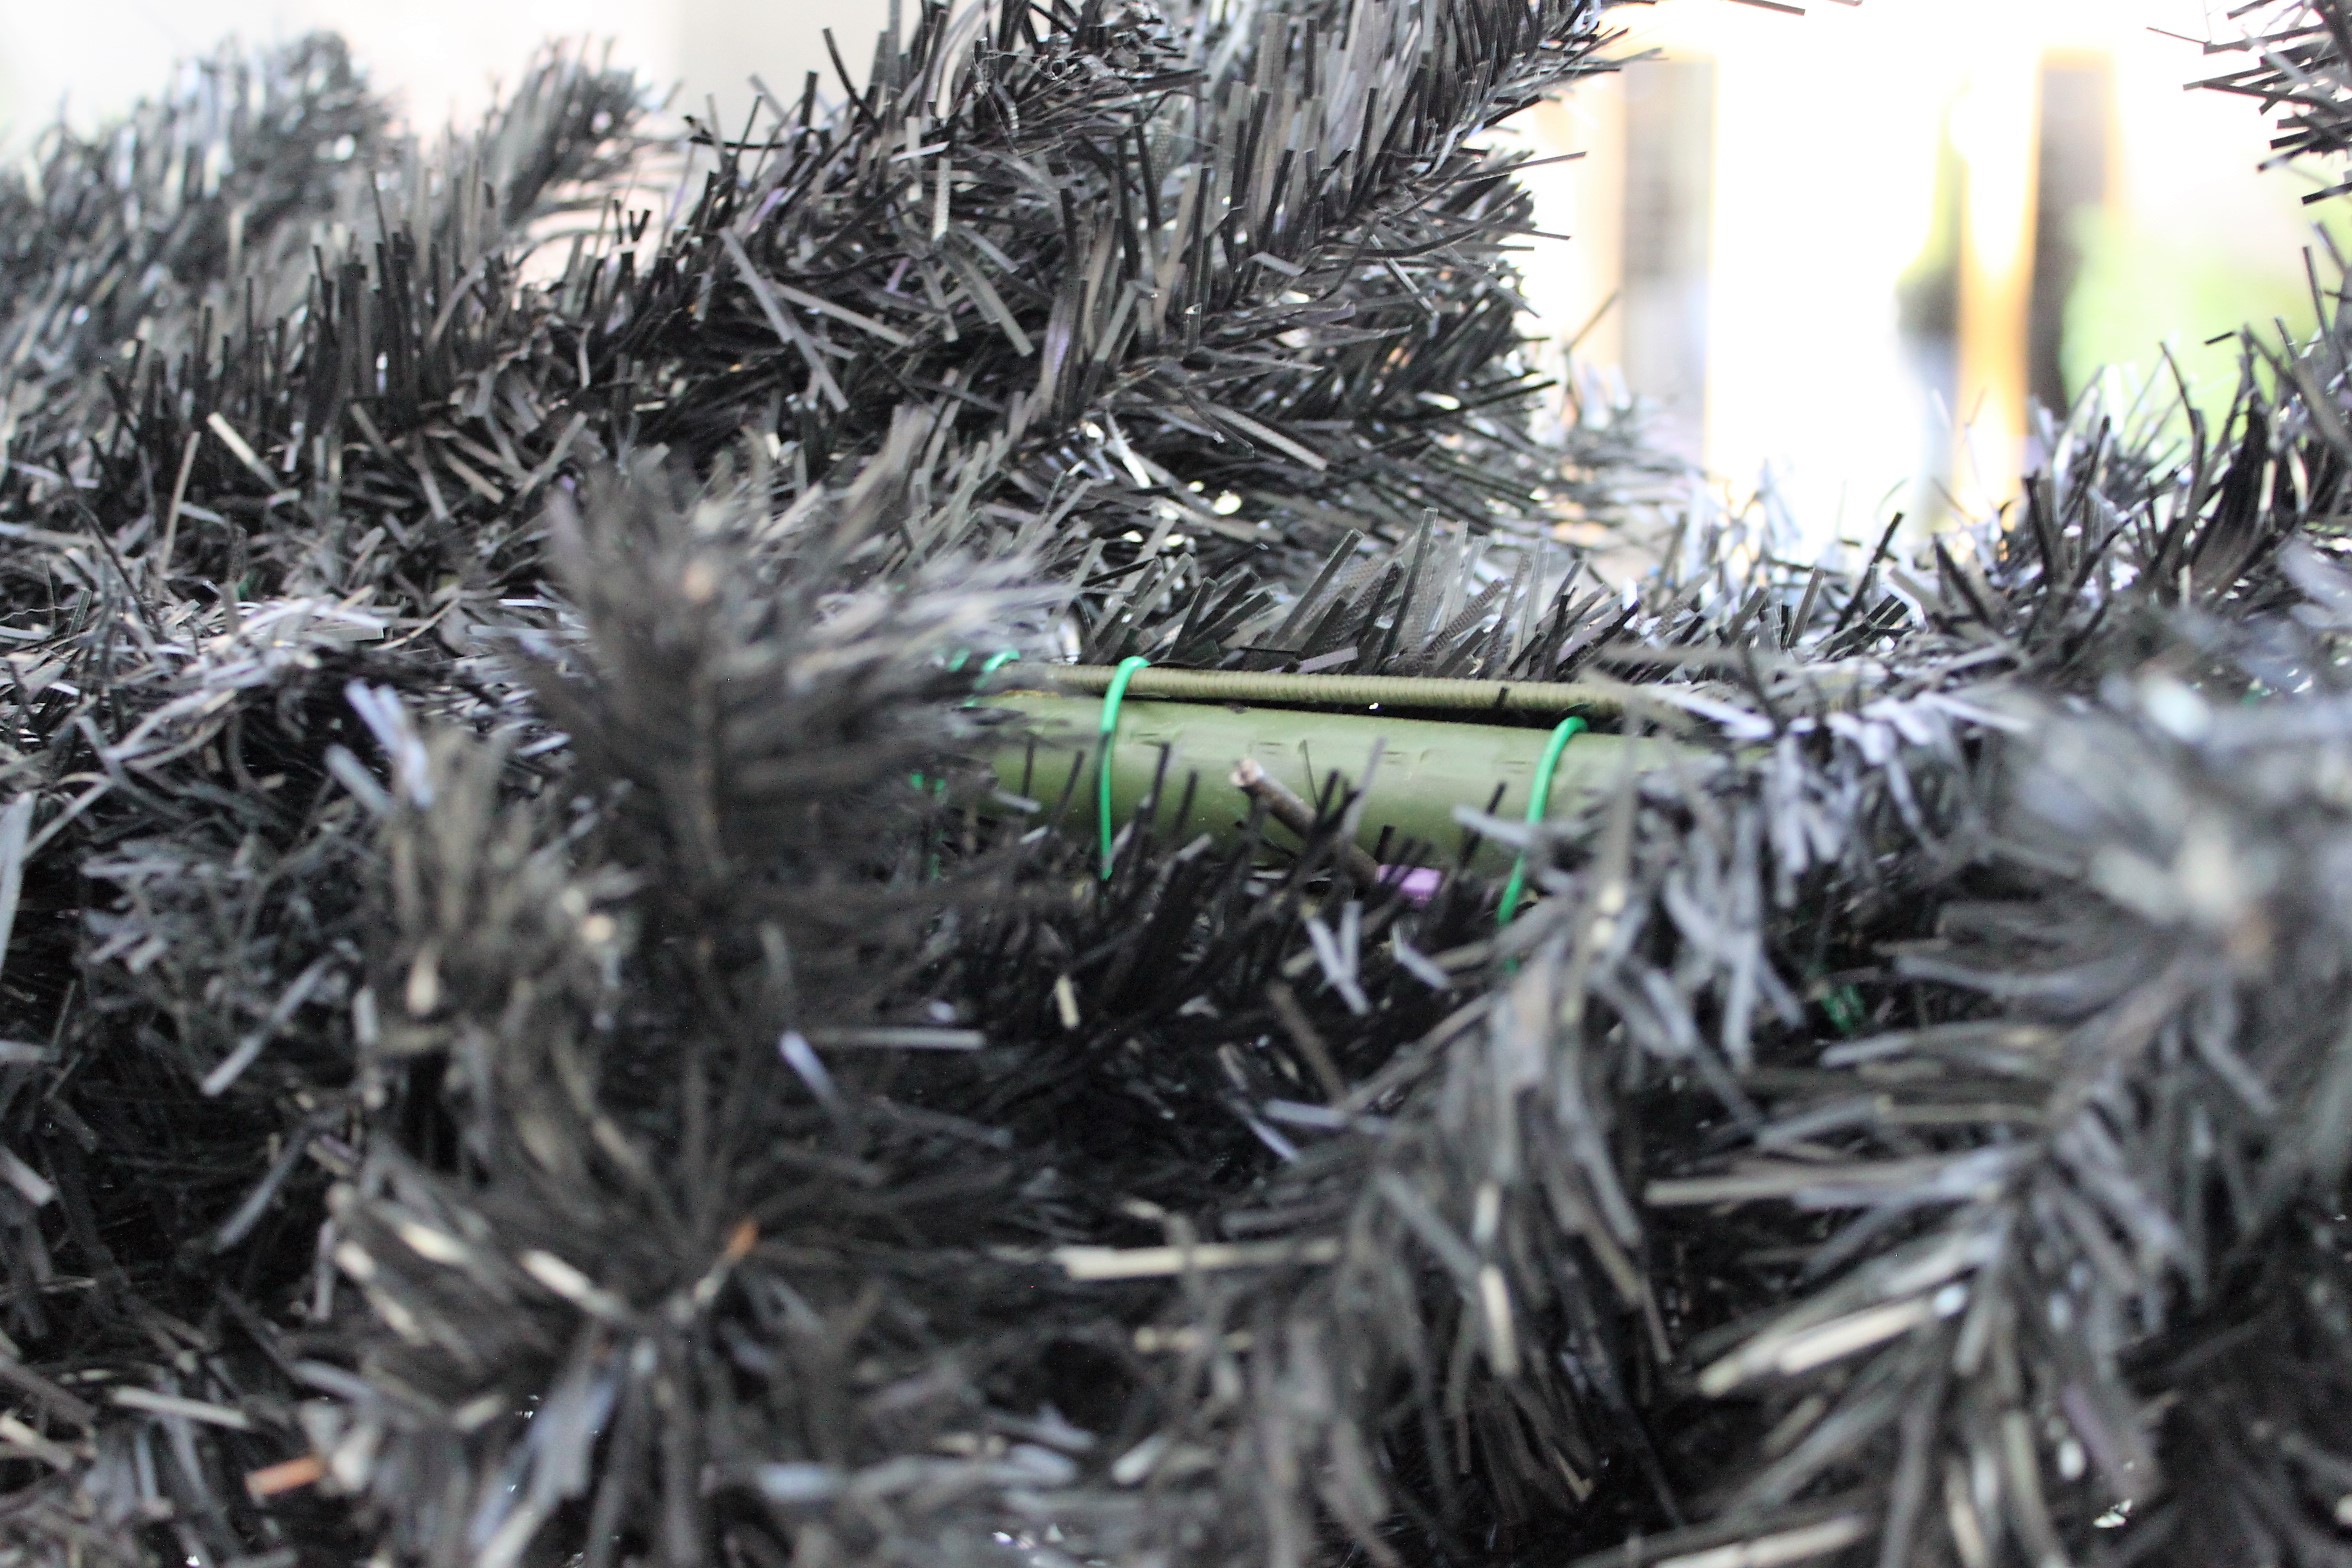
Once they were wired into position, I started filling in with the medium sized branches, and then finally with the smaller branches.
I focused more on the underside of the tree filling it with branches and then just a few on the upper side to hide the stake.
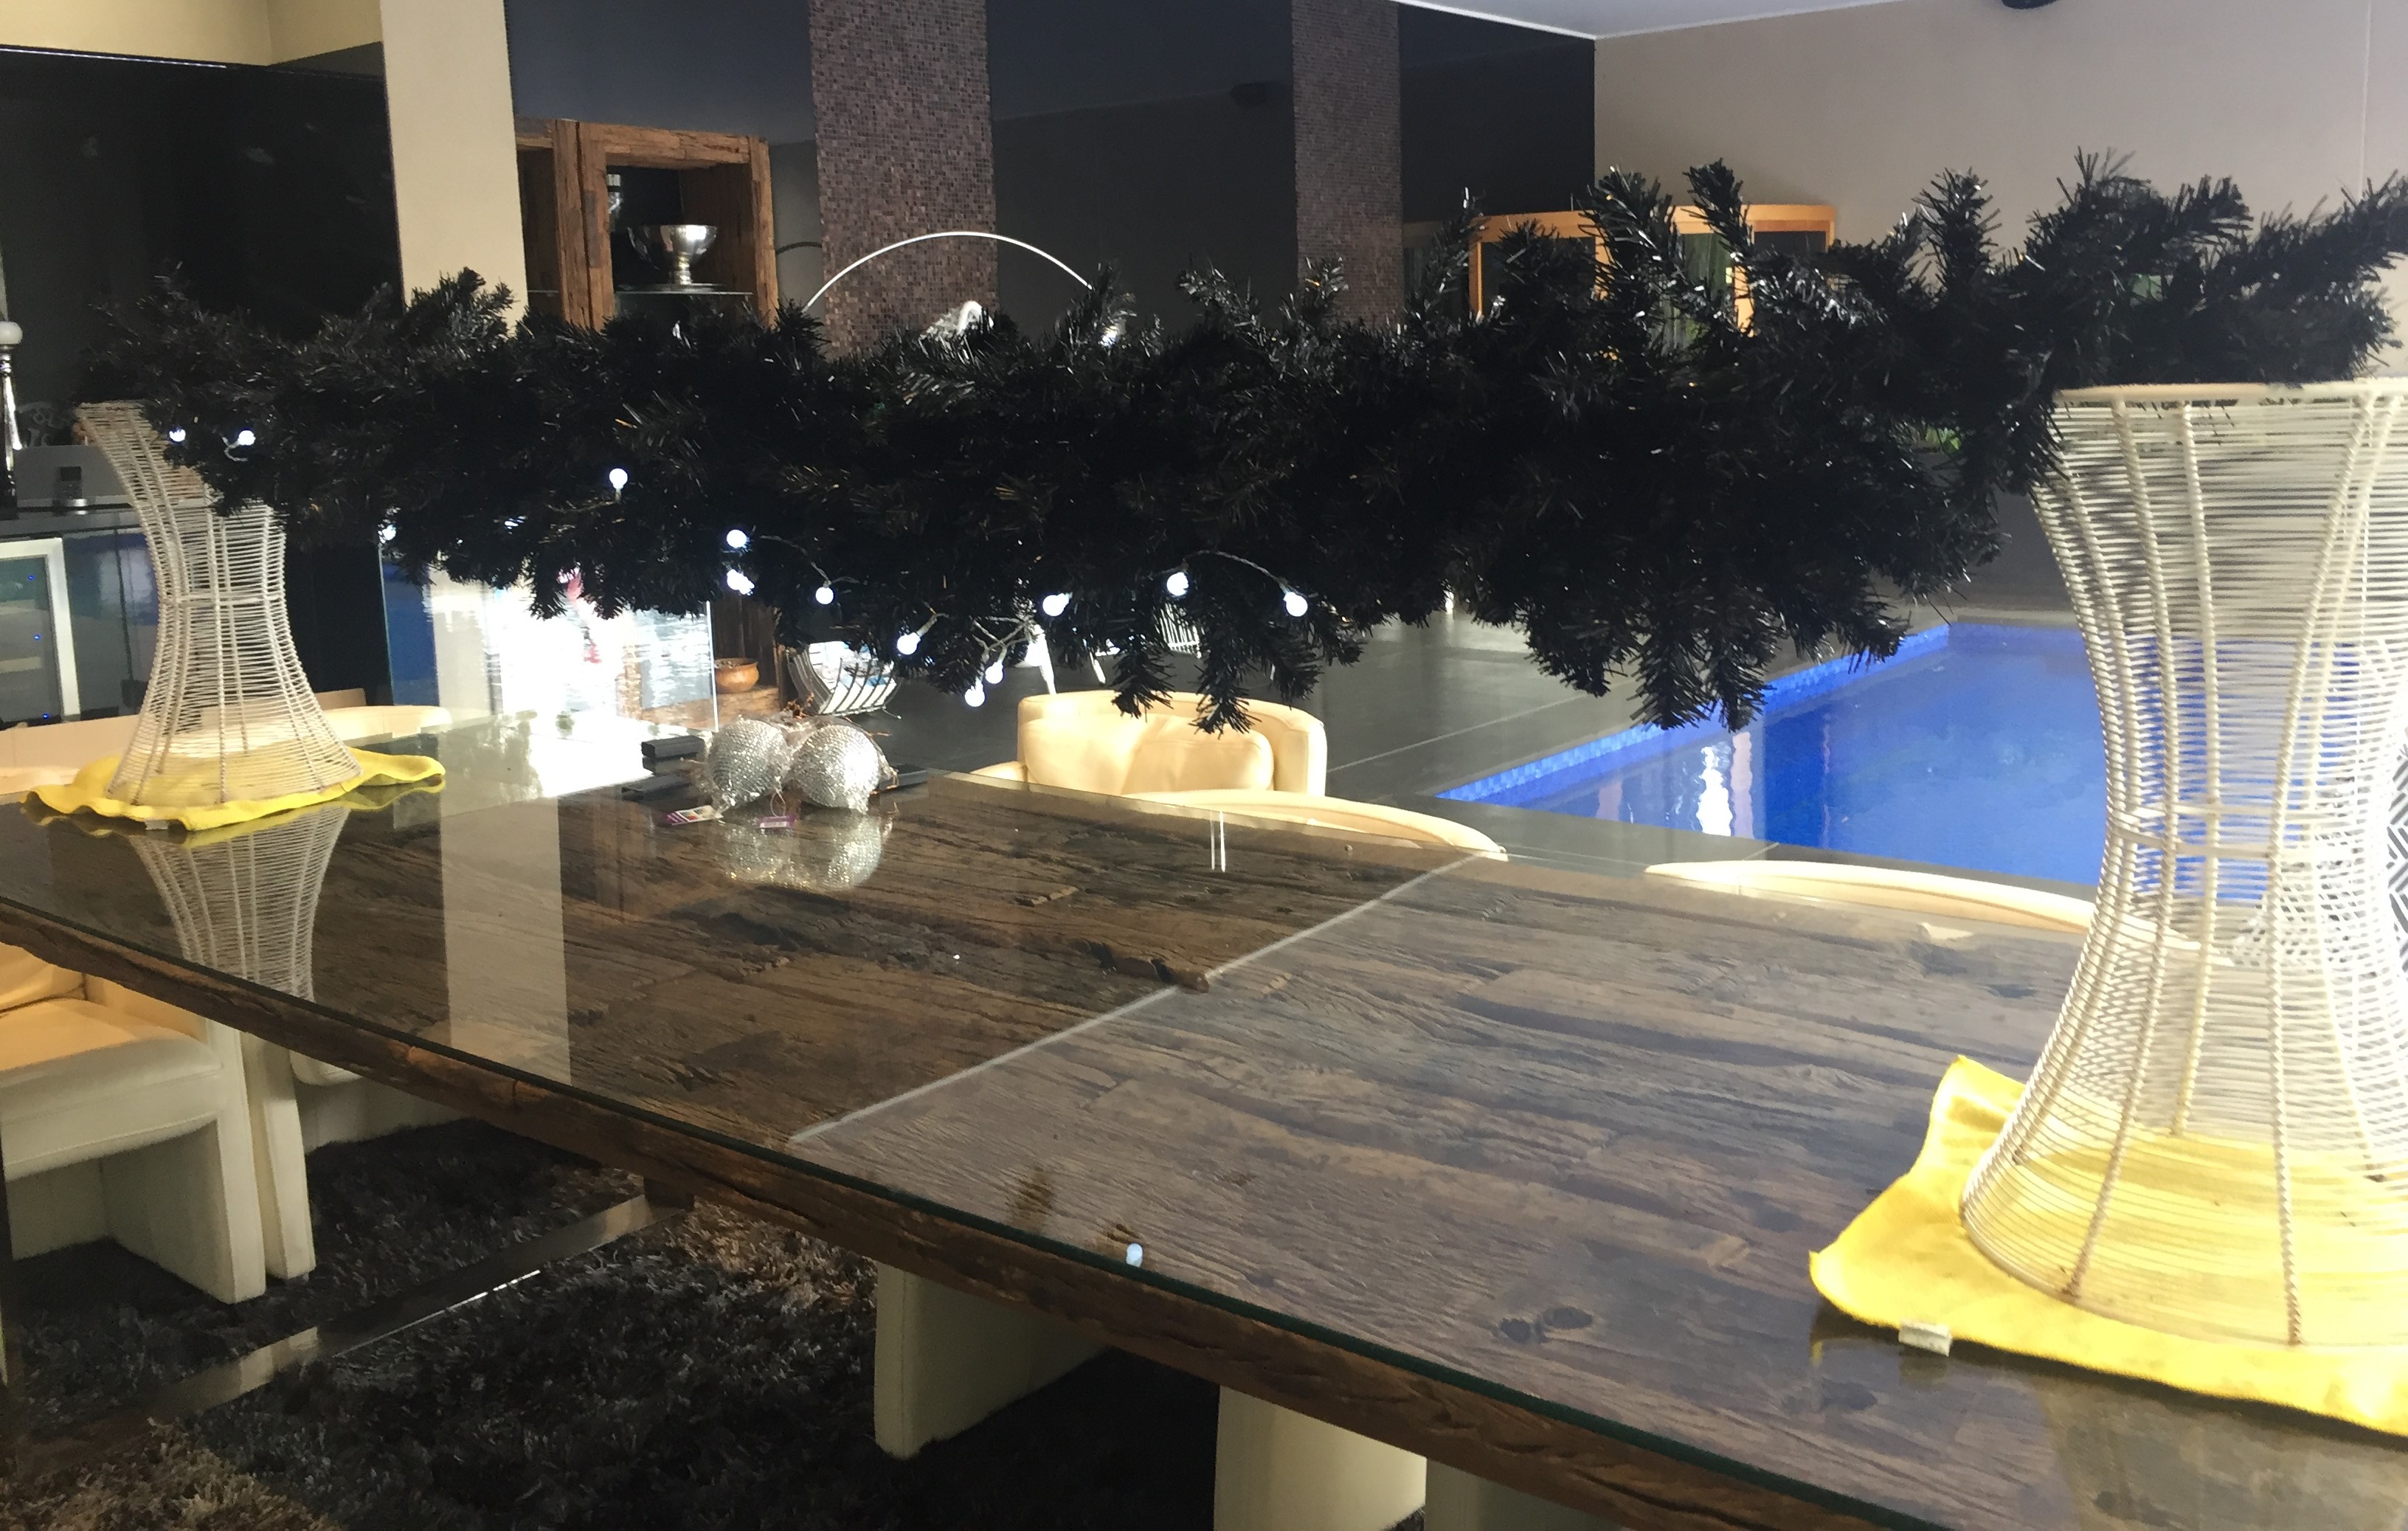
By now it’s a good idea to have the tree supported either end – whatever youv’e got, it’s just much easier when it’s up off the table.
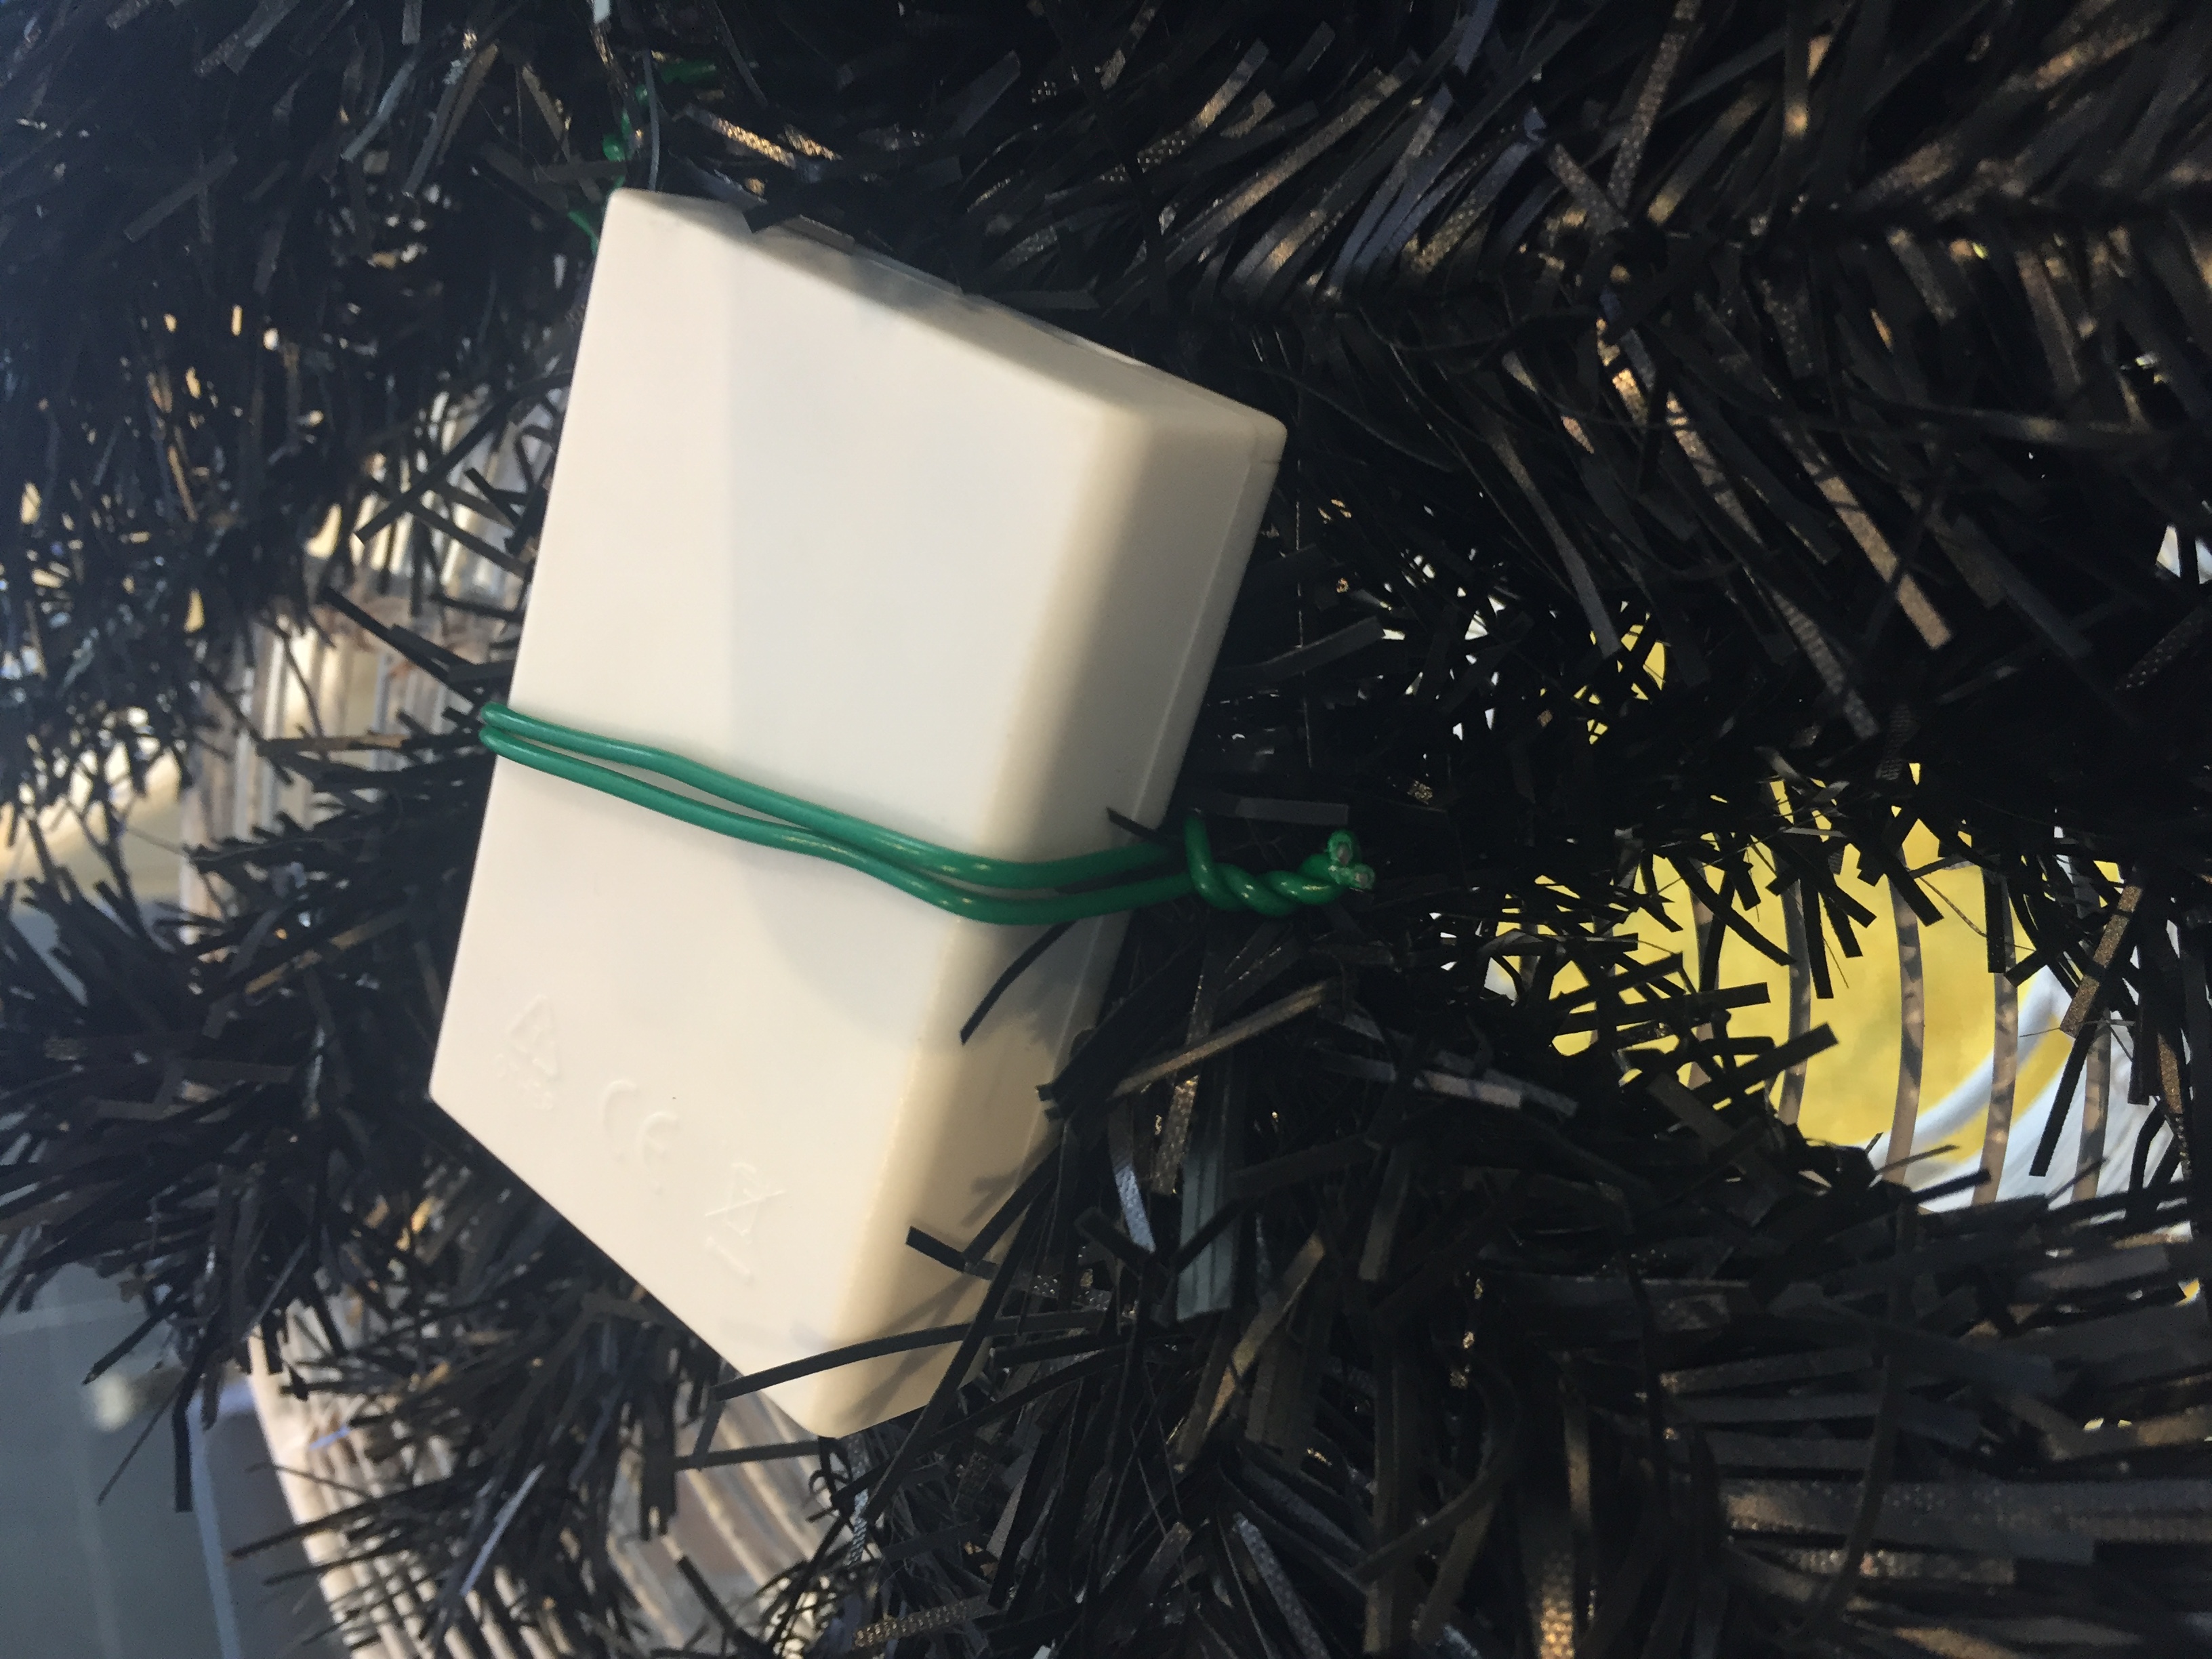
Next I added lights – I used a few sets, with the battery boxes being wired on either end – so I could get a step ladder and turn them on, and change batteries when necessary.

Next I threaded black ribbon onto all my feature baubles – these are the ones I wanted hanging lower than the rest.
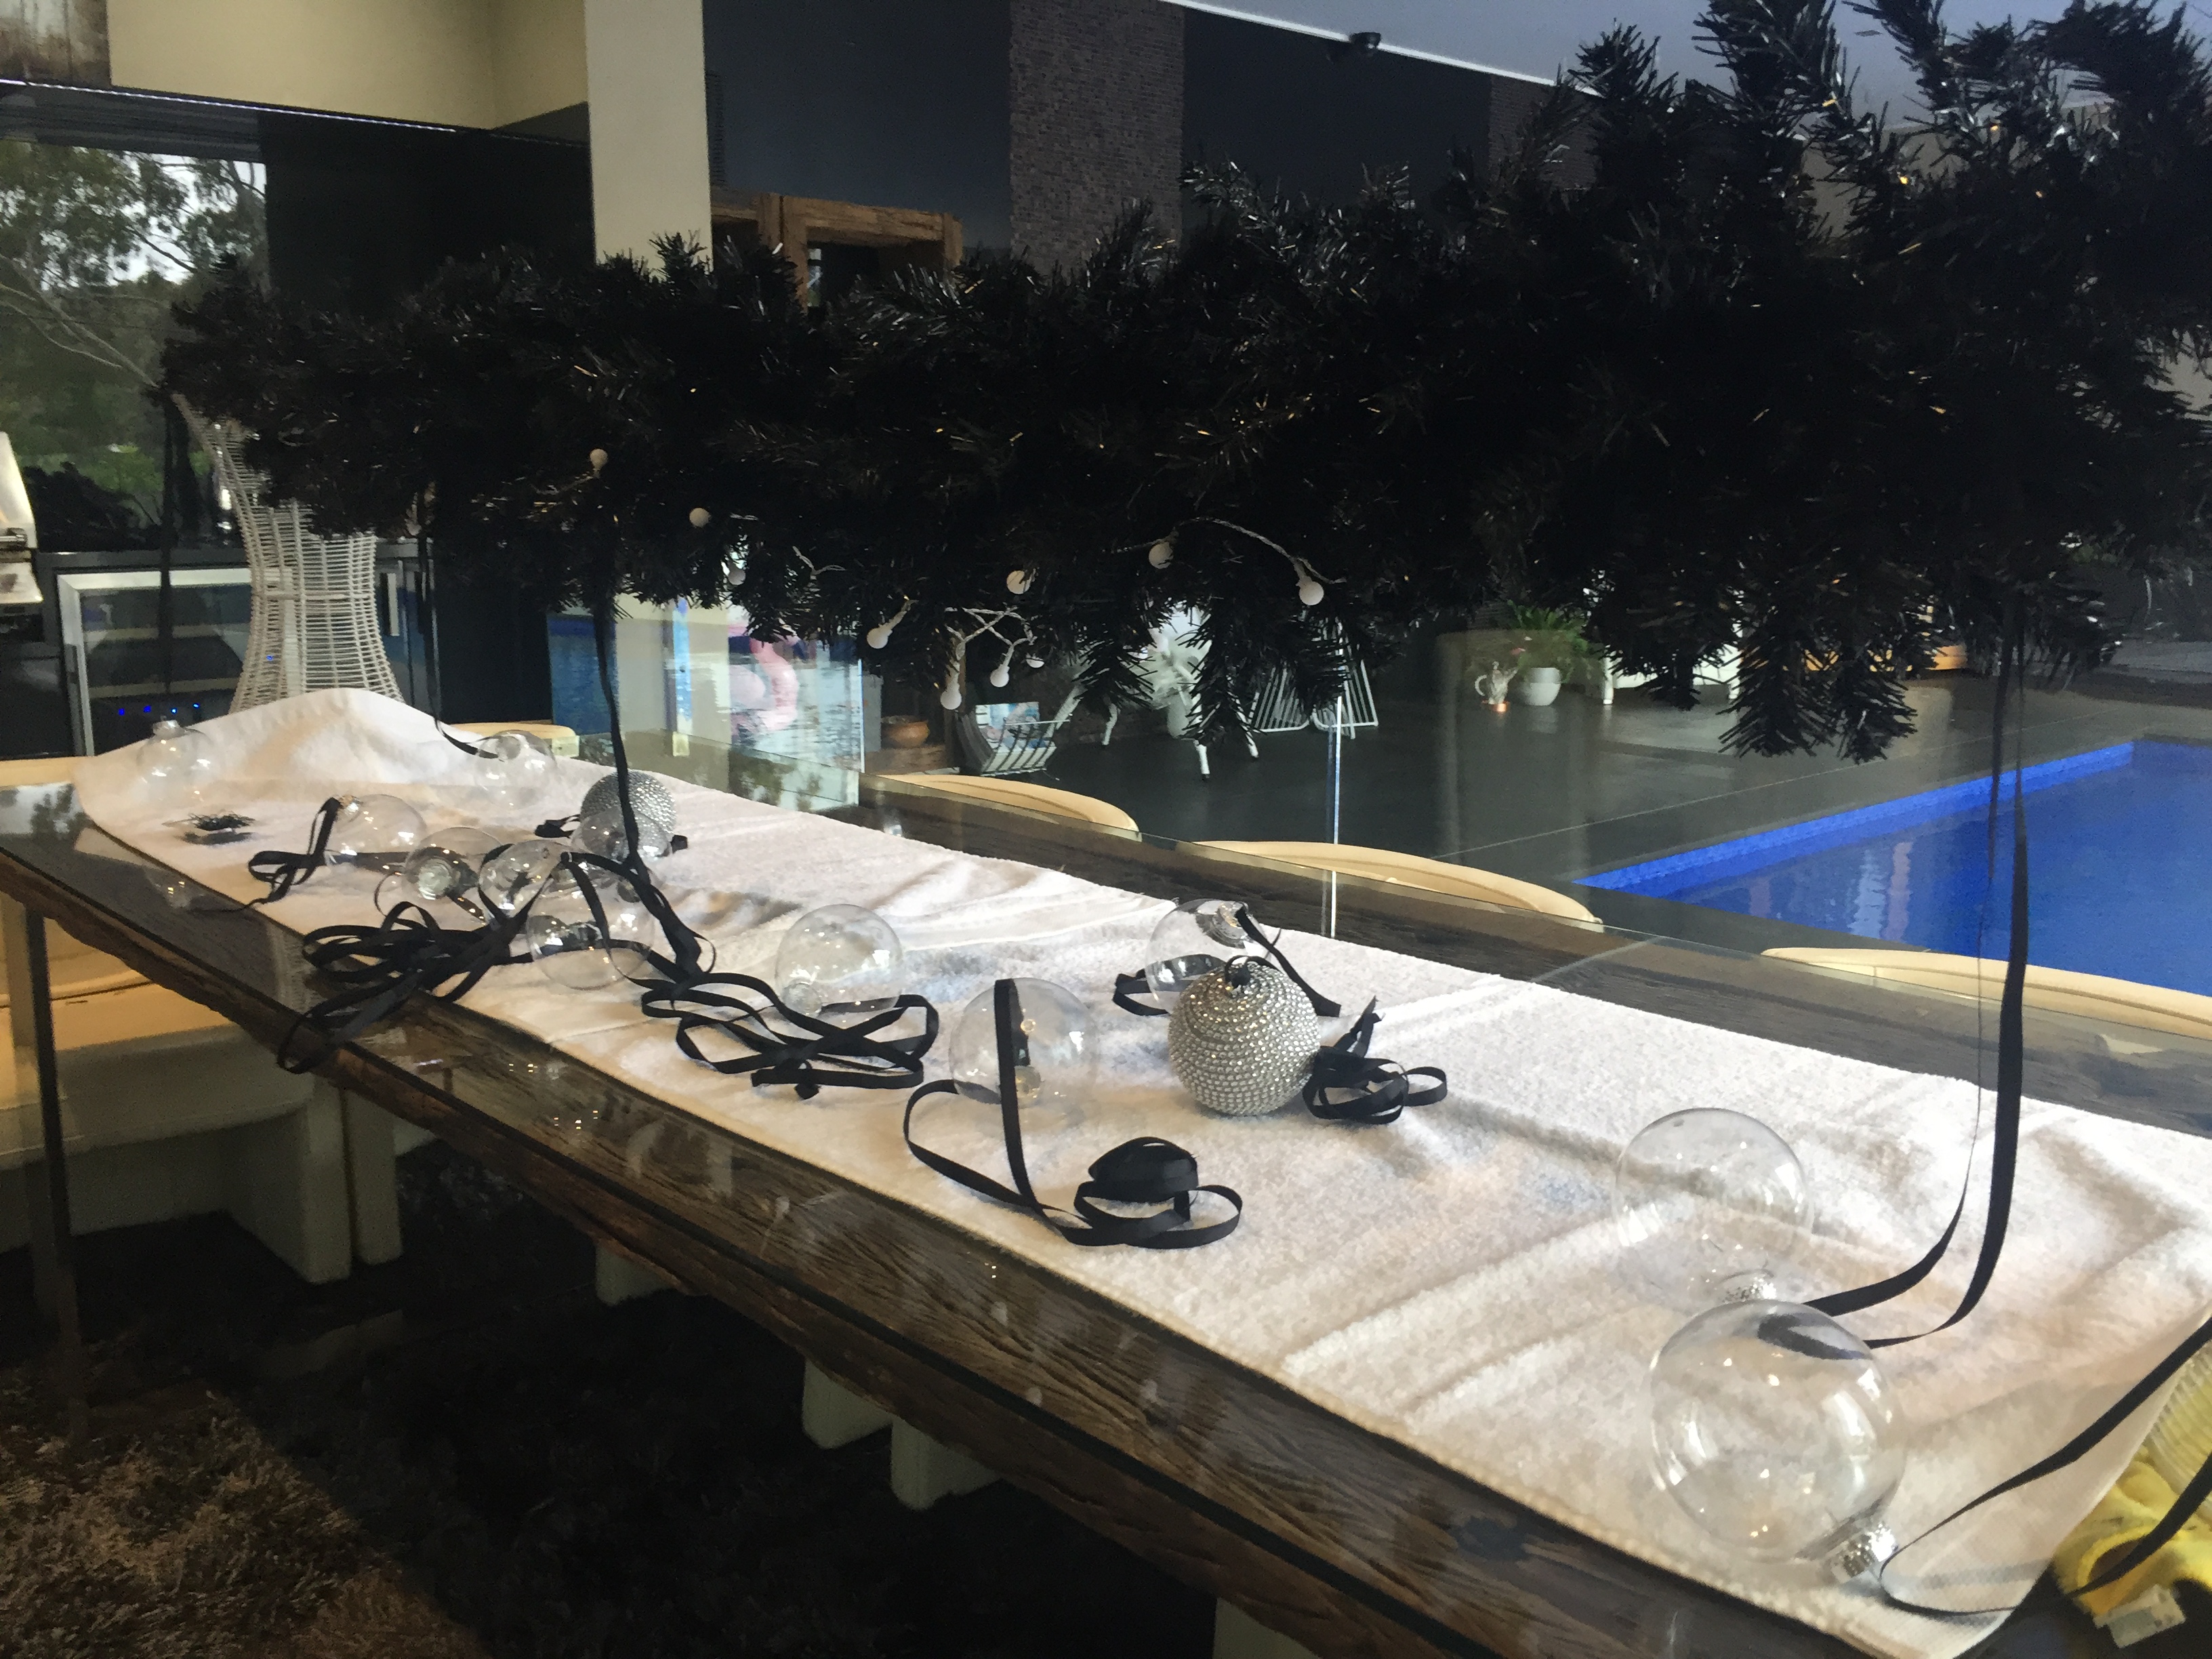
Then it’s just a matter of positioning them and hanging them.
All I did was thread them onto a stem of the tree and fold the end of the stem over so the decoration can’t slide off.

And now you decorate the rest of it!!

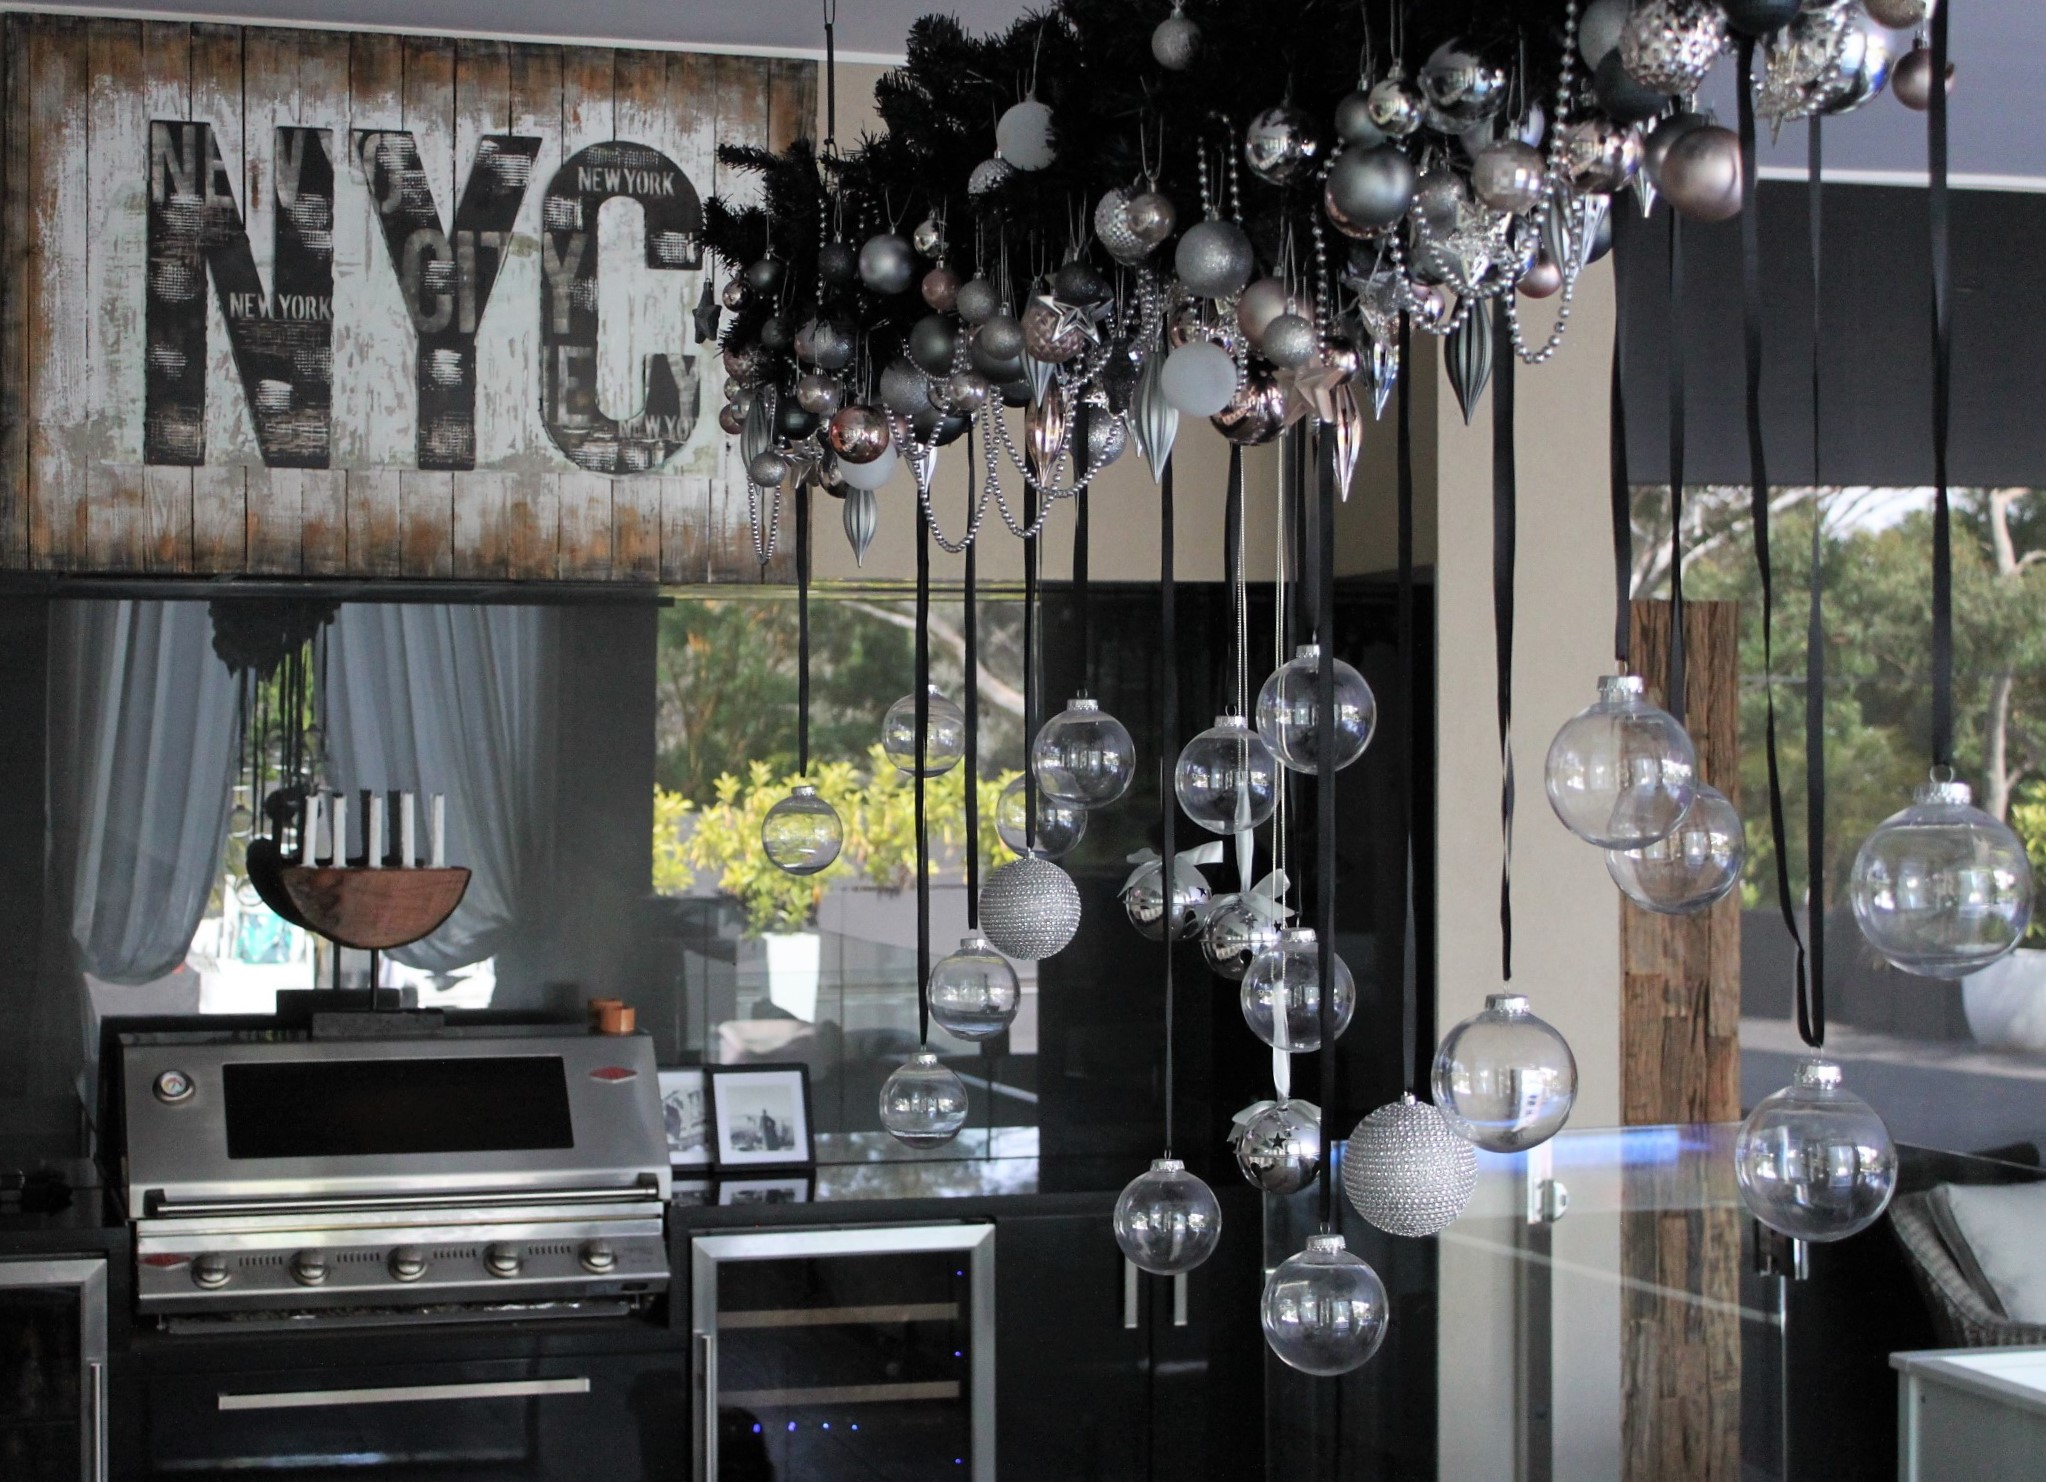
I have out door heating on my ceiling, so I’m able to cable tie this entire piece to the heaters.
If you own your own home, or have permission to put hooks into your ceiling, you would just need to use the appropriate hook for your ceiling type and then use ribbon or decorative chain and hang it that way.

This year I’ve hung it a bit lower over the table … I love it!
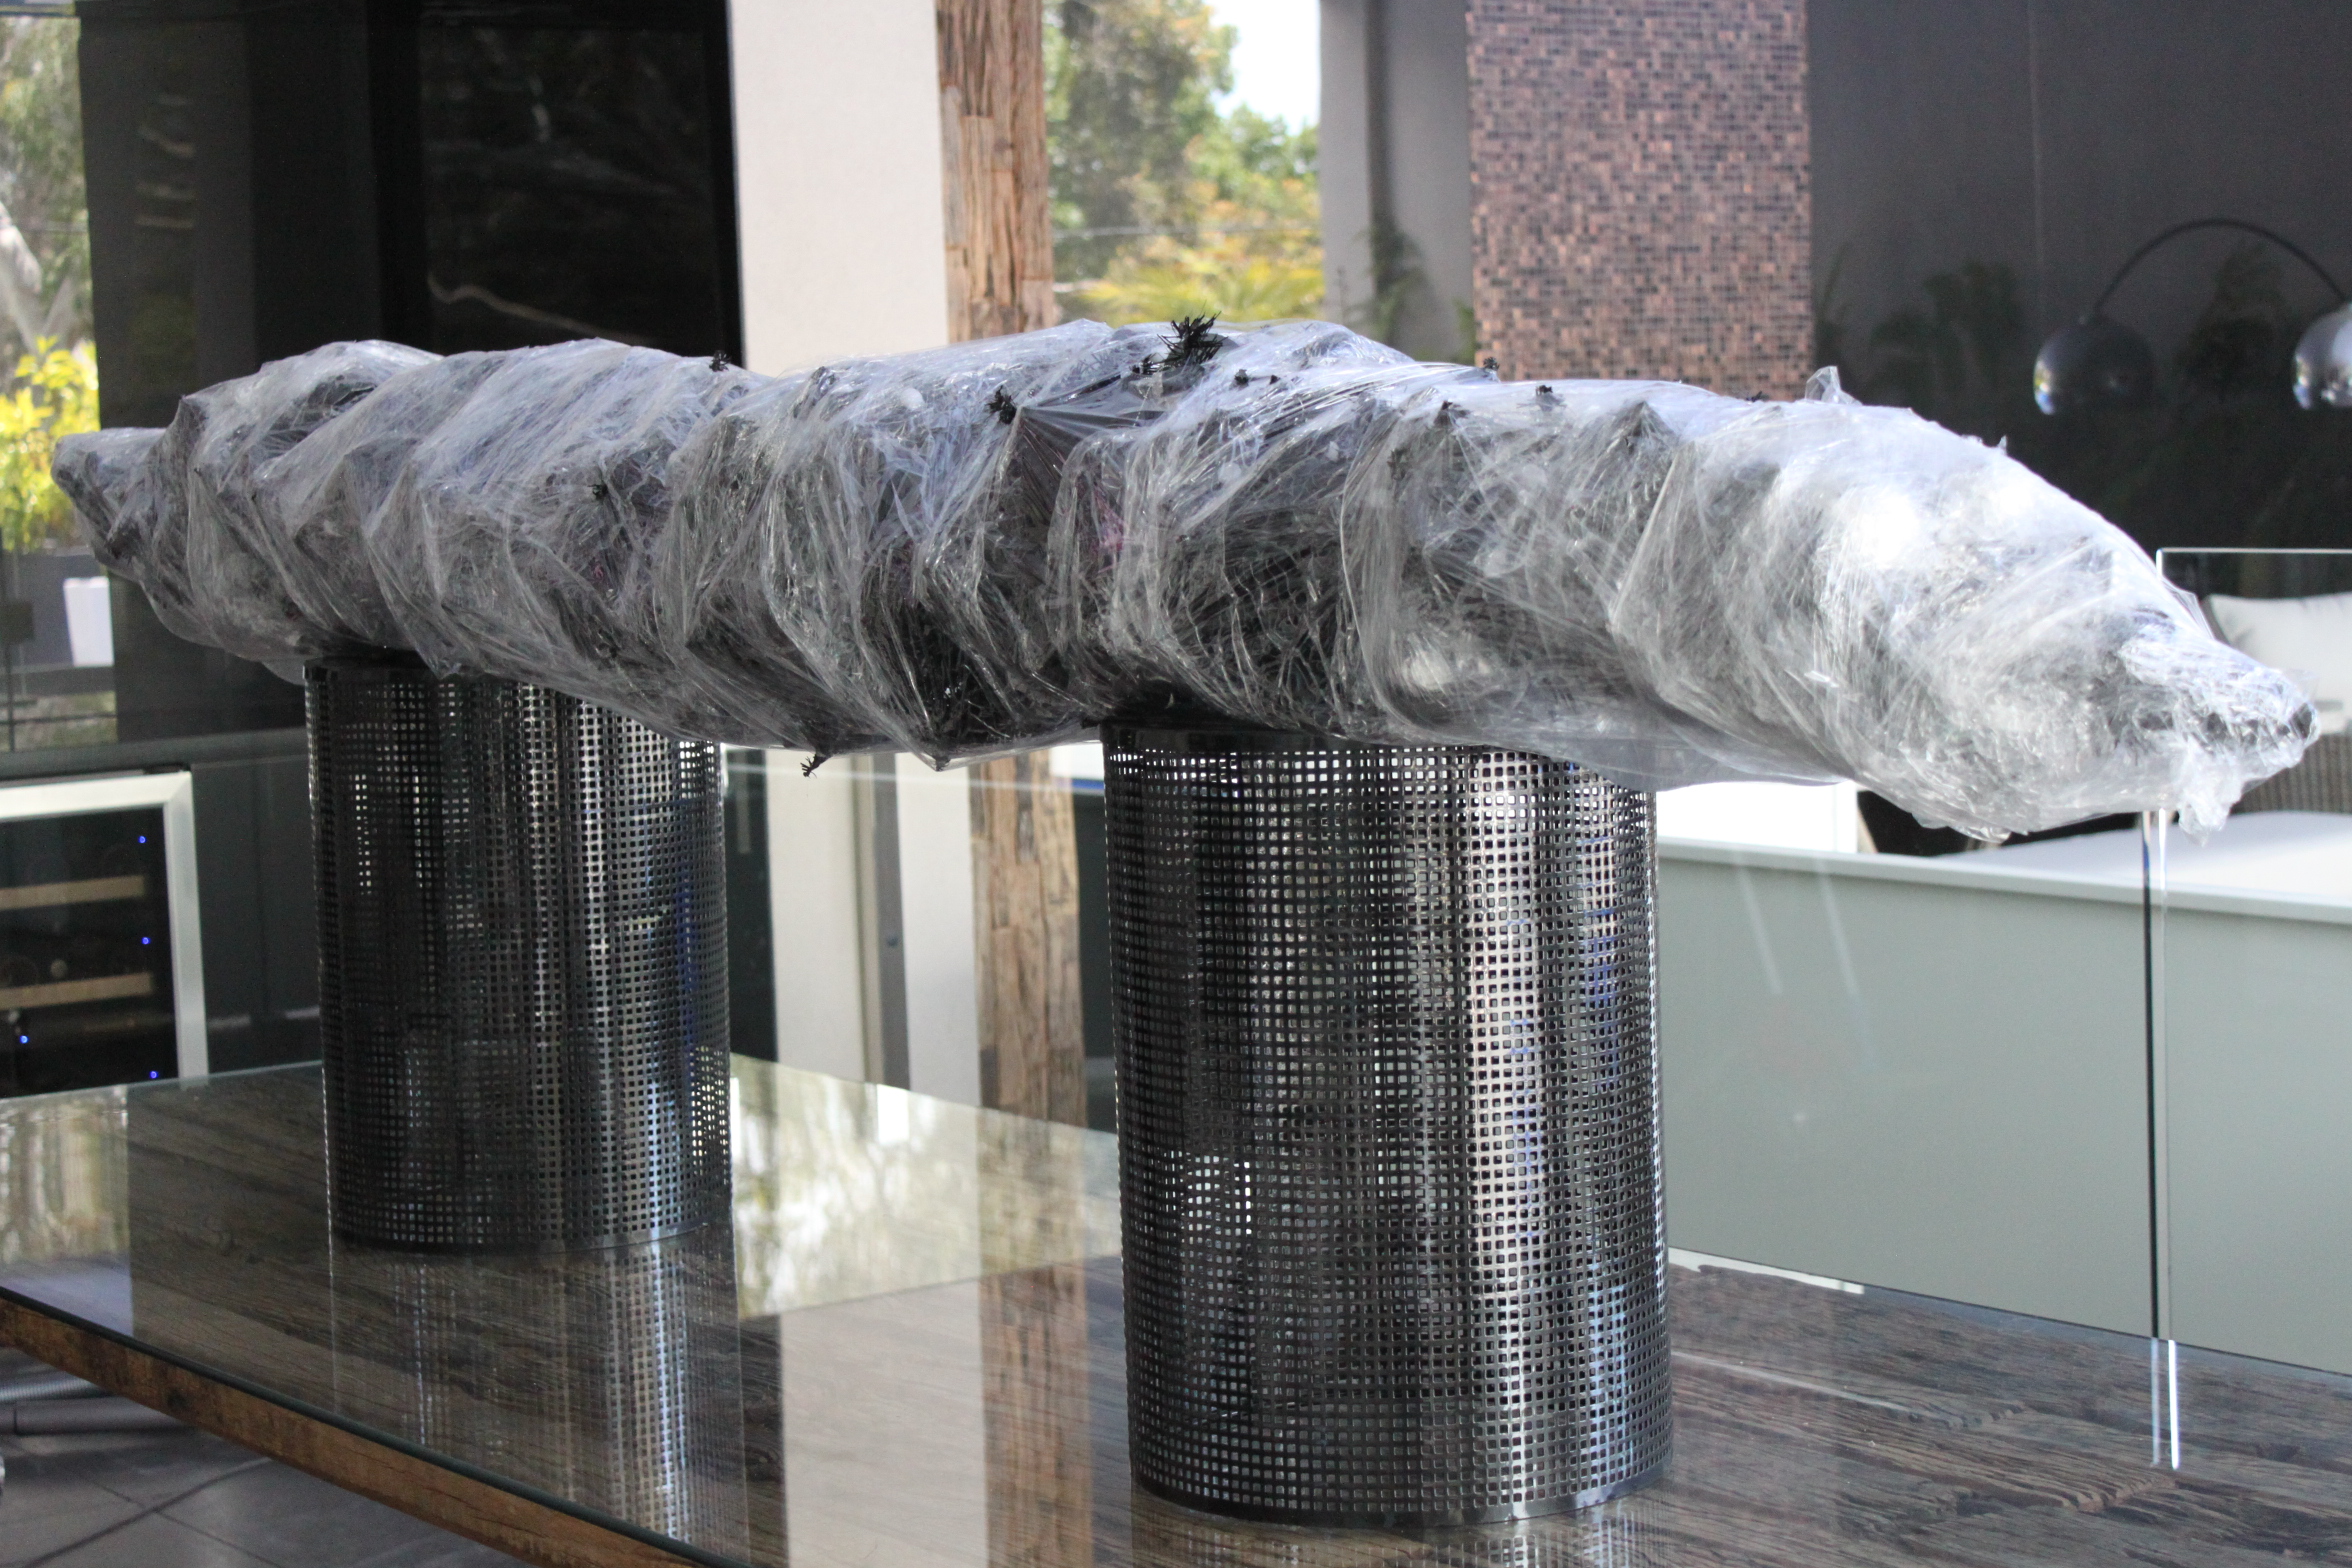
And here’s some awesome news … When I took the tree down from last year – I wrapped the whole thing in ‘Glad Wrap’ and stored it in the garden shed. When I got it out today, it was perfect! Nothing was damaged, all in tact! Literally took less than half an hour to put it back up!!!!
Until next time,
Happy Styling!
Vicki
xoxo
Categories: Special Occasions